v144 sport
Member
Registered: 24th Mar 11
Location: Melksham, Wiltshire
User status: Offline
|
I was working at m tech at the time. Yea it was crazy just a shame I didn't see it got up the strip at pvs that year.
|
dewismotorsport
Member
Registered: 16th Feb 08
Location: Coventry & Poole
User status: Offline
|
quote:
Originally posted by v144 sport
I was working at m tech at the time. Yea it was crazy just a shame I didn't see it got up the strip at pvs that year.
Ah right cool, shame my car kept over heating and spitting Coolent everywhere else Chip would of got a lot more done 
Didn't help the big fan was broke for the rollers 
|
dewismotorsport
Member
Registered: 16th Feb 08
Location: Coventry & Poole
User status: Offline
|
Made a bit of time for myself as this is starting to drag on now :cry:
Had to re tap and helicoil the head as the thread was shot
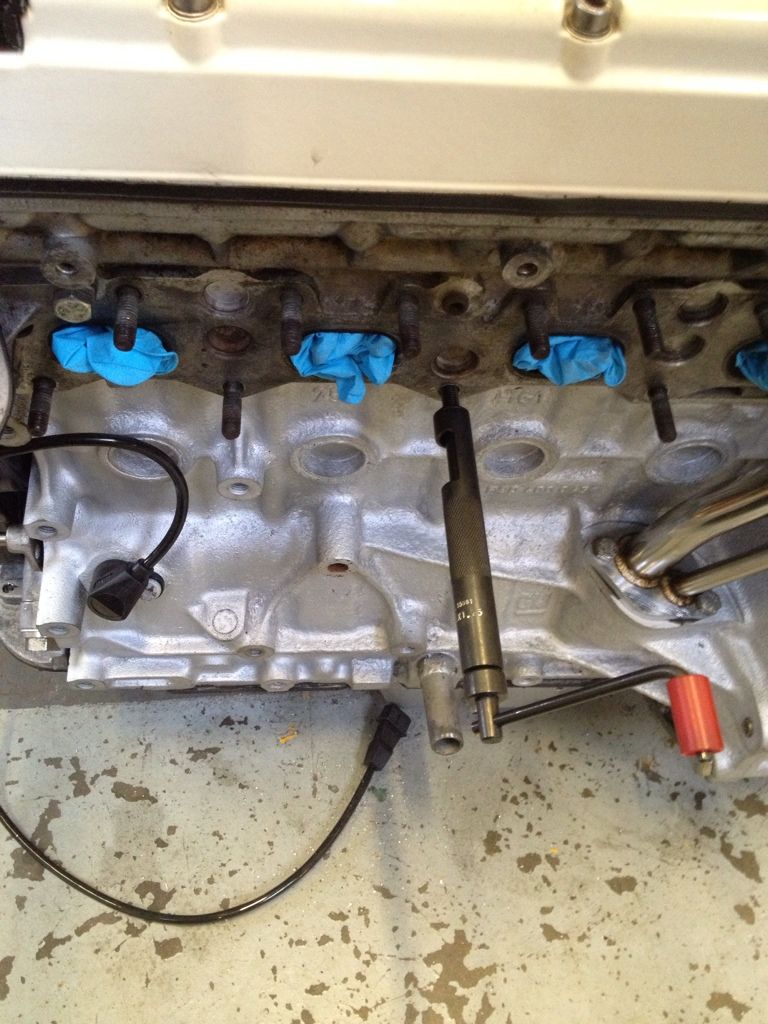
Also re done the holes that hold the backing plate on as they weren't the greatest
After what happened to Ash I decided to buy new tensioner and cam bolts

Treated myself to an early Xmas present, big thanks to James Middleton (Jonboy/johlem) now most of you are probably thinking why didn't I just make myself some as its easily done but tbh I don't have the time and I don't want to step on his toes as that's his design and he's a good mate so wouldn't do that 
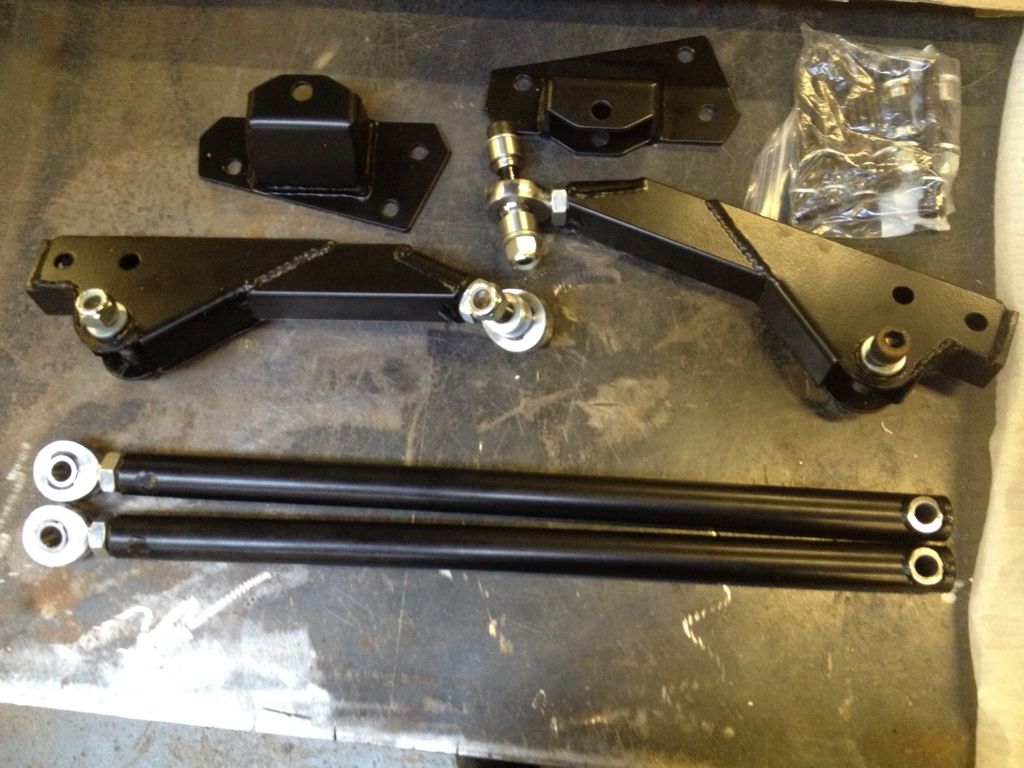
Came in a loverly box which is standard when sending stuff between us  msl: msl:
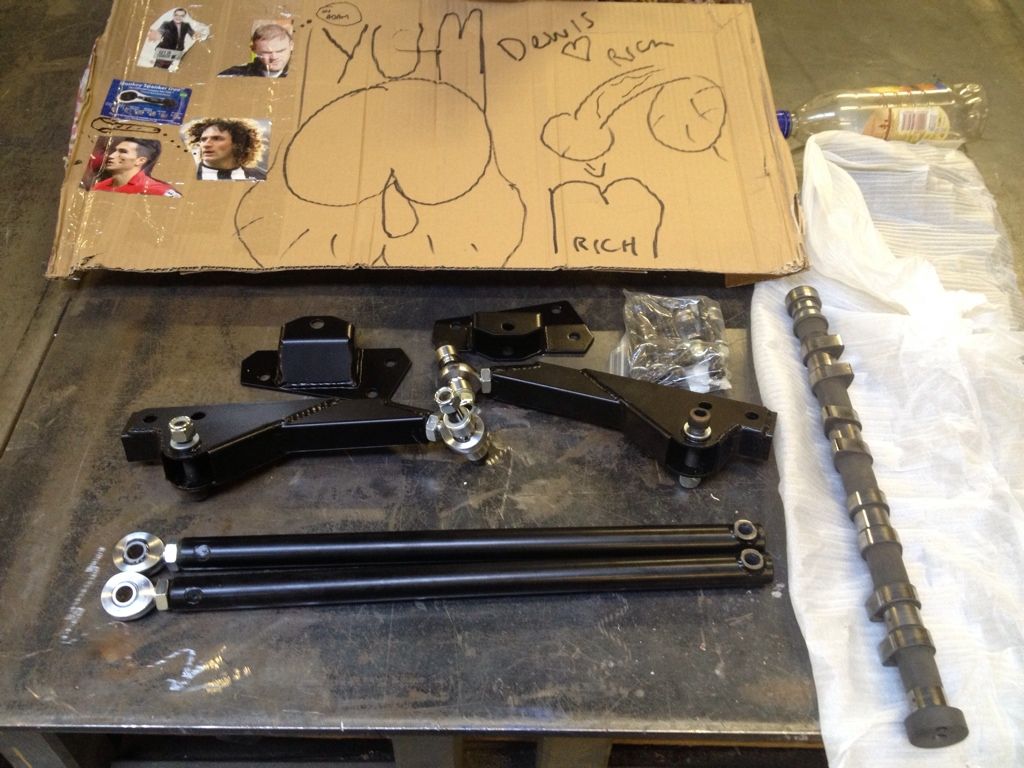
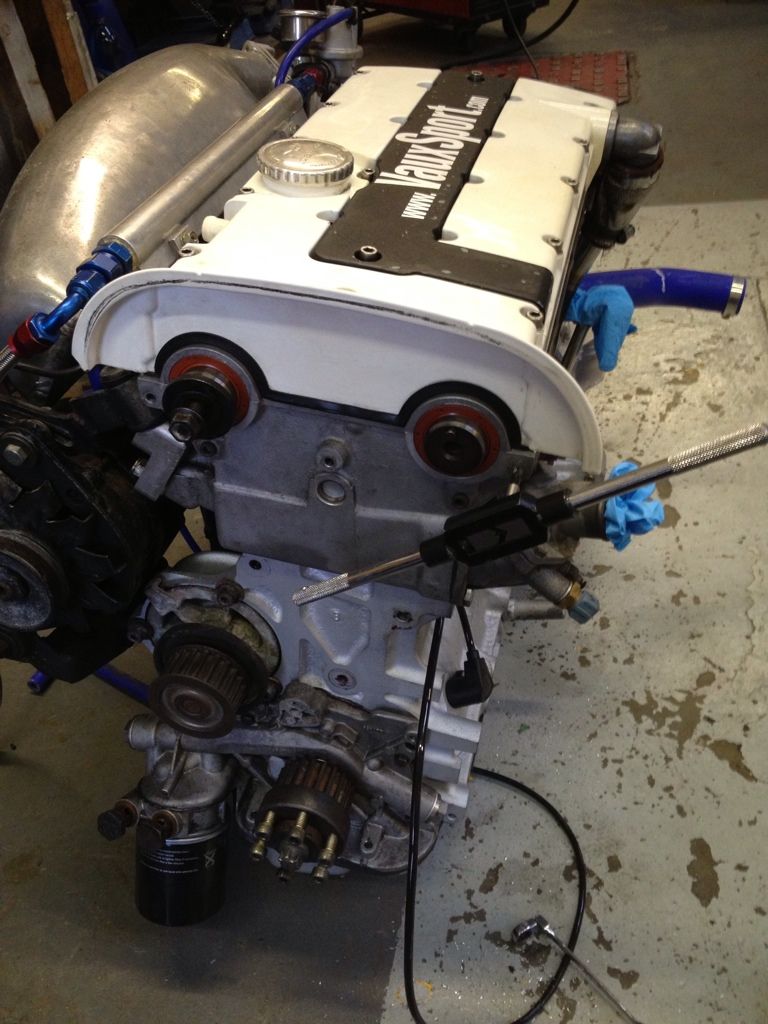
Also got a new exhaust cam as my one got damage after removal, got it all bolted back together and timed up ready for dropping back in at some point
|
dewismotorsport
Member
Registered: 16th Feb 08
Location: Coventry & Poole
User status: Offline
|
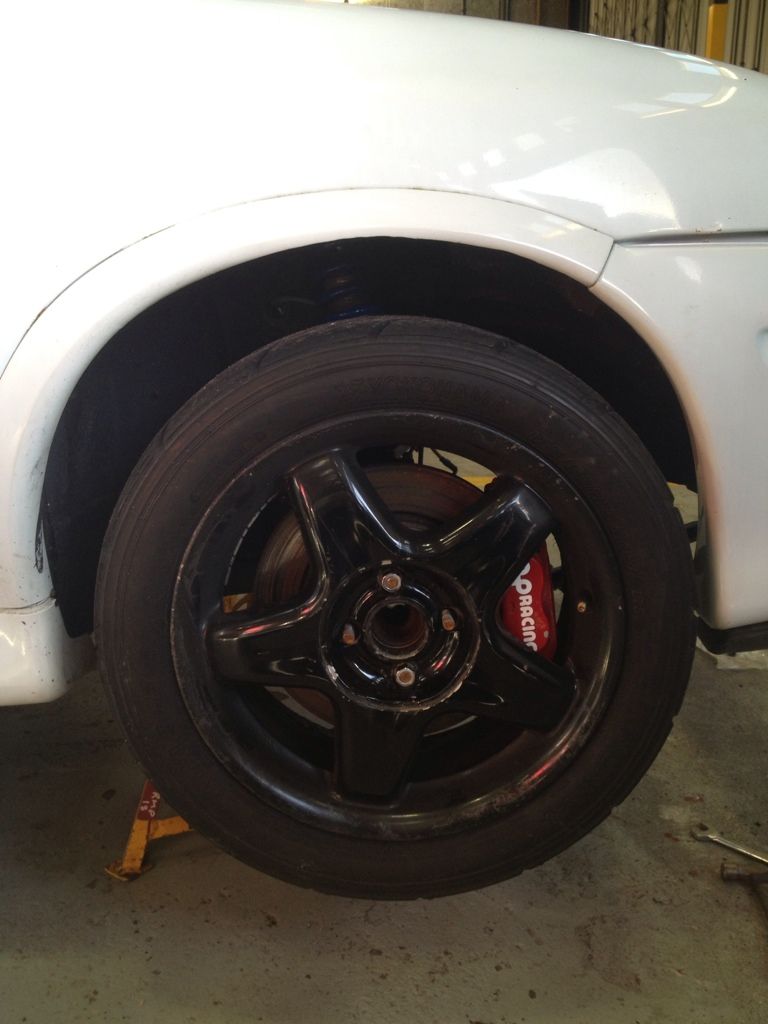
New lower arms fitted, and new GM ball joints (yet to be fitted) I have set the car up for maximum caster so as long as oil filter clears I'll be fine, quietly confident it will cause when I first fitted the engine on the solid mounts I made it sit as far back in the bay as possible to help with the weight not being to far forward
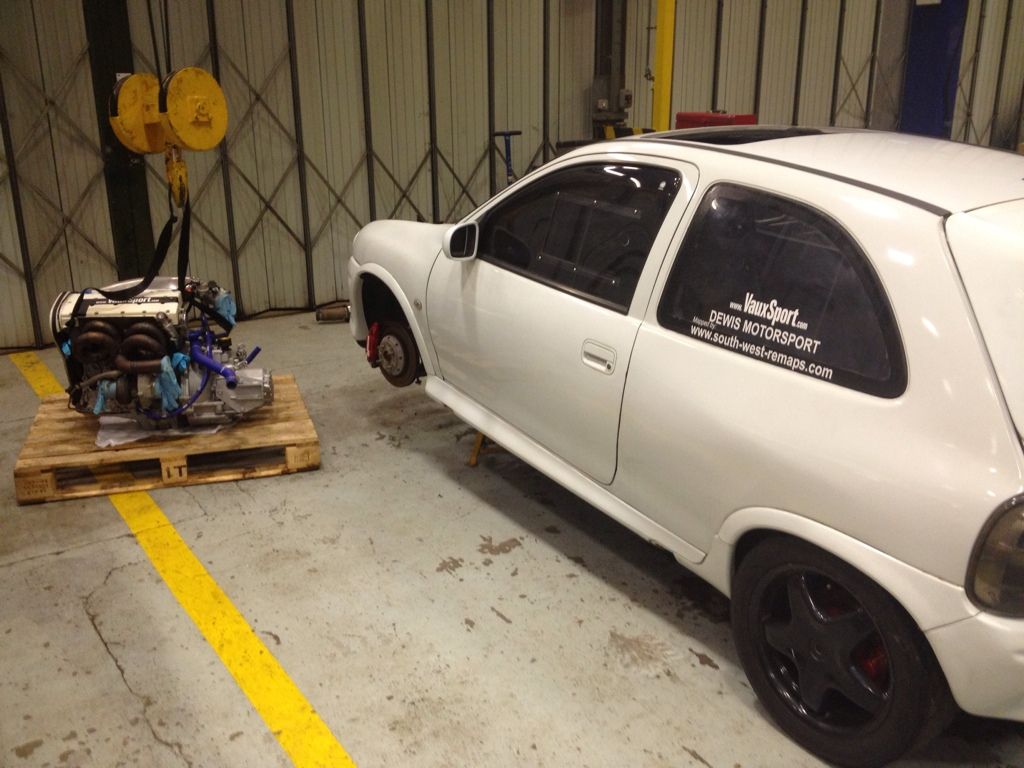
Engines all built up ready to be dropped in hopefully tomorrow :clap:
|
FAZ
Premium Member
 Registered: 24th Nov 07
Location: Coventry
User status: Offline
|
 engine crane engine crane
nice work 
|
dewismotorsport
Member
Registered: 16th Feb 08
Location: Coventry & Poole
User status: Offline
|
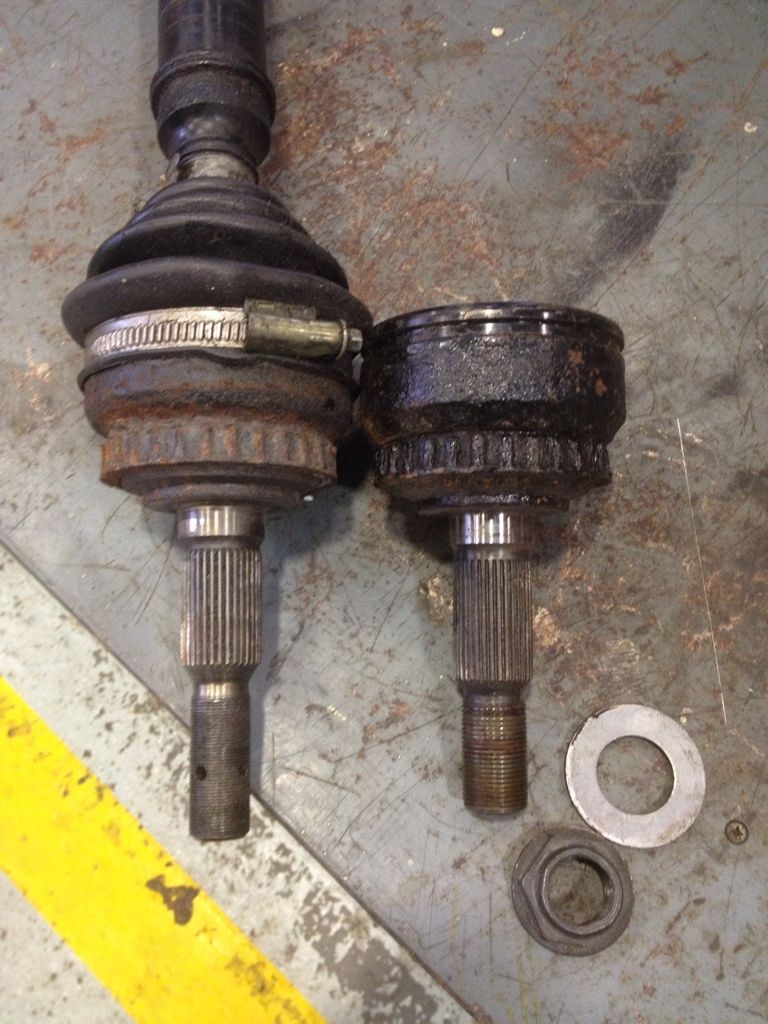
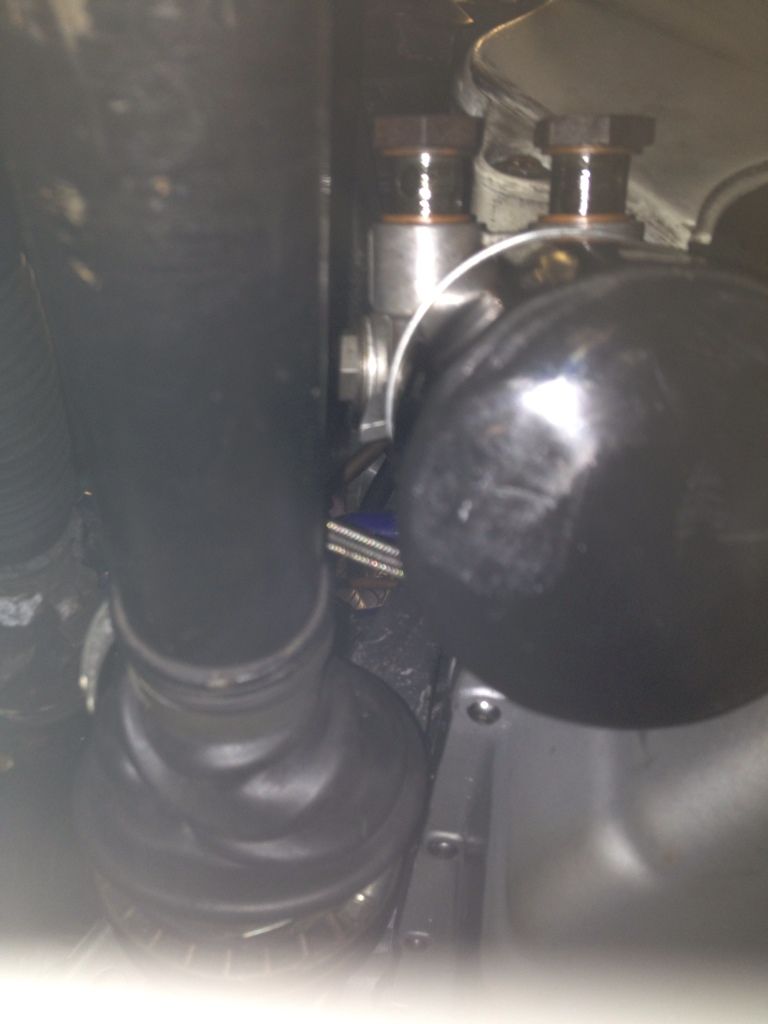
Not had as much time to myself as I'd of liked today so did what I could, swapped my other outer cv joint for the better designed Saab item, just needed the washer drilling out larger
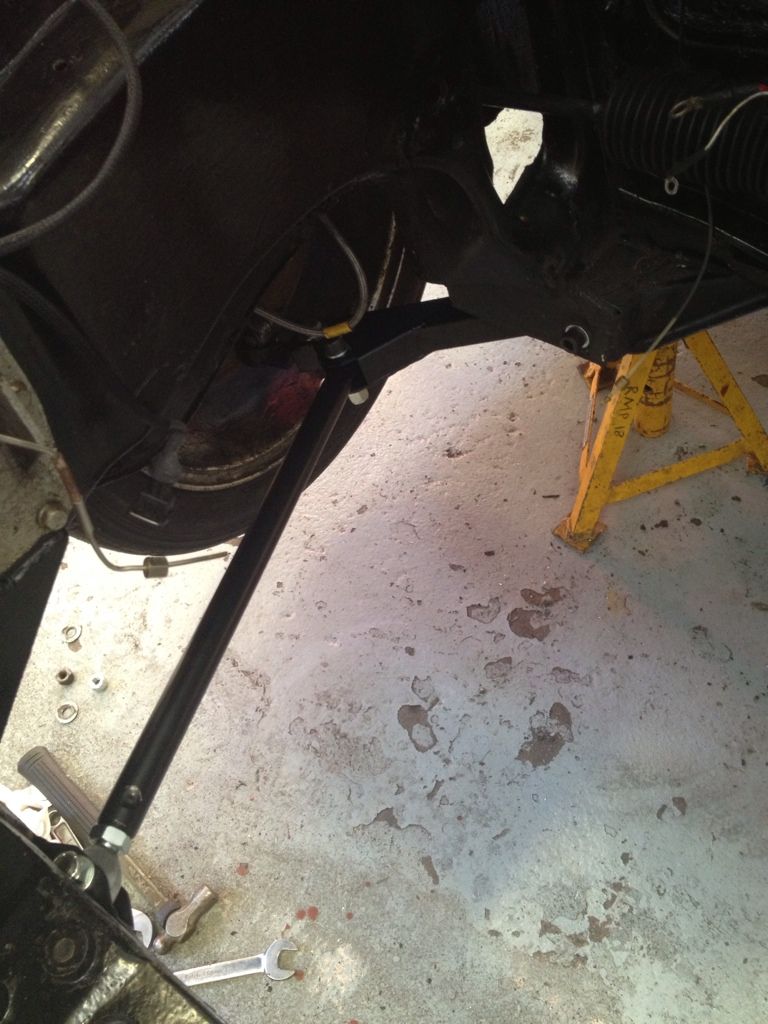
Got the shafts back in and dropped it to the floor, still have about 10-15mm between the oil filter so gonna modify the tie bars to make them a bit shorter so it will allow me to achieve my 6 degrees of castor
And how it's left till I get back to work in the new year
|
Christopher
Member
Registered: 14th Oct 10
Location: Eastbourne
User status: Offline
|
excellent work
|
D0NN3R
Member
Registered: 1st Mar 11
Location: Dunholme, Lincolnshire
User status: Offline
|
diffuser looks mean is it a kit you bought or all home made
|
Aidan-Fleming
Member
Registered: 17th May 08
Location: Westhill, Aberdeenshire
User status: Offline
|
Brilliant work mate! Looking good! keep it up
|
dewismotorsport
Member
Registered: 16th Feb 08
Location: Coventry & Poole
User status: Offline
|
Cheers guys! Diffuser is an off the shelf item and is purely there to prevent the bag bumper acting as a air brake
|
D0NN3R
Member
Registered: 1st Mar 11
Location: Dunholme, Lincolnshire
User status: Offline
|
did you save much weight removing spare wheel well
|
possy
Member
Registered: 10th Feb 10
Location: wigan bhp vaux
User status: Offline
|
glad to see you at pvs mate and glad the car is all back together and looking bob on and hope you dont mind but i realy liked the look of the diffuser on your and think i am goin to invest in one
|
dewismotorsport
Member
Registered: 16th Feb 08
Location: Coventry & Poole
User status: Offline
|
Long over due a update as I couldn't log in as I couldn't get a password reminder sent ;-(
Right as per usual my car is always the last thing to be done :cry: My new job makes me stupidly busy and private work now takes a back seat as I no longer have as much time and then my car is after private work :cry:
But with 2 weeks to Bedford track day and a non running, non run in, part mapped un finished track car I realised I needed to pull my finger out!
So made a start on getting it done, first job was to fit a vacuum port on the turbo as now I am running a boost solenoid
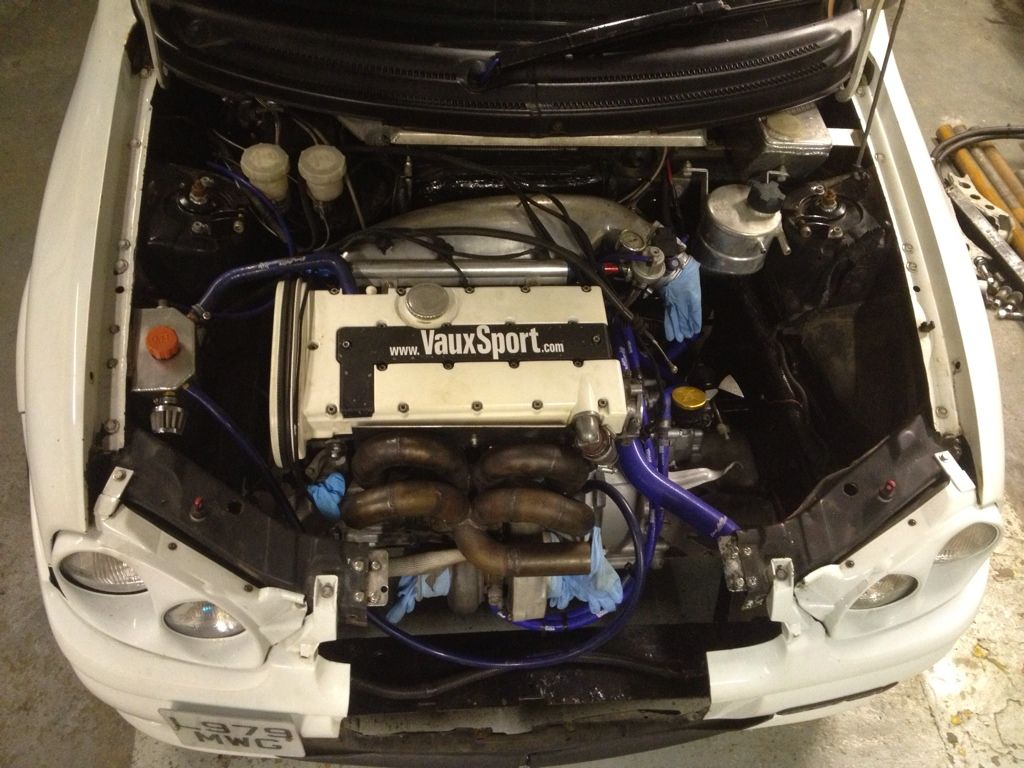
Got the rest of the bits all back on and ready for start up
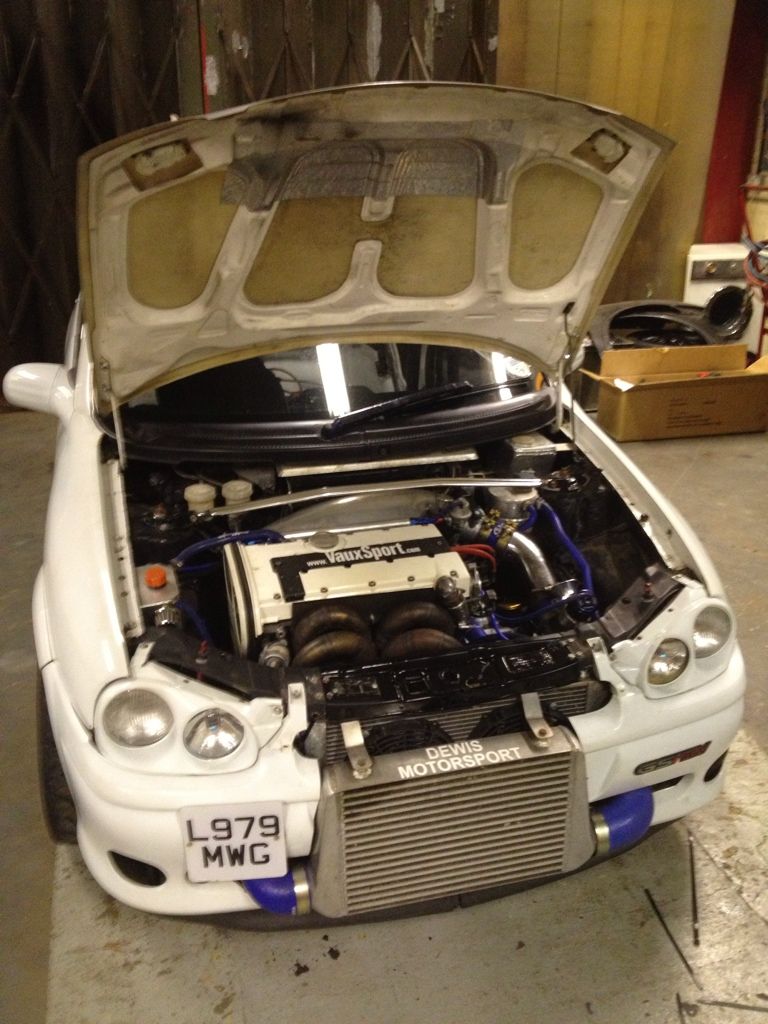
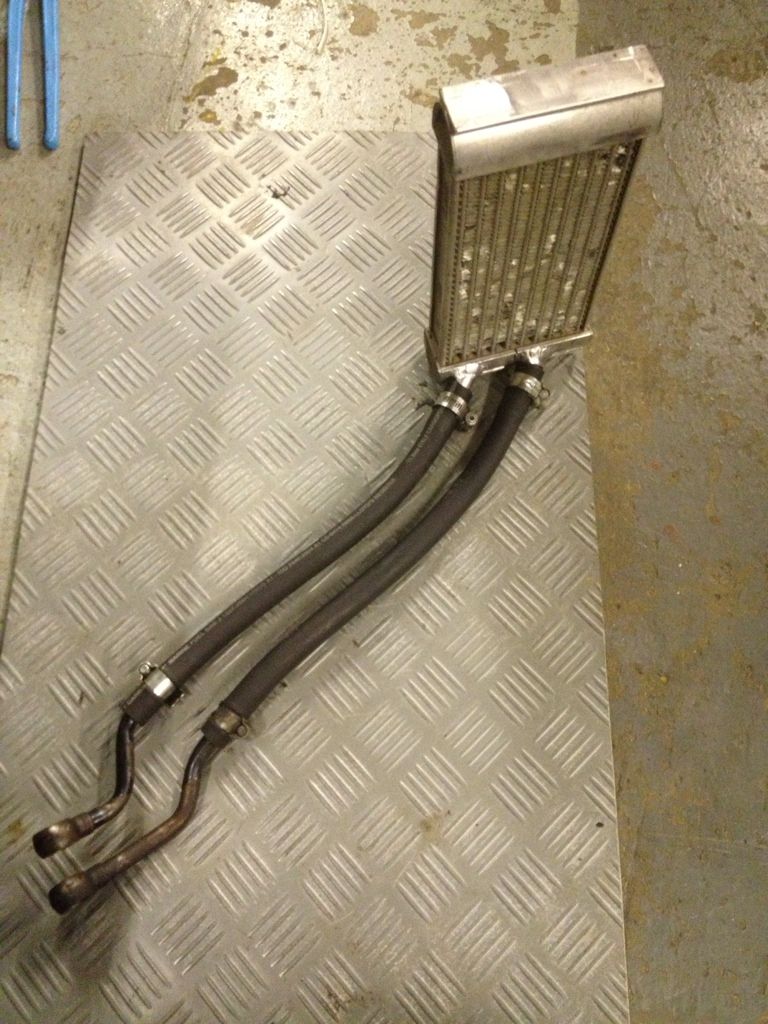
Only thing stopping me starting it up is the oil cooler so made a start on fitting it, found a good place behind the fog light hole
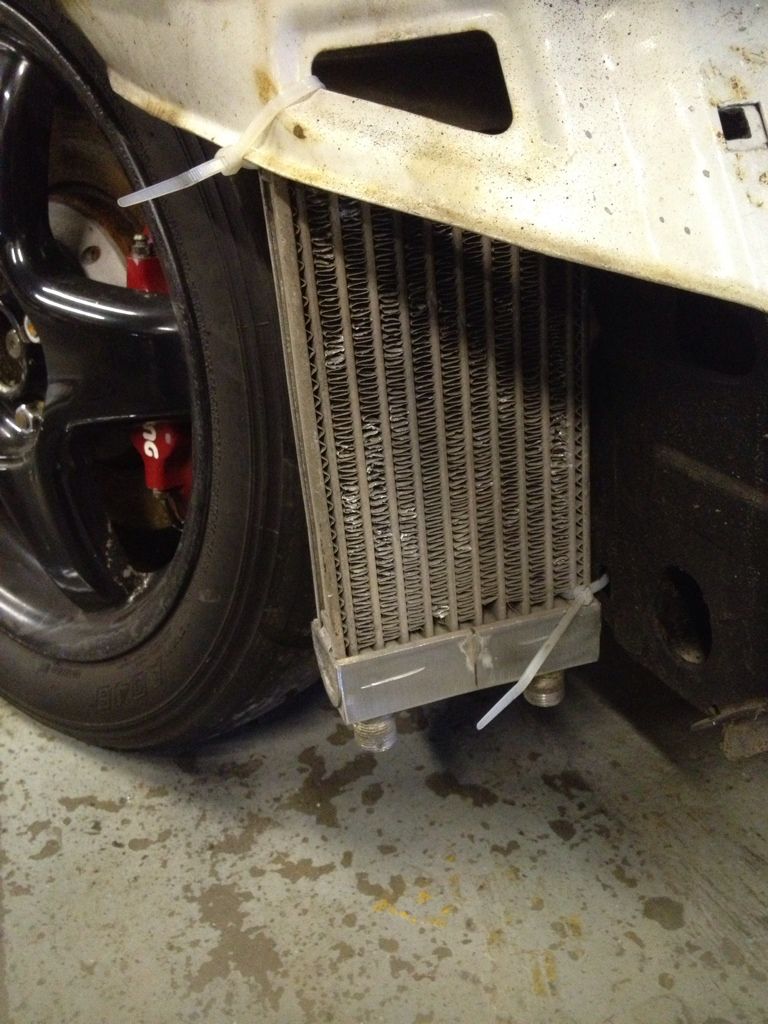
Just need to modify the in and out ports to face backwards not down and then pipe it up. Then its a case of over night running in and knuckle change to early type and then mapping and cage fitting
Got a feeling I'm gonna be working into the early hours for the next few weeks :cry:
|
dewismotorsport
Member
Registered: 16th Feb 08
Location: Coventry & Poole
User status: Offline
|
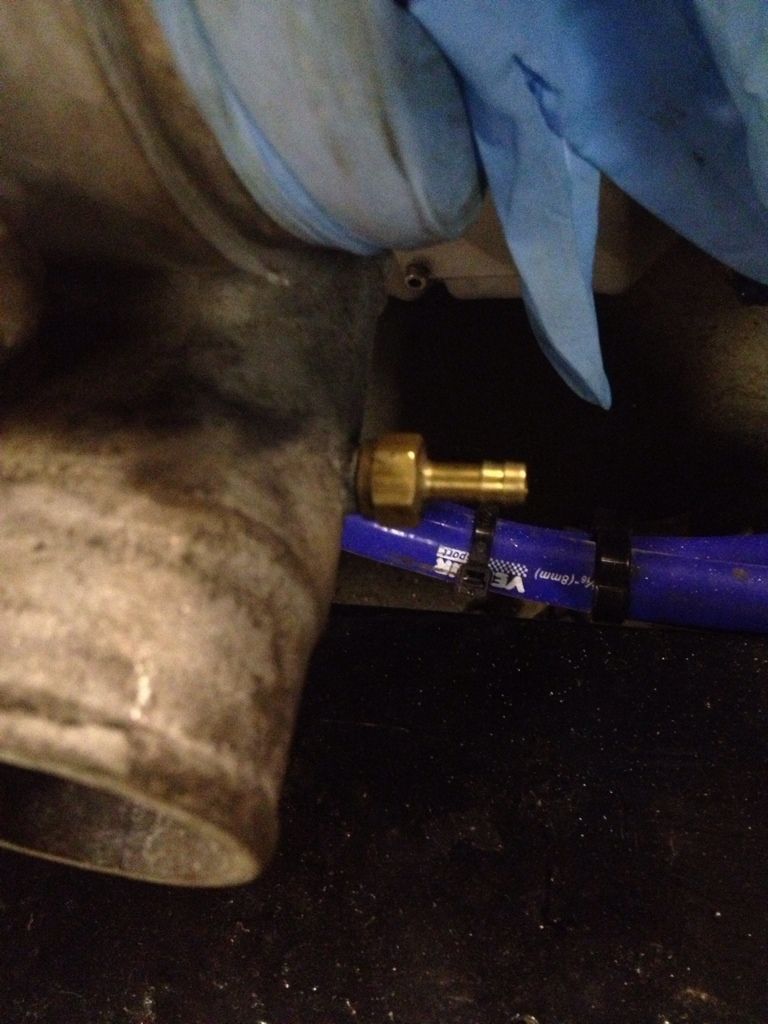
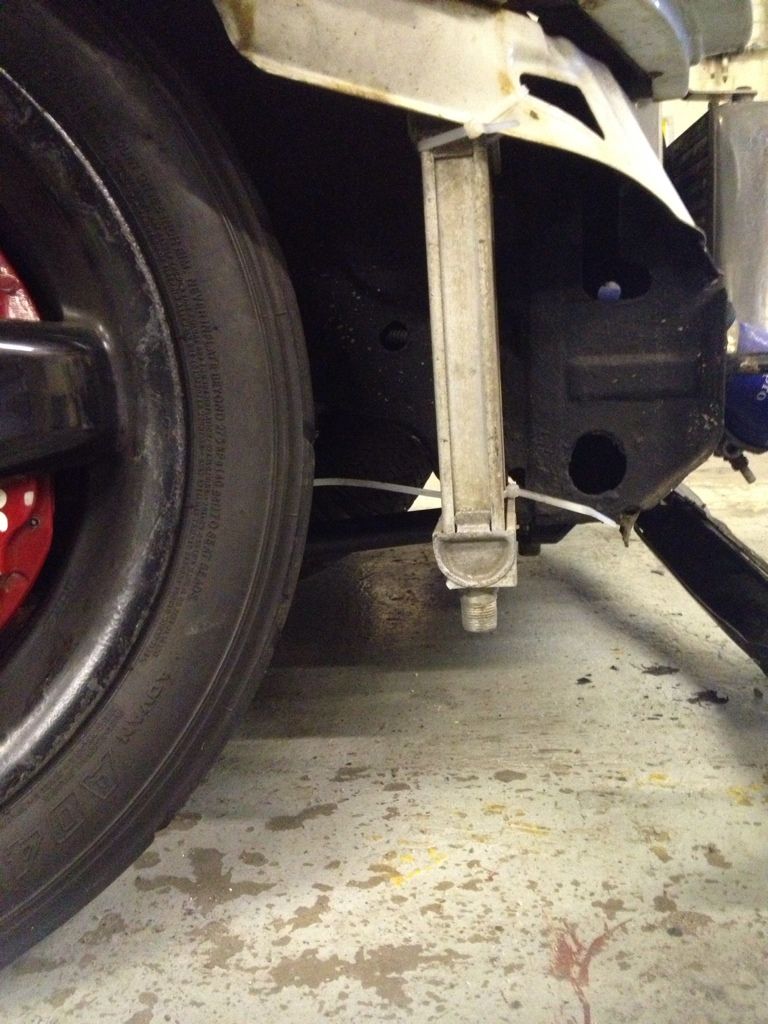
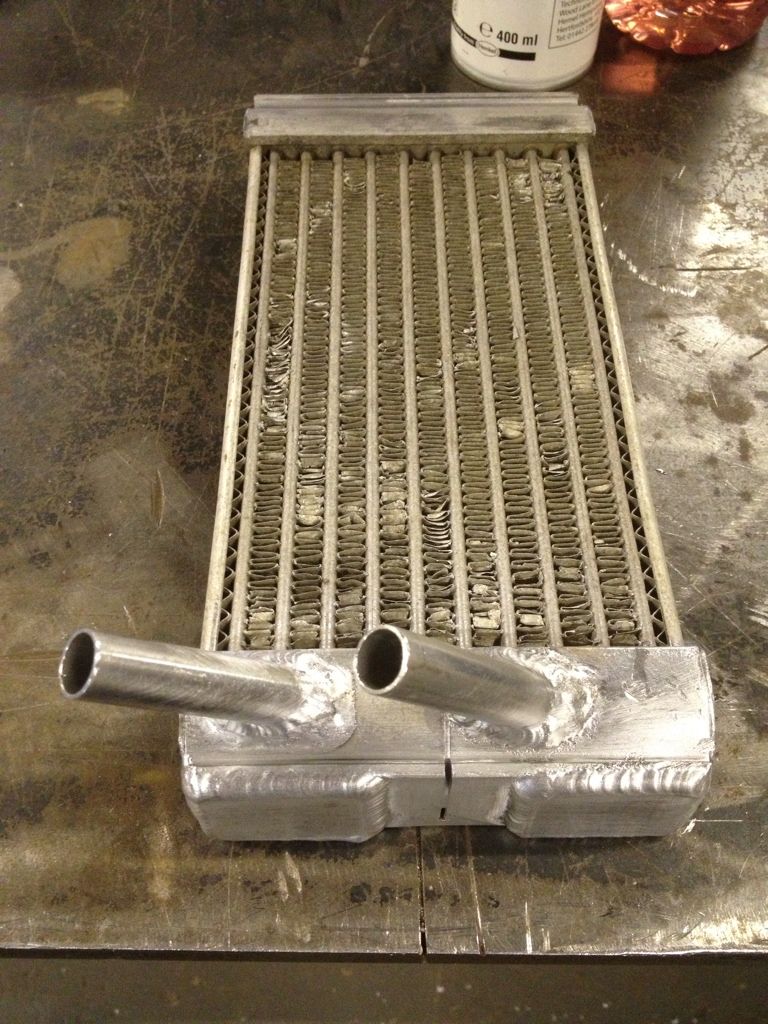
Race is on to get this finished now so finished off the oil cooler, removed the fittings from underneath and made new ones for the side so it fits better for where I want it
All finished, has been bypassed for now until run in
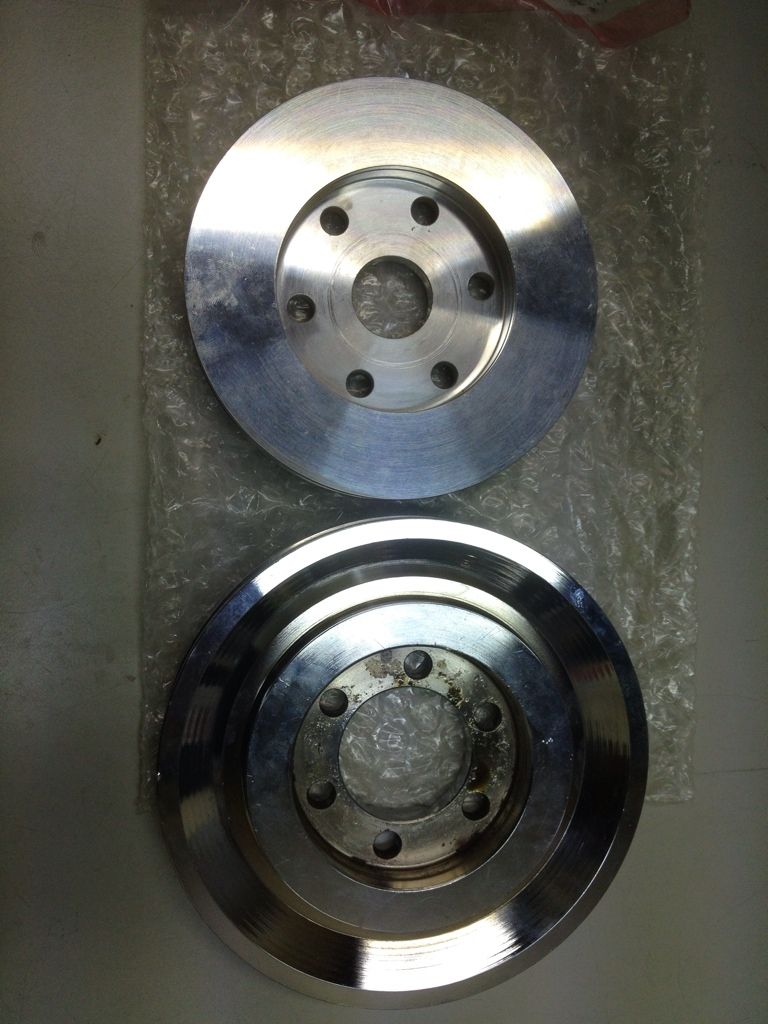
Annoyingly the underdrive pulley has got the wrong sized centre but not the end of the world as I can send it back for a replacement so fitted my old one back on for now
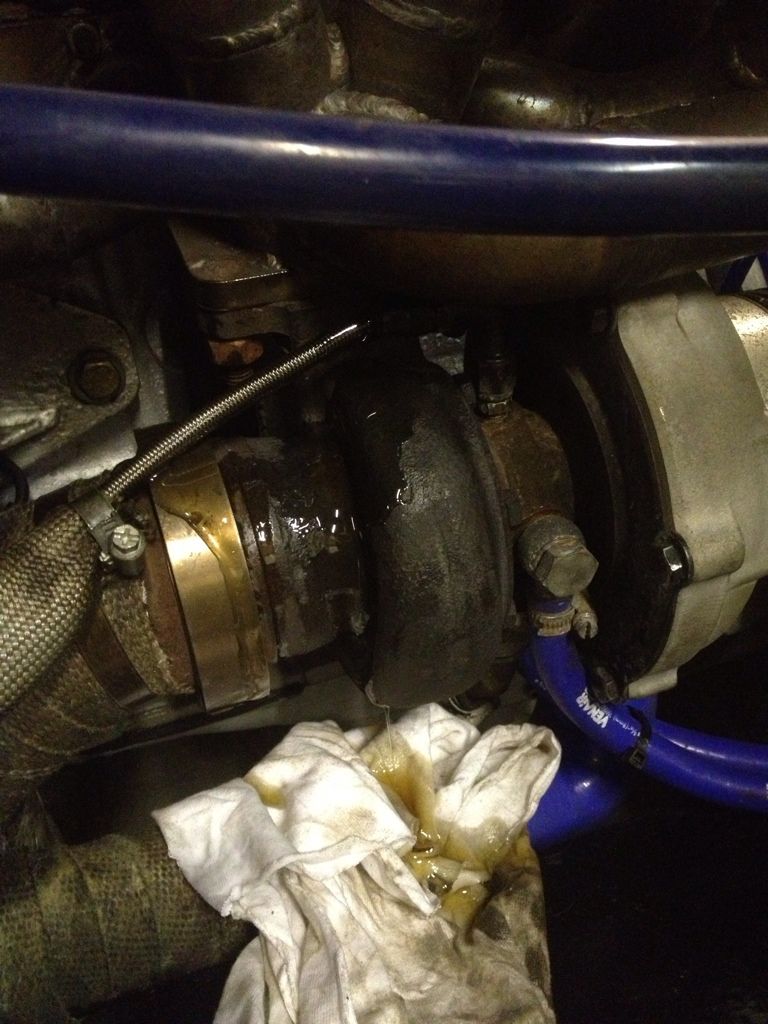
Took plugs out and disconnected the injectors and cranked it over until I had full oil pressure and then reassembled and she started up and ran! But that was short lived as the oil feed for the turbo had pissed oil everywhere so had to remove front end again to remove it and will get a new end fitted tomorrow
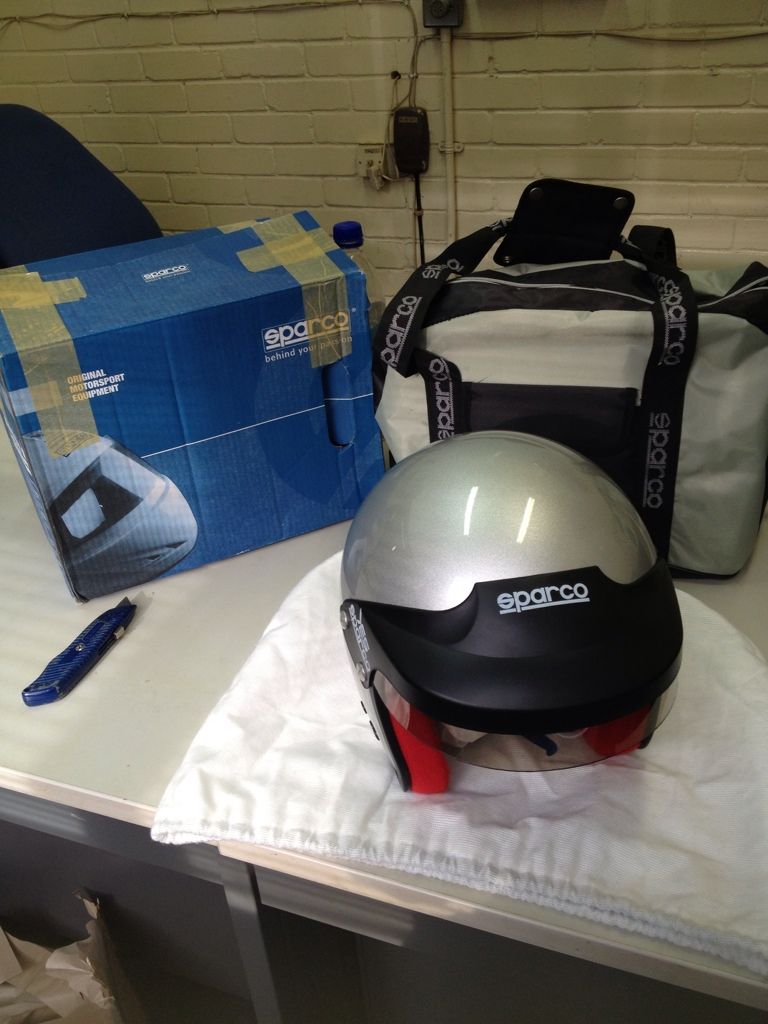
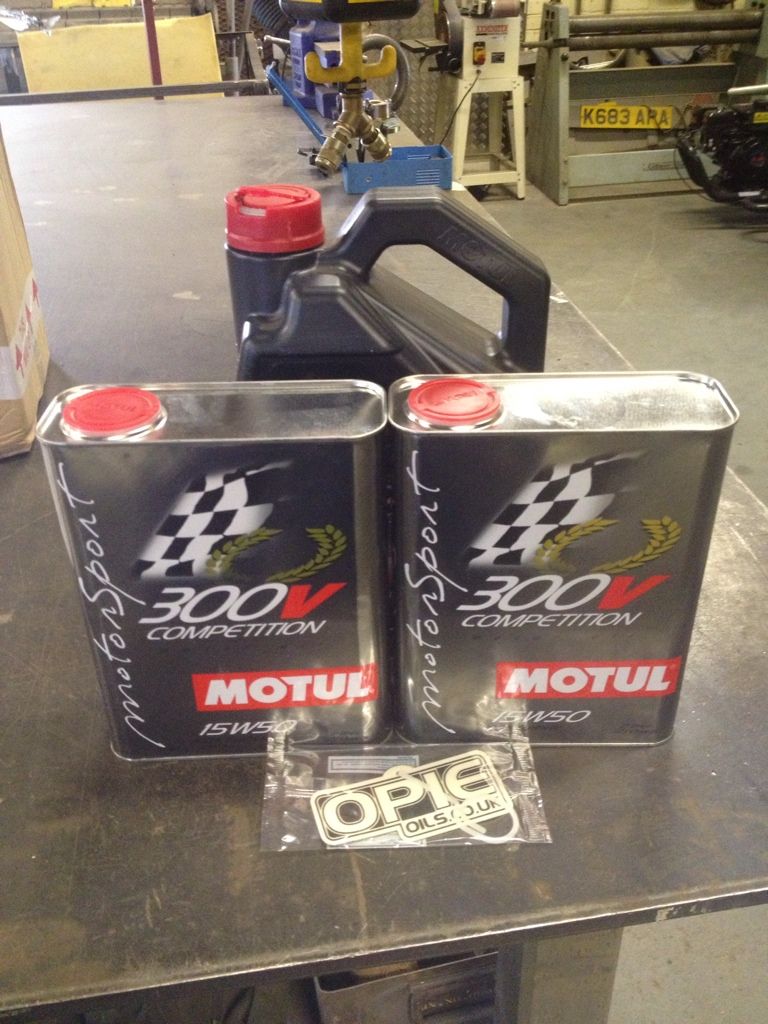
On a brighter note my new helmet has arrived, gone for the sparco pro jet open face which is full race approved, didn't want a full face as tbh you end up sweating your tits off out on track anyway so hopefully keep me cooler
Also the rest of my oil turned up ready for when its fully run in
|
dewismotorsport
Member
Registered: 16th Feb 08
Location: Coventry & Poole
User status: Offline
|
Oil feed fixed and car now up and running, only problem is the wideband control box got wet at some point and had stopped working so have clean it out with electrical contact cleaner and hopefully it will do the job if not I will get a new wideband bought
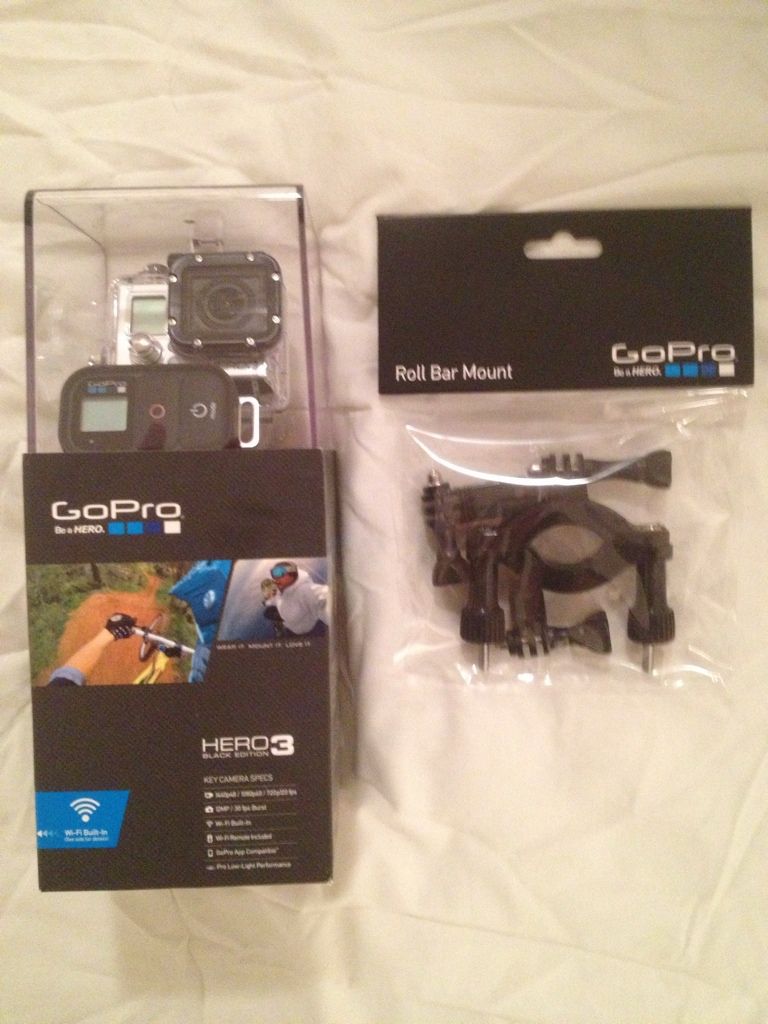
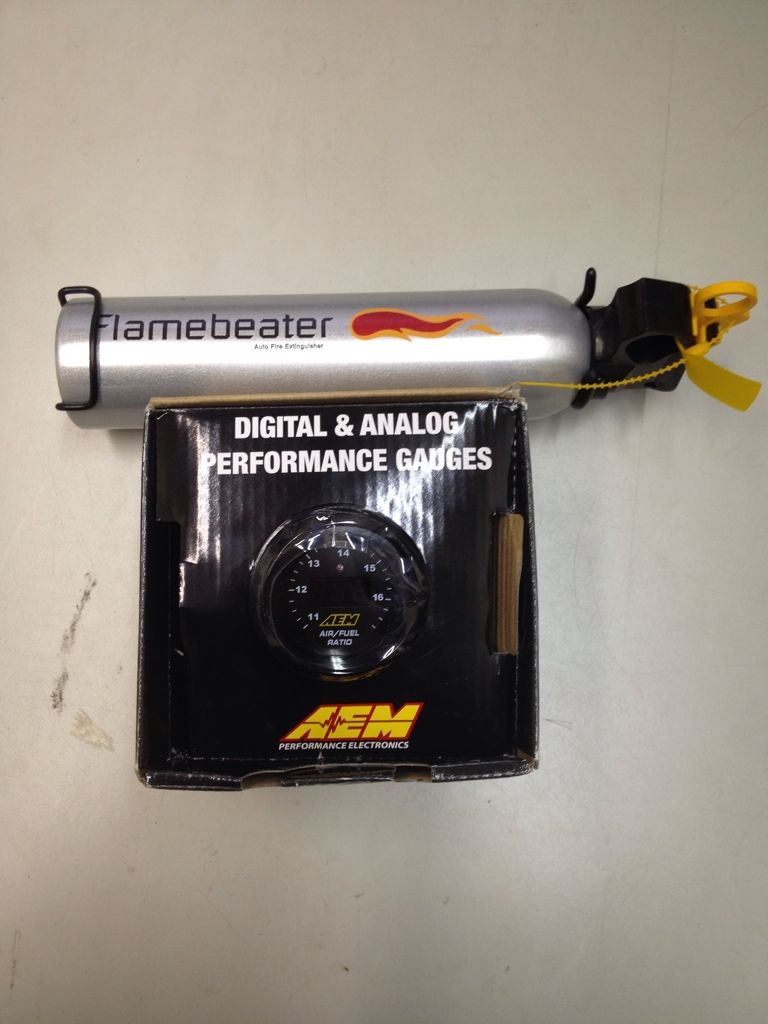
Also bought this bad boy so will down load the lap timer overlay for it so should get some decent track footage with speed, cornering force, sector times and lap times :thumb:
|
dewismotorsport
Member
Registered: 16th Feb 08
Location: Coventry & Poole
User status: Offline
|
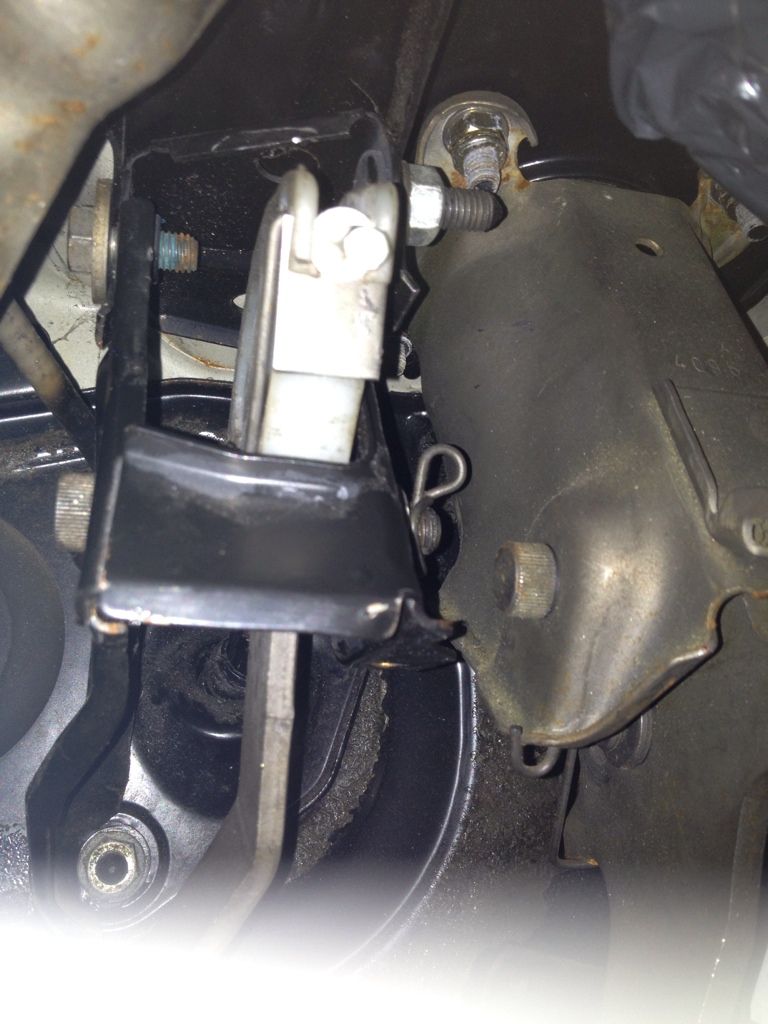
Been working through the 'to do' list, first job was to fix the clutch pedal as for some reason the cable would splay the plastic and the cable would pull through, so I made a stainless plate for it to spread the load and its now working so super glued it in place
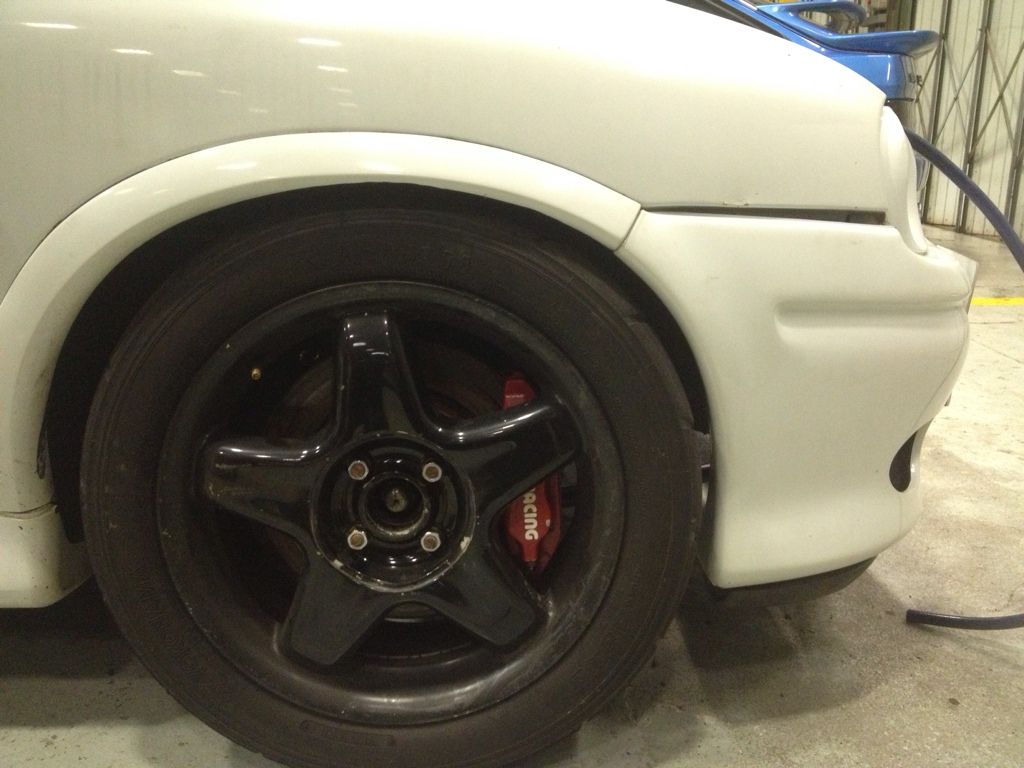
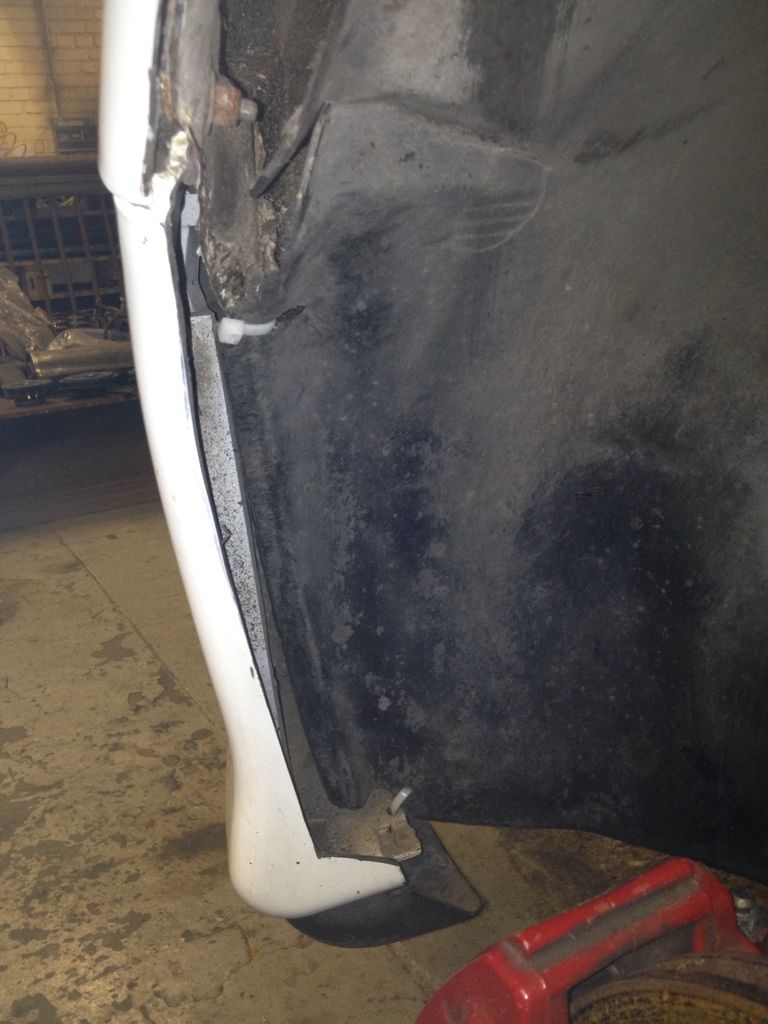
Next job was to sort the bumper out, last track day it would catch but now with so much castor the tyres rubbed on the inner edge of the bumper so marked it up
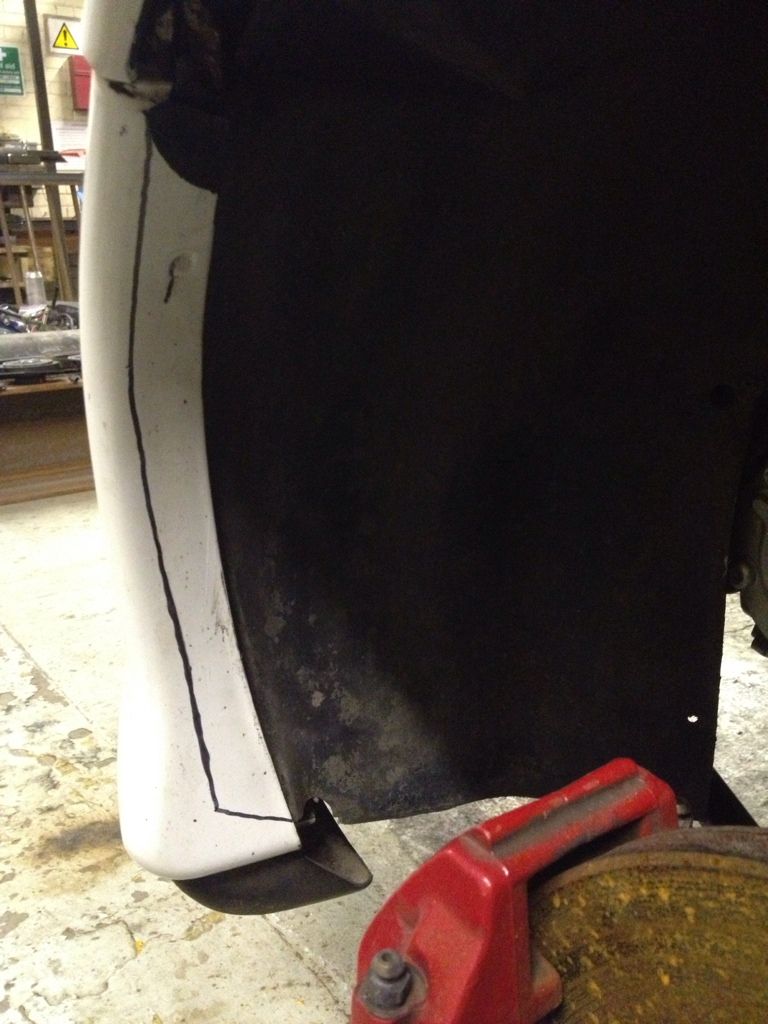
And then cut it out
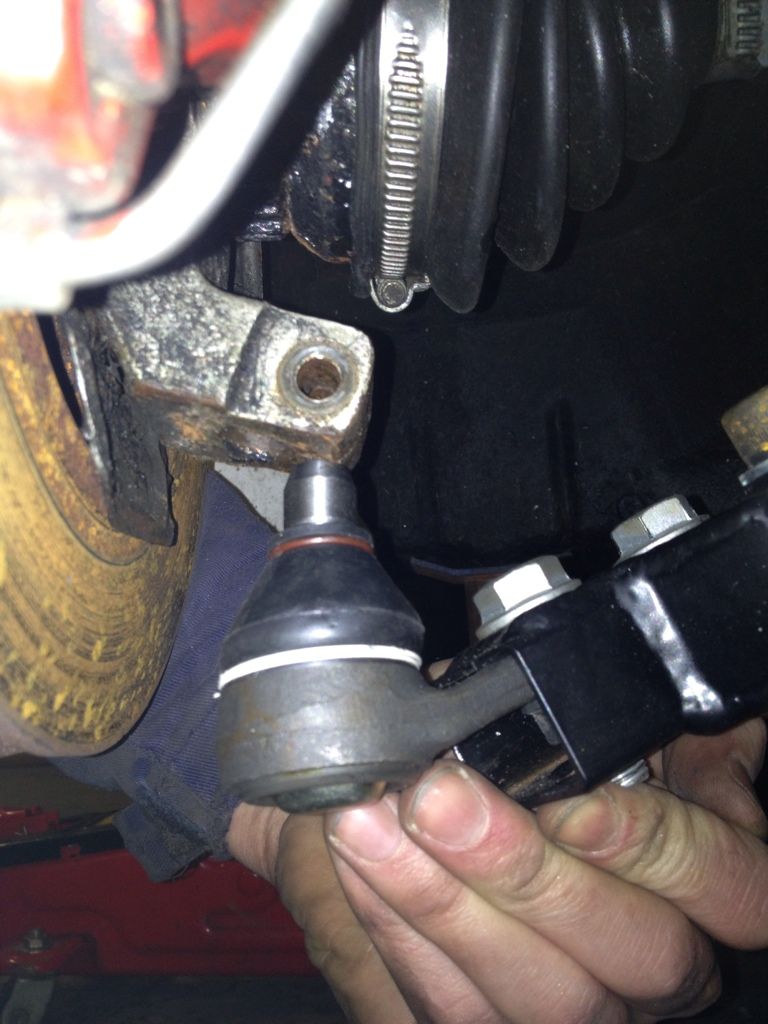
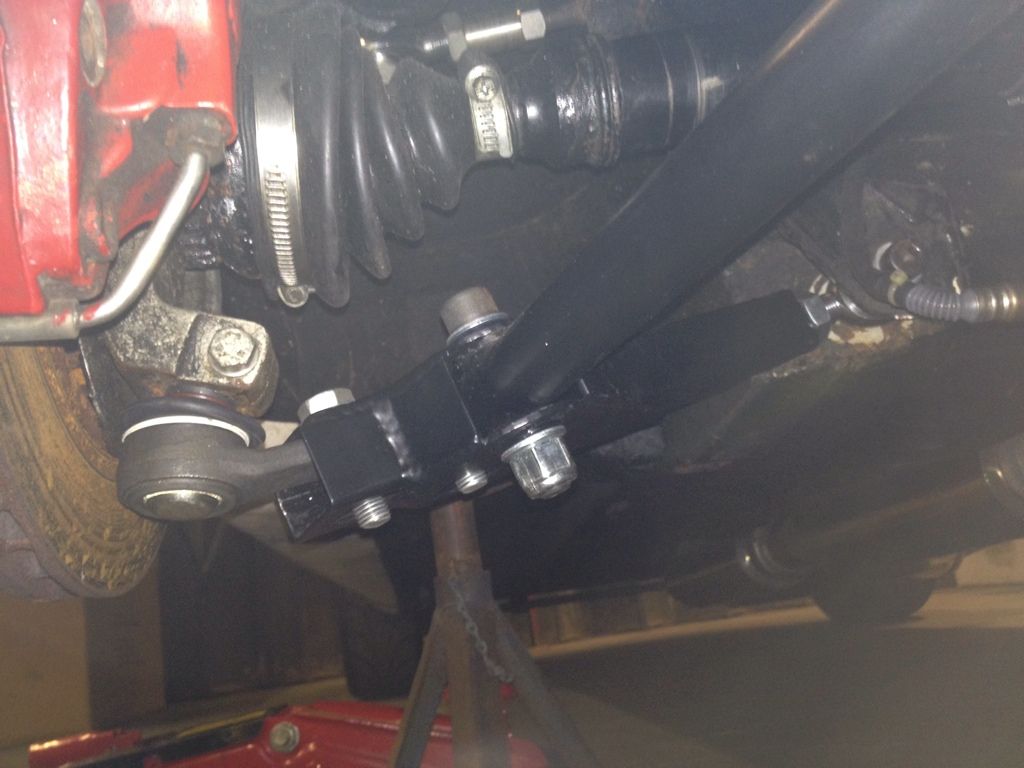
Next problem was the ball joints not meeting the knuckles, I have early lower arm kit but late knuckles so the spacing difference was approx 15mm away so wound out the inner rose joint to suit the later knuckles which have had the lotus re work by lowering the roll centre on it so I now have best of both worlds
Before:
After:
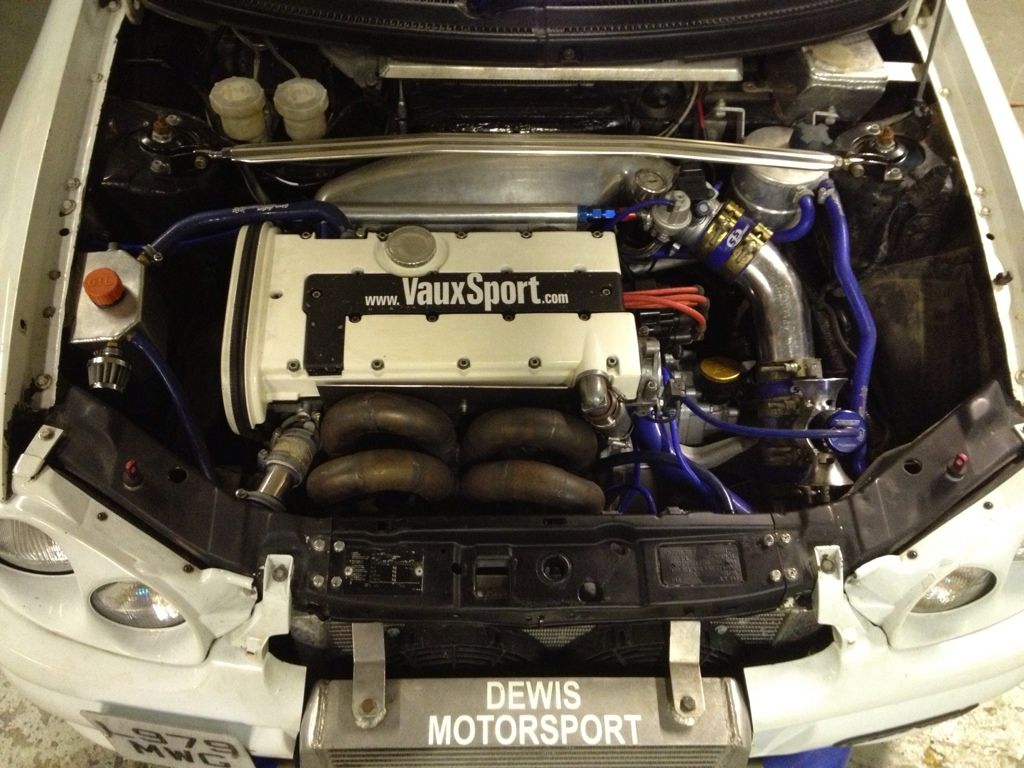
And finally bay all tidied and everything secured out the way to prevent rubbing and melting
|
dewismotorsport
Member
Registered: 16th Feb 08
Location: Coventry & Poole
User status: Offline
|
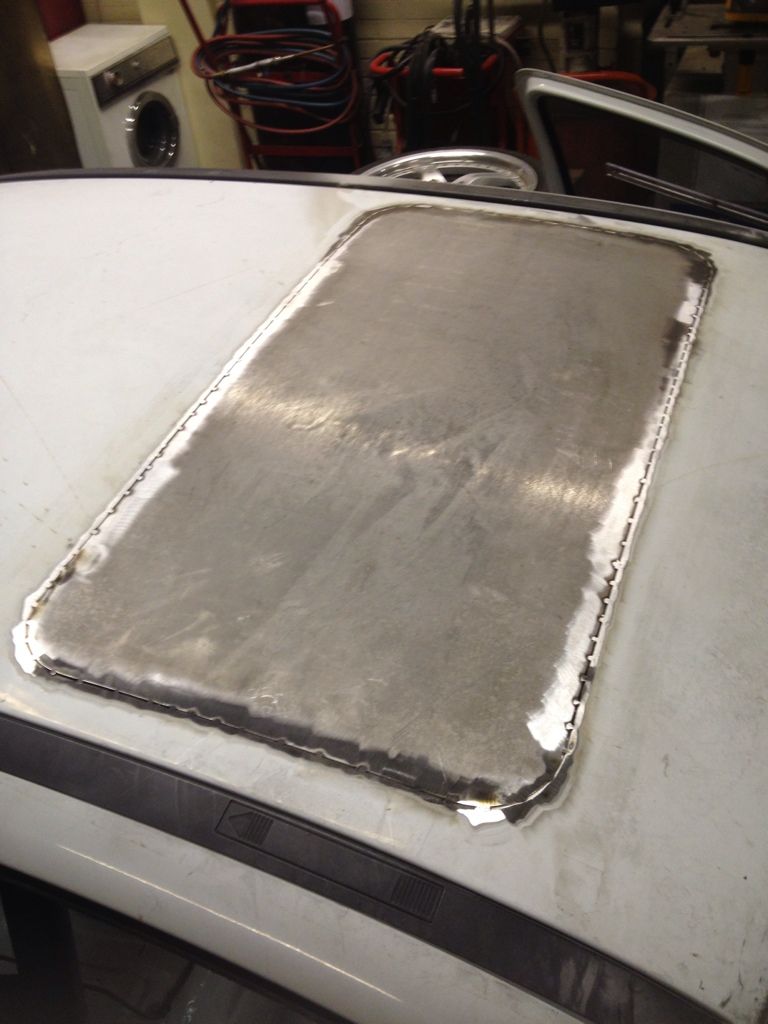
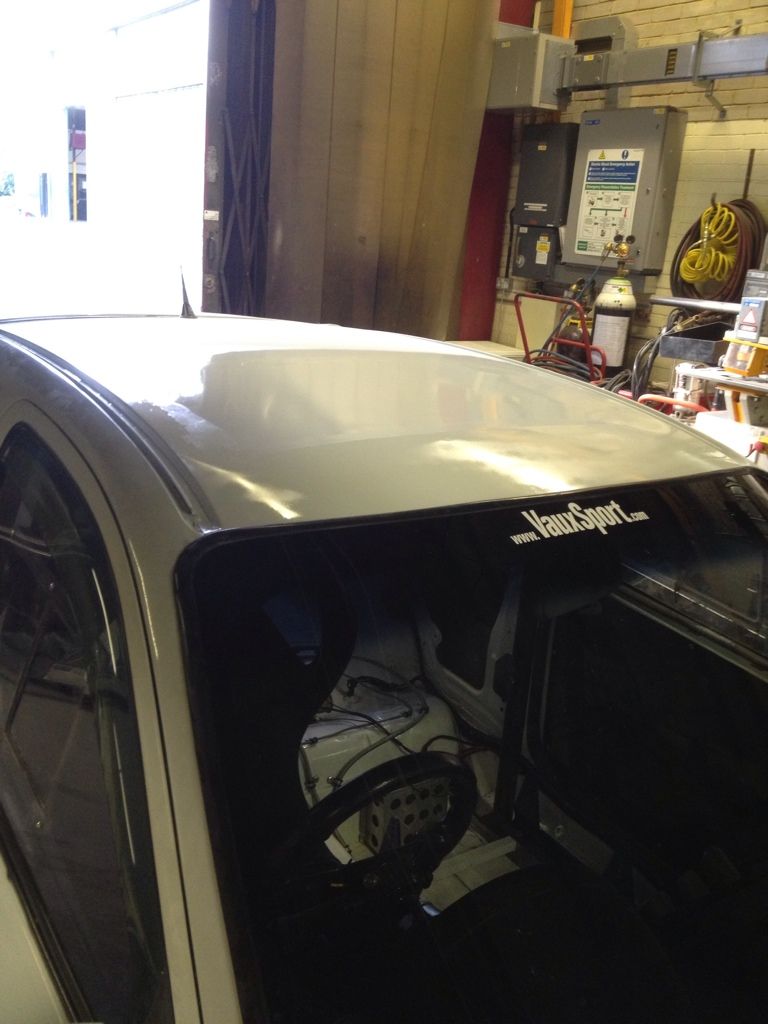
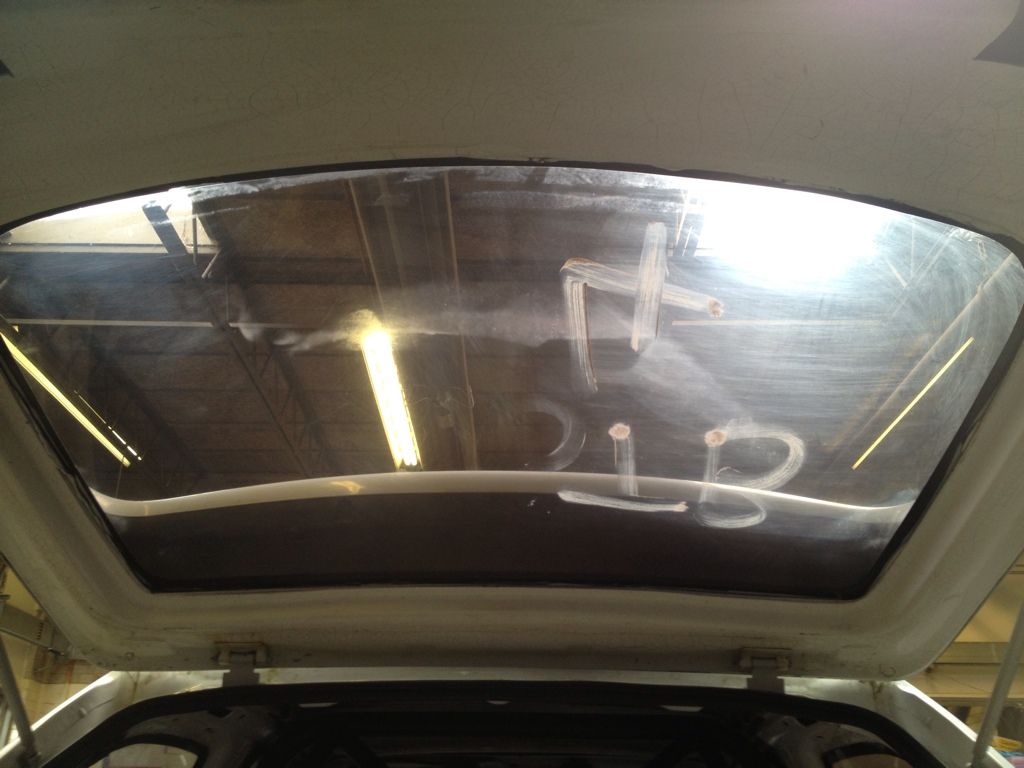
Got the car roughly tracked up again and charged the battery and annoyingly realised I'd left a wire out of the wideband control box :idea: so the AEM one may have to be sent back well when it turns up anyway, then made a start on the hole in the roof, cut a plate and welded it in, bit of a pain to do when your on your own but done never the less, welded an inch apart the whole way round and then ground back, managed to get it pretty much flush all the way around
And then gave it a quick skim of filler, started sanding but got bored after about 10 seconds so will buy some sanding pads for the DA so will use air power instead of arm power
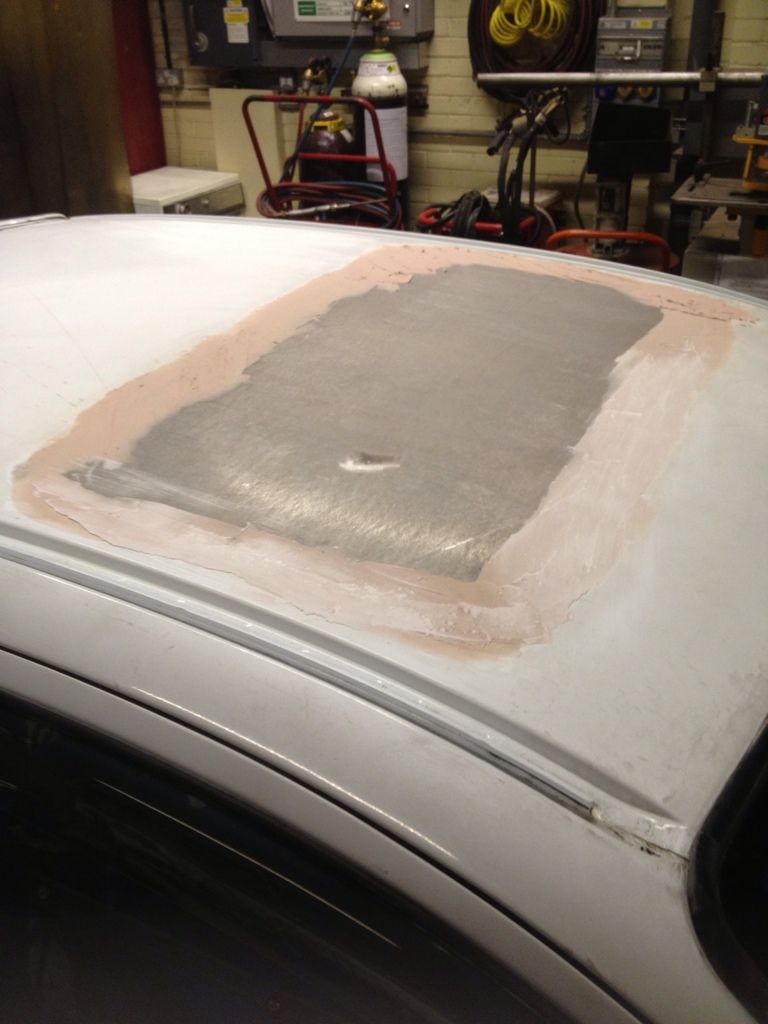
Will get it sanded back tomorrow and get a dust of paint on it, then get on with the running in miles as I'm running out of time before rollers
|
dewismotorsport
Member
Registered: 16th Feb 08
Location: Coventry & Poole
User status: Offline
|
Finished off the roof on Friday, bought some DA pads and used the air sander and levelled it off
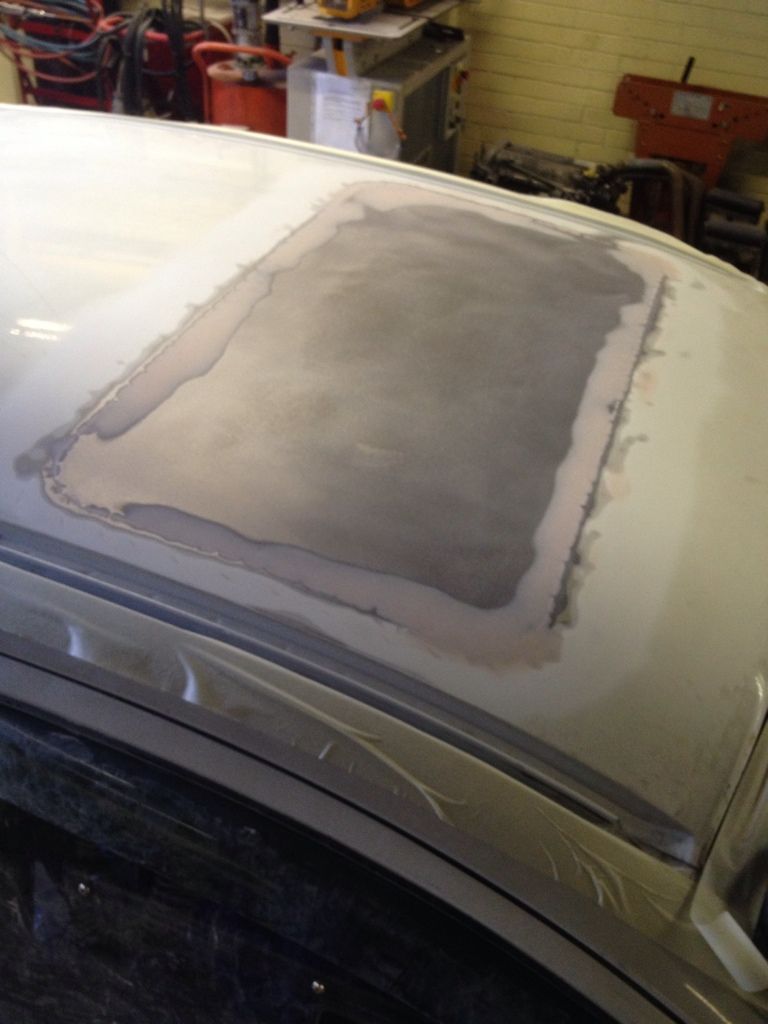
Isn't perfect but tbh I don't have time so will take it to my mate Nick Gwinnett at Nuffield accident repair in Poole as he's going to do me a respray once I've fitted the fibreglass wings to make it look tidy in time for it TV feature. So for now it got a quick dust with the rattle can just to prevent it rusting
With that done it was time for the running in! So off I set on the first 50 miles, but only 5 miles in the car died due to fueling problem so quick call to my mate got me towed back to camp to diagnose the fault which turned out to be the lift pump had died
Quick call to Craig and I was on a 2 hour round trip to collect it from his lock up, new one on the left
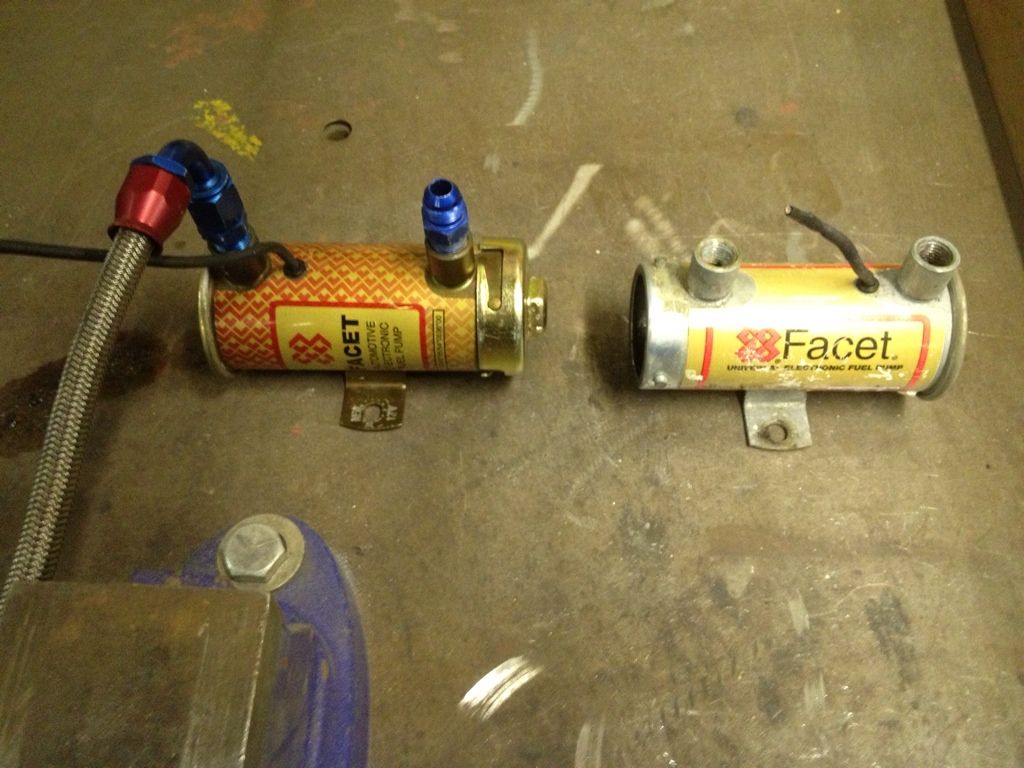
Once fitted she worked again! So now at 11pm it was time to carry on the running in 
Keeping local I did the first 50 miles and came back and dropped the oil, was really clean tbh so filter changed and next lot of oil in and out for another 50 miles. Pushed further afield this time doing big loops of Poole and Bournemouth and back in again to drop the oil and filter, was absolutely spotless so put the oil cooler on and put in the Motul 300V 15W/50 and called it a night at 3am
Up early the next day for a final tinkering and put the passenger seat back in and loaded the car, car was running rough on the old map due to the piston change and the idle fluctuated between 1k to 1.5k so looked a twat at the traffic lights msl:
Drove another 50 miles to meet up with Chip and Mike as we had rented the dyno dynamics rollers at Mtech automotive, after a some work on his clios we got mine on for a map check and a few adjustments, few pics of me and chip on the rollers
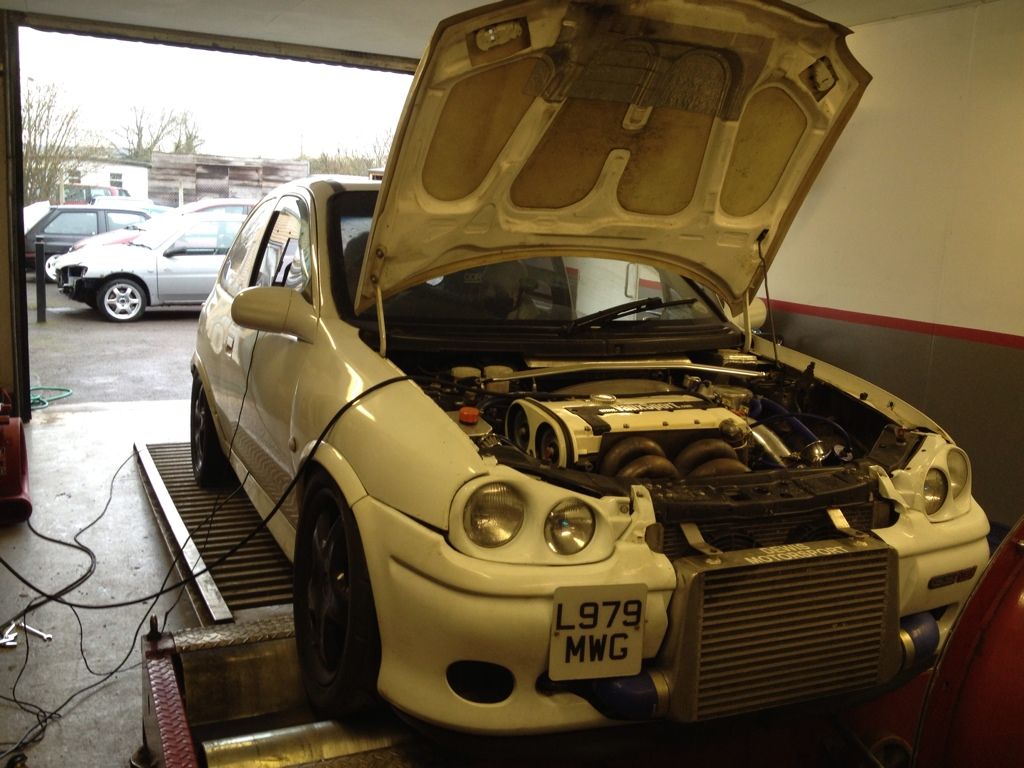
Once happy it was safe, we tried upping the boost using the solinoid but it must be wired in wrongly as we could only get gate pressure :cry: So switched back to the MBC so we took it off the rollers and I set that up to 18-20psi on the road while Mike gave his Clio a check over.
Once done got it back on the rollers for round two
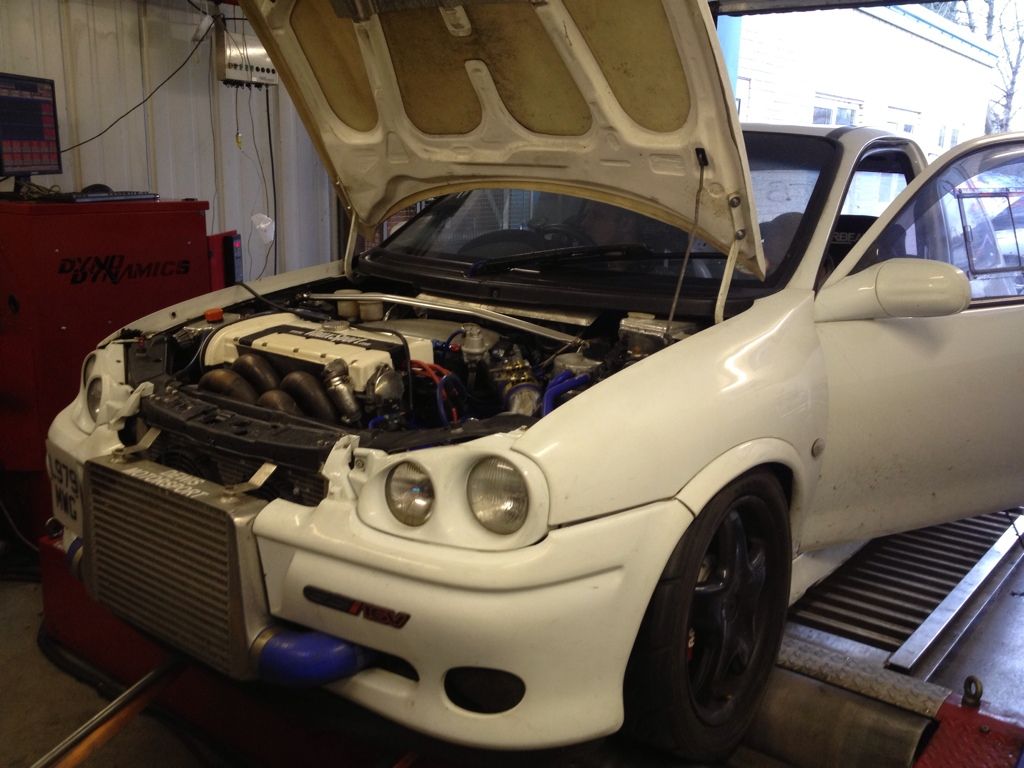
The main man Chip working the magic on the laptop while I was duty driver and roller operator
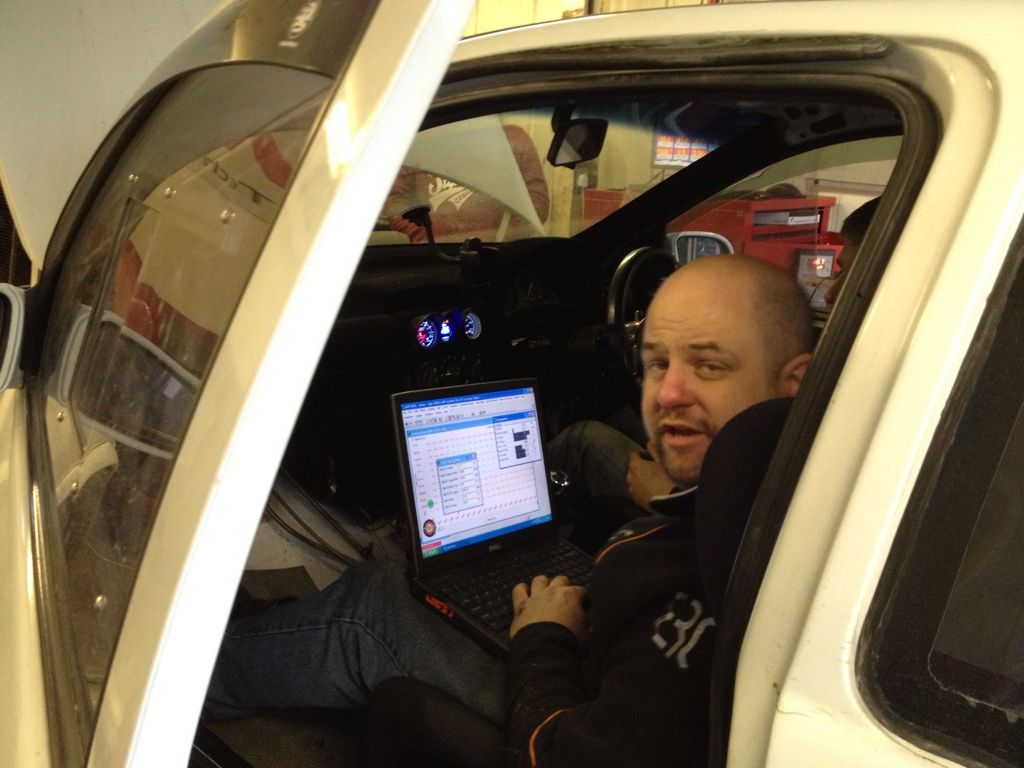
Once lower boost was happy we started pushing on but for some reason the crank sensor loses signal briefly at just over 6500 rpm so couldn't push on to the planned 7500 rpm limit :cry:
Annoyingly its a brand new sensor from Autovaux so not a cheapy will try removing the O ring to push it slightly closer to see if that helps if not space it out slightly and again see if it helps! Can't even use the old one as it took a hit when the rod made a break for it out the block msl:
Apart from that the car ran faultless all day and didn't drop any fluids or over heat once so really happy! Also could feel such a difference on the way home as it drove so much nicer
Massive thanks to Chip and Mike for all their help on the day, its very much appreciated :beer:
|
dewismotorsport
Member
Registered: 16th Feb 08
Location: Coventry & Poole
User status: Offline
|
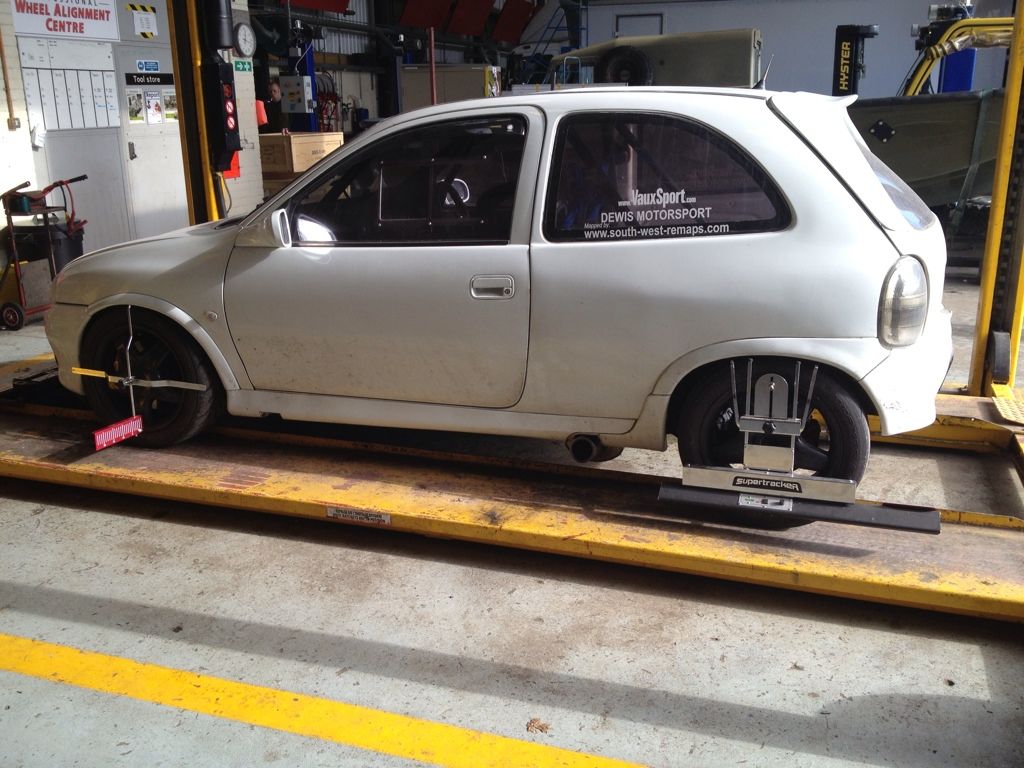
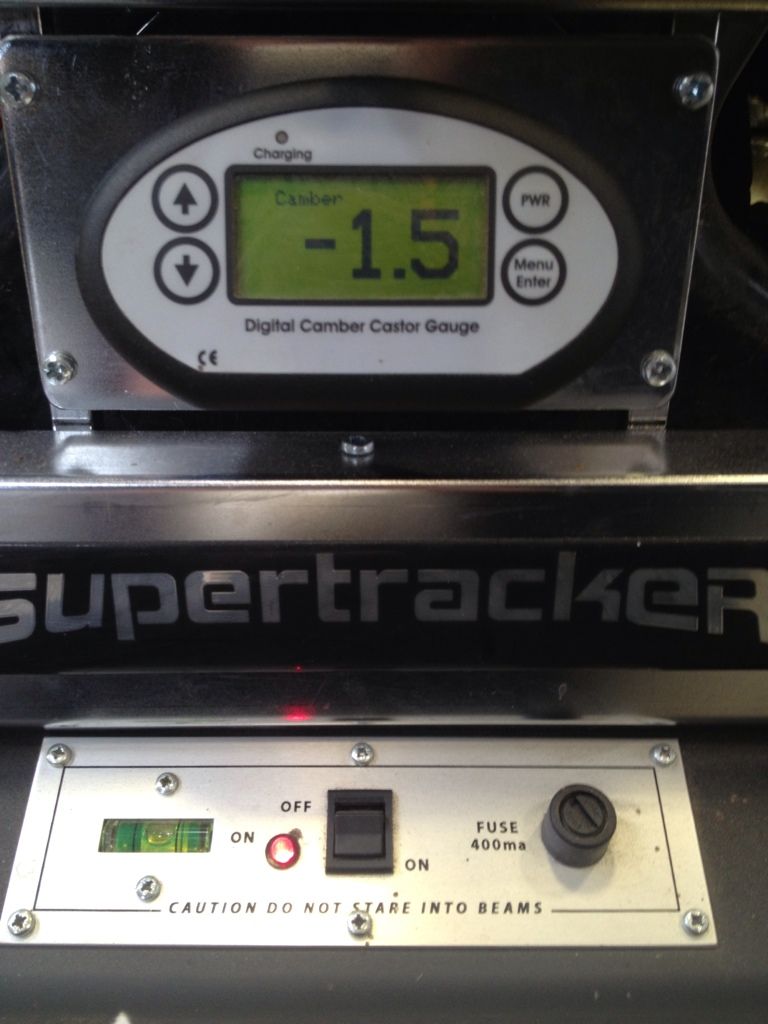
Had a hectic couple of days trying to get the car finished, started off by checking the geometry with the 4 wheel laser alignment
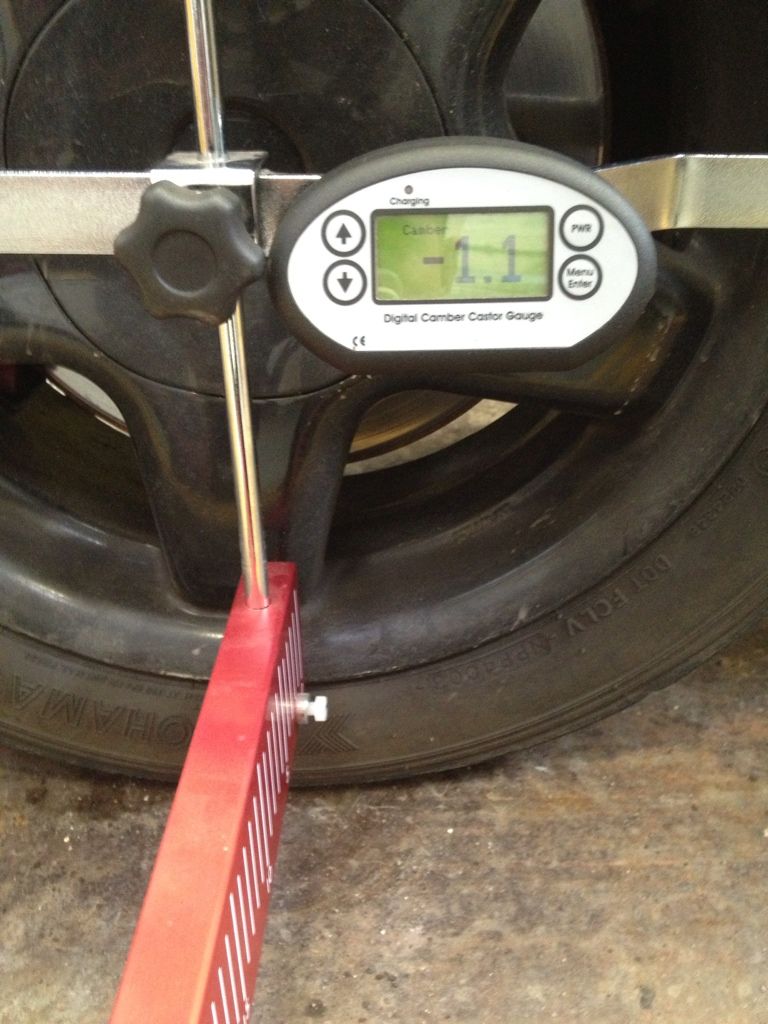
my settings are:
Front right:
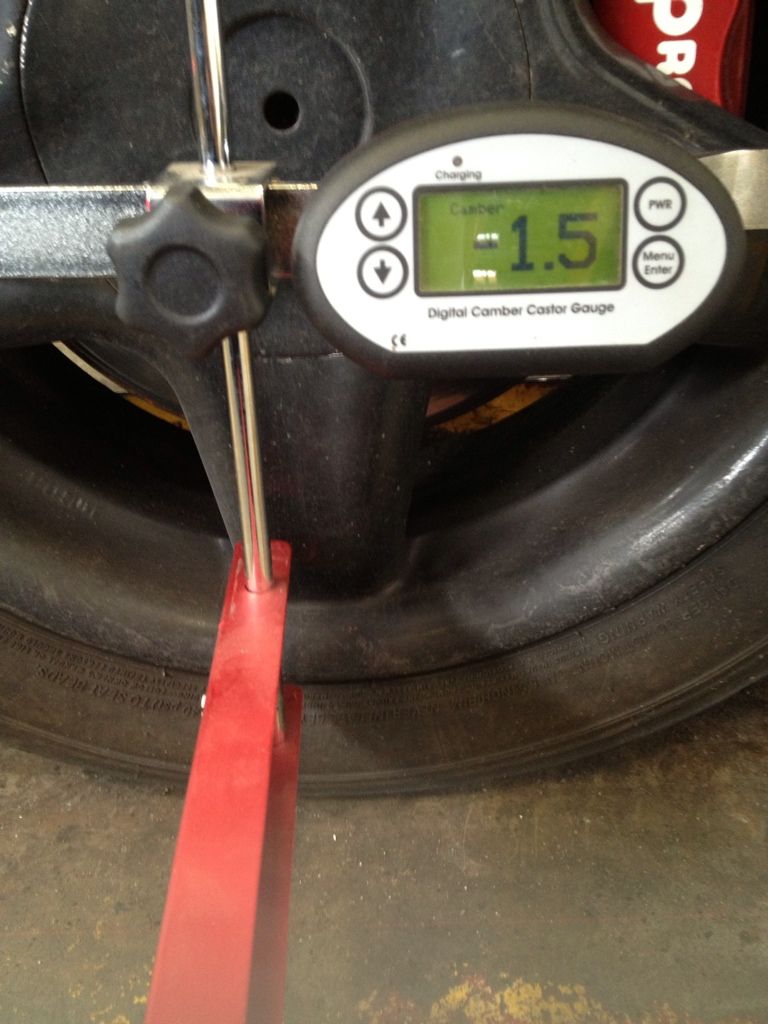
Front left:
And I've set the car straight with rear but with 1 degree toe out
Rear right:
Rear left:
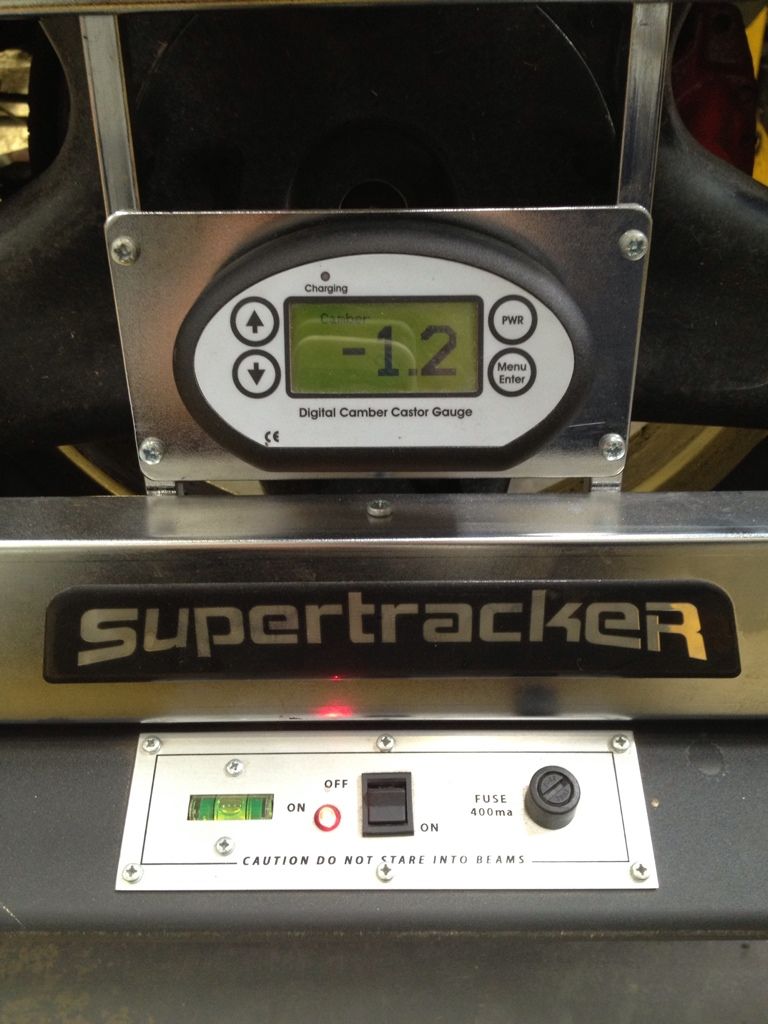
Annoyingly though the rear wheels toe out so I need to remove the hubs and shim them back in but will do that between the next track day
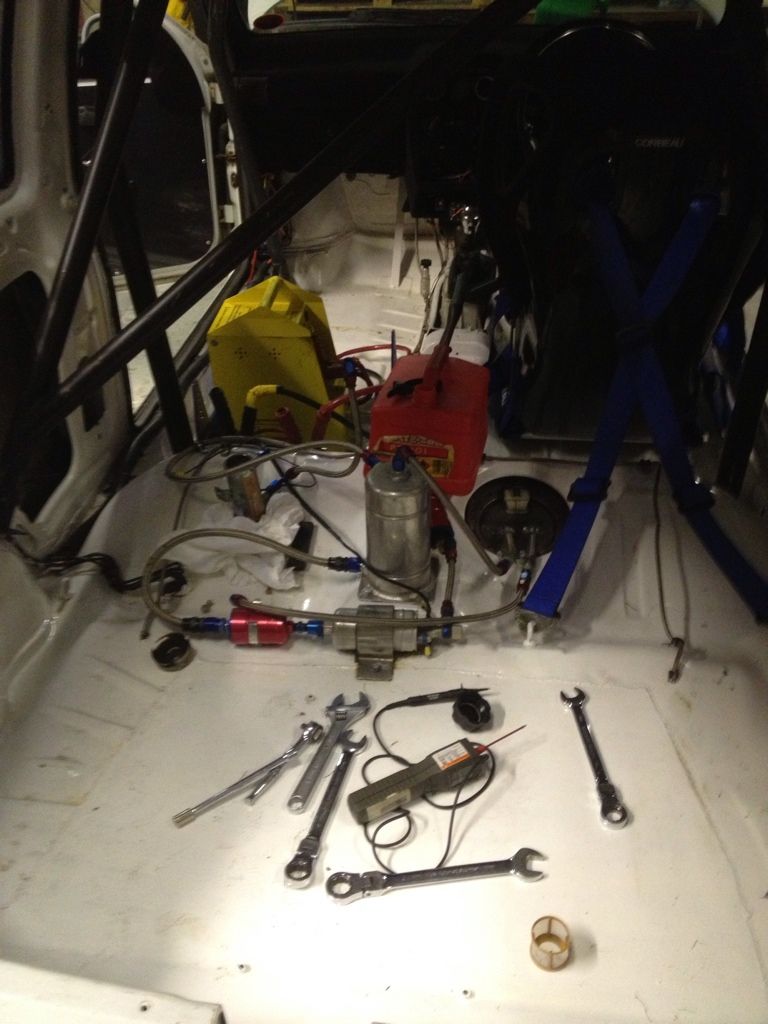
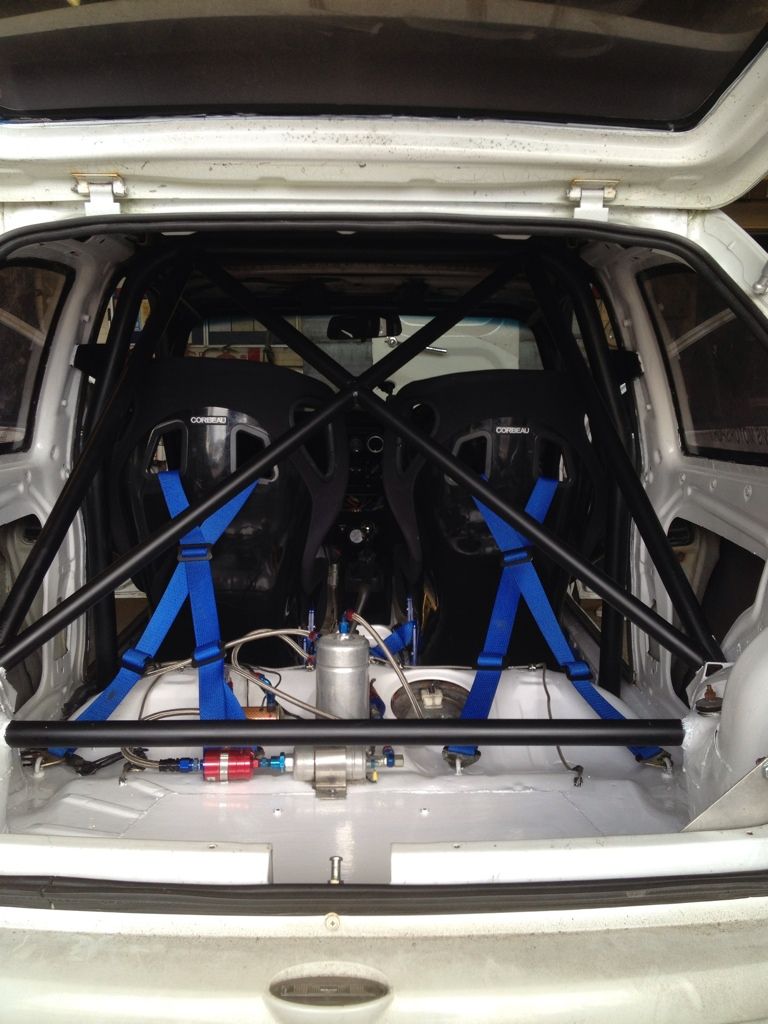
Then made a start on fitting the cage, made the feet platforms and them welded it all in, its now a 12 point cage, making rear X
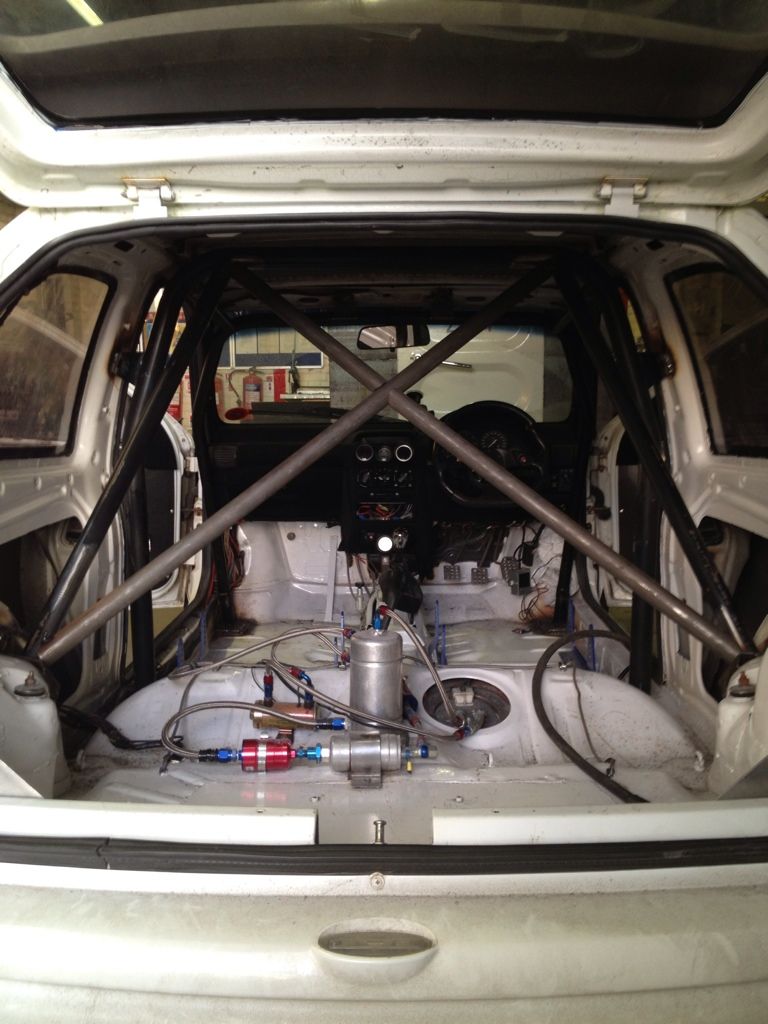
Rear strut brace
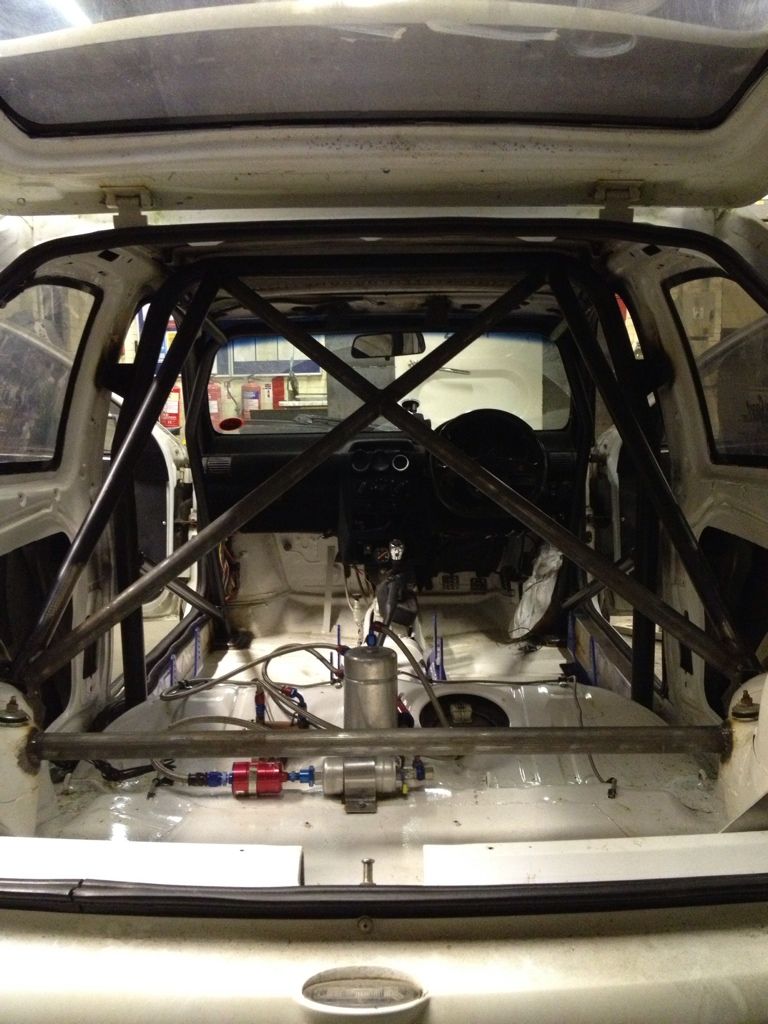
And finally painted cage and floor again
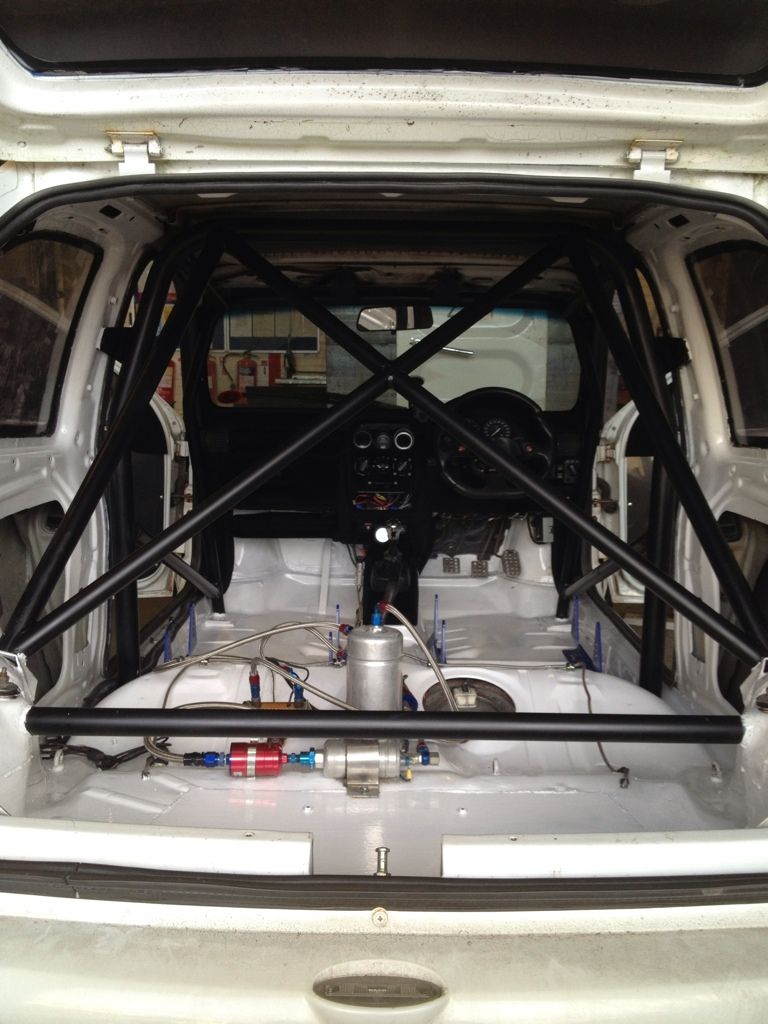
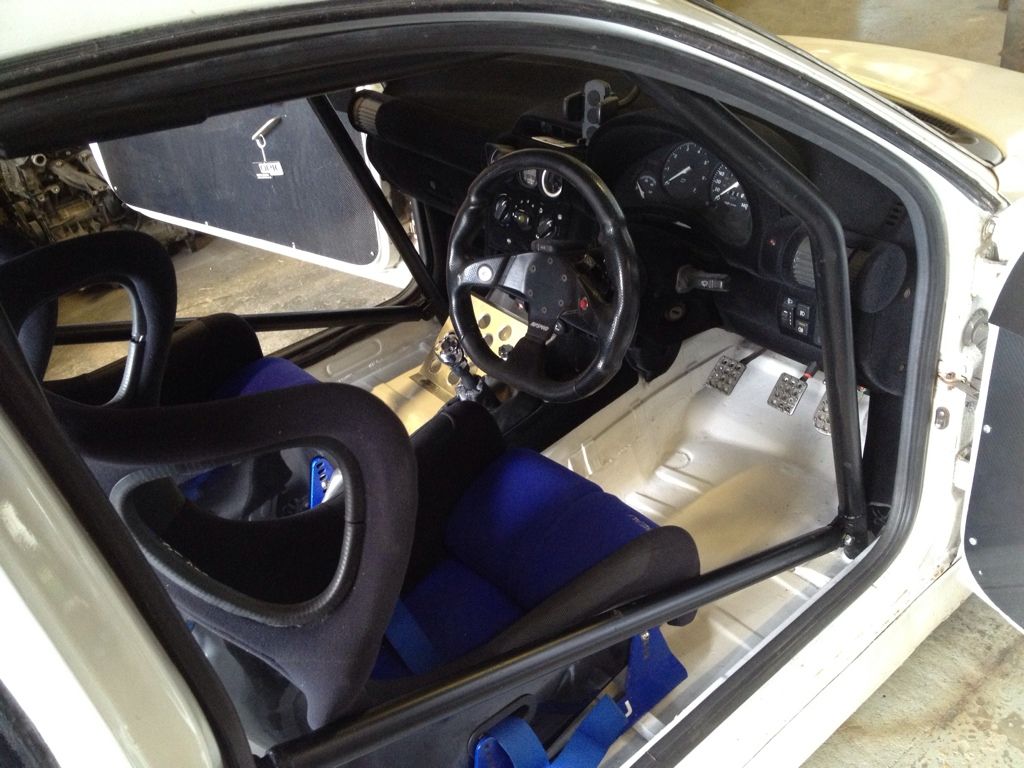
And then fitted seats back in and door bars
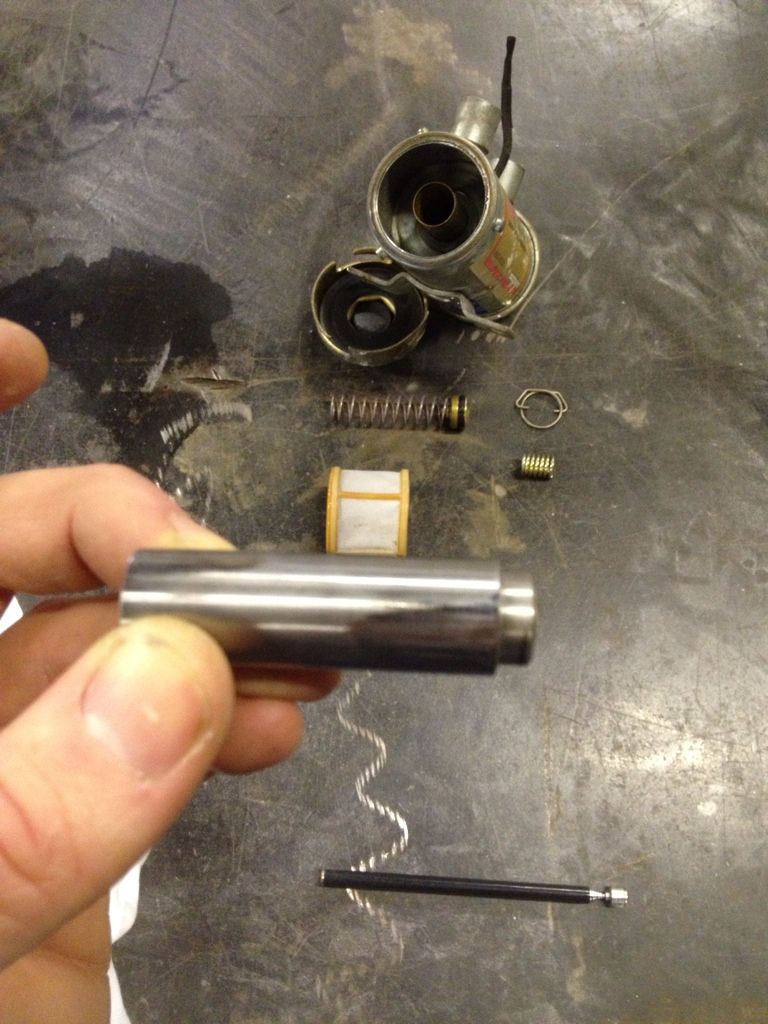
Decided to inspect the old fuel pump to see why it failed, piston looks to be scored so must of got a bit of grit or something in and jammed it, cleaned up and re assembled
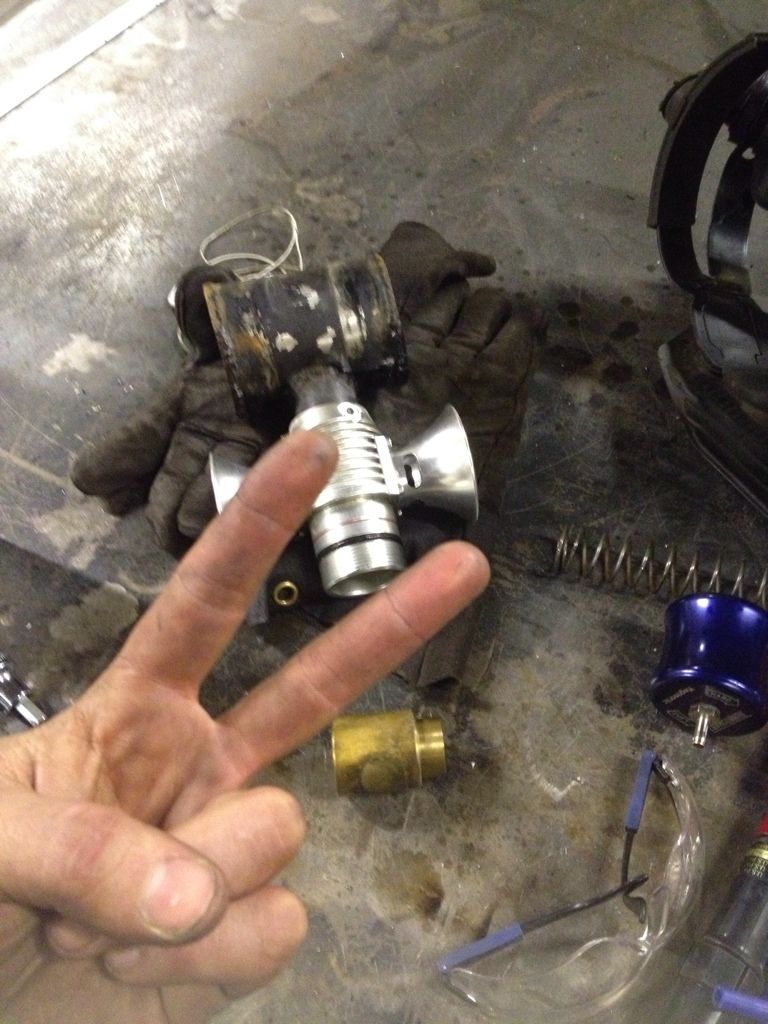
Another job was to un stick the blow off valve as it was stuck shut, must of been cause its been sat and had the water from the fire extinguisher sat in it from when they blasted my bay at Combe, was a pain to unstick but got there in the end, cleaned up and re assembled and its now working again
Also replaced the fire extinguisher and bought a new wideband as this one has a data logging output
And that was as much as I could get done in the time but its been a hell of a few weeks catch up!
|
dewismotorsport
Member
Registered: 16th Feb 08
Location: Coventry & Poole
User status: Offline
|
Long over due an update!
Well did Bedford on February the 16th and gave the car a shakedown, annoyingly the downpipe flexy started to blow on the night before, but still passed the static noise test @4500rpm with 96db (without super trap). The engine performed faultlessly so I'm happy with that, still needs low boost mapping as it struggle for traction out of the slow corners but I've since had Rob round to add a diode to the boost solinoid wiring so fingers crossed it will work this time when I meet up with chip
Biggest problem on the day was the rear geometry due to the toe out and it being really light at the rear so it would step out on the fast bends and even at very low speed would be cocking a inside wheel :cry:
Only failure of the day was the outer near side cv joint, but tbh that's my own fault as it was a old joint. Luckily we had project pikey there so I used that as a back up :clap:
So after being so busy with work and being on leave I've finally got round to touching the car again, so bought a corner weight scale so I could do the corner weighting as that will help my rear end issues, had to modify it too add 2 more holes so it would fit my 16" wheels and also to fit my coupes 19"s
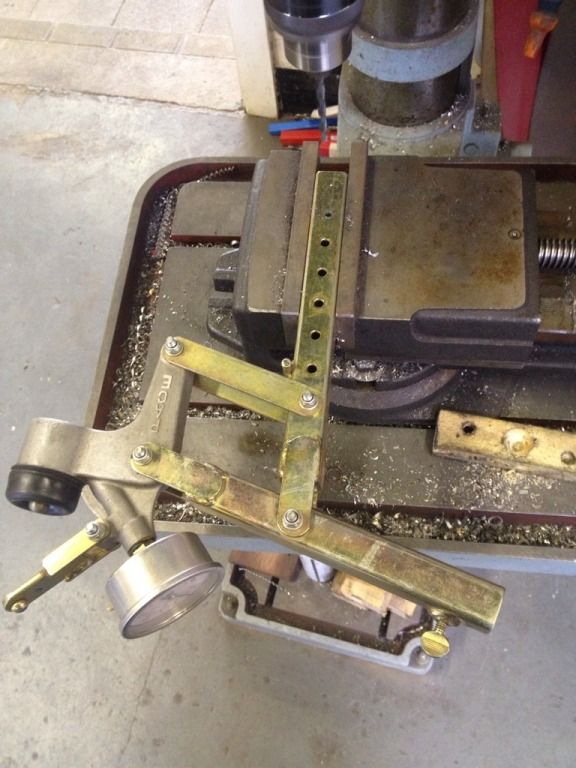
Made a pull out plastic card with a elastic band on so that I can put that under the tyre and take the strain on the elastic band so that I get a exact measurement when it slips out from under the tyre
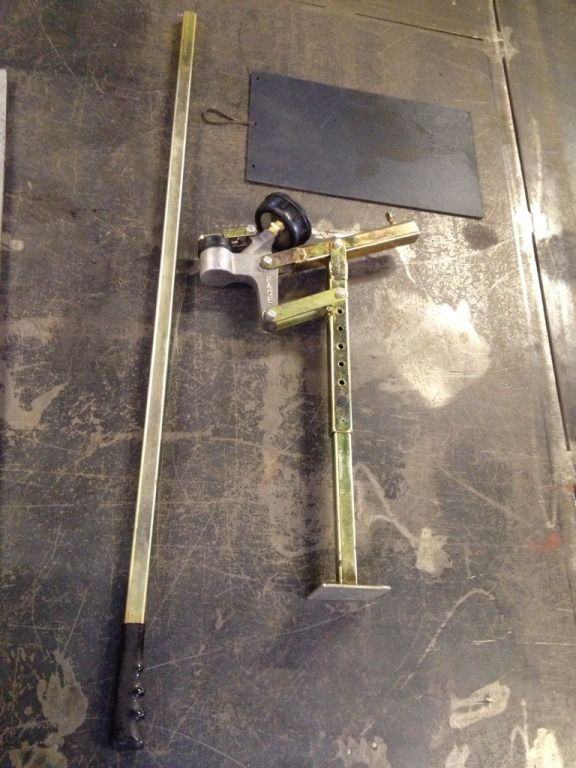
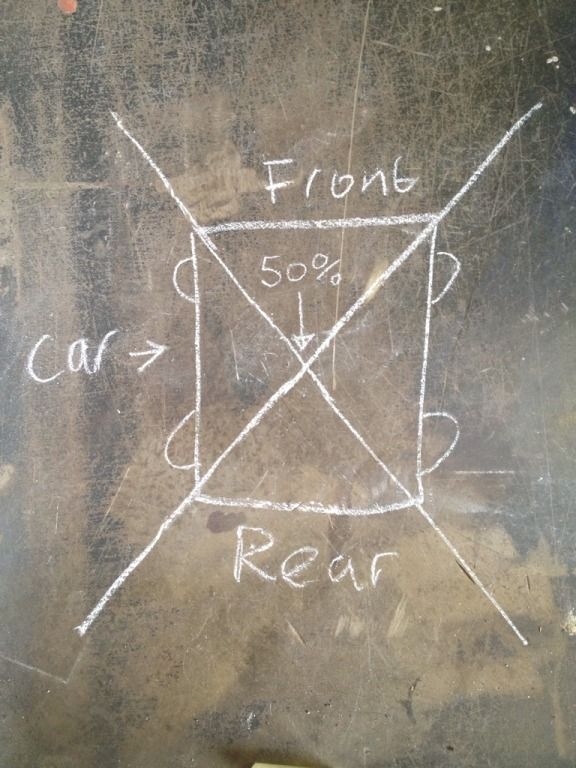
Anyone one who doesn't get the idea of corner weighting here's a simple diagram to give you an idea as most people assume your trying to get the same weight on each corner front and rear which isn't achievable with this type of car
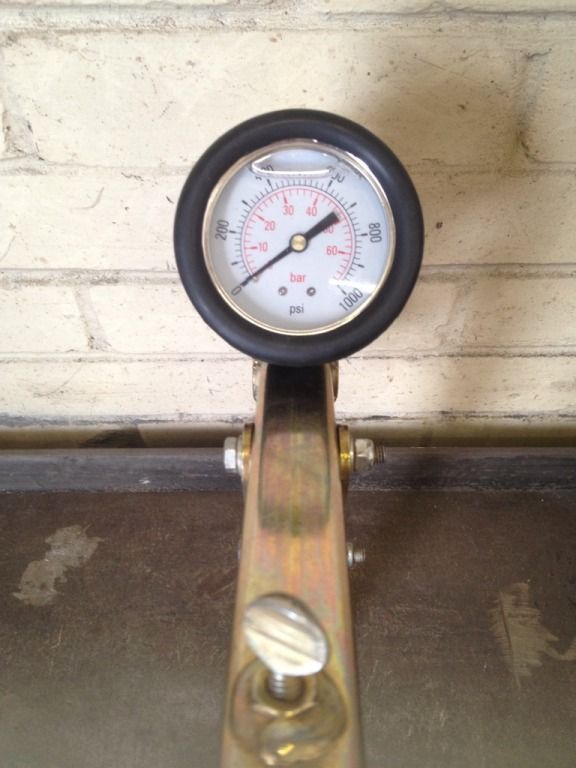
In use
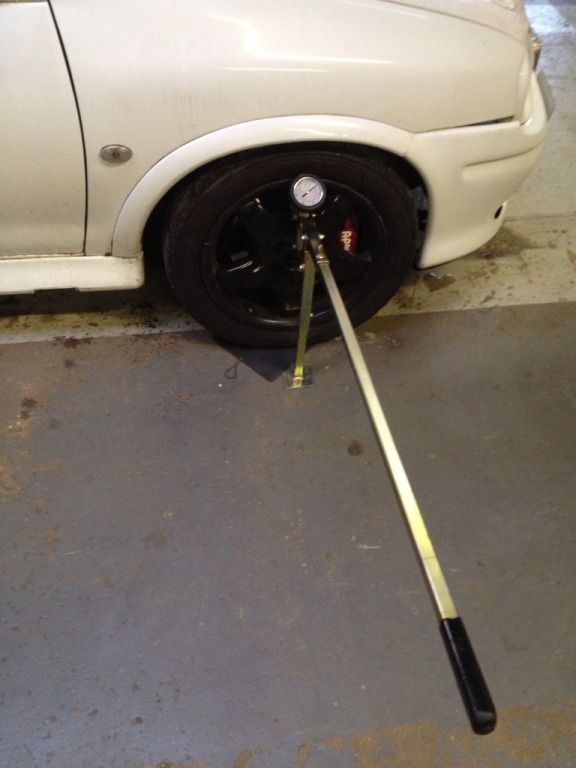
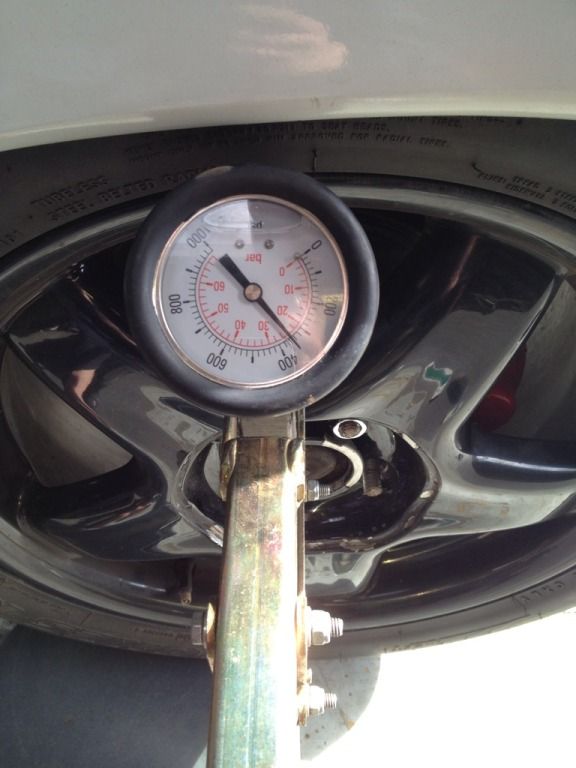
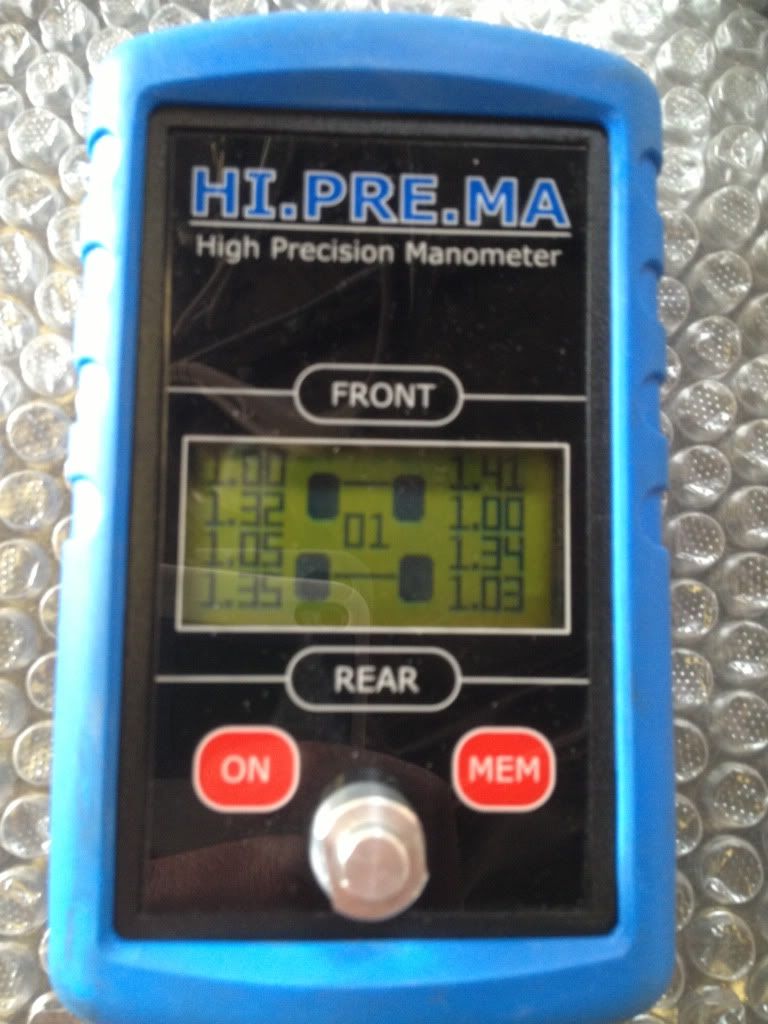
You'll notice the gauge is in psi and bar so needs some maths to convert to KG's, work in progress
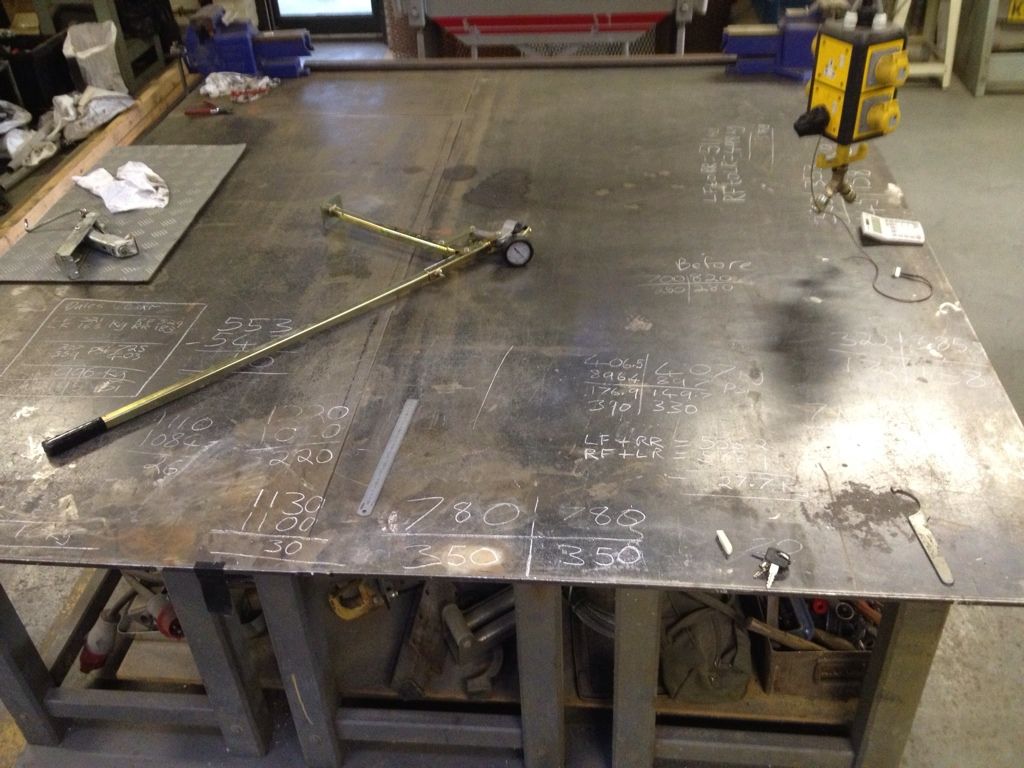
After a lot of adjusting, jacking car up, removing wheels and adjusting the coilovers I finally got there and managed to get both front wheel weights the same as each other and then with further tweaking got the back two values corner weights the same as each other, and in the process have managed to get a perfect 50% balance between front right to left rear and the same again on right front to rear left so well worth all the jacking up etc
Have also managed to get an extra 63kg's over the rear wheels when un ladened and over 100kg's when ladened so will help loads with the rear end grip and balance of the car :clap:
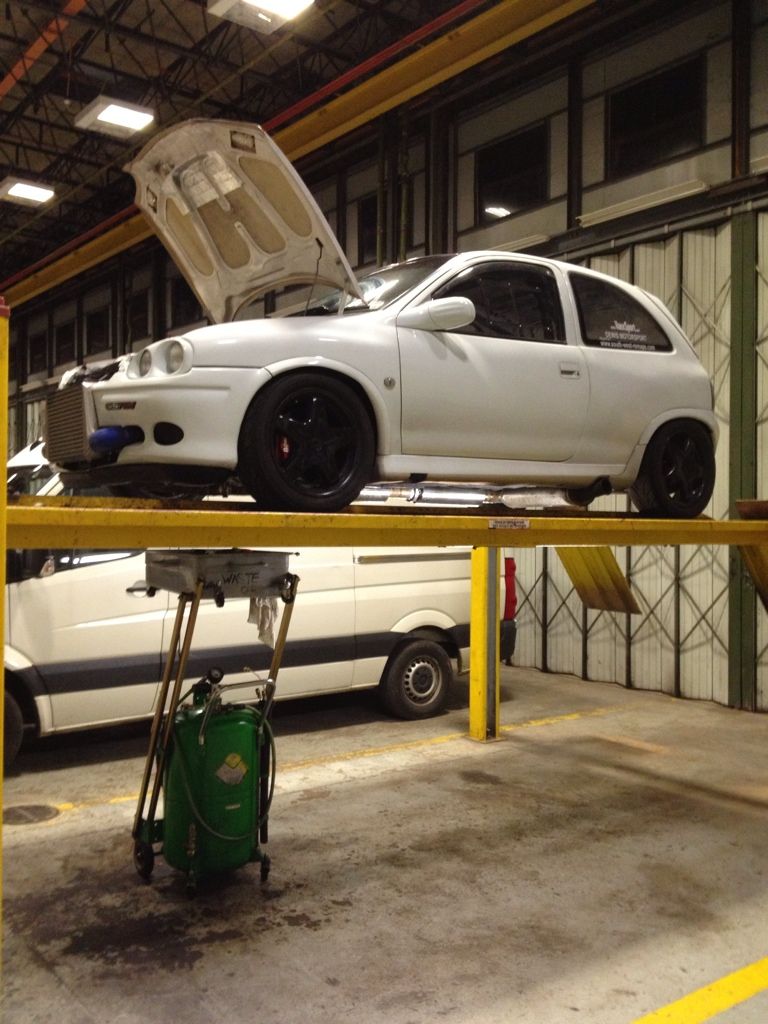
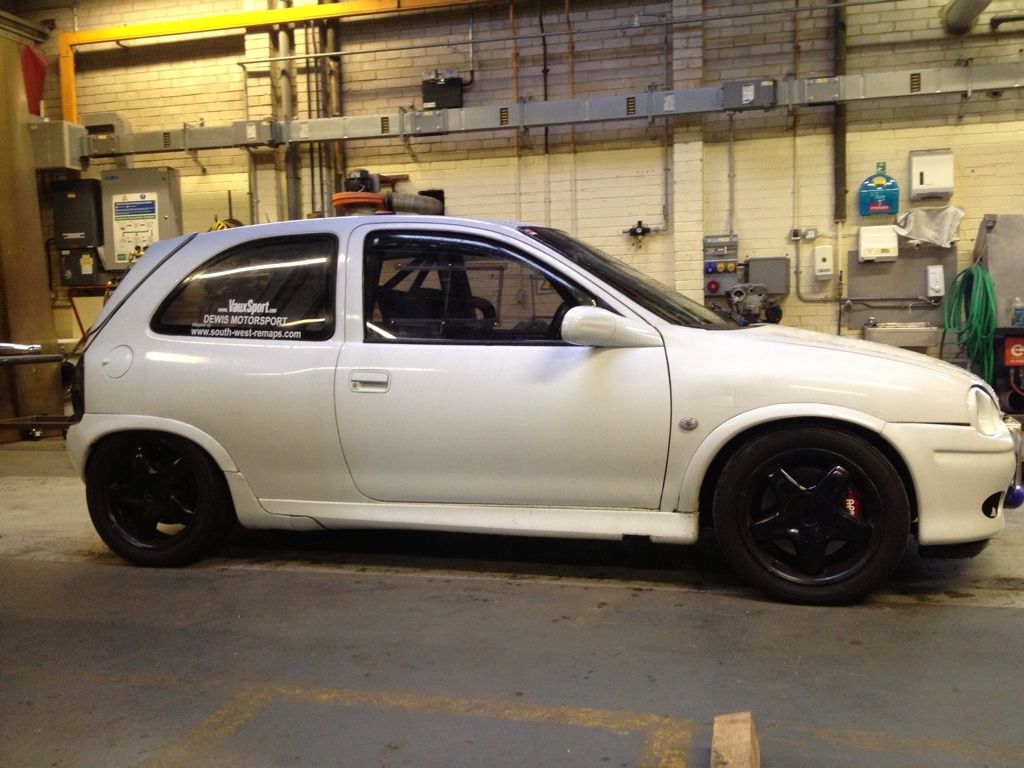
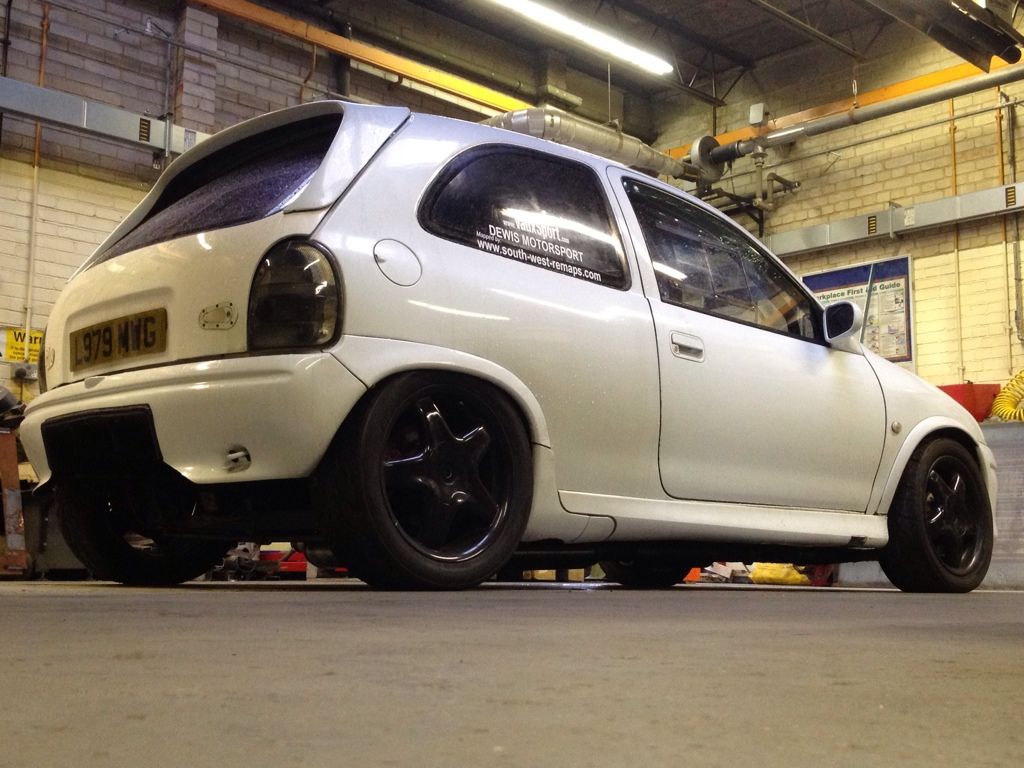
How it sits now
Took it out on our test track at work and it certainly felt more planted and stable through the bends so now just the rear toe out issue to address and I'll be a happy man
|
dewismotorsport
Member
Registered: 16th Feb 08
Location: Coventry & Poole
User status: Offline
|
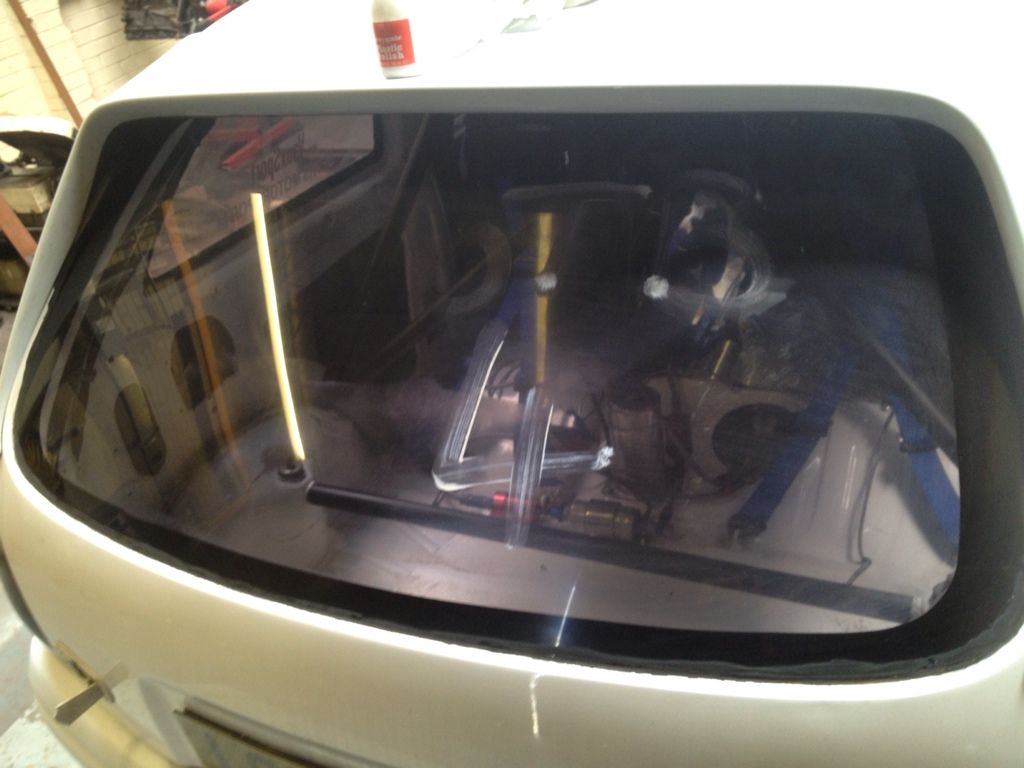
Also gave the polycarbonate windows a clean as they had gone cloudy and in bright sunlight I could barely see out the back window left side has been cleaned
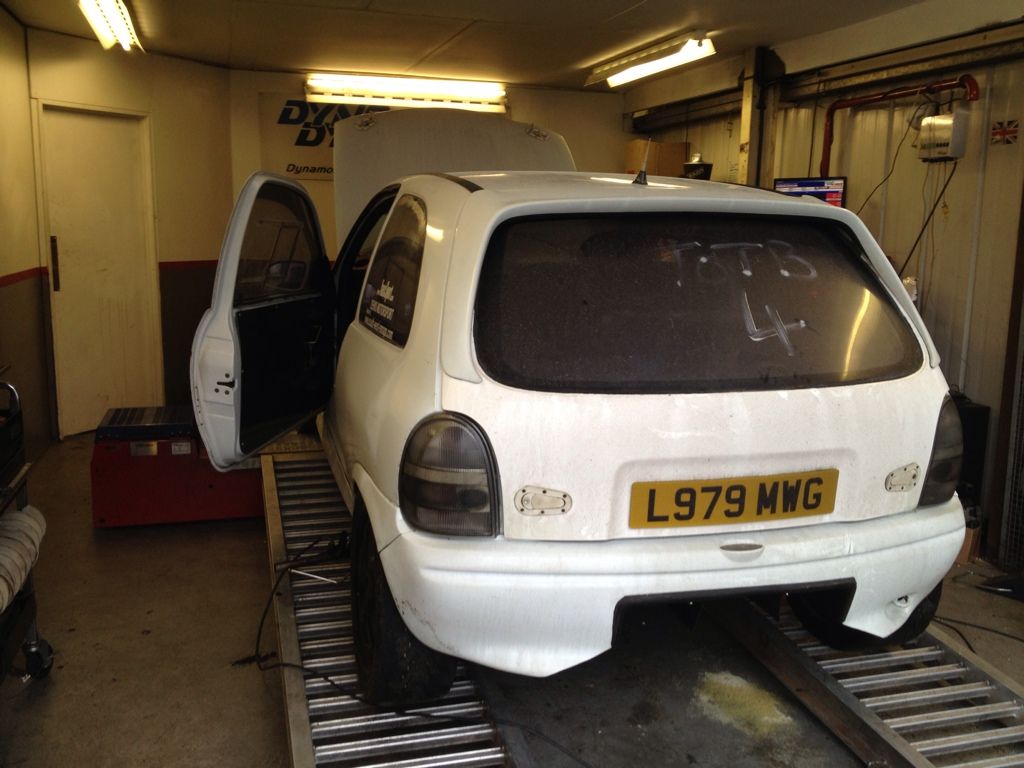
And finally got the bloody TOTB 4 off the back although its just in time to get a new one put on in the TOTB qualifying at Pvs
|
dewismotorsport
Member
Registered: 16th Feb 08
Location: Coventry & Poole
User status: Offline
|
Right need to pull my finger out a bit as I'm entering fight club at pvs and totb so need to fix some bits that got broke at Bedford or just need improving or altering, first up was to replace exhaust flexy as that's split so blowing harder than a Tai lady boy! Also gone against solid alloy rear beam mounts so went for the hardest rally designs ones and a set of eibach rear shims to get the rear geometry perfect
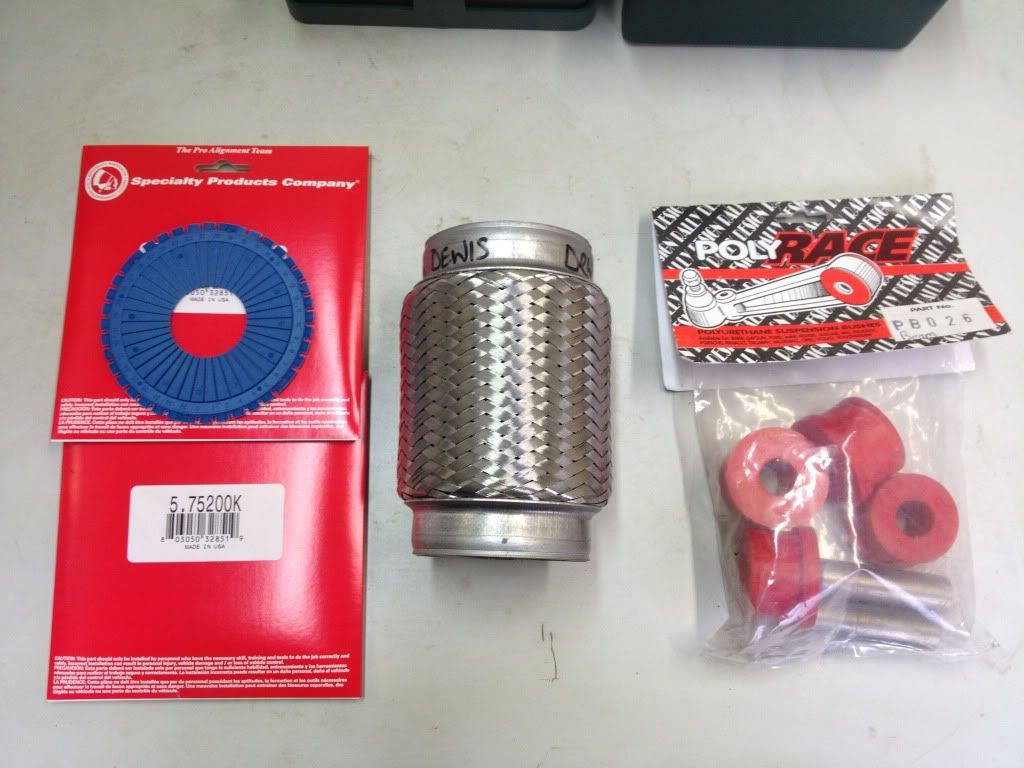
Also need to replace an outer CV joint on the passenger side as my old Saab one has died so will replace the drivers side one as well as it makes sense I've also killed the inner cv on the equal length shaft all my own fault due to using 100K mile old cv joints!
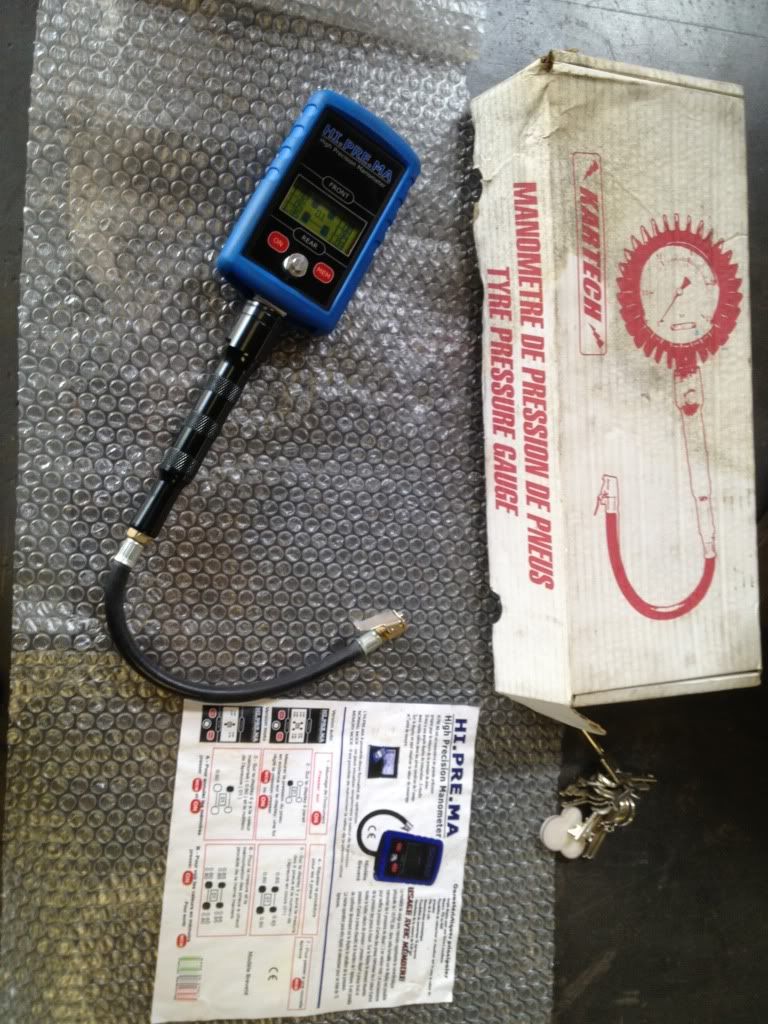
Treated myself to this Manometer msl: Awesome name! But it's basically a highly accurate tyre pressure gauge which will log up to 5 lots of data so I can take before and after readings on my tyres when they've been out on track so I can adjust them accordingly to suit the track characteristics
|
dewismotorsport
Member
Registered: 16th Feb 08
Location: Coventry & Poole
User status: Offline
|
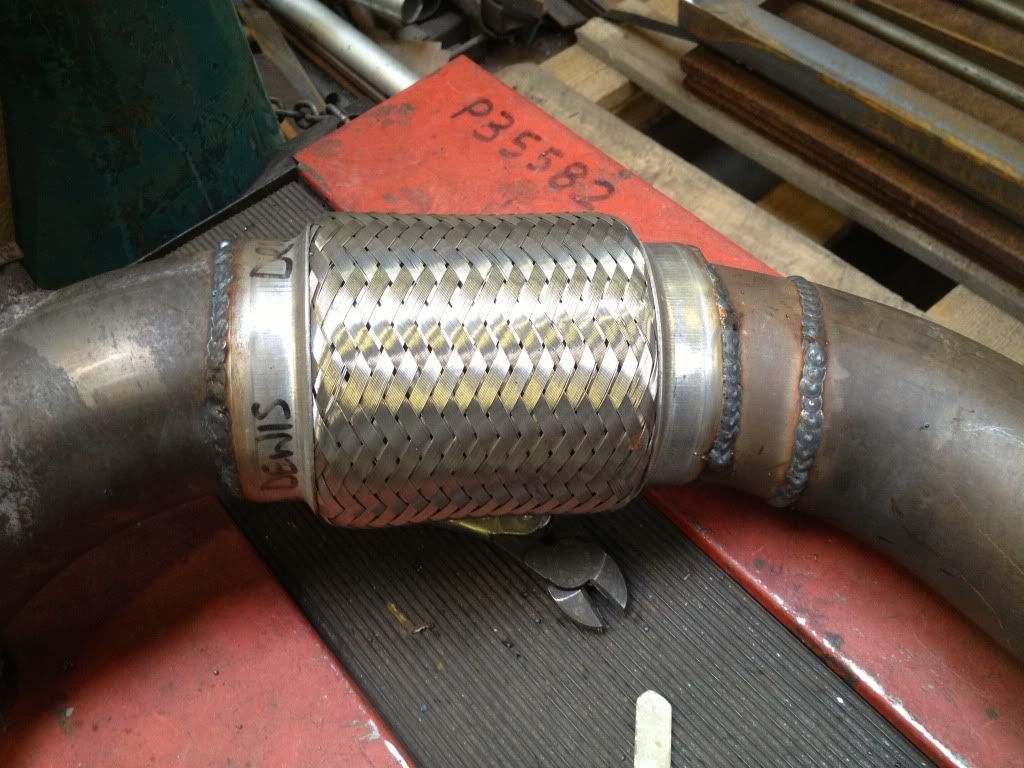
Started getting the crappy jobs out the way so decided to start on the exhaust which was blowing like a fat kid on a run, this was what was causing it
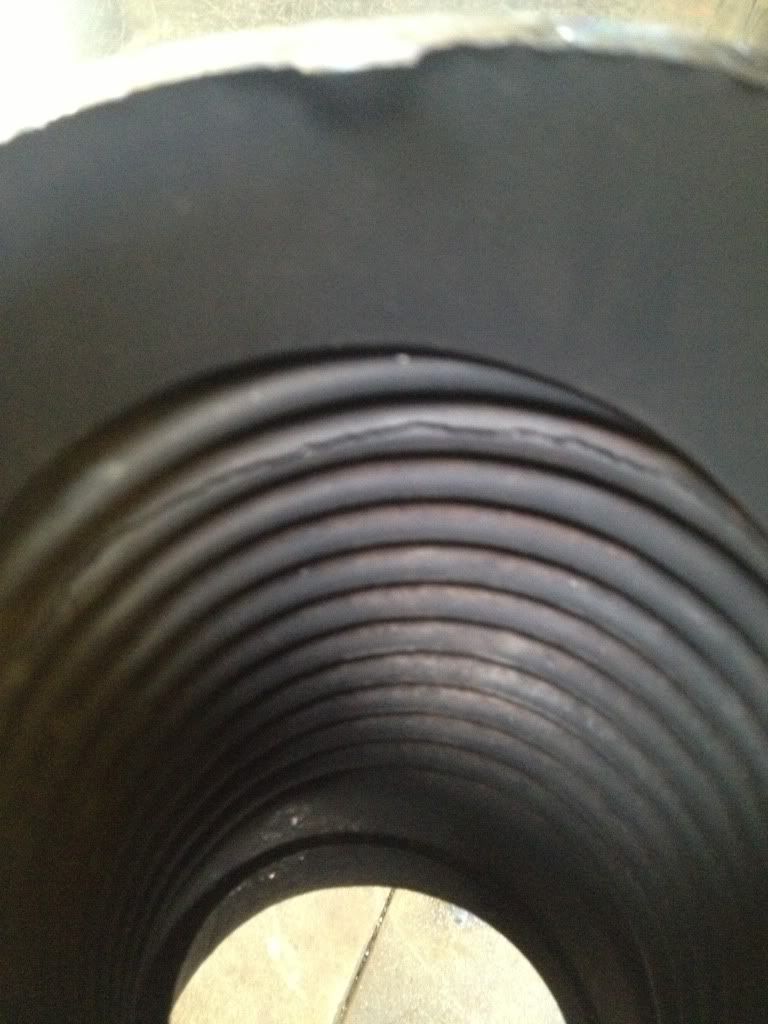
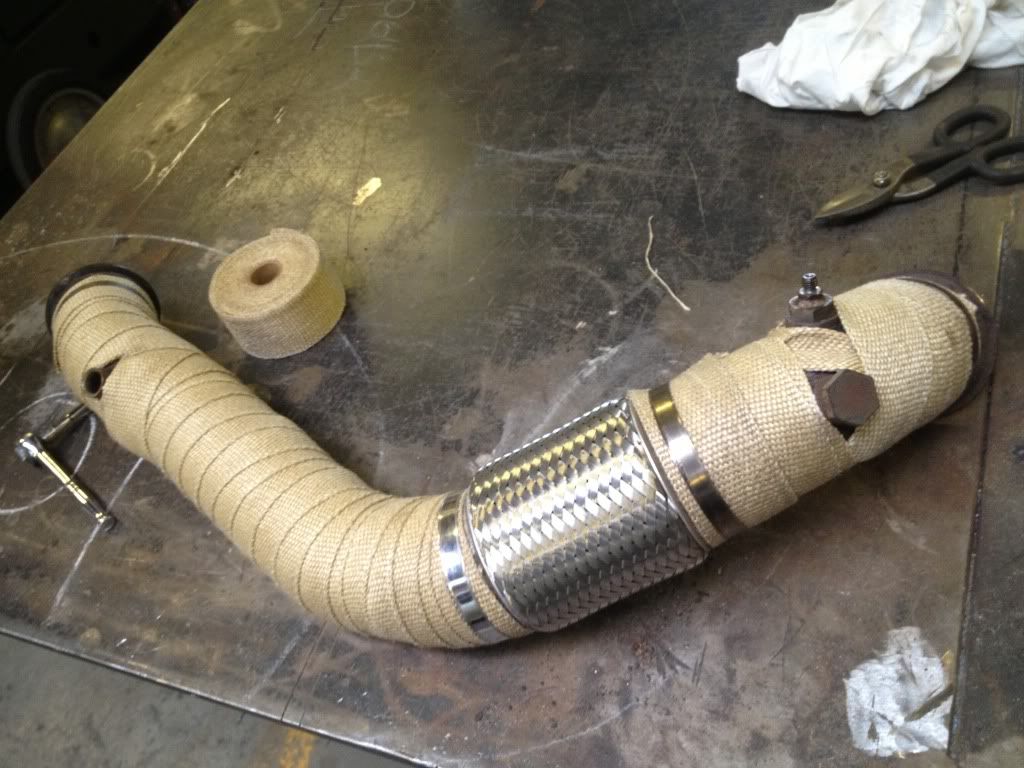
Decided while I was at it I would modify the exhaust slightly to remove the tension out of the flexy which I'm sure is what's killed it as both ends were like that so I added an extra bit of bend
And then treated it to some fresh exhaust wrap
Then reset the wideband and its working again now so will hold off fitting the new one as I have more import stuff to do instead
|
dewismotorsport
Member
Registered: 16th Feb 08
Location: Coventry & Poole
User status: Offline
|
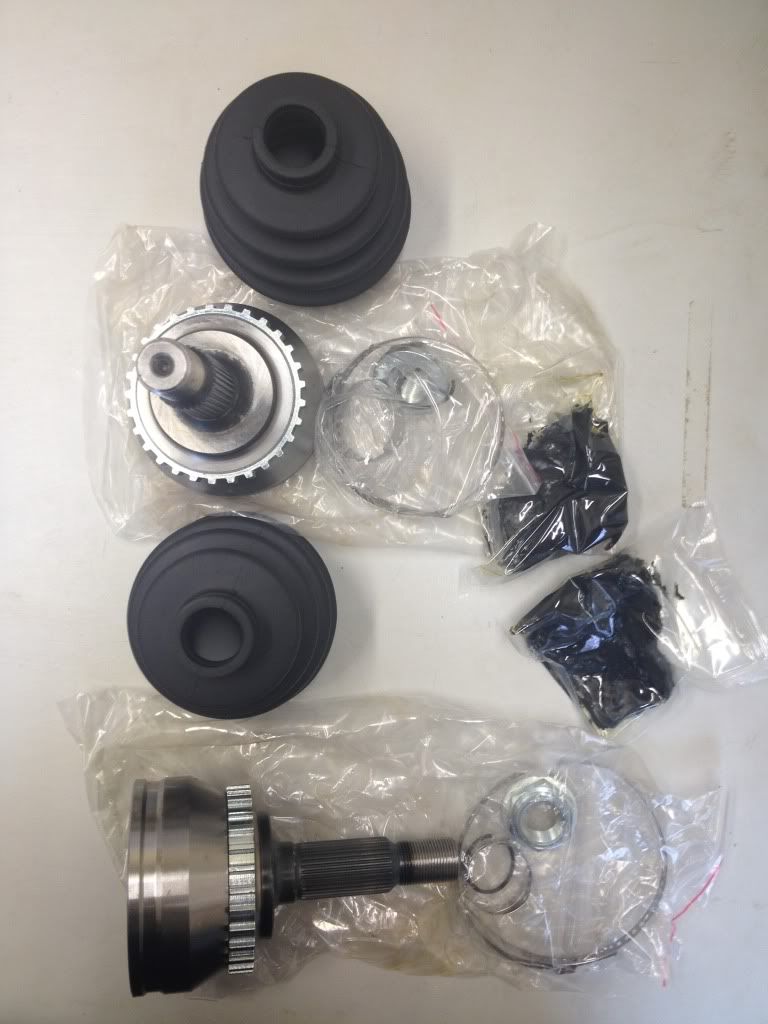
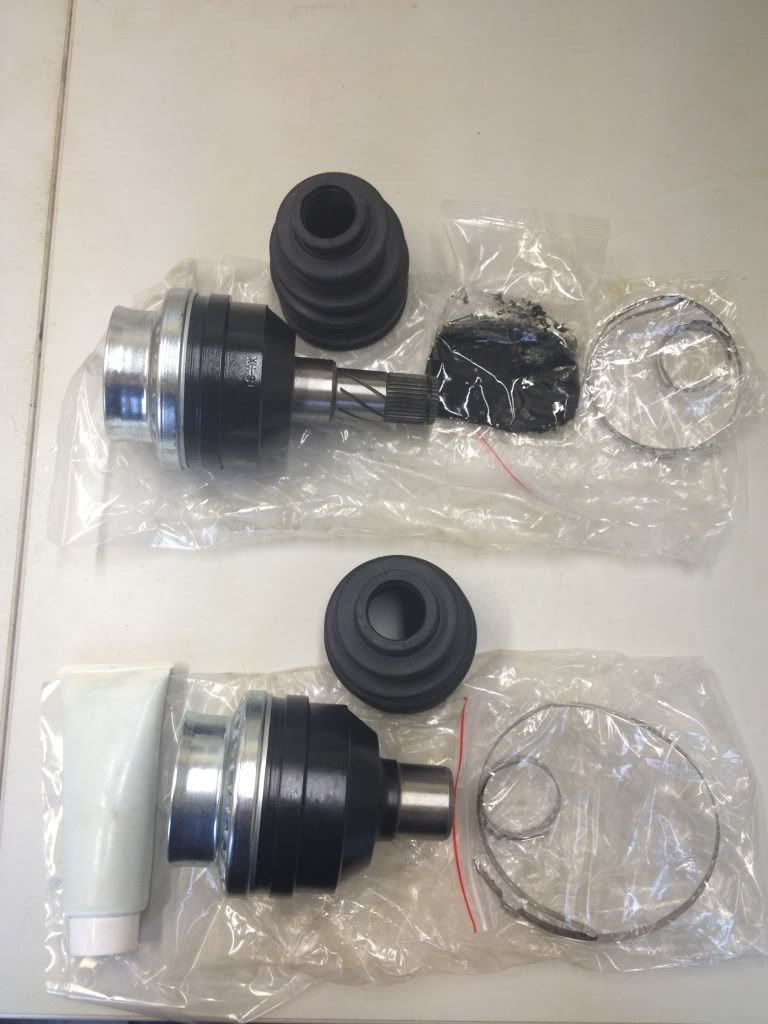
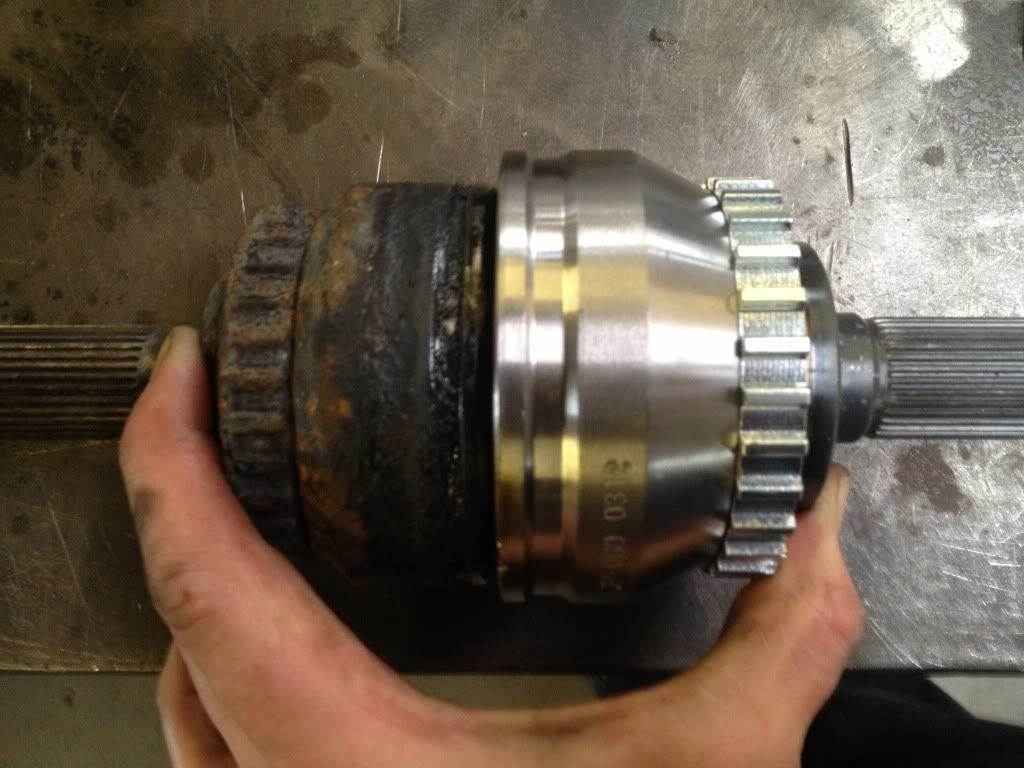
Parts have turned up to fix any problems, ordered 4 brand new CV joints as I managed to kill one of the Saab 95 2.0 turbo ones but to be fair they were 100k+ old, and so were all the other joints so getting all 4 new made sense, did a bit of research and the Saab 95 2.3 turbo CV joints are bigger and stronger and were designed to cope with more torque so I've gone for them this time
Also rang Autovaux to get hold of a inner split shaft CV joint and they don't stock them and only sell the short shaft with it on but at £150+ vat :sus:
So rang vauxhall up and they quoted me £257 + vat for the inner and £236 + vat for the outer cv so I politely told him to ram it :razz:
Quick call and a search and I had one ordered and also a new outer as well
Treated the steering rack to a set of solid mounts as well
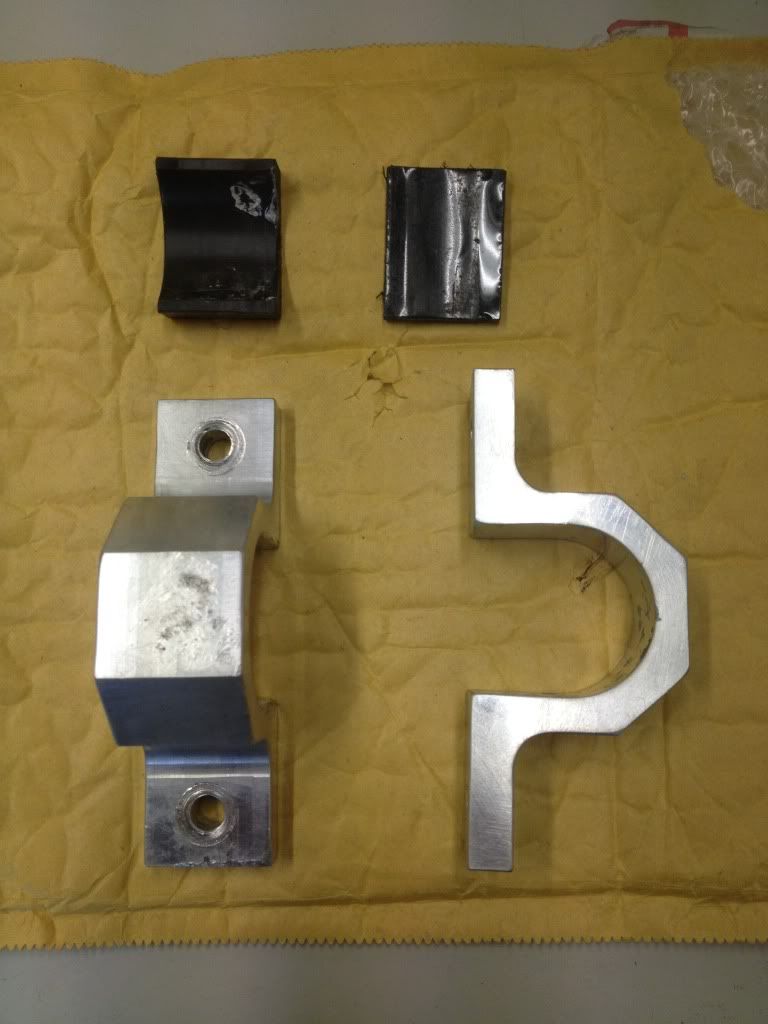
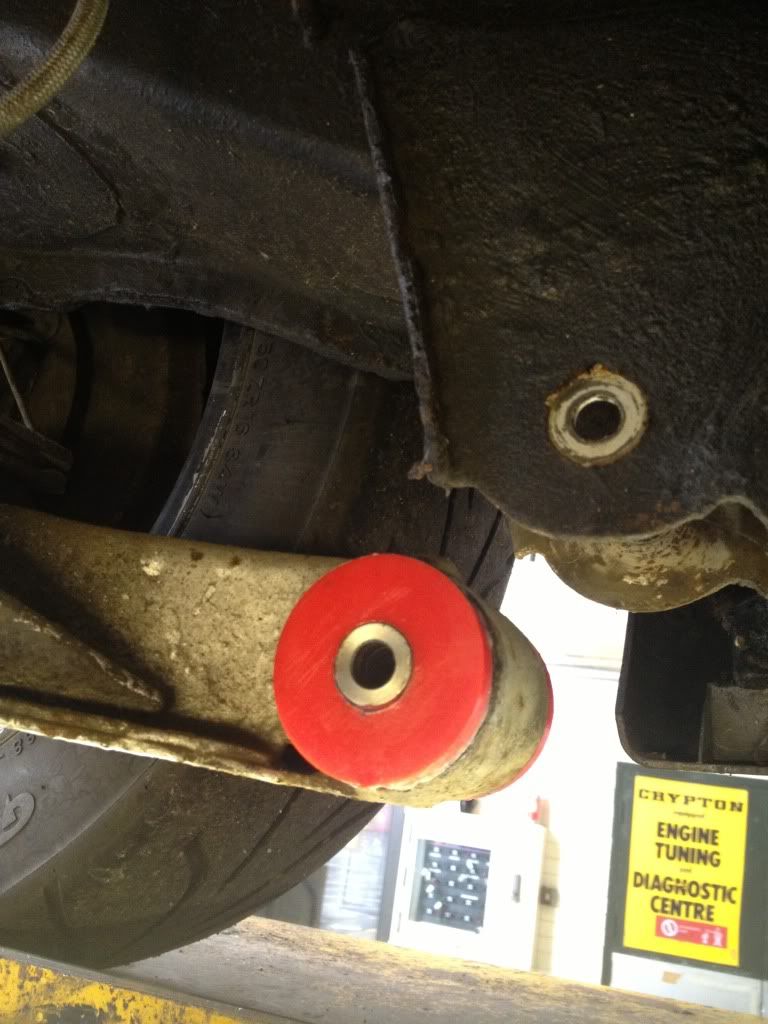
And fitted the new rear bushes
Getting CV's and mounts fitted tomorrow and then piping the boost solenoid again and then get it taxed ready for me paying Chip a visit for some low boost mapping prior to Pvs
|
dewismotorsport
Member
Registered: 16th Feb 08
Location: Coventry & Poole
User status: Offline
|
Right folks been fed some duff info on the CV joint by a so called Saab expect turns out the 2.3 turbo ones have larger shafts as well so is too big for the smaller calibra big block shafts :face:

Shame really as the design is far greater even over the Saab 2.0 turbo ones
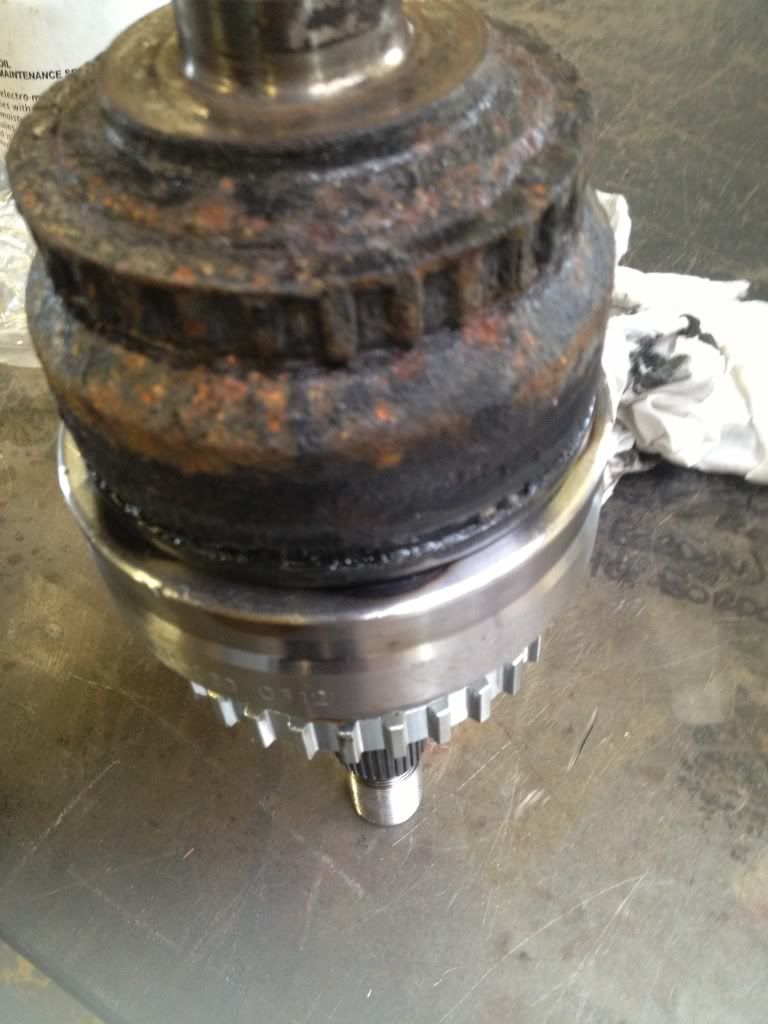
I will double check the year of CV's as I'm sure these are the 2001-2005 ones so might be the earlier ones?! Put this close to Pvs I'm not risking it tbh
|


