nibnob21
Premium Member
 Registered: 16th May 10
Location: South Derbyshire
User status: Offline
|
Well to be fair the car does need new suspension, I just wasn't going to get it until winter when I'm taking it off the road for some resto work. But buying now saved me a few quid; I just don't really have the space to store it as I'm renting somewhere small while the sale of a house I'm buying goes through lol.
MX5 Project Thread
|
nibnob21
Premium Member
Registered: 16th May 10
Location: South Derbyshire
User status: Offline
|
Long time no update. Few bits to catch up on.
Finally moved into our first home in November. Took several months longer than it should have but in the end it was just a relief to get in before Christmas.
First thing was to completely empty the garage. I don't have a before picture but it was filthy and had some old kitchen units left behind. Swept it all out and took the units to the tip.
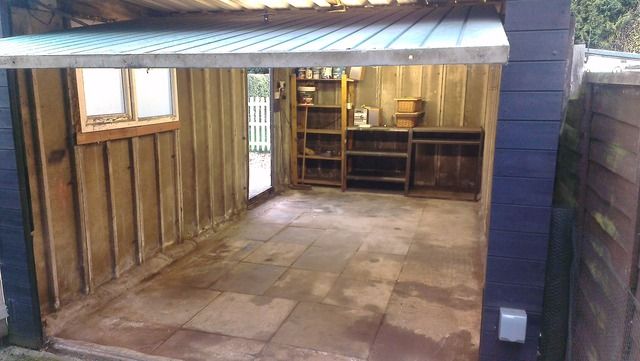
Then gave the walls a lick of white. Air temp is too cold to do the floor so that'll have to wait until spring.
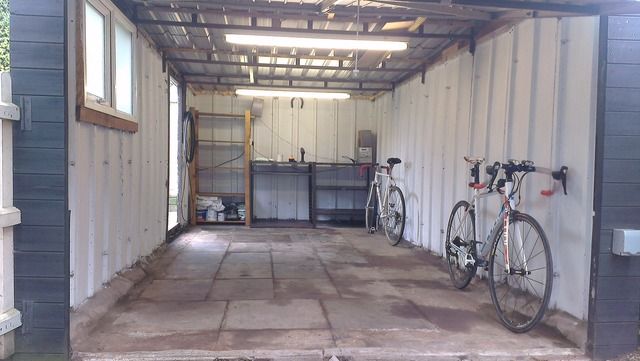
In went the car to get started on the long to-do list.
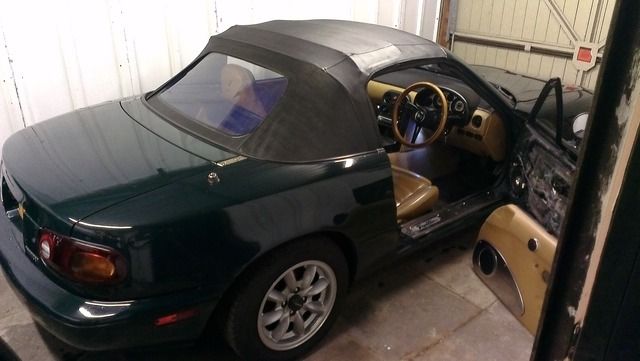
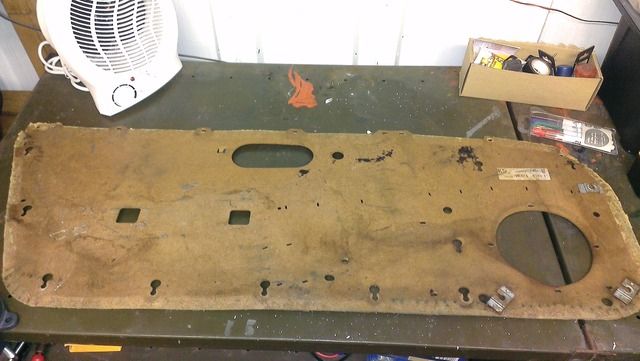
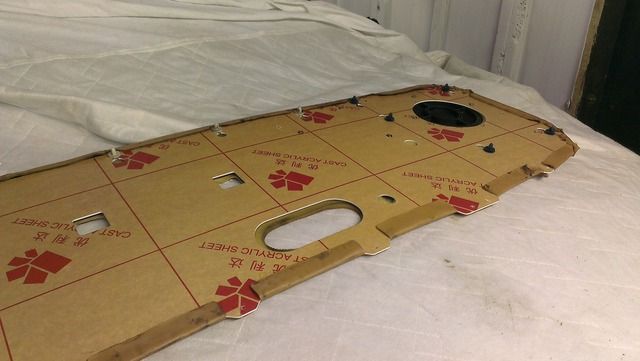
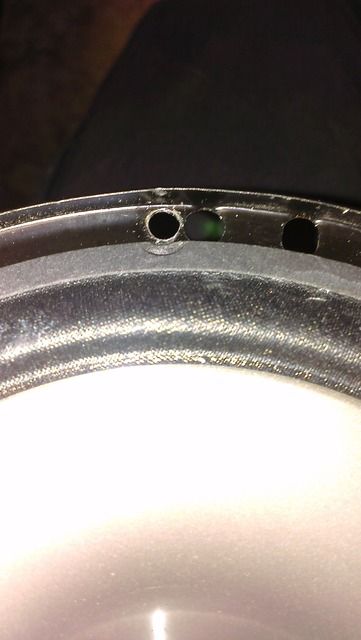
Job 1 was to strip both doors down. The door cards are made of thin chip board so get soggy over time and degrade. I have some acrylic door cards to replace them, but annoyingly they don't have all of the holes precut so I had to drill multiple extra holes.
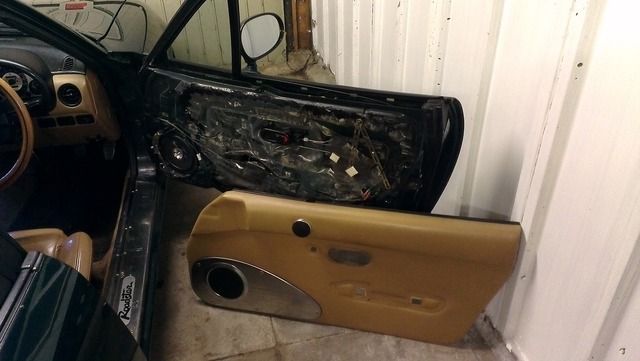

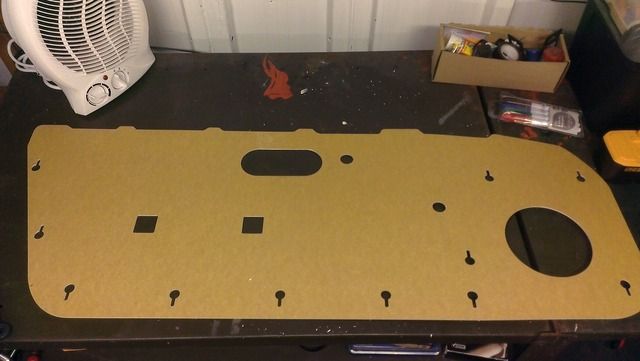
All the drilling is done now and I've started to reattach the vinyl door fabric using spray adhesive. Will hopefully get them fitted this weekend.
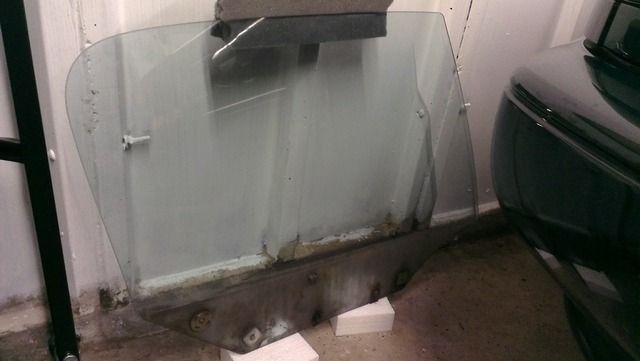
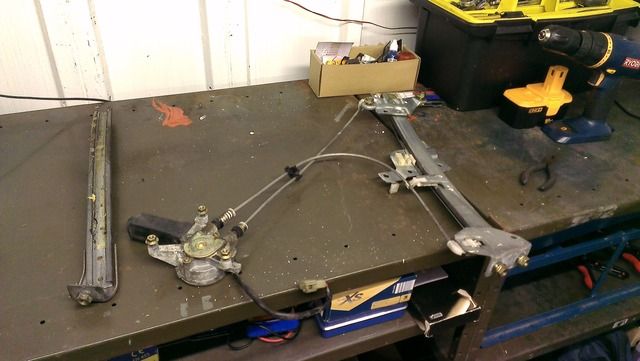
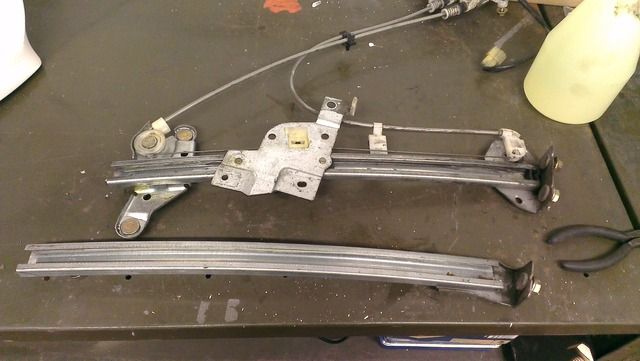
While the doors were stripped down I removed the windows and mechanisms. The electric windows on MX5s are renowned for being incredibly slow due to the runner grease drying out and becoming too thick. Cleaned them up and regreased them and the windows go up and down properly.

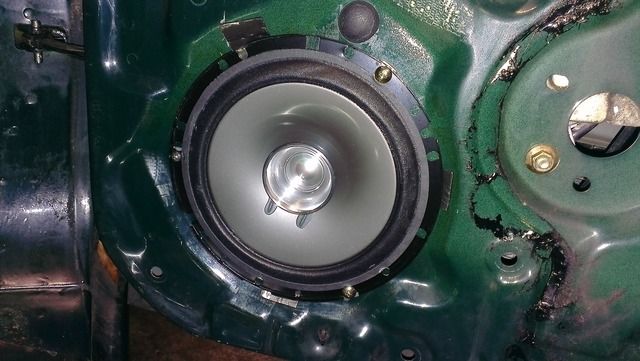
Then it came to refitting the door speakers. I kind of bodged them on before with a couple of screws so they weren't amazingly secure. Out came the drill. Fitted solidly now.
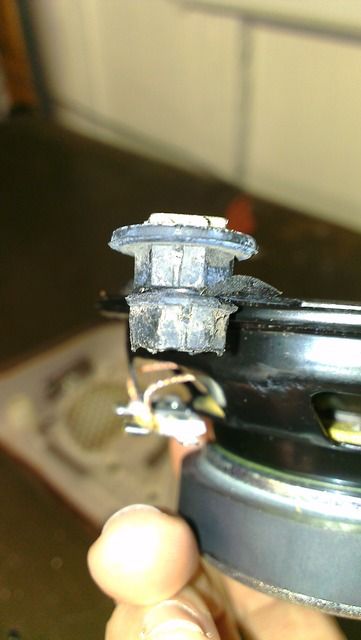
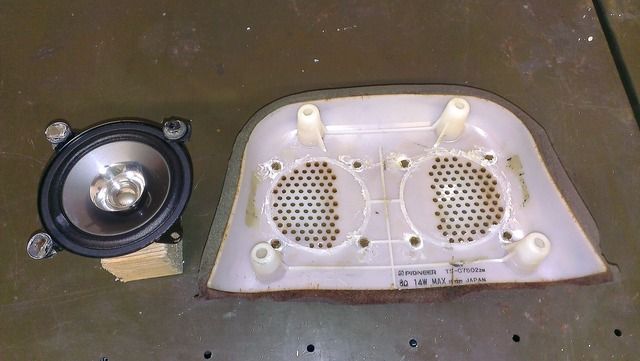
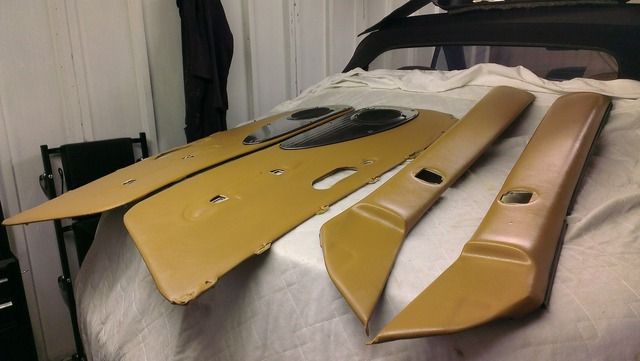
And a similar story with the headrest speakers. I'd bodged them with some plastic nuts and superglue. Limited tools and workspace at the time meant it was the best I could do. Over time the superglue has broken away so occasionally the speakers would rattle.
So back to square one.
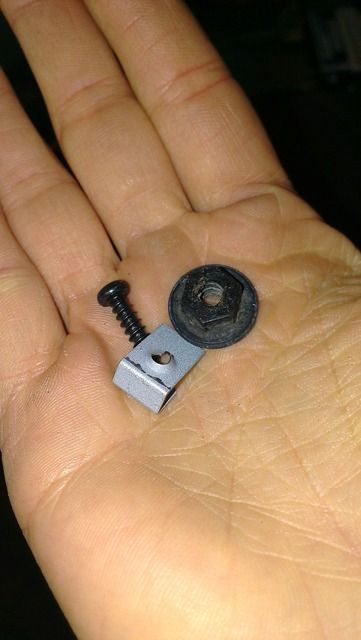
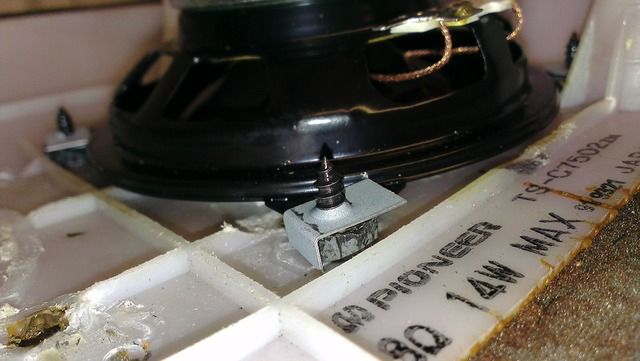
I had some self tappers lying about with little metal tabs and I could reuse the plastic nuts to act as spacers again.
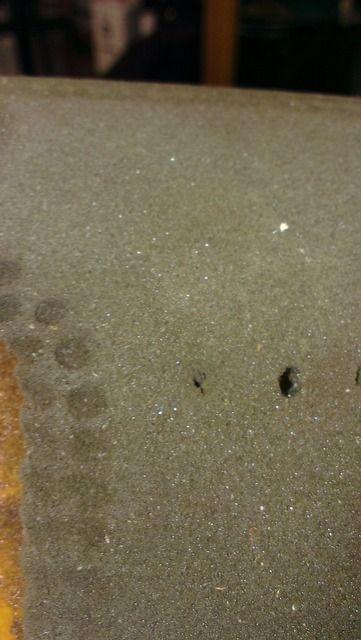
I positioned the speakers and marked where to drill. The self tappers are a little over 4 mm in diameter so I used a 4 mm drill bit. That way the speakers will be held in position solidly with no play.
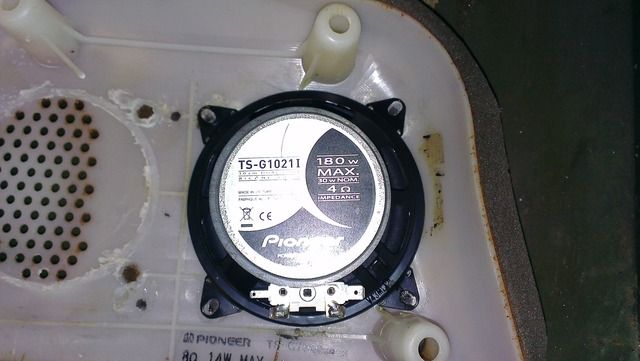
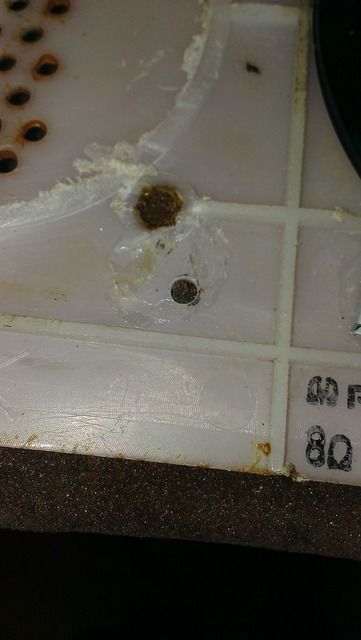
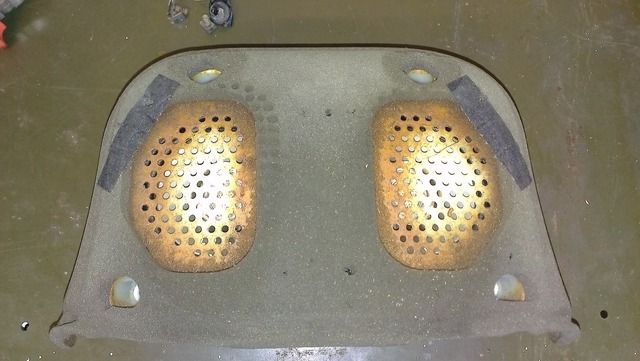
I sanded the plastic nuts down to the right height to fill the space between the metal tab and the speakers, then fitted it all. I know it looks a bit rough but they're held really securely now.
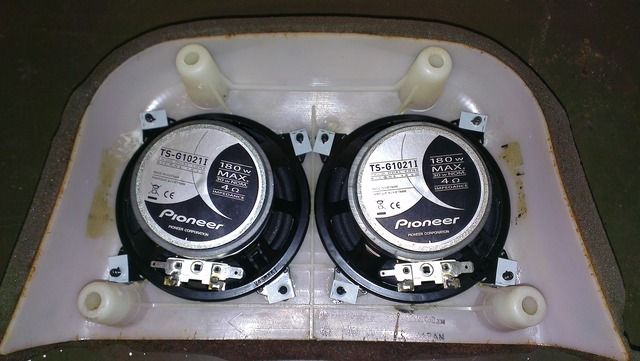
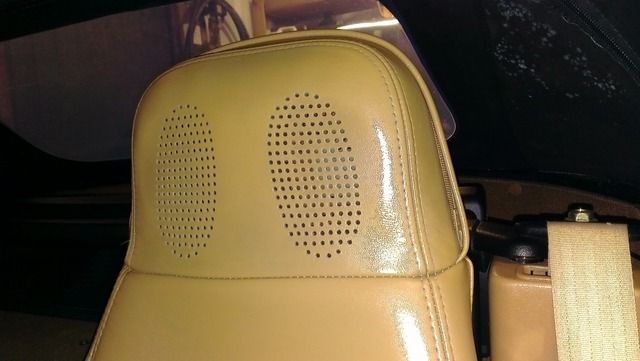
And because the self tappers only have small heads, the foam just swallows them up and hides them completely. So when fitted, you can't feel them on the back of your head at all.
I also have some Ford Maverick washer jets to go on at some point. Direct fit but they're the fan mist spray type.

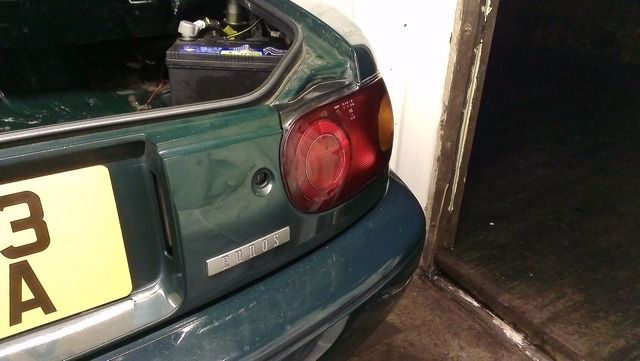
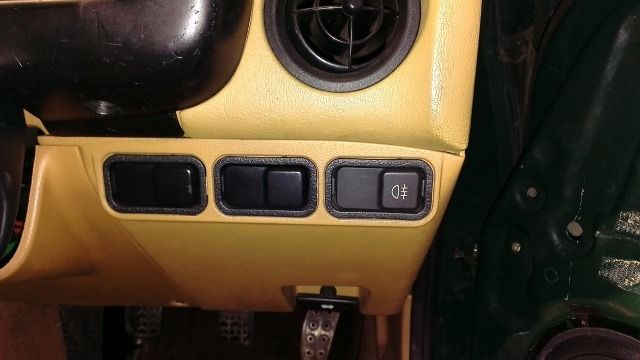
Another small job is tinting the offside reverse lens as it's wired up as the fog light with a red bulb.
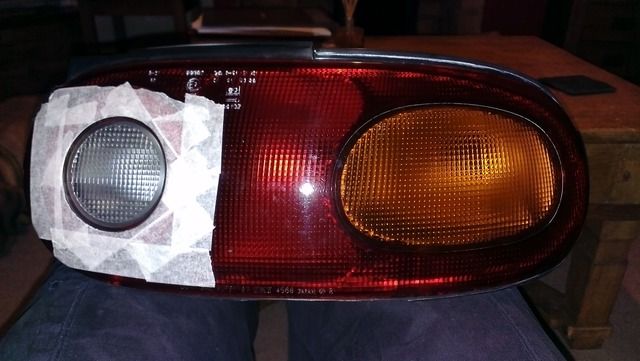

It's come out pretty well after flatting back and polishing back up. Need to remove some of the polish residue from the crevices at some point.
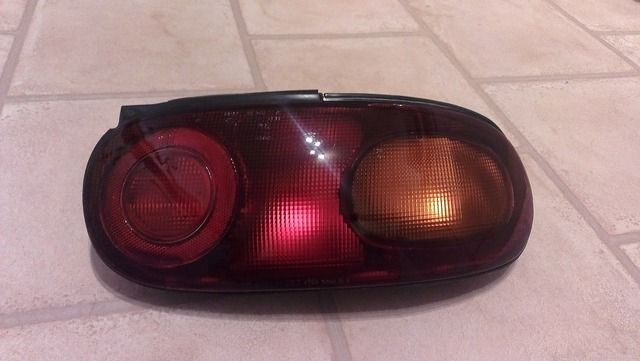
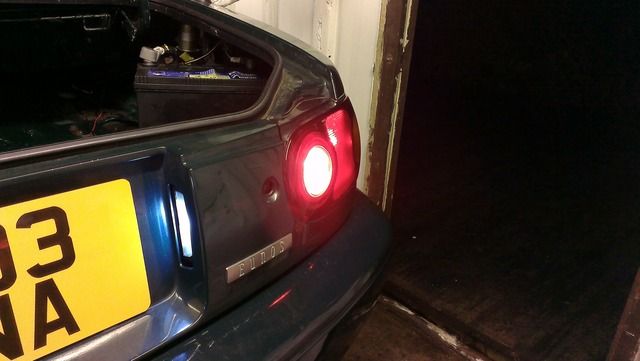
Fitted with a new bulb. Nice and bright and red with the fog light turned on, should do its job nicely if I ever need to use it.
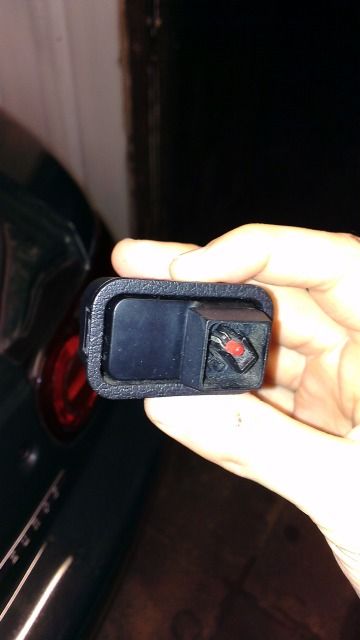
I've fitted an OEM rear fog light switch in place of the ugly aftermarket one and got the standard illumination light to work as the tell-tale. Needed a bit of a play with the wiring as the imports had aftermarket rear fog lights retrofitted when put on UK roads. Looks loads better with the standard UK switch.
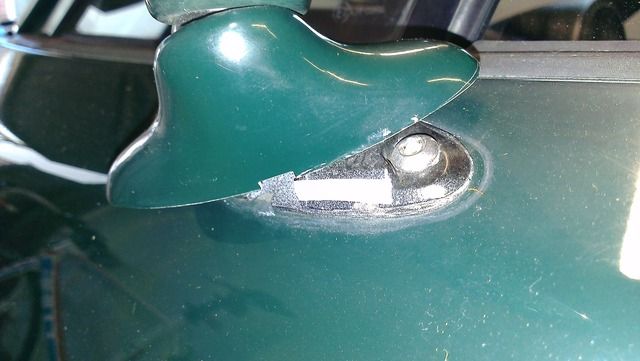
The small clips that hold on the passenger side wing mirror cap were broken by a previous owner and so it frequently becomes dislodged. So just as a really simple fix I've used some number plate sticky pads to hold the cap in place.
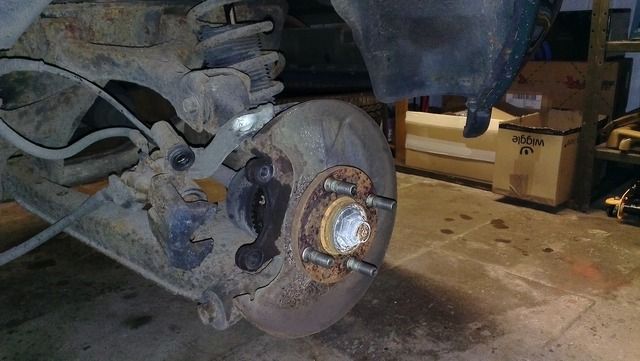
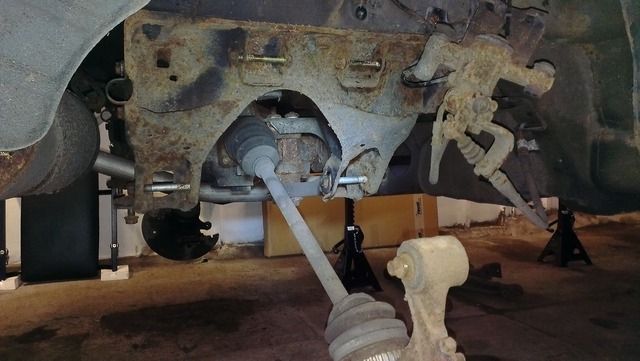
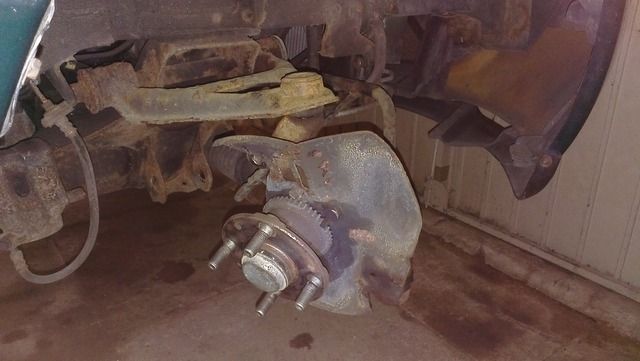
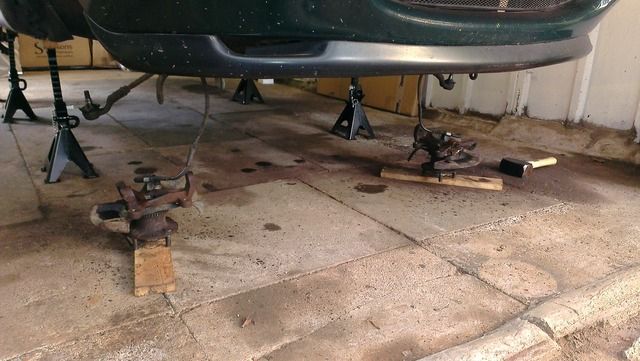
Car up in the air for the dirty work that's coming.
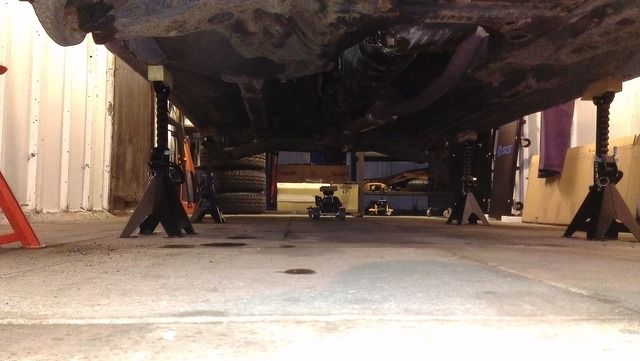
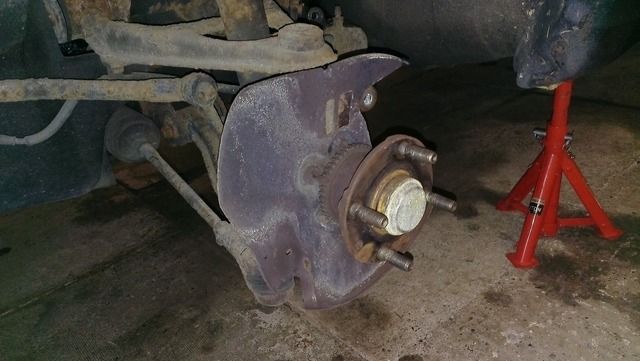
Got all the brakes removed. Rear discs and pads are still fine after replacing them last year. Front pads have plenty of life in them but the discs have fairly large lips so I think I'll replace the whole front setup. Will probably just go for some basic Mintex stuff again.
Didn't get any pictures but I had a bit of a look around underneath and it's already been undersealed, so in general it's in very good condition. Several areas could do with a touch up but it's nice to see that I won't have to do the whole lot  The car will get used less once it's back on the road anyway, so it won't see salt and hopefully no water. The car will get used less once it's back on the road anyway, so it won't see salt and hopefully no water.
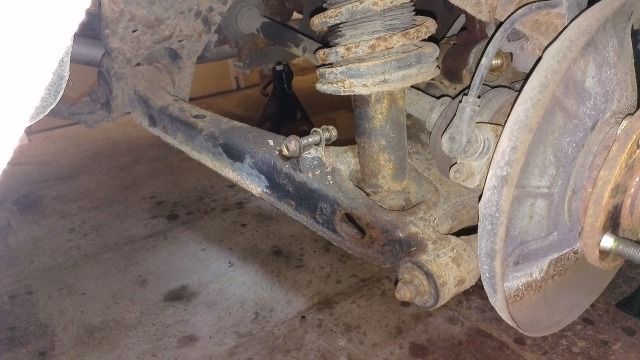
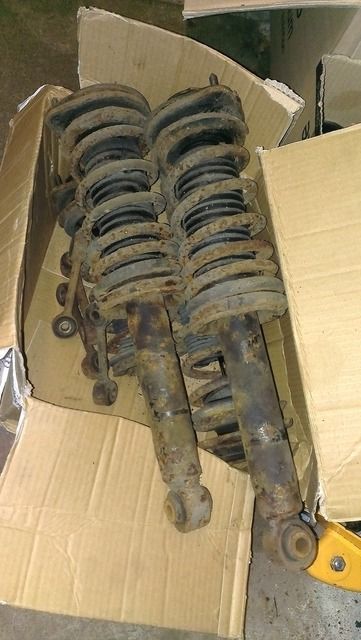
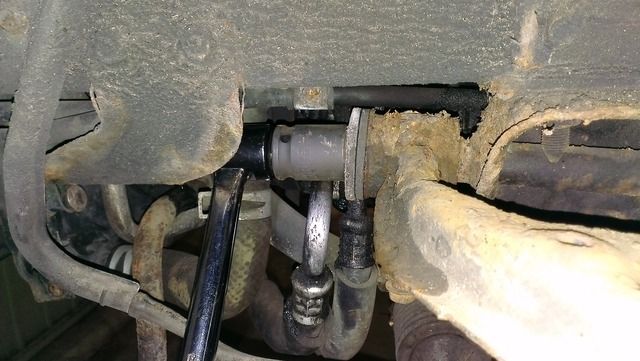
The worst bits are the suspension components, as can be seen in the previous two photos. All of that will be coming off for a blitz with the wire wheel.
Rear drop links and arb are already off and most other bolts are loosened, just need to actually remove it all from the car.
Removed the plastic arch liners on the rear and found a bit of surface rust underneath. Doesn't look like anything too sinister but will need skimming off before undersealing.
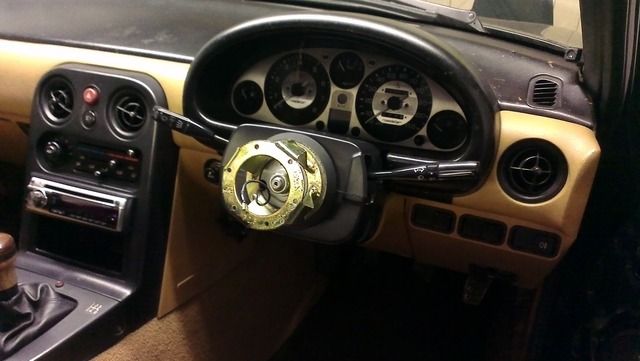
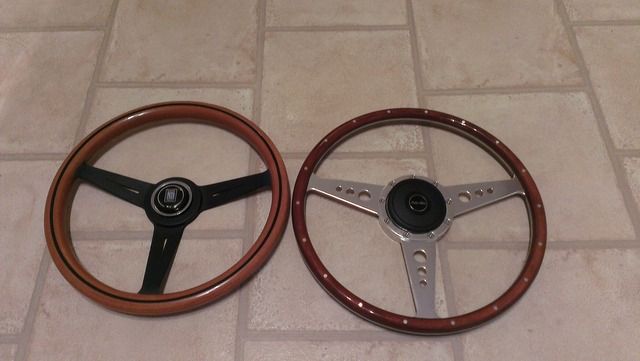
I was going to get my steering wheel refurbished but a different wheel came up at a very good price so I decided to just go for that instead. Probably won't be everyone's cup of tea but it will suit the car nicely.
Old wheel off:
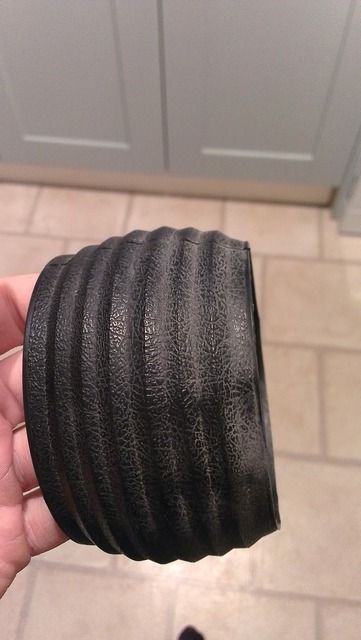
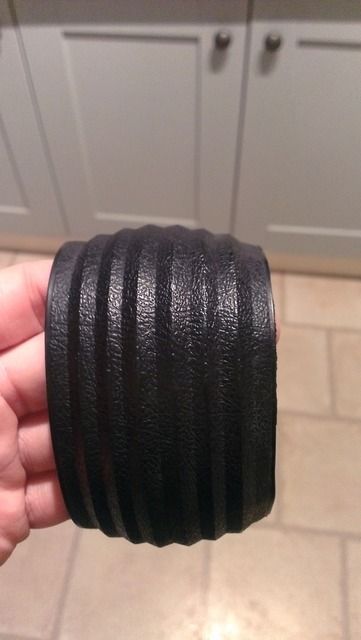
Baby wipe and nail brush treatment to the steering wheel boss rubber cover:
Old and new wheel:
And that's now up to date. I hope to get the interior bits finished this weekend and all the wishbones off to start tackling the surface rust.
[Edited on 28-01-2016 by nibnob21]
MX5 Project Thread
|
BeetleGav
Member
Registered: 27th Jun 10
Location: lancashire, nelson
User status: Offline
|
It will suit that wheel perfectly!
State of them shocks.... It's crying for some coilovers 
|
nibnob21
Premium Member
Registered: 16th May 10
Location: South Derbyshire
User status: Offline
|
I'll test fit the wheel this weekend and grab a couple of snaps.
Coilovers have been sitting in a box for about 6 months now!
MX5 Project Thread
|
Darryl H
Organiser: South Central
Premium Member
 Registered: 19th Nov 09
Location: Camberley Drives: Porsche 944
User status: Offline
|
Very jealous of the garage space! Congrats on the house. Good work on the car
|My Corsa|SC|My Instagram|
|
Jambo
Member
Registered: 8th Sep 01
Location: Maidenhead, Drives: VXR Arctic
User status: Offline
|
Nardi wheel going 
Cool updates
|
nibnob21
Premium Member
Registered: 16th May 10
Location: South Derbyshire
User status: Offline
|
Cheer Darryl It's not huge but I mustn't complain. There's a car port joined to the front of the garage and a big drive too, so I'm not short on space really.
I'll keep hold of the wheel but it's flaked at the top and needs a bit of love. I didn't intend on getting a new wheel but it came up at the right time at a price I couldn't really refuse.
Photobucket is down again at the moment so no pics of the new wheel test fitted yet. Looks good though. I was worried the darker wood wouldn't necessarily suit the interior but it ties in nicely with the gear stick.
MX5 Project Thread
|
nibnob21
Premium Member
Registered: 16th May 10
Location: South Derbyshire
User status: Offline
|
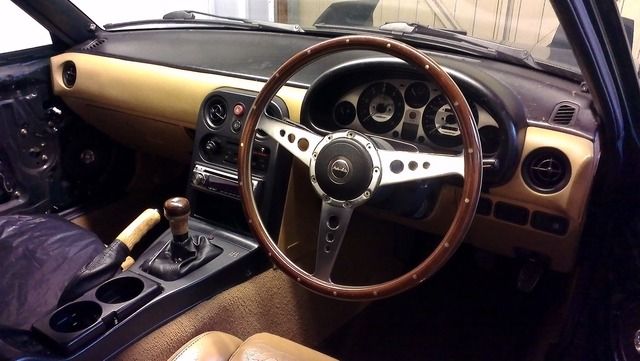
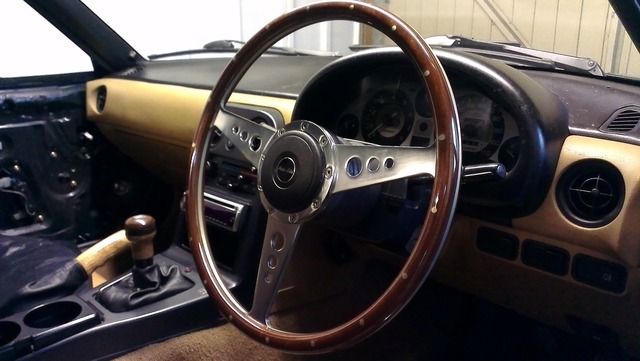
Test fitted the new steering wheel. I was worried the darker wood wouldn't necessarily suit the interior, but it ties in nicely with the darker wood on the top of the gear stick. Very happy with it.
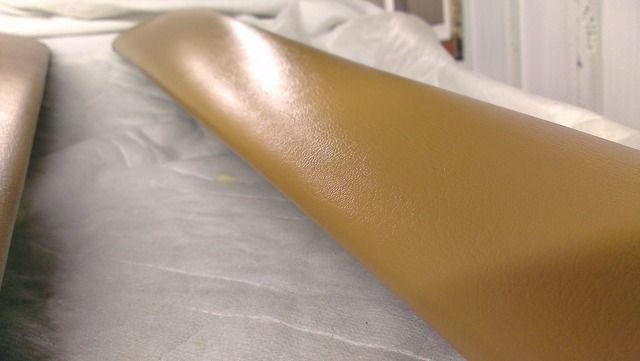
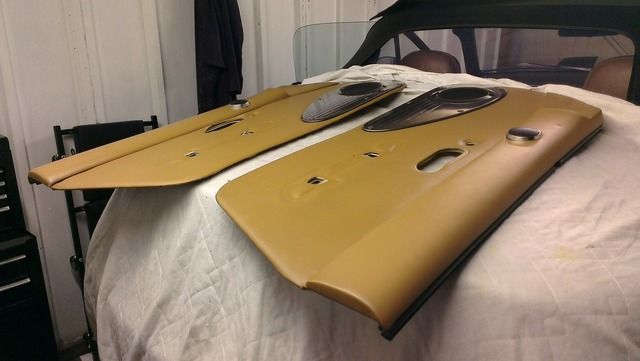
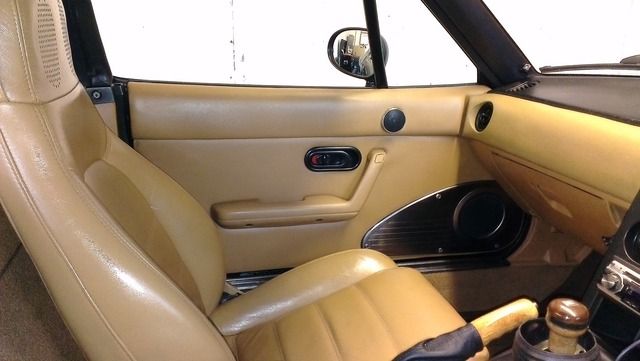
Gave the door cards and side pads a clean. Pretty grubby before:
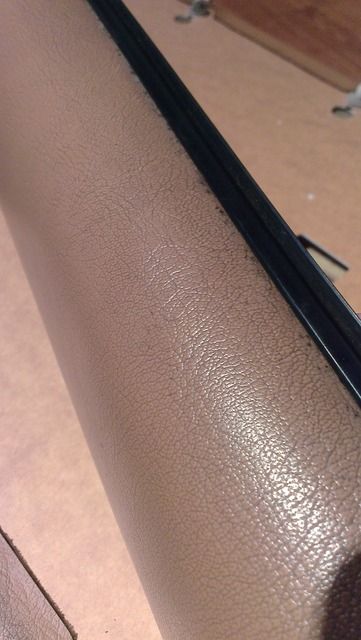
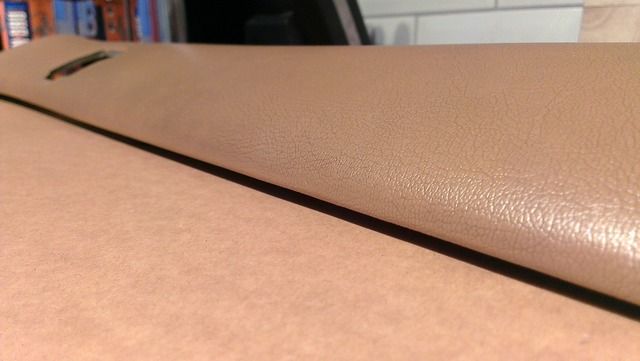
Initially used some rubbing compound, a bit of water and a nail brush. Left half done, right half not:
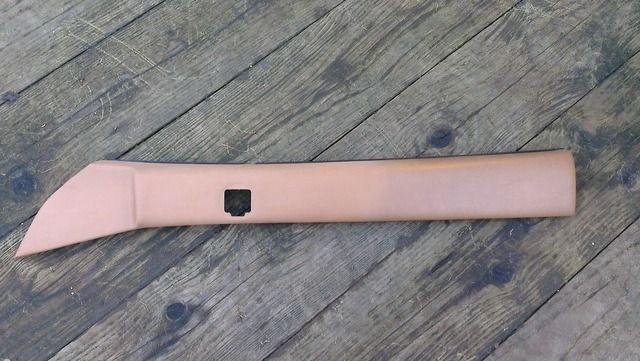
That cleaned them well but left them a bit dry so, despite them being vinyl and not leather, I used some leather cleaner and then some leather conditioner and they've come up a treat. Also got the teardrops fitted. Just need to sort out some plastic lining for the door then I'll refit this lot.
MX5 Project Thread
|
nibnob21
Premium Member
Registered: 16th May 10
Location: South Derbyshire
User status: Offline
|
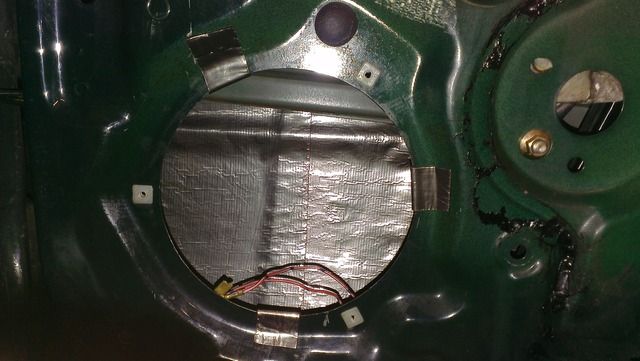
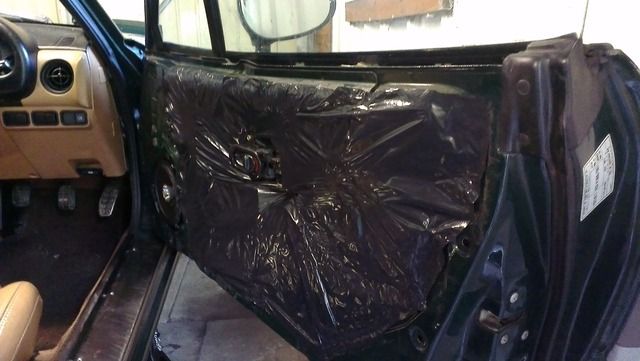
Cut a heavy duty bin liner to size to line the doors:
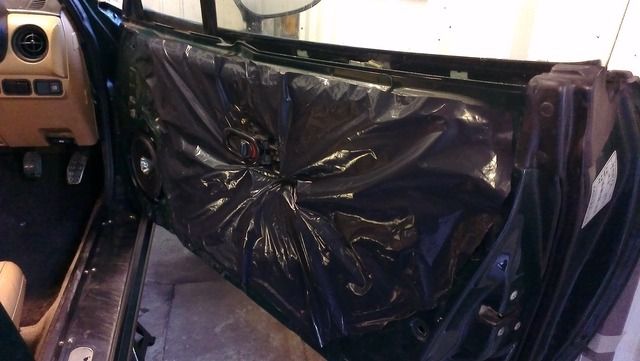
Once stuck on I gave it a little bit of heat to shrink it and get a tighter fit. Not pretty but it's done the job.
Fully built the door cards back up:
Back in place and a long job off the list:
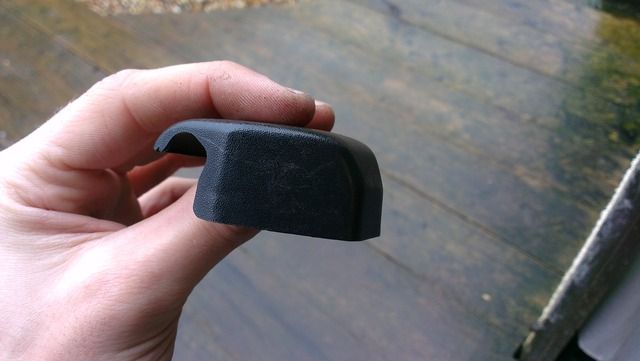
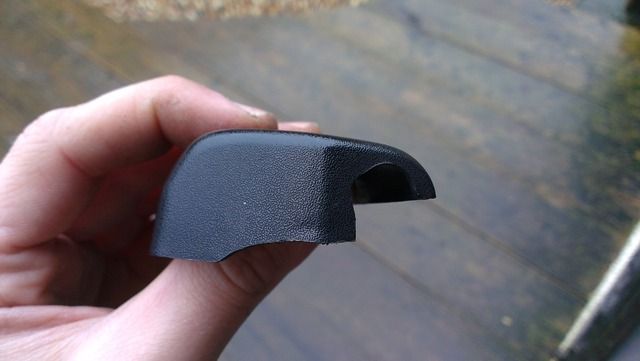
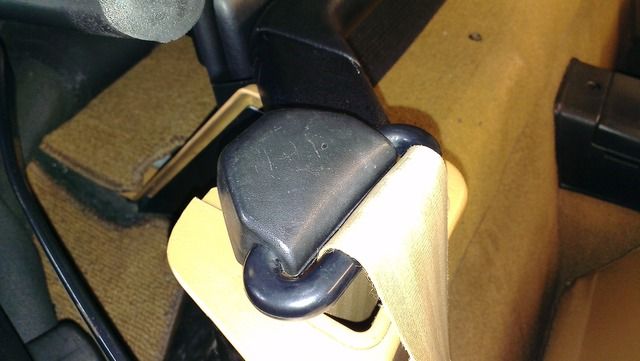
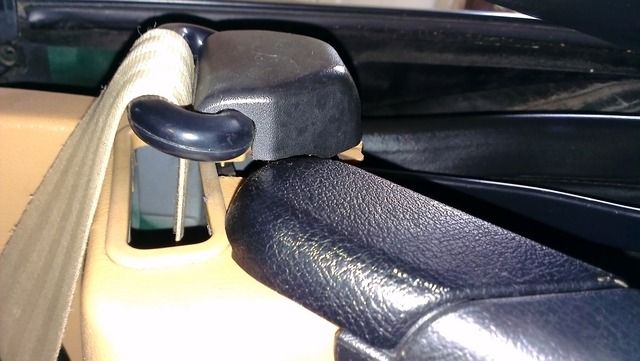
When I fitted the 1.8 strut brace I never got round to sorting the seat belt caps. Just left the bolt uncovered:
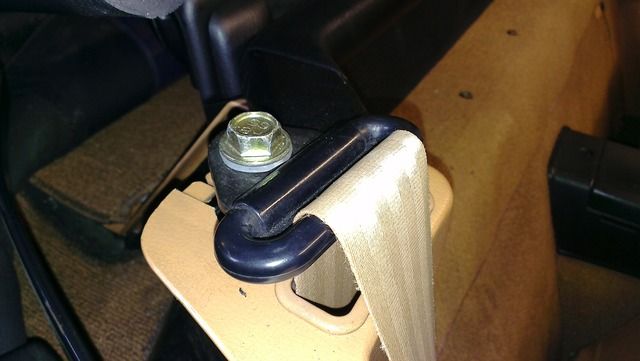
So I took the dremel to the covers so that they clear the brace. Pictures look crap but it's a nice neat job and the seatbelt can swivel without the cap fouling the brace.
MX5 Project Thread
|
Darryl H
Organiser: South Central
Premium Member
Registered: 19th Nov 09
Location: Camberley Drives: Porsche 944
User status: Offline
|
I'm not sure I'm fully convinced on the wheel. Those trims are cleaning up nicely though! Will you be at any shows this year in it?
|My Corsa|SC|My Instagram|
|
nibnob21
Premium Member
Registered: 16th May 10
Location: South Derbyshire
User status: Offline
|
The first aim is just to get it back on the road lol, then I'll see from there whether I go to any shows or not.
Not been able to work on it this week for various reasons. Should hopefully get some time on it this weekend. I'm determined to get all the wishbones off! I fear the bushes may need replacing on them though...£270 I hadn't budgeted for if so.
MX5 Project Thread
|
nibnob21
Premium Member
Registered: 16th May 10
Location: South Derbyshire
User status: Offline
|
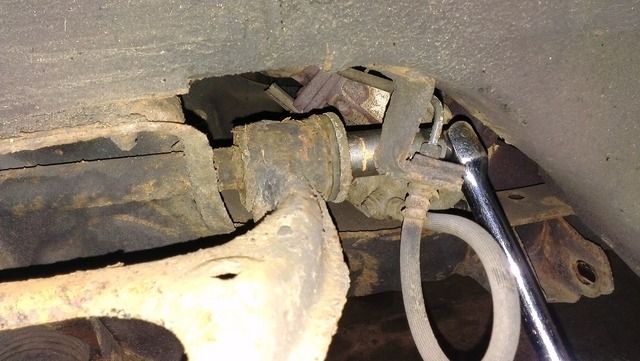
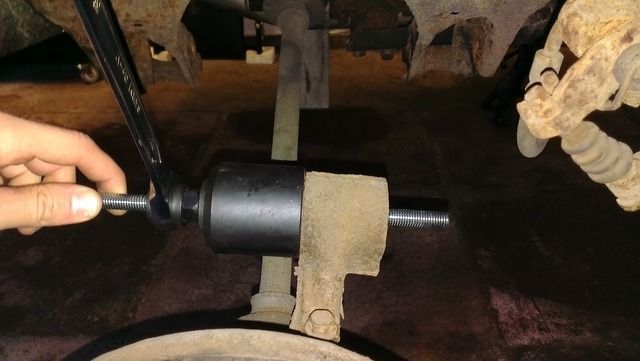
Got one rear corner fully stripped down but struggled with the other. All bolts were fine apart from a long lower one. Part of it is exposed so it rusts up, making it a bit of a nightmare to remove. Then this happened:
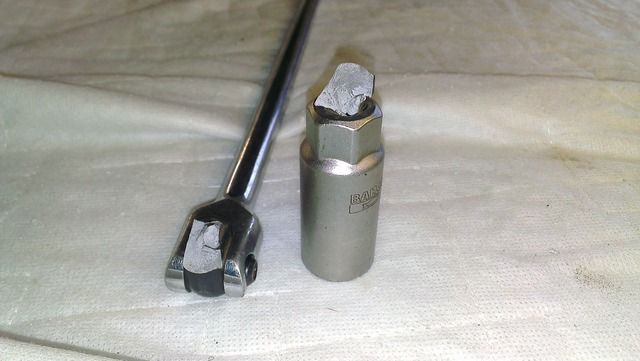
It may have taken a full day and resulted with me having to buy a new breaker bar and an extra socket set but I eventually got it out...in one piece, which is a bonus!
I still haven't touched the fronts due to the delay, but the rear is fully stripped down now.
MX5 Project Thread
|
Nic Barnes
Member
Registered: 5th Apr 04
Location: nowhere near ginger people
User status: Offline
|
Bloke round here has used the back end of one of these to make his Corsa b 4x4.
|
nibnob21
Premium Member
Registered: 16th May 10
Location: South Derbyshire
User status: Offline
|
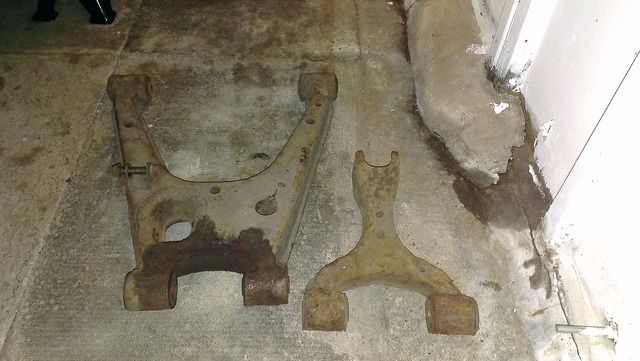
More stripping down completed.

Lots of bolts that need soaking in vinegar before cleaning up.
Track rod ends and ball joints are fine but several of the boots are split so I'm going to have to replace them. Not cheap at around seven or eight quid each. Seems a lot for a small bit of rubber. Pricing up them, the wishbone and arb bushes and new split pins comes to over £400. That's over £400 I hadn't budgeted. Poop. No point ignoring it while I have it stripped down though.
Only parts left to strip now are the front upper wishbones.
MX5 Project Thread
|
nibnob21
Premium Member
Registered: 16th May 10
Location: South Derbyshire
User status: Offline
|
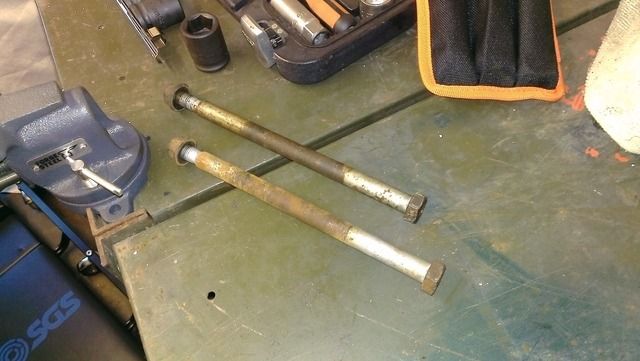
Turns out it was easier than I first thought to remove the front upper wishbone bolts.
I had just enough access with my breaker bars and sockets to get it done.
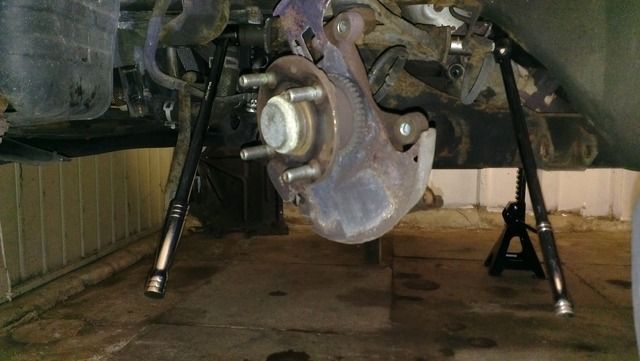
Just need to get all of the ball joints and track rod ends separated now.

MX5 Project Thread
|
Ben G
Member
Registered: 12th Jan 07
Location: Essex
User status: Offline
|
Great work, nibnob. Looks shocking now, but will be worth it once done.
|
nibnob21
Premium Member
Registered: 16th May 10
Location: South Derbyshire
User status: Offline
|
quote:
Originally posted by Ben G
Great work, nibnob. Looks shocking now, but will be worth it once done.
Yeah it's looking a bit sorry for itself at the moment. Bought a couple of bits last night to help along the way.
- Bush removal/installer kit.
- Heavy duty wire wheels for my grinder. Should be a fair bit quicker than the small ones I have for my drill.
- Ball joint splitter tool.
Hopefully that lot will be here for the weekend so I can get started on cleaning the wishbones.
Need to order the new bushes and underseal soon.
MX5 Project Thread
|
djgritt
Premium Member
 Registered: 1st Nov 07
Location: Dorset Drives: Focus ST / Hyundai i20N
User status: Offline
|
Cracking on!
|
nibnob21
Premium Member
Registered: 16th May 10
Location: South Derbyshire
User status: Offline
|
quote:
Originally posted by djgritt
Cracking on!
Not very fast. Original intention was to have it done by mid March. No chance that's happening lol.
It'll take as long as it takes, no point rushing the jobs. Just not getting as much time to work on it as I was hoping to.
MX5 Project Thread
|
nibnob21
Premium Member
Registered: 16th May 10
Location: South Derbyshire
User status: Offline
|
Went to separate all of the ball joints and track rod ends yesterday but the tool sheared on the second one Seller has offered a free replacement though.
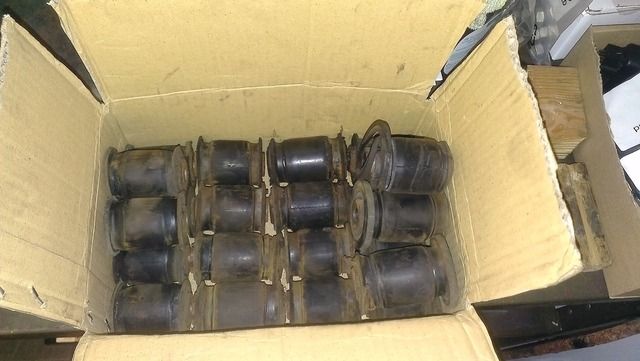
Managed to get all 22 bushes removed today with no real dramas. Very relieved to have that job out of the way!

Next up is to start attacking the wishbones with a wire wheel.
[Edited on 21-02-2016 by nibnob21]
MX5 Project Thread
|
3CorsaMeal
Member
Registered: 11th Apr 02
User status: Offline
|
Don't get vinegar, buy a 1kg tub of citric acid granules from ebay, its the same ingredient as bilt hammer deox, but costs about £6 and lasts ages.
|
3CorsaMeal
Member
Registered: 11th Apr 02
User status: Offline
|
Nice work btw, should be a sorted mx5 when you finish 
I quite like the wheel
|
nibnob21
Premium Member
Registered: 16th May 10
Location: South Derbyshire
User status: Offline
|
Funny you should mention that, I was looking at Deox C today. Got an old porcelain tub out the back left by the previous owners that I haven't got round to chucking out yet. Could work well as a derusting bath for my wishbones.
MX5 Project Thread
|
nibnob21
Premium Member
Registered: 16th May 10
Location: South Derbyshire
User status: Offline
|
Track rod ends separated:
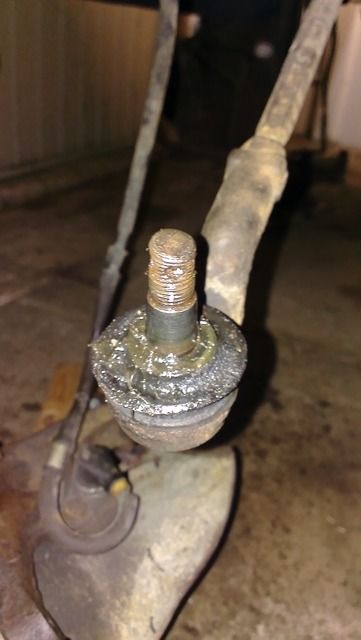
Lower ball joints were an utter bastard. Finally managed to get them separated with a 4lb club hammer, ear defenders and persistence.

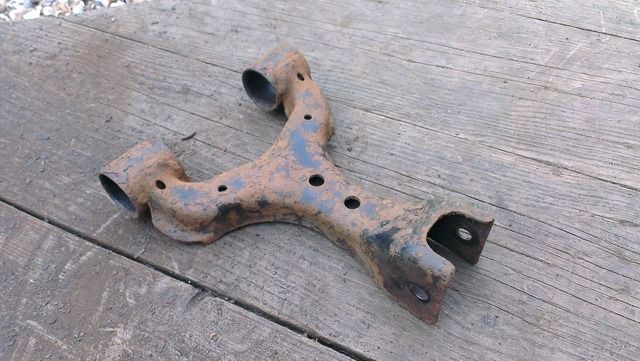
Finished going over the wishbones with a wire brush. Only a couple of pictures but they're pretty representative of the full set.
Before:
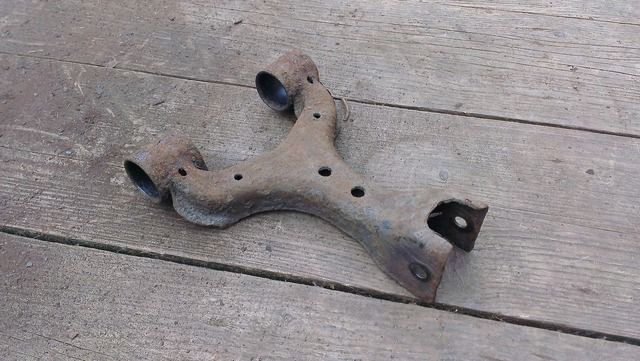
After:
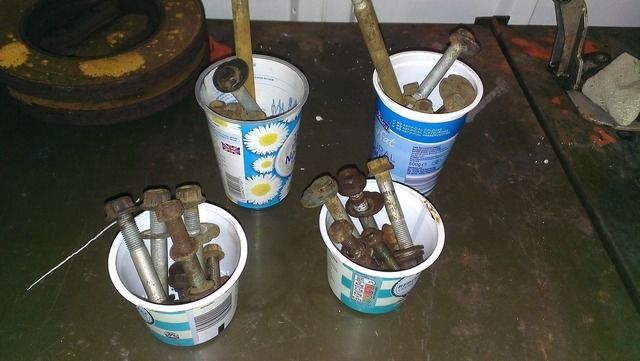
Ended up buying citric acid for rust removal instead of any expensive products. Thought I'd give it a test on a couple of rusty nuts first. Just a teaspoon's worth in this little jar.
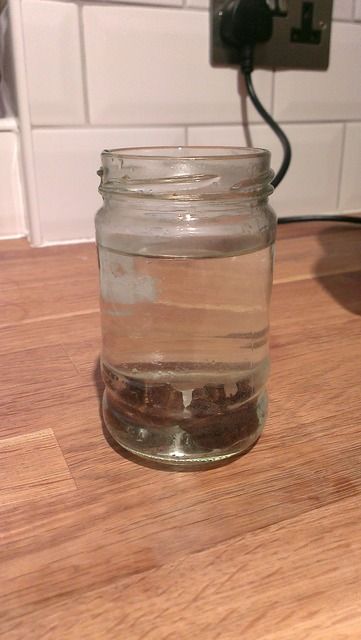
The solution turned green after a few hours as it ate away the rust:
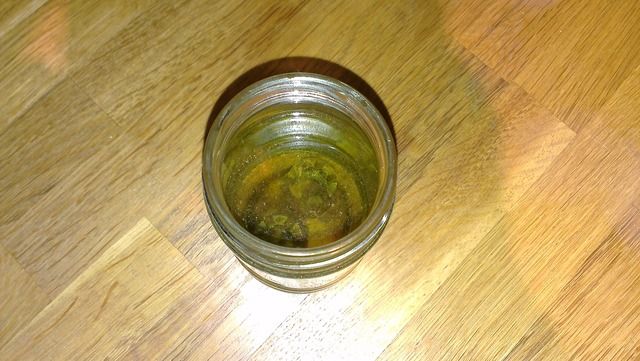
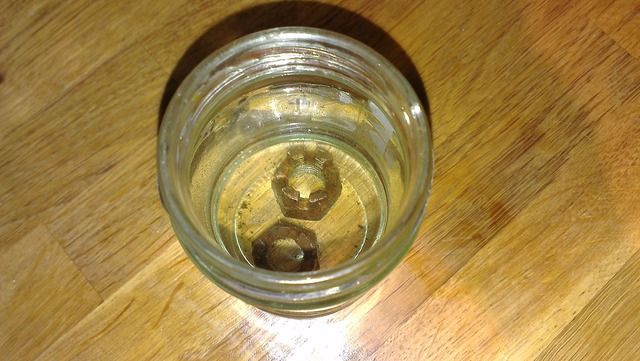
After 24 hours with no agitation, just a very quick rinse they look like this. Pretty impressive results I'd say. They were completely covered in rust before.

MX5 Project Thread
|
boylers11
Member
Registered: 27th Jul 06
Location: Shropshire
User status: Offline
|
Good job! Sometimes the simple solutions are the best eh? Have you considered a wire brush adaptor for your drill/angle grinder? I've got a few drill ones and they're great, especially for items like wishbones and save the effort of a wire brush manually!
|


