nibnob21
Premium Member
 Registered: 16th May 10
Location: South Derbyshire
User status: Offline
|
quote:
Originally posted by djgritt
Looking good.
Cheers Dave 
quote:
Originally posted by boylers11
Photos and car look great! Loving the attention to detail. The multiple small touches have made a massive difference. Are those mirrors standard? They're the only bit I'm not sure about! Keep the progress updates coming
Thanks boylers I always enjoy the smaller touches most. I'm not a fan of things too in your face so go for a more subtle approach.
Mirrors aren't standard. They were a bit of a gamble on my part but I quite like them. One of my standard mirrors was seized and the other was way too loose, so they had to be changed. A set of second hand standard ones was pretty expensive so I experimented with going down the more retro look route.
MX5 Project Thread
|
nibnob21
Premium Member
Registered: 16th May 10
Location: South Derbyshire
User status: Offline
|
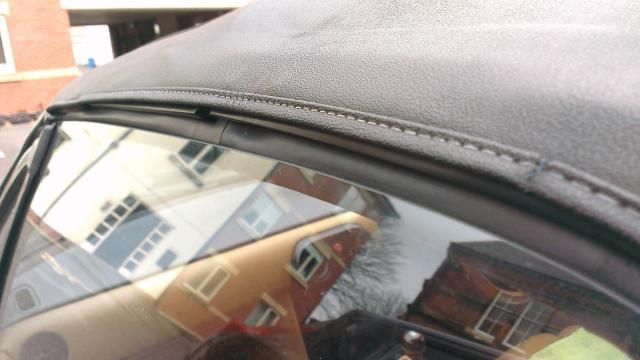
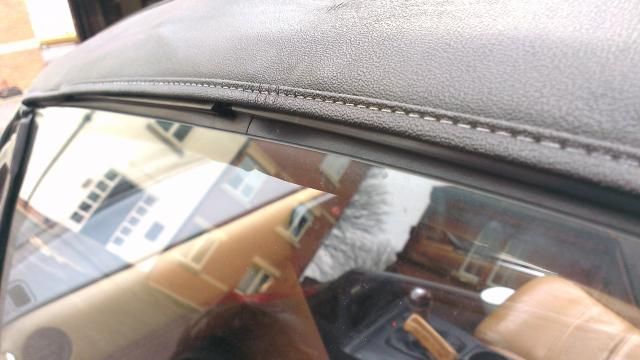
Been suffering from a leaky roof since I got the car and I've tried various things to sort it: checked all drain holes are clear, replaced the roof locating nipples, adjusted the roof latches, adjusted the rubber window seals...nothing has worked.
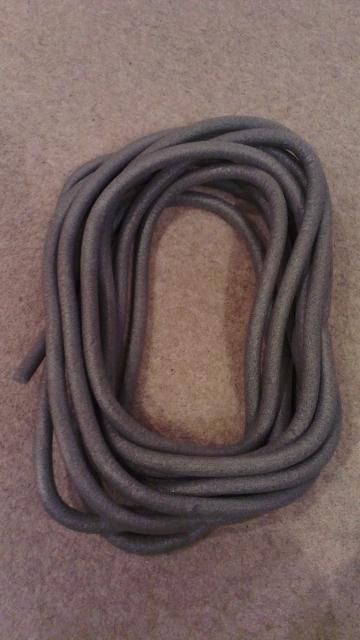
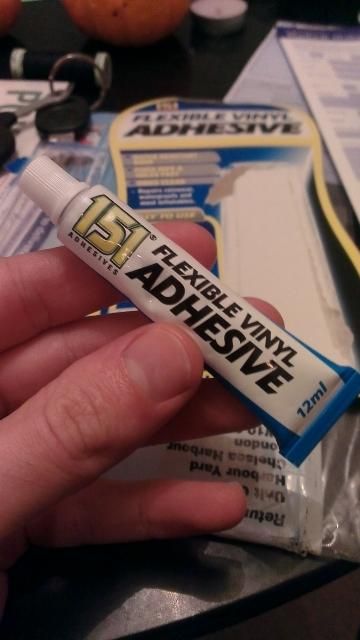
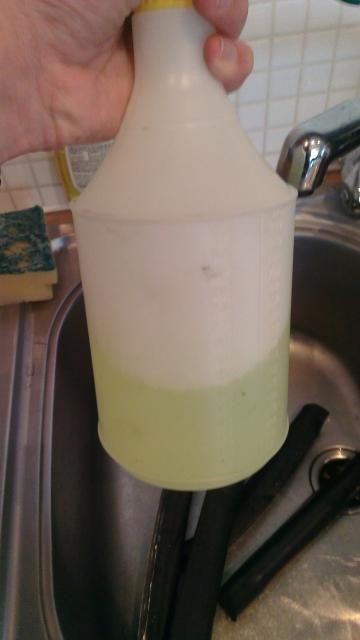
I had one last thing to try before admitting defeat and investing in a new roof. After doing some research I found that other people with the same problem stuff the seals with foam. The success rate seemed fairly high so thought it was worth a punt. I bought some 15mm diameter closed cell foam and some neoprene glue to stuff the rubber seals and then seal them up.
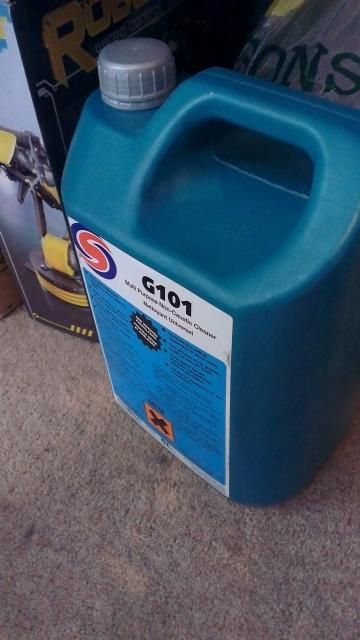
Got the four top seals off the car and gave them a good clean with Autosmart G101 APC. That stuff is so good, can be used around the house when diluted or used in a higher concentration for engine bay cleaning etc. I always use it to clean my bike, just leave it to soak for a couple of minutes and the dirt comes off really easily.
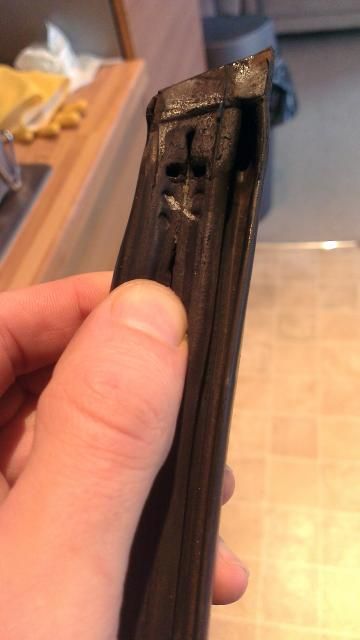
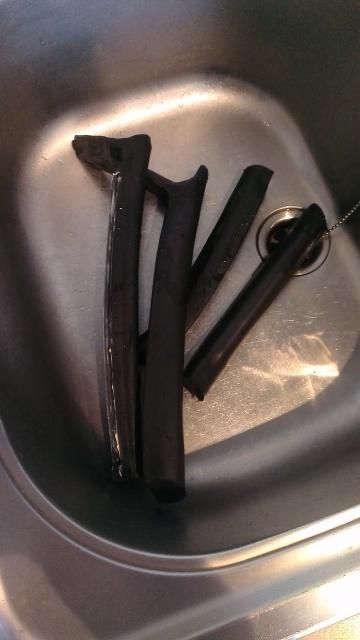
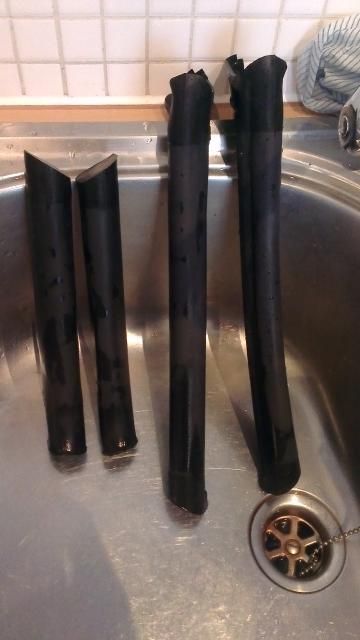
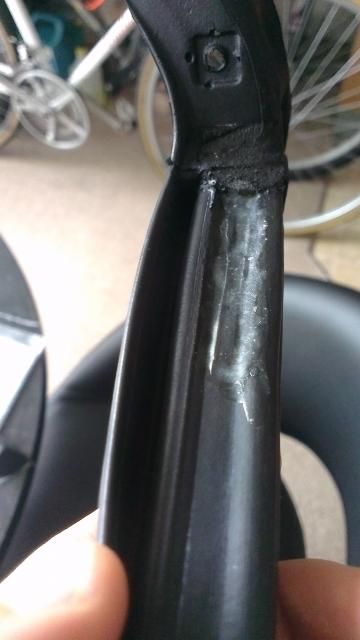
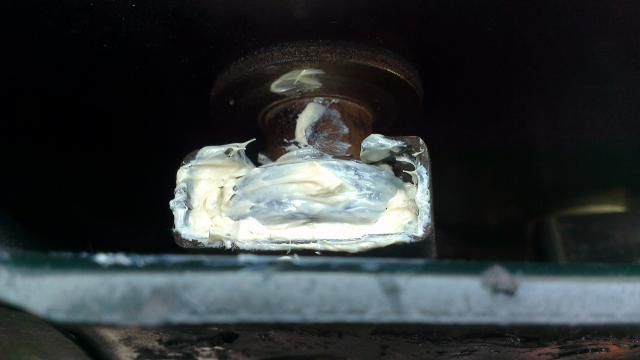
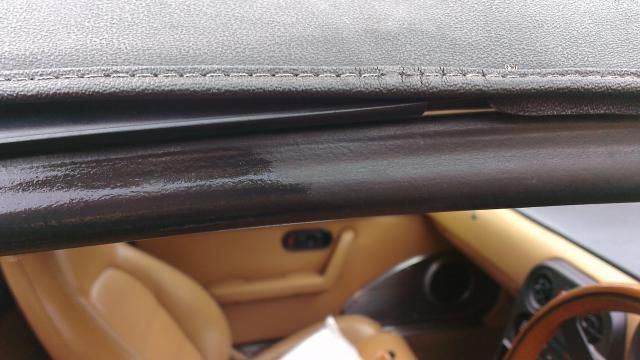
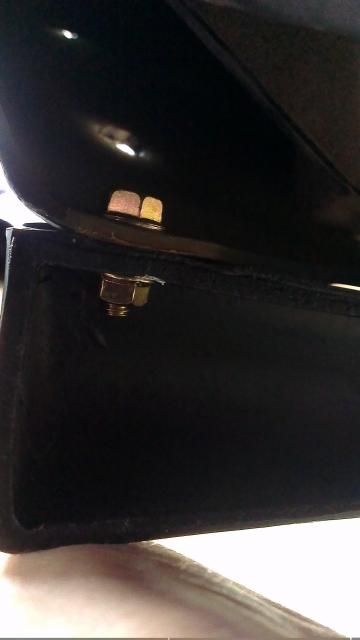
Stuffed the seals with the foam:

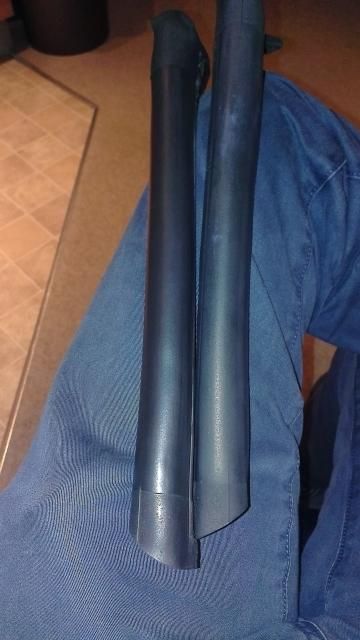
On the pic below the one on the left is done, one on the right isn't. To be fair it doesn't really look any different in the photo but with the foam inserted the seals are more plump, and more importantly they are firmer which should create a better seal against the window.
Then glued them up and used clothes pegs to hold them together:
24 hours later all done and dry:
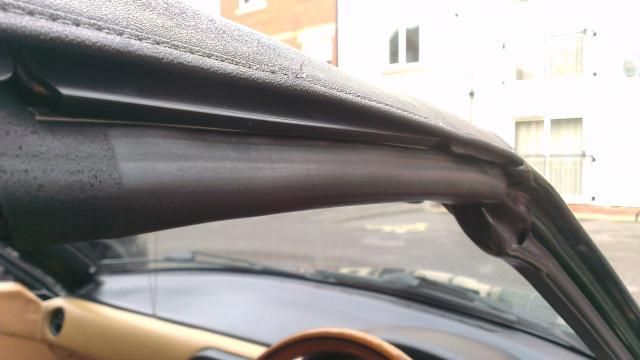
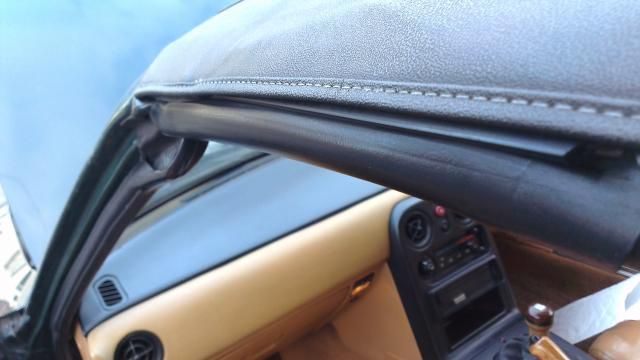
Refitted the seals:
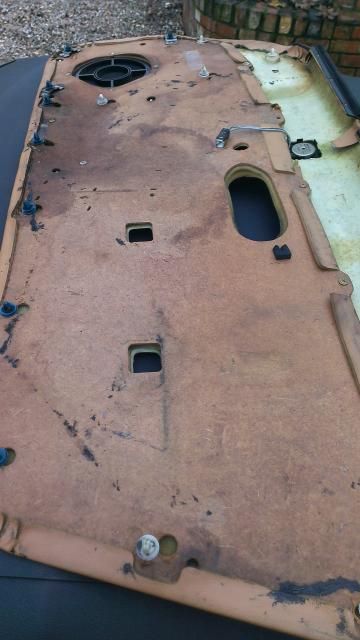
I also noticed the passenger side window was sitting a bit far down, so figured that wouldn't be helping the old leaking problem on that side. Took the door card off to adjust the window stops. Door card has definitely seen better days! Bit damp.
Window before and after:
Thought I'd quickly grease the runners while I was there as the windows on old MX5s are notorious for taking an age to go up and down:
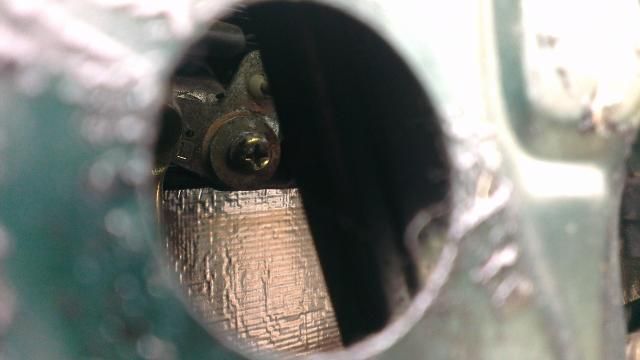
One final thing while I had the door card off; the passenger door handle has been a bit loose and floppy since I got the car. I thought I'd investigate. Turns out it was just a case of a loose screw on the lock mechanism inside the door. No room to get a proper screwdriver or ratchet in there so just had to do it up as tight as I could by hand. Seems to have done the trick though
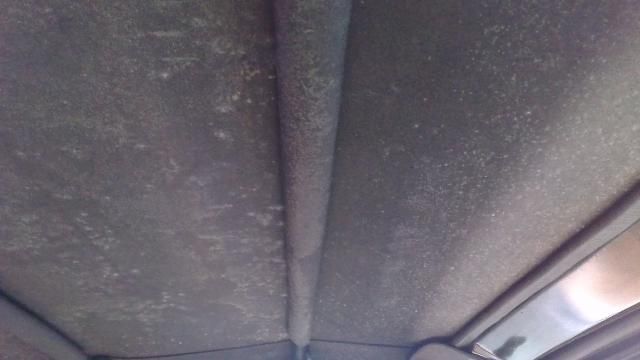
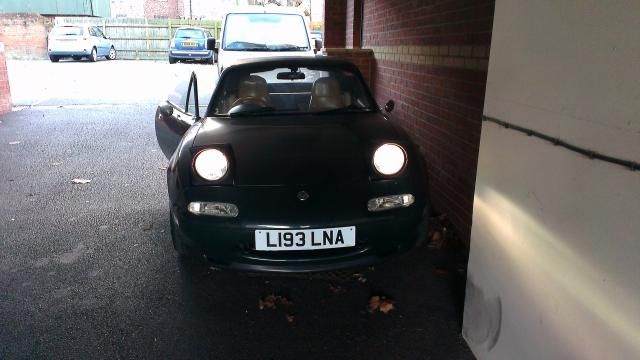
Normally I park my car under the building I live in, so it's effectively garaged. However some poopy person had parked their work van there for the last two weeks, leaving my car out in the open getting rained on with a leaky roof. Not good. The car wasn't used during that time and so the inside had got very damp. Cue mouldy roof:
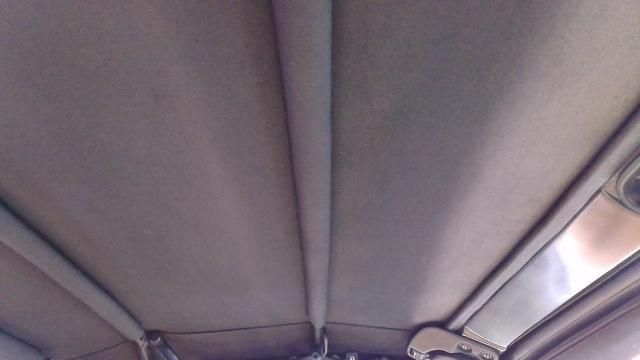
Gave it a good wipe down, along with the rest of the interior:
Took it for a drive with the blowers on full blast and full heat to try and dry it out a bit. Hopefully that, along with working on the seals, should prevent it from reoccurring. Also if I'm not using the car for a while I should probably at least start it every week and give the heaters a blast.
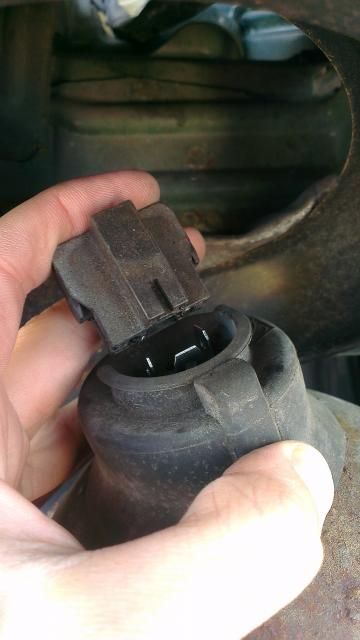
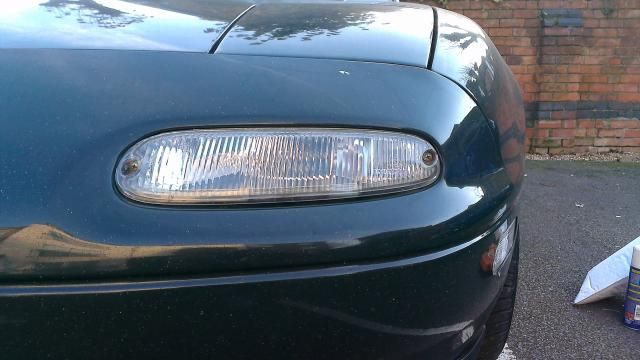
Onto another small issue; a couple of weeks ago driving along the motorway a car in front flicked up some debris that damaged the car 

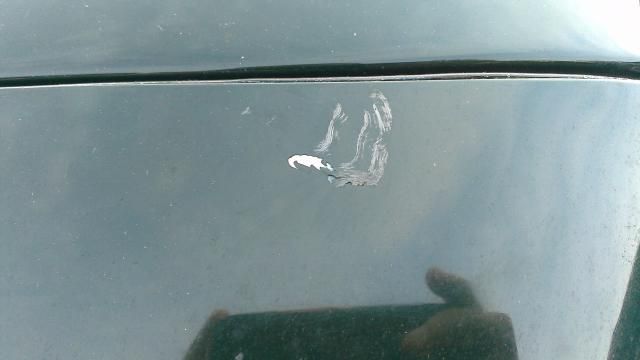
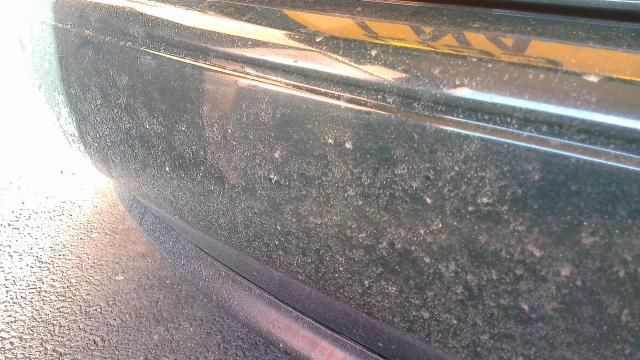
Still need to source a new light but it's just the lens that is damaged so no massive rush. Got some of the plastic deposits off the front bumper but need to give it a polish at some point to get rid of the remaining scuffs. Shame about the proper big chip though
It also bent my grille quite a bit:
Easily straightened it out though and bolted it back on.
And the overall result with the seals? Well so far, good news. Drove the car in the pouring rain for ~1.5 hours on Friday, it was then left exposed to the rain over night...and...it didn't leak! Hopefully it stays that way.
MX5 Project Thread
|
nibnob21
Premium Member
Registered: 16th May 10
Location: South Derbyshire
User status: Offline
|
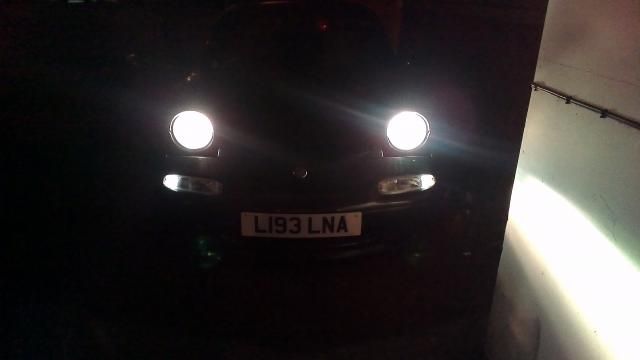
Changed my headlight bulbs today. I've been using SMD sidelights and my current headlights are very yellow, so the two together just looked crap. I'd read good things about the MTEC Cosmos Blue bulbs and they seemed cheap enough so I bought some of them and some matching sidelight bulbs.
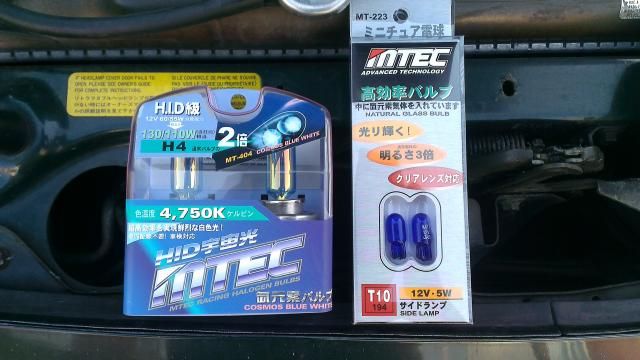
Link: MTEC 12v 55w Cosmos Blue HID Class upgrade bulbs H1, H4, H7, H8, H9, H11, 9005, 9006 - HIDS DIRECT LTD Store | HIDS Direct Ltd. for HID Xenon kits, Xenon bulbs, MTEC bulbs, LED's, Car Parts and Air Suspension
5% off with code 'SOCIAL5'.
So I set about fitting them. I'll let the pictures do the talking:
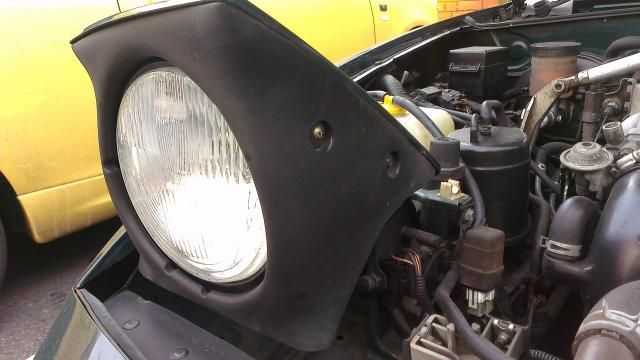
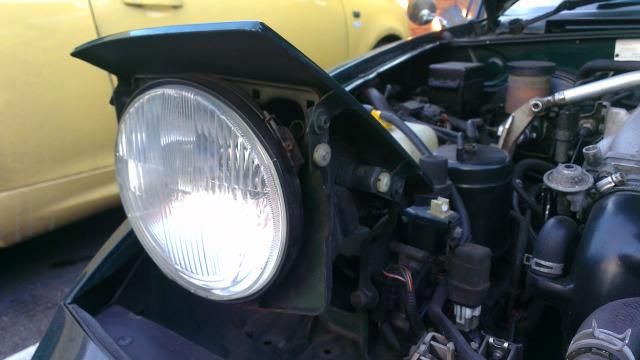
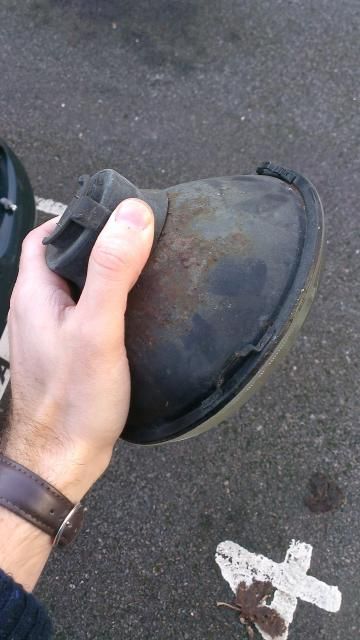


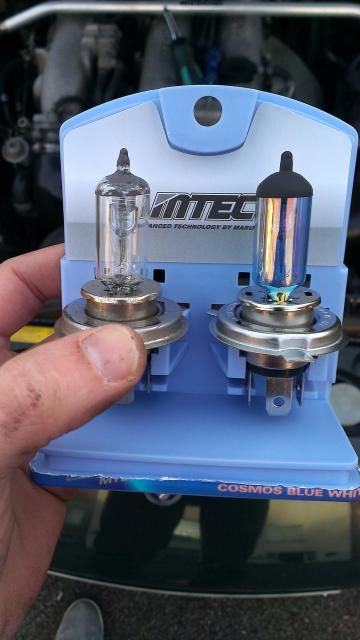
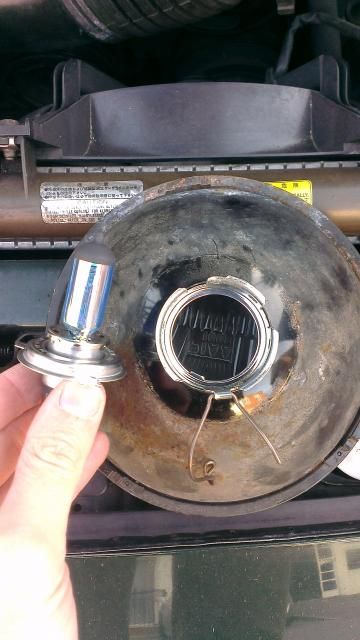
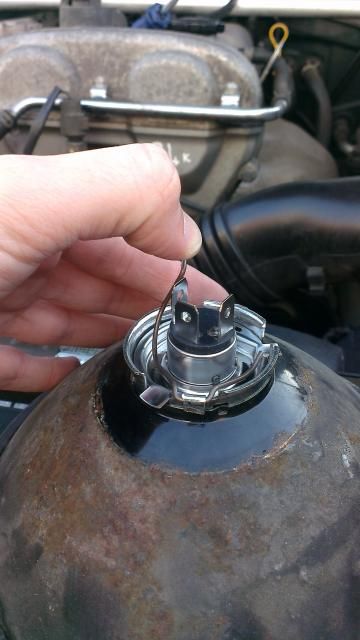
Old one:
New one:
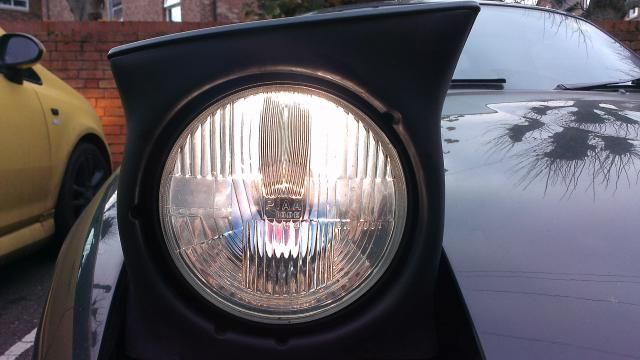
One new, one old:

Both new:
Then as shown in a previous post, one of my sidelights got smashed. Huge thanks to a local chap on MX5Nutz who kindly donated new sidelights Got them cleaned up, chucked them in the oven and detangoed them.
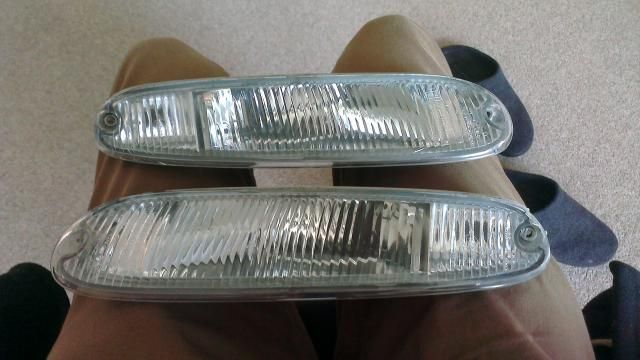
And fitted on the car:
So glad to have it sorted again now. I've kept my old units and thrown away the lenses as I may attempt some DIY TSIs at some point in the future. This sort of thing: http://www.jassperformance.com/img/performance/slider2/s02_02_02.png
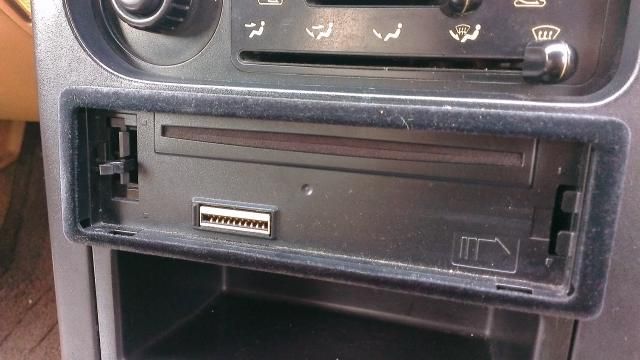
One other thing that's bugged me since getting the car is the flocked surround I have on my CD player. I had quite a few flocked parts on my Corsa but it really doesn't suit this. So I spent far too much money on a tiny bit of plastic:

Then one final thing I've got to help prevent the leaks from returning is some of this stuff: Einszett gummi pflege / rubber care stick - 100ml Car Care Rubber Seal | eBay
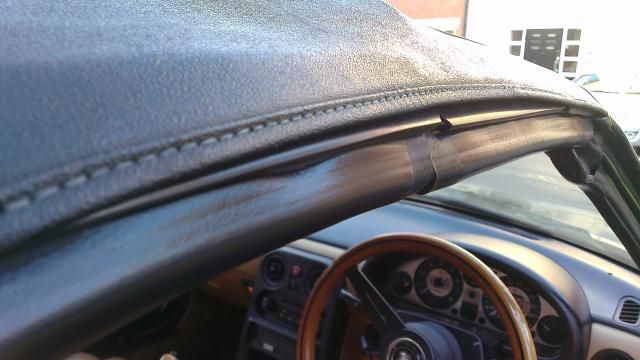
As you can see it revives the tired rubber:
Much better for the rubbers than Vaseline. They're looking much healthier now.
MX5 Project Thread
|
nibnob21
Premium Member
Registered: 16th May 10
Location: South Derbyshire
User status: Offline
|
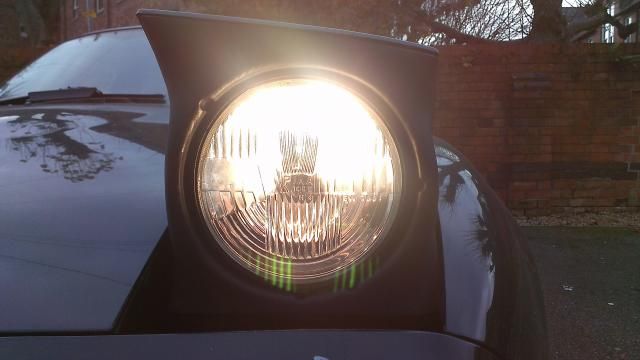
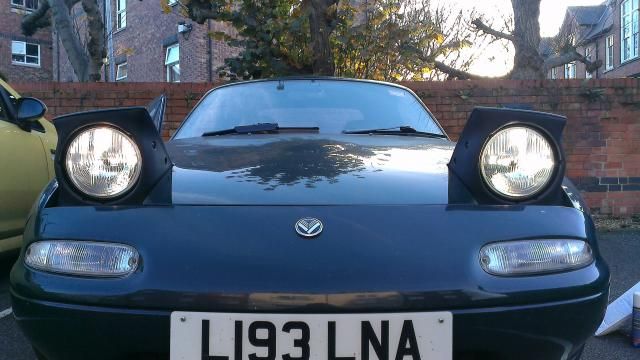
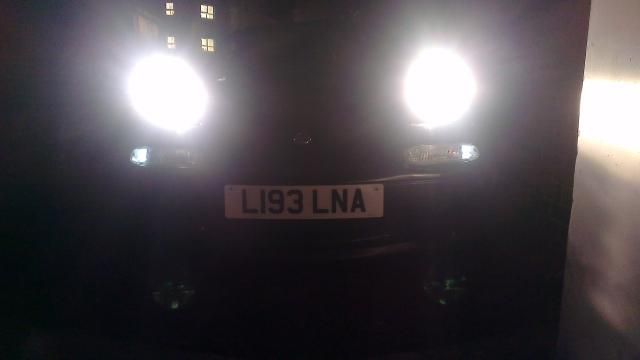
Better photos of the new lights:

I finished work yesterday until Jan 5th, so had time to spend on the car today.
First job was to quickly clean the headlights; just a couple of journeys with light spray and they get filthy.
Then I reapplied some Gummi Pflege to the roof seals. On the topic, just a quick update on the whole leaky roof thing, it seems to be holding up very well. Since stuffing the seals I've driven the car on a couple of occasions in absolutely horrid weather and I've had no leaks! Really happy about that
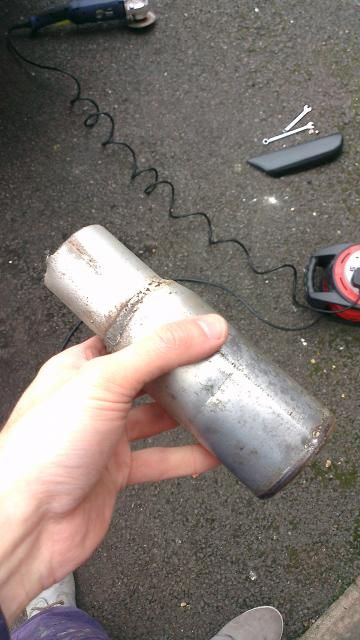
My exhaust looks very sorry for itself:

So I had the thought to try and clean it up a bit. So on I proceeded, happy as Larry in my own little world, and started to lightly sand it with 600 grit wet and dry. Then I suddenly had the realisation that I was trying to clean up mild steel. So what I was doing was quite frankly pointless  I'm not wanting to fork out for a nice stainless aftermarket backbox so I think I may just cut the tip off and buy an eBay special shiny tip to replace it. I'm not wanting to fork out for a nice stainless aftermarket backbox so I think I may just cut the tip off and buy an eBay special shiny tip to replace it.
Final and main job of the day was to fit an R-Package rear lip (matches the front).
I started by bolting one end of it to the rear bumper using an existing hole:
Then marked up the rear bumper, drilled it, and bolted the other end on:
I could then mark all the other points to drill. It was at this point I noticed some very subtle markings I hadn't seen before. And low and behold they all lined up with the holes in the lip (bar one that was slightly off). See the little dimpled cross?:
So that saved me a load of hassle. I drilled out all the holes where the dimples were and bolted on the lip and separate smaller section with ease
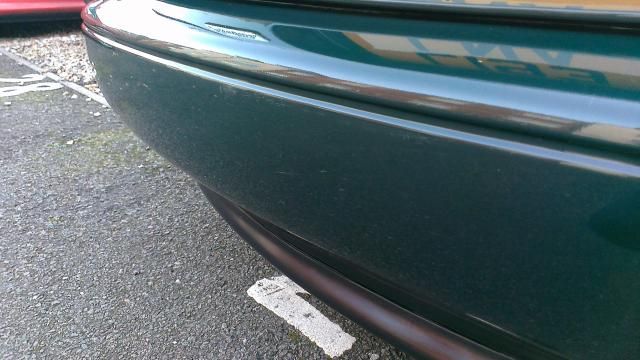
A before and a few afters:
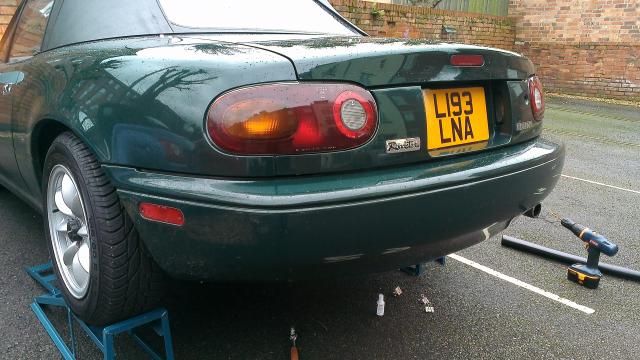
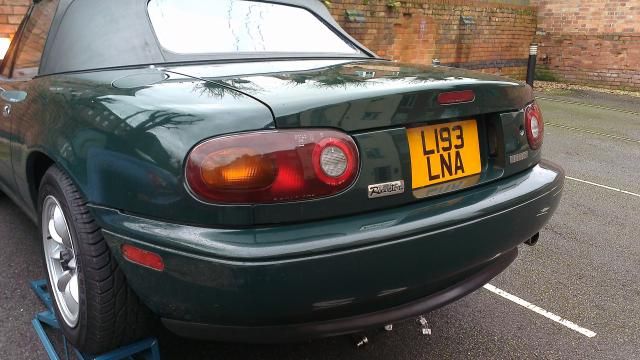
Not the best photos but you get the idea.
I absolutely love it. The line of the rear bumper, sills and front lip all tie together really nicely now.
MX5 Project Thread
|
Haimsey
Premium Member
 Registered: 8th May 05
Location: Nottingham Drives: Corsa B
User status: Offline
|
Looks good, very smart.
Where are your ramps from?
Marcy Marc 
White Sport Progress Thread
|
nibnob21
Premium Member
Registered: 16th May 10
Location: South Derbyshire
User status: Offline
|
Cheers
Ramps are just cheap ones from machine mart with the extensions too.
https://www.machinemart.co.uk/shop/product/details/car-ramps-cr2
https://www.machinemart.co.uk/shop/product/details/car-ramp-extensions
MX5 Project Thread
|
boylers11
Member
Registered: 27th Jul 06
Location: Shropshire
User status: Offline
|
Looking good. Really enjoy these updates
|
nibnob21
Premium Member
Registered: 16th May 10
Location: South Derbyshire
User status: Offline
|
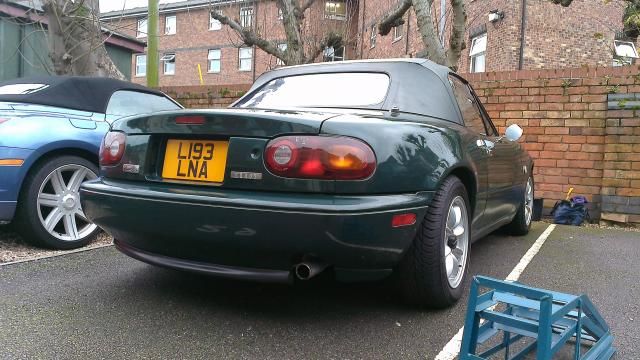
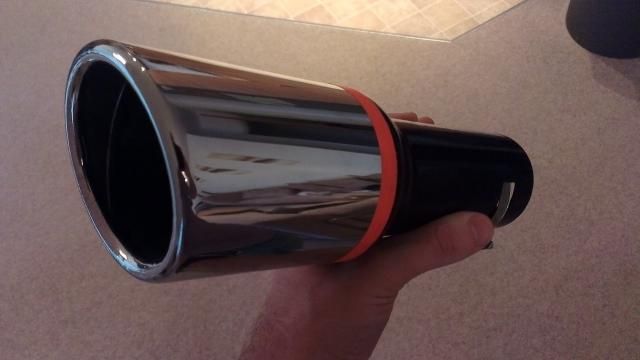
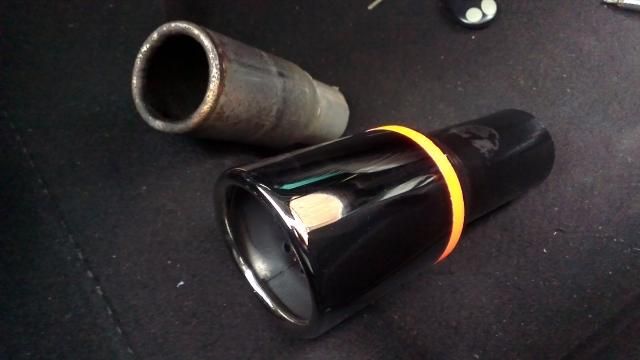
Well my cheap ebay exhaust tip arrived pretty quickly. Cheating or not, tacky or not, it looks a darn sight better than the tatty peashooter the car did have. Also remarkably good quality for something that cost less than £8 delivered.
Had to get the grinder involved:
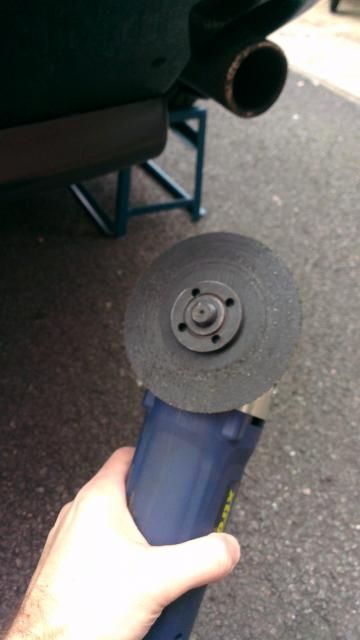
Bit fiddly but got there in the end without damaging anything else under the car. As you can see I had to remove the small section of rear lip so I could get better access to the exhaust:
Here's the before:
And after. Fills the exhaust recess much better and is nice and shiny
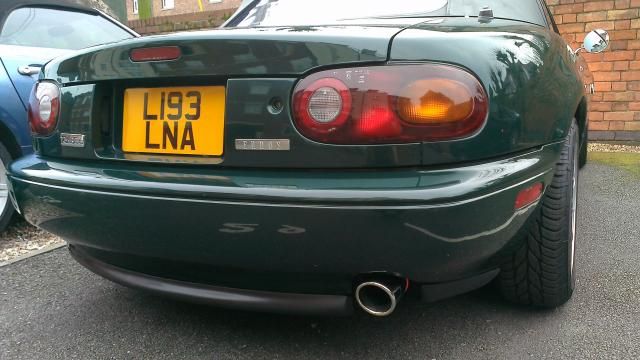
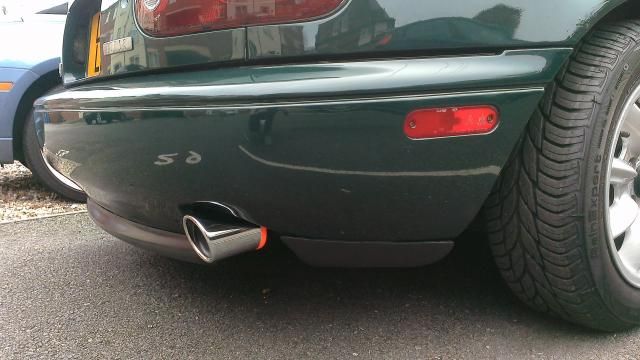
It attaches with a jubilee clip but that gets hidden nicely by the rear lip. So you really wouldn't know it's just a tip unless you really got down close and had a poke around.
MX5 Project Thread
|
pow
Premium Member
 Registered: 11th Sep 06
Location: Hazlemere, Buckinghamshire
User status: Offline
|
 Camber on that wheel looks a bit offski Camber on that wheel looks a bit offski
|
nibnob21
Premium Member
Registered: 16th May 10
Location: South Derbyshire
User status: Offline
|
Think it's just the angle of the photo and uneven tarmac. Had a four wheel alignment earlier in the year.
MX5 Project Thread
|
Baskey
Member
Registered: 31st May 06
User status: Offline
|
Looking good it's sooo clean, iv stuck mine in a barn at my parents for the winter to stop it rotting.
Think i might take it for a good drive on Christmas morning
|
djgritt
Premium Member
 Registered: 1st Nov 07
Location: Dorset Drives: Focus ST / Hyundai i20N
User status: Offline
|
Looks good.
Would that coloured band on the new Tip not come off? Lets it down a little when you can see it, otherwise, not bad atall!
|
nibnob21
Premium Member
Registered: 16th May 10
Location: South Derbyshire
User status: Offline
|
Didn't want to take it off as who knows what's lurking beneath lol. I thought it would look crap bit the strip doesn't look too bad in person, in my opinion. Not sure what I'd cover it with, black insulation tape? Not going to spend money on black heat resistant paint for the sake of it.
MX5 Project Thread
|
nibnob21
Premium Member
Registered: 16th May 10
Location: South Derbyshire
User status: Offline
|
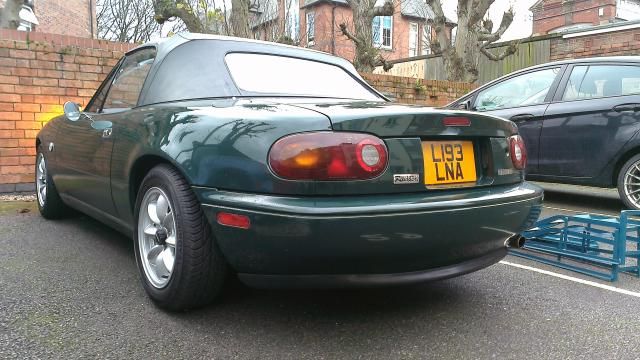
Better pics of rear lip and exhaust:

MX5 Project Thread
|
nibnob21
Premium Member
Registered: 16th May 10
Location: South Derbyshire
User status: Offline
|
Tried to have a crack at sorting a few niggly bits today. I was hoping my oil filter would turn up today but no luck unfortunately.
At certain revs my gear stick has been making a small rattle noise which goes away when I hold the knob. Took the centre console out and there aren't any loose screws/bolts. Gave them all a nip up anyway and reassembled. We'll see whether it comes back or not.
Another thing that annoys me is what I think is gear chatter/lash. A very common issue with MX5s if the PPF (power plant frame) hasn't been correctly aligned after work on the gearbox. It's essentially a large frame that connects the gearbox to the diff. So I thought it was a worth a try realigning it. I read up on it and most people say just try and raise the rear of the gearbox as high as you can with a jack then tighten the bolts back up (proper manual says 61-71mm gap between ppf and chassis rails). Mine did appear to be sitting a little low so time will tell if raising it has changed anything.
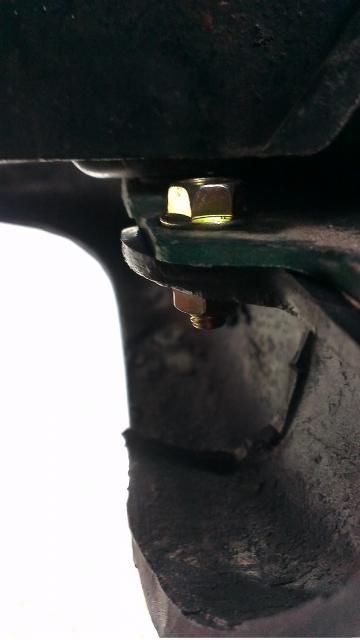
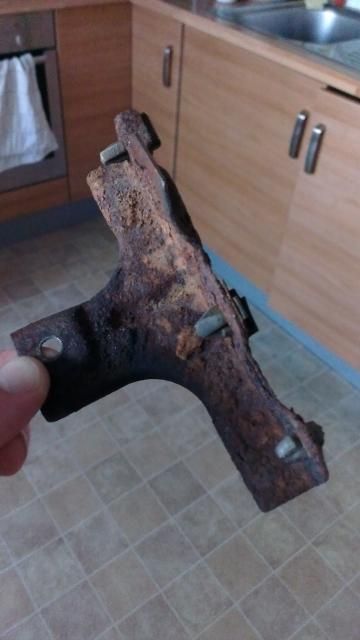
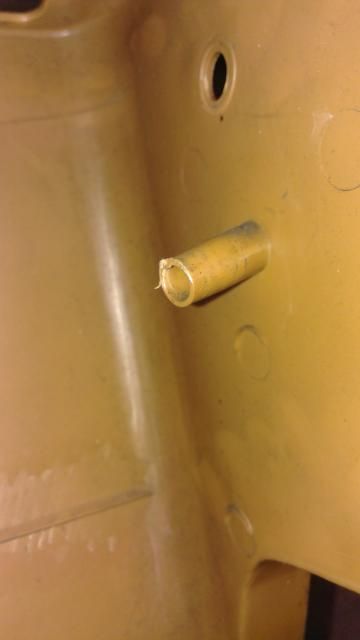
While I was under the car I came across this flimsy and rusty bracket not doing anything so unbolted it:
And something I'd noticed before but not done anything about was a cable that was just tied in a knot dangling there. No idea what it's for, looks like it could be a temp probe for the old CAT. Anyway, I thought I'd make it more secure and cable tied it to another cable:

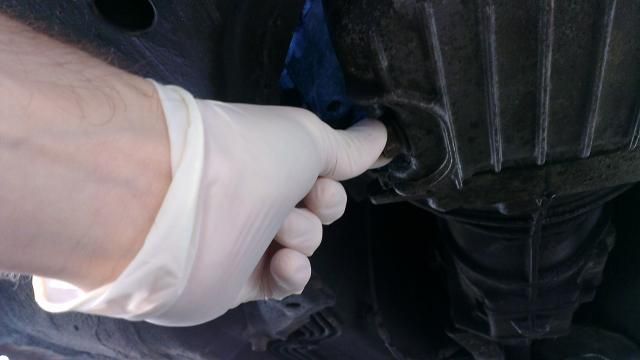
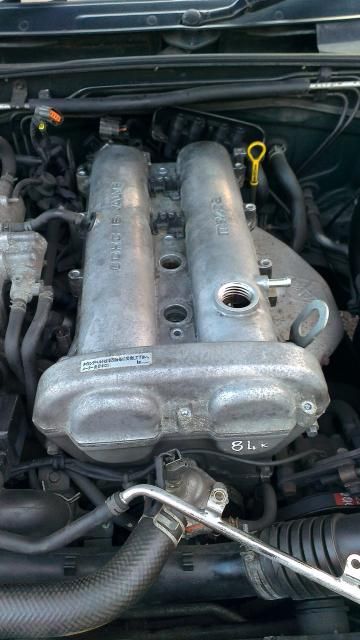
Also noticed the car had used a bit of oil the other day. Discovered quite a bit of oil on the bottom of the engine and gearbox. Could be one of two things from further inspection: leaking cam cover gasket or damaged cam angle sensor o-ring, which is a common fault and could have been disturbed when doing the 14deg timing mod.
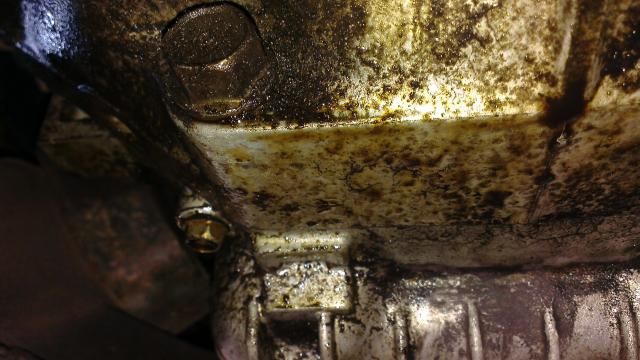
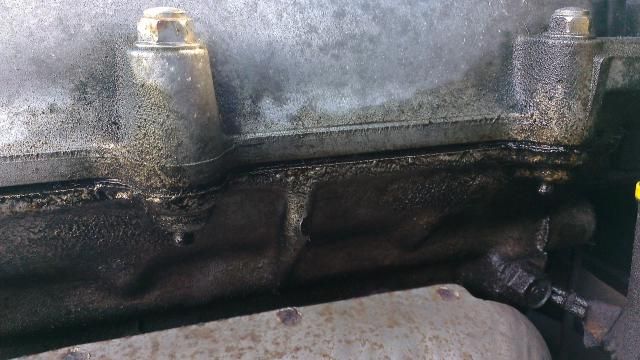
So I've ordered a replacement gasket and o-ring for the grand sum of £14 delivered. That's a job for next weekend sorted
Finally, a few hundred miles on the roads over Christmas had made the car filthy with horrible salty stuff (no jokes), so a wash was needed! Oh and the orange strip on the exhaust has made a bid for freedom at some point. Got distracted when I was taking 'before' pics and just got the one. So just took one 'after' as well.
Much better
MX5 Project Thread
|
nibnob21
Premium Member
Registered: 16th May 10
Location: South Derbyshire
User status: Offline
|
Got a few things done yesterday. Think I raised the gearbox up a bit too high last weekend as it was resulting in it fouling the chassis on start up. So lowered it back down a smidge and that's sorted it.
Then onto the main to do list:
Oil
Oil filter
Cam angle sensor o-ring
Cam cover gasket
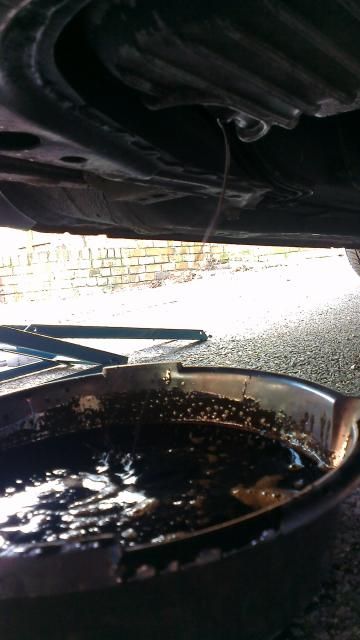
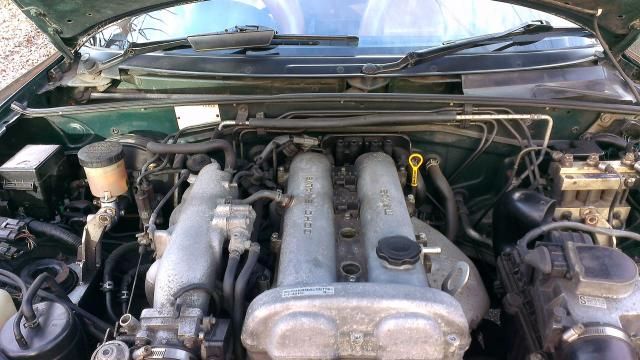
Warmed the car up then drained the oil:
The wind was not helping things:
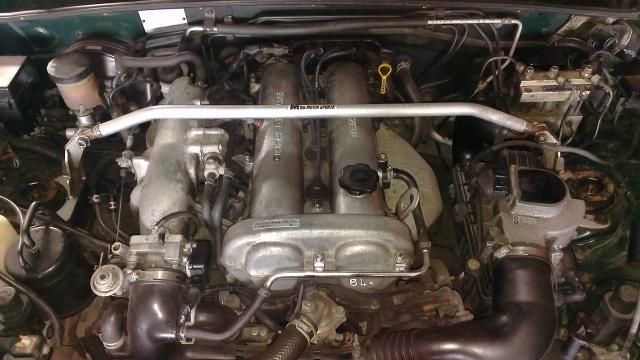
HT leads off and breather hose off:
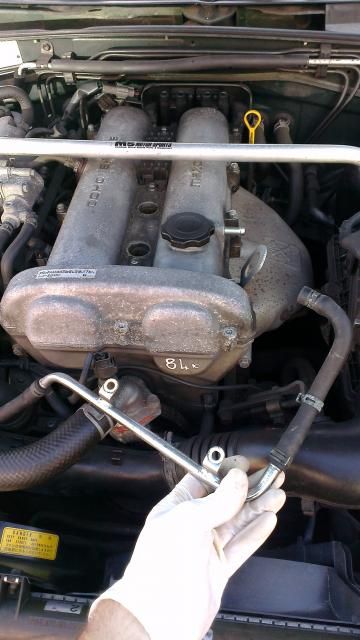
Looks like the strut brace is going to have to come off too:
Didn't fancy fiddling with the suspension top mount bolts so just took the strut bar out instead of the full lot:
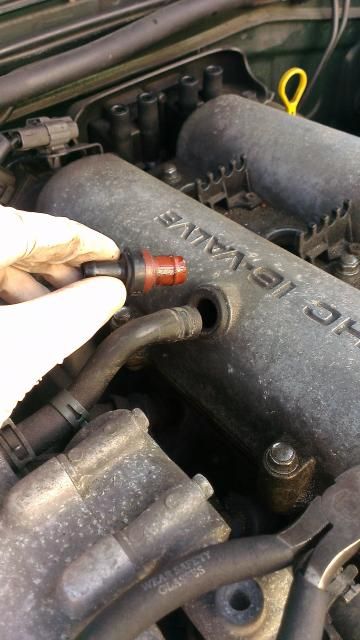
Positive crankcase ventilation valve out:
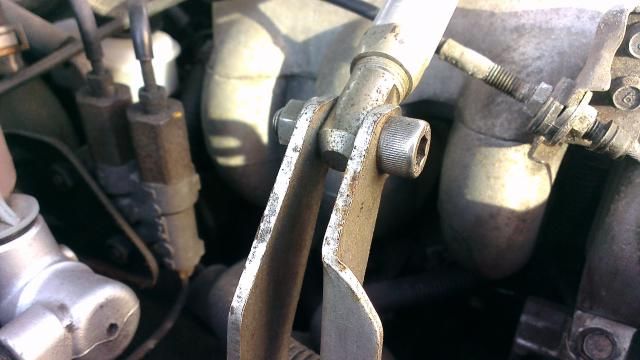
Top two coil pack bolts out:
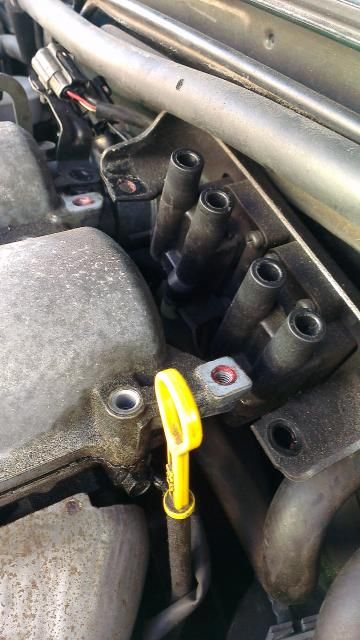
Whoever at Mazda decided on this third coil pack bolt located behind the engine about 2 inches from the bulkhead needs a clip round the ear. After a few scratches and difficulty I got it out.

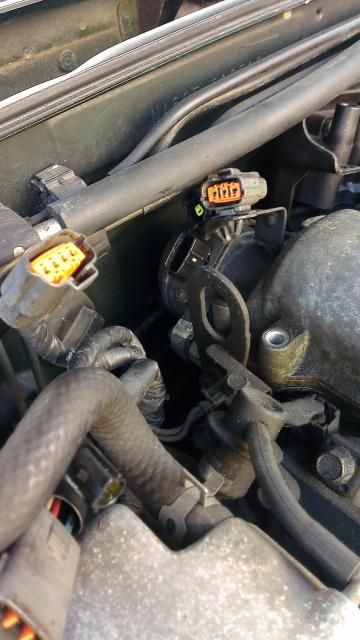
All these connectors disconnected:
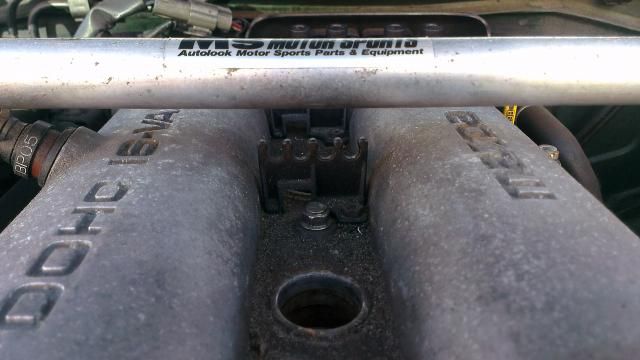
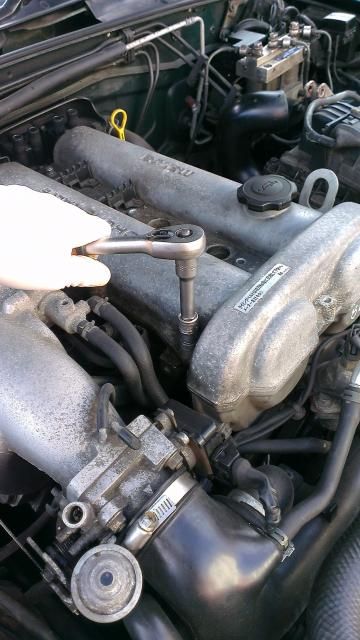
Cam cover bolts removed:
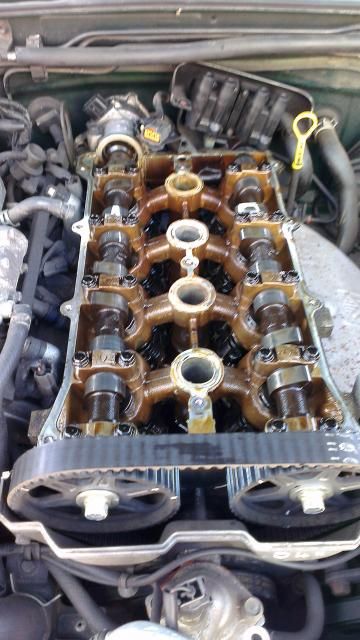
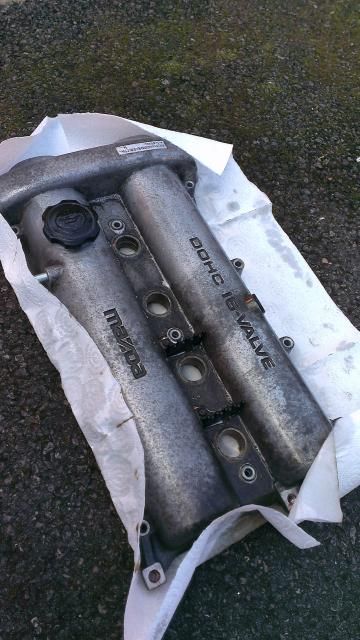
And cam cover removed. Bit of a blurry picture I know, but you can just about see at the rear how the face where the cam cover sits is looking a bit oily; hence why I'm replacing it.
Took the opportunity to check the condition of the cam belt. Was changed about 20k kms ago but that's about 6 or 7 years now I think but it seems in good condition. No signs of cracking etc.
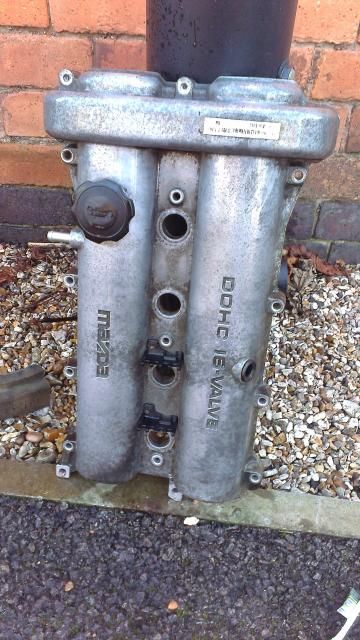
Took the opportunity to give it a very quick scrub. Before:
After:
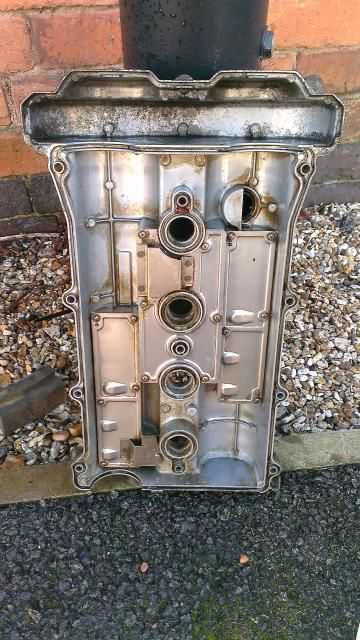
Cleaned the underside too with some degreaser and got a toothbrush in all the nooks and crannies to remove any bits left behind from the old gasket:
Cleaned up the cam angle sensor surface and made plenty of marks so I know when I refit it the timing will still be set right:
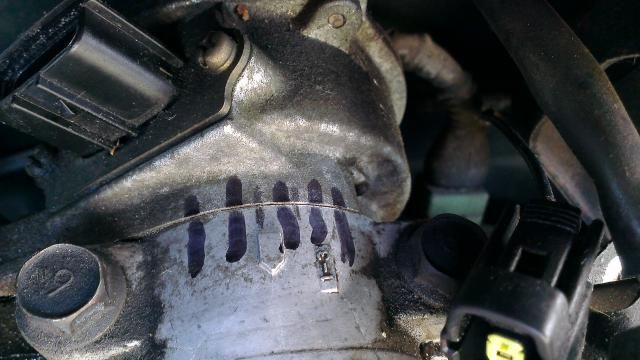
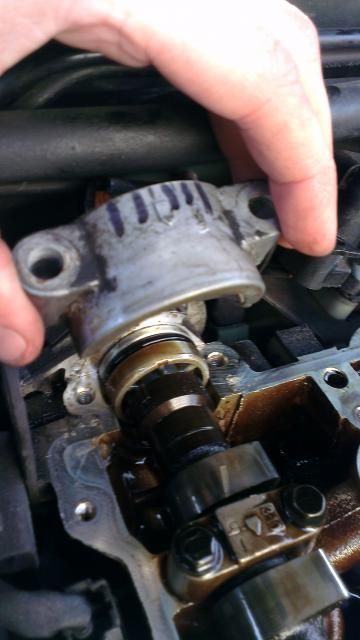
Top collar removed so the sensor can be lifted up and out as opposed to faffing around moving it backwards against the bulkhead:
Popped the sump plug back in with a new washer and replaced the old oil filter at this point. Impossible to avoid spilling oil all down the side of the engine when removing the old filter! Oh well.
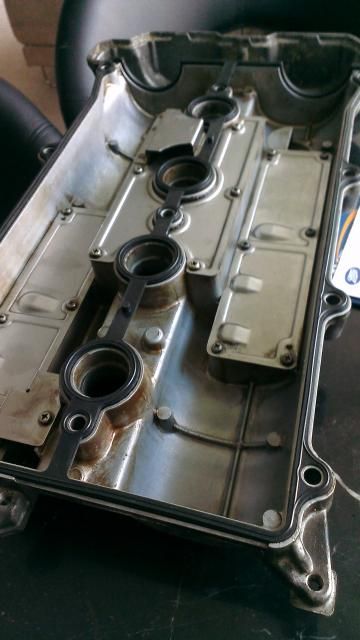
New cam cover gasket in:
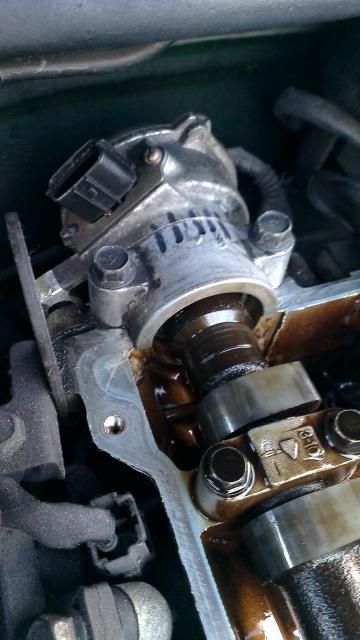
New o-ring fitted to the cam angle sensor and put back onto the engine, making sure the marks line up:
Used some high temp sealant in the appropriate places and popped the cam cover back on:
Tightened the cam cover bolts up in a spiral sequence until they were all sufficiently tight. Took a good 6 or 7 times going round until they were all done.
Popped everything else back together and filled it up with some Halfords semi-synthetic 10W40 oil:
Ran it for a few minutes and oil pressure was good and no signs of leaks. So all good for now. I'll keep an eye on it after a couple of drives.
MX5 Project Thread
|
Simon_16v
Member
Registered: 14th Aug 06
Location: Yorkshire
User status: Offline
|
How often are the belts meant to be changed? Surely you're risking it on a 6/7 year old belt?!
|
nibnob21
Premium Member
Registered: 16th May 10
Location: South Derbyshire
User status: Offline
|
quote:
Originally posted by Simon_16v
How often are the belts meant to be changed? Surely you're risking it on a 6/7 year old belt?!
Bizarrely I don't think Mazda ever specified a time interval in the UK. And the recommendations given for mileage seems to vary for different countries.
Something like 10 years and 100k in America. But around 60k for the UK with no time interval specified.
It's a non interference engine anyway, so even if it were to go it would leave me stranded but not with a damaged engine.
This belt has only done ~12,500 miles. I just had a flick through the old MOT certificates and it went past 84,000 kms at some point in 2009, so roughly 5 and a half years ago. Plus with the visual inspection I gave it I'm happy it's not going to go any time soon.
MX5 Project Thread
|
Baskey
Member
Registered: 31st May 06
User status: Offline
|
The cambelt snapped in my mk1 (exactly the same car as nibnobs)
As its a non interference engine there was no damage what so ever.
I got my local garage to wack a new belt and new tensioners on it. Cost about £200 for everything and now runs better than ever.
[Edited on 11-01-2015 by Baskey]
|
nibnob21
Premium Member
Registered: 16th May 10
Location: South Derbyshire
User status: Offline
|
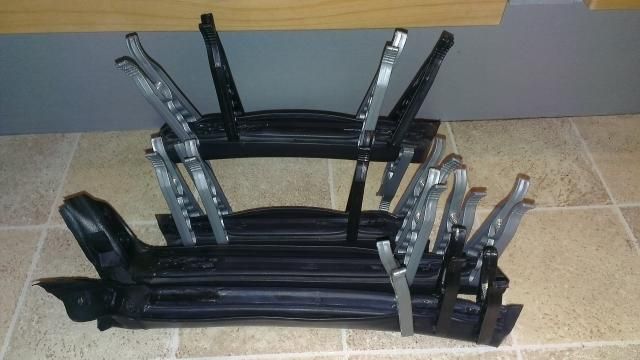
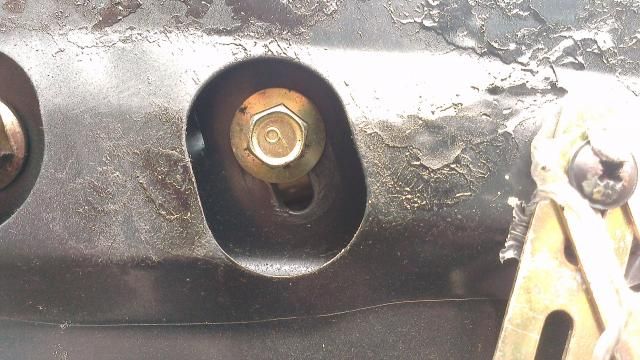
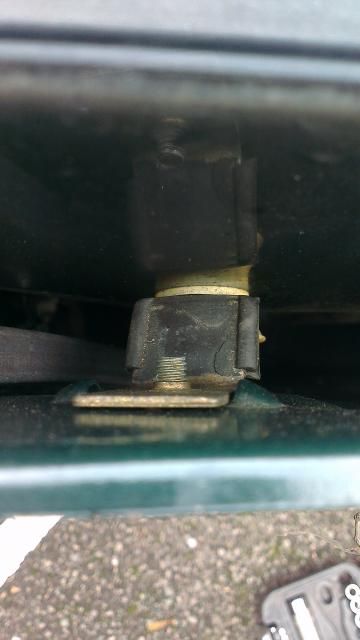
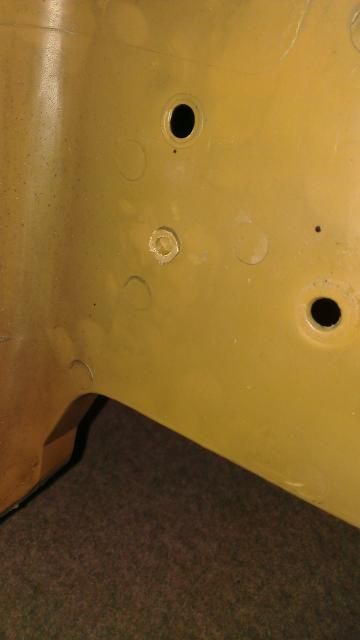
The 1.8 came with a cabin brace as standard (I think after 1993). They just bolt into a captive nut on the seat belt towers. The hole is there on the 1.6 but no captive nut unfortunately, but by removing the seat belts you can get access inside the towers and bolt one on. So that's what I've done.
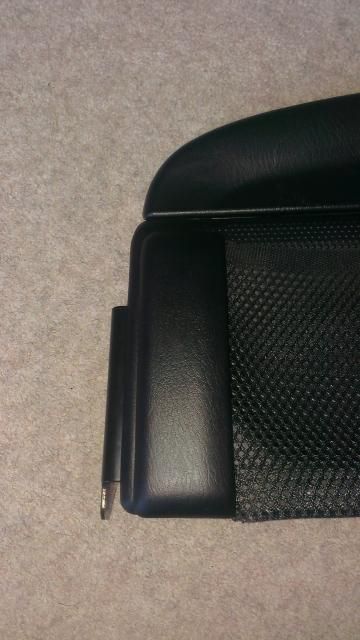
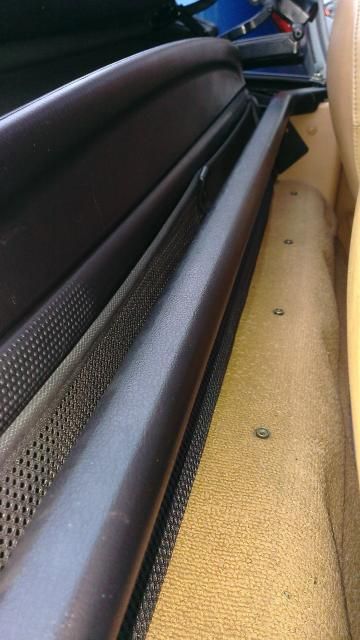
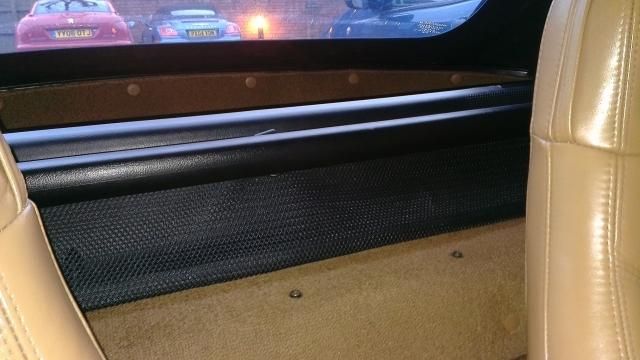
Only issue though is I have the mk2 wind blocker. But with a bit of fettling with the wind blocker brackets you can get them to both fit together...so that's also what I've done.
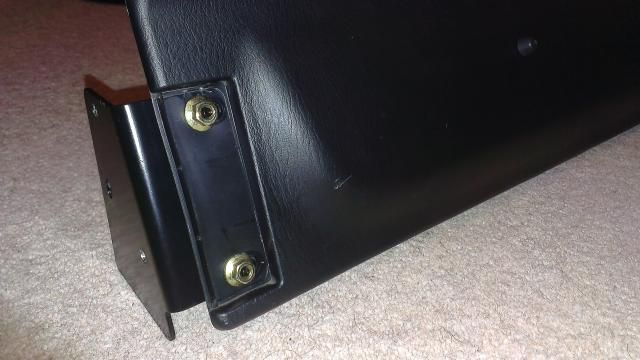
So, modifying the wind blocker. Removed the side plastics:
Then unbolted the brackets:
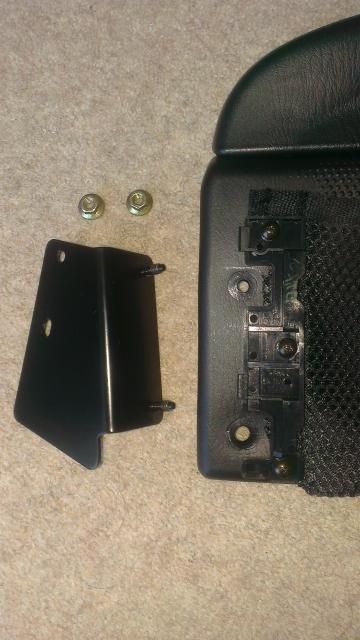
Have to make it so I can bolt it back in the same holes on the chassis but with the wind blocker a few inches back to clear the cabin brace:
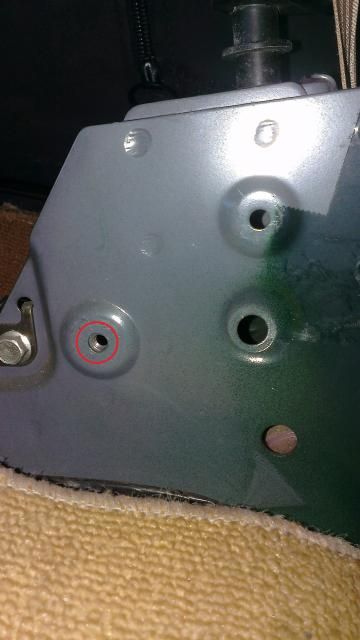
Marked and drilled out the new holes:
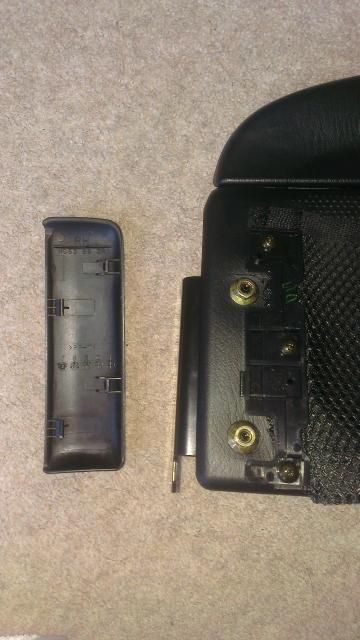
Unscrewed the front pocket:

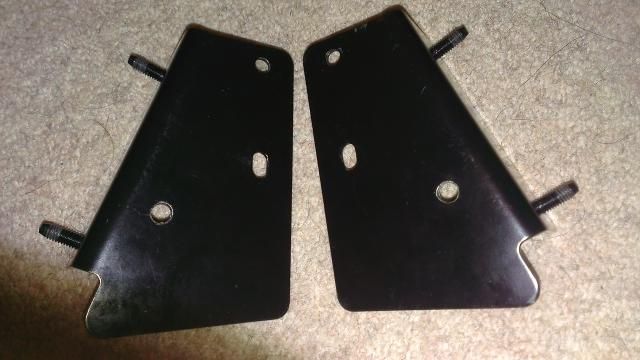
Refitted the brackets on the front opposite sides as to before:

Everything back together:
Then to modify the seat belt tower plastics so they can slot around the cabin brace. Out came my trusty dremel. This is probably the most useful tool I have, and I got it for free when a place I used to work was going to chuck it out!

Removed these little bits:
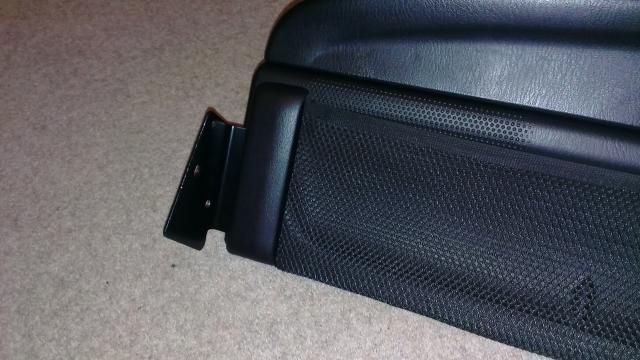
Then marked out and removed slots to fit around the cabin brace:
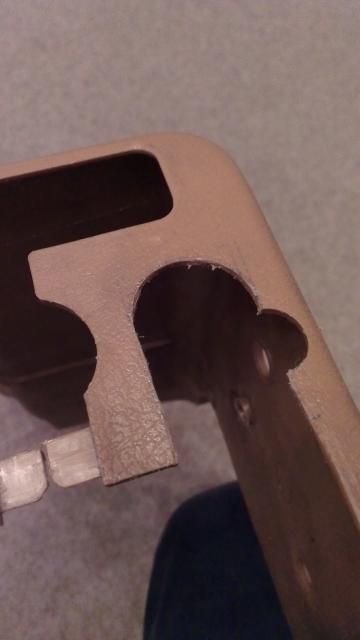
Then all back together. The wind blocker clears the cabin brace by an inch or so, so the pocket can still be used. It sits on the carpet with no gap underneath and the roof still clears it when down. All good
MX5 Project Thread
|
nibnob21
Premium Member
Registered: 16th May 10
Location: South Derbyshire
User status: Offline
|
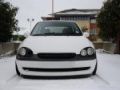
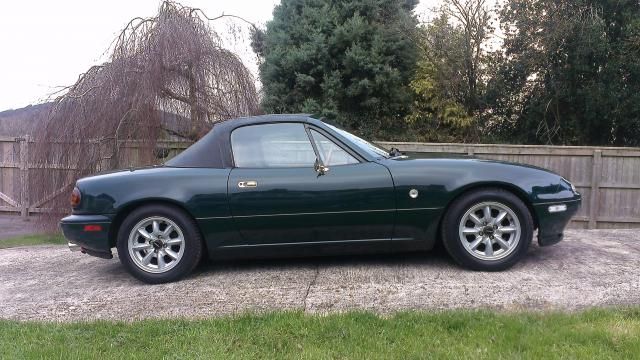
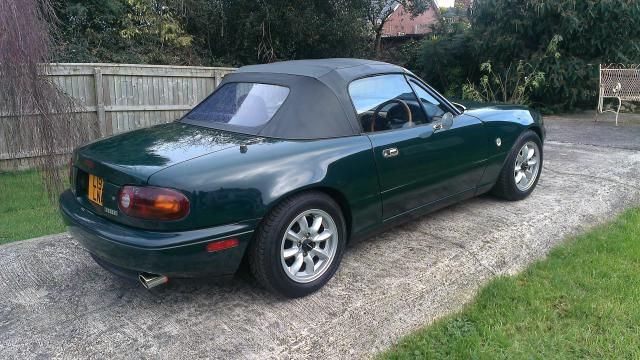
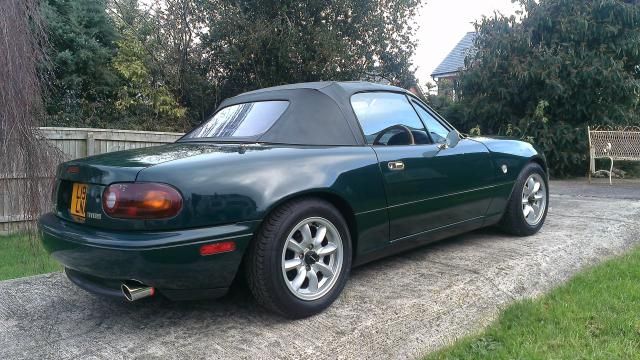
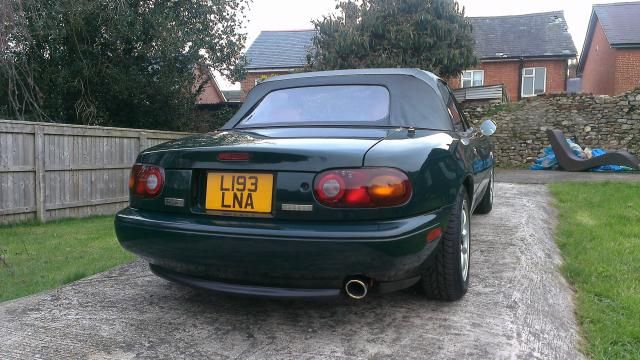
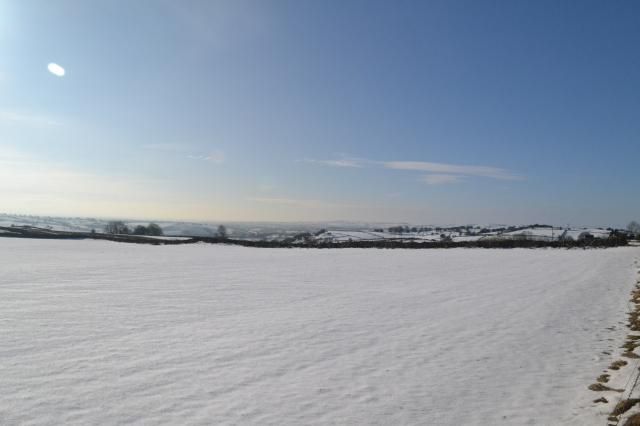
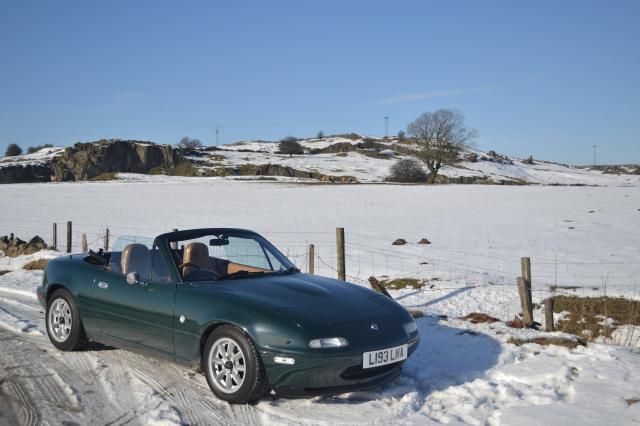
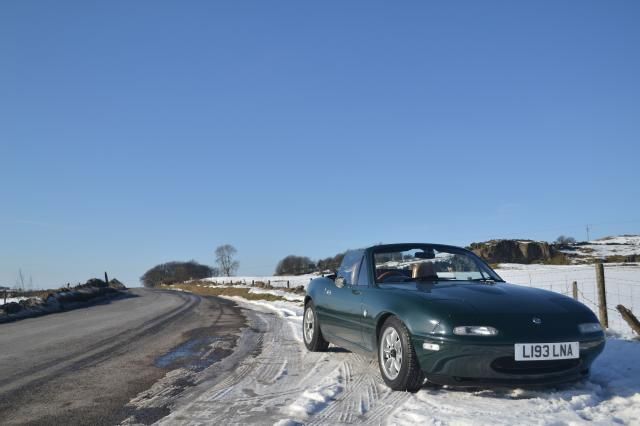
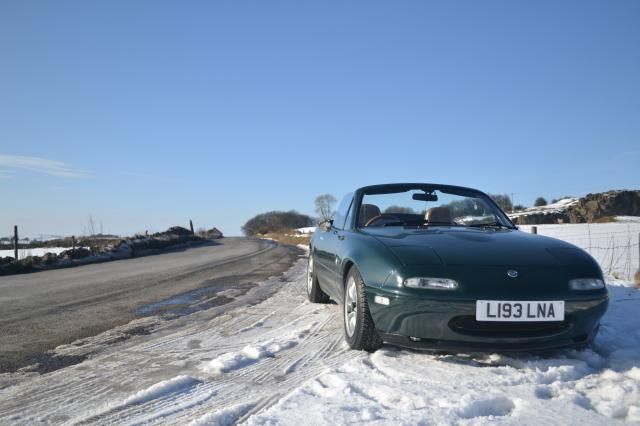
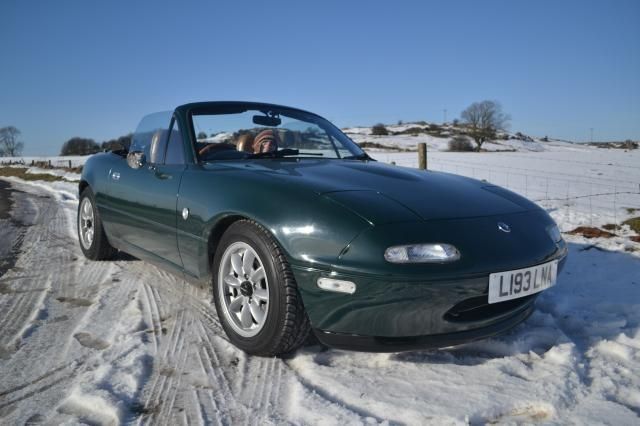
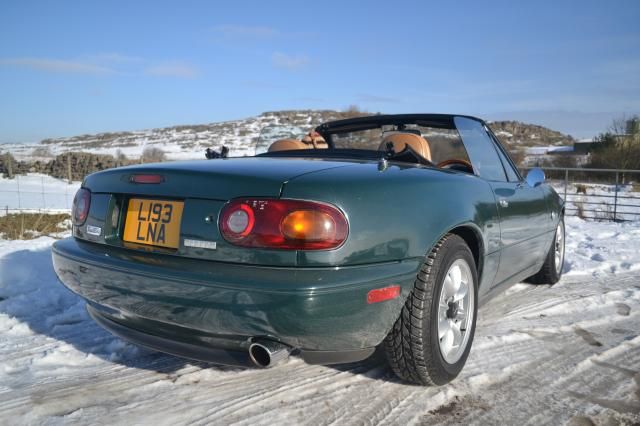
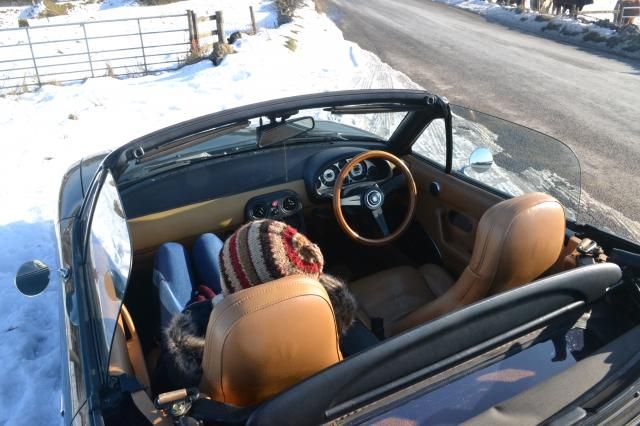
Got a couple of days off work so thought I'd head out for a drive today. Off to my favourite spot for a few pictures. Absolutely no snow in Derby but just a few miles up the road you get snow and views like these


MX5 Project Thread
|
nibnob21
Premium Member
Registered: 16th May 10
Location: South Derbyshire
User status: Offline
|
Since having the car I've always thought the brakes should be a bit more effective than they are. Obviously I don't have another MX5 to compare them to, but they just didn't seem right to me. I was told that giving the rear caliper pistons an adjustment can help improve pedal feel whilst also improving the handbrake. So I thought I'd try this out before anything else.
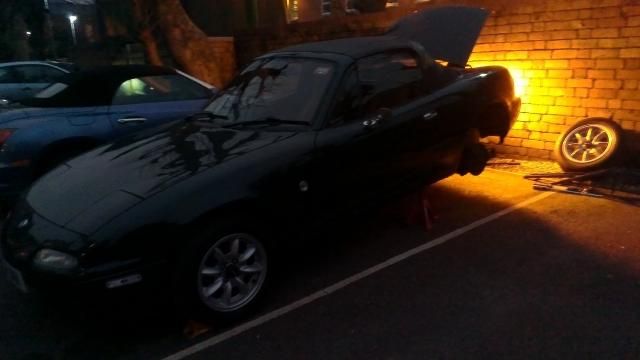
This is when I noticed the rear discs look like they've seen better days (identical on left and right side of car):

The 14mm bolts on the caliper were pretty stuck but got there in the end:

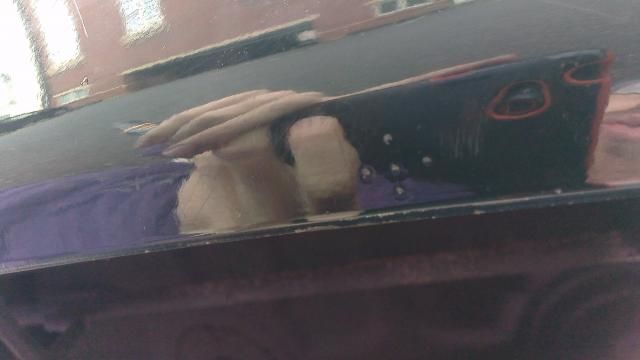
But in the process managed to do this...:
...with my fist:

Adjusted the caliper pistons until the discs wouldn't turn, then backed them off a quarter turn:
Put it all back together and adjusted the handbrake lever bolt in the cabin but the brakes felt the same as before.
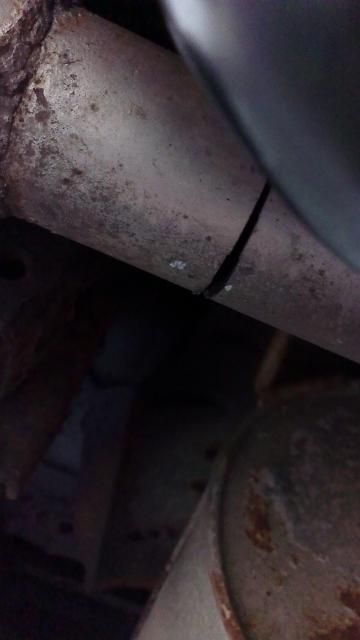
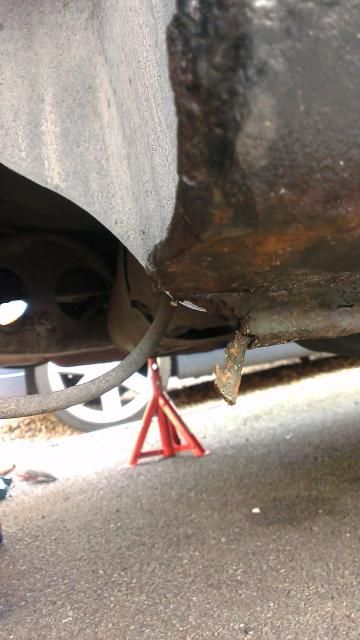
Also noticed this while I was under the car; could perhaps be contributing to the rattling I've been getting on overrun. The exhaust is pretty sturdy so I don't need to put a rubber on there, I'll just grind off the exhaust hook at some point.

I decided to have a more thorough look at the brakes the next as I ran out of light the day before.
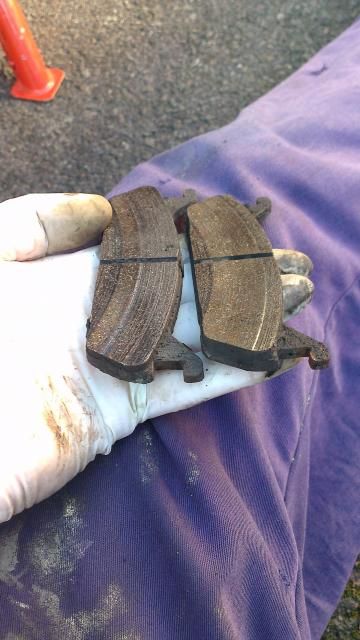
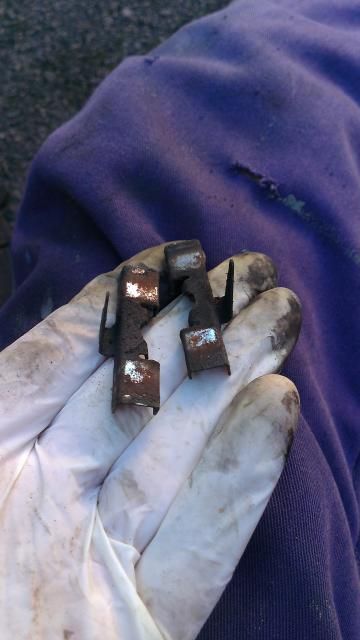
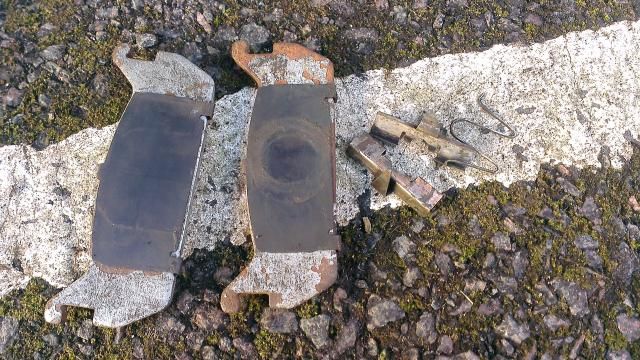
You can see here how the pads are wearing unevenly to each other. These are the two from the driver's side. Left one is inside, right one outside. Notice the big ridges in them from the small sections where they contact the discs.
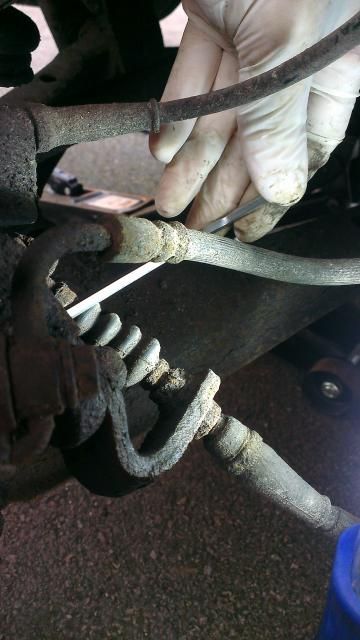
Absolutely no evidence that copper slip had been used on any of the components. Everything was crudded up; pads, pad plates, metal clips...
(photo below shows the faces that the pads are meant to move smoothly over)
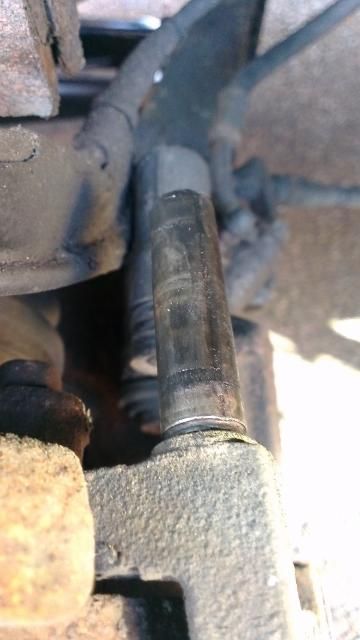
Thankfully although the calipers themselves were a bit manky (I gave the calipers a good going over with a wire brush to help remove most of the surface crap), the bottom bolt and the sliding pin are absolutely fine. They were the only bits that showed evidence of being coppered up.
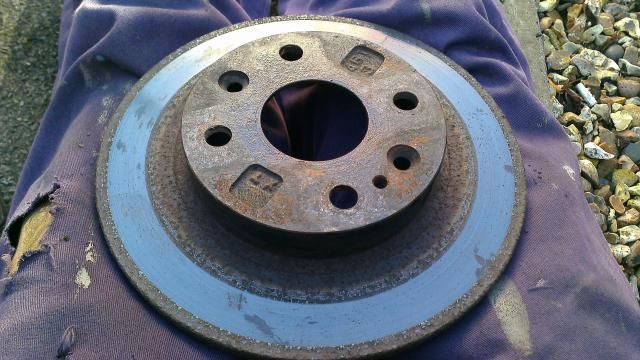
And the discs...driver and passenger side both the same. Outside face as below:
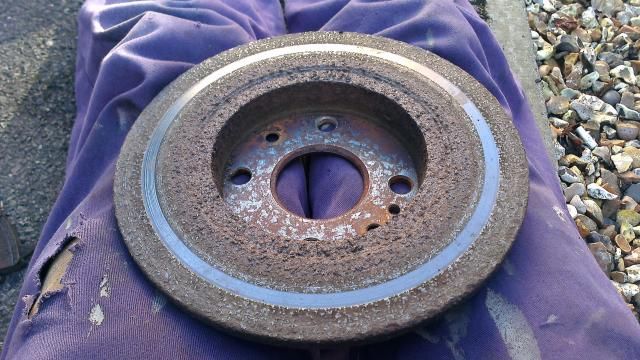
Inside face even more buggered, don't think I've ever seen discs in this bad a state:
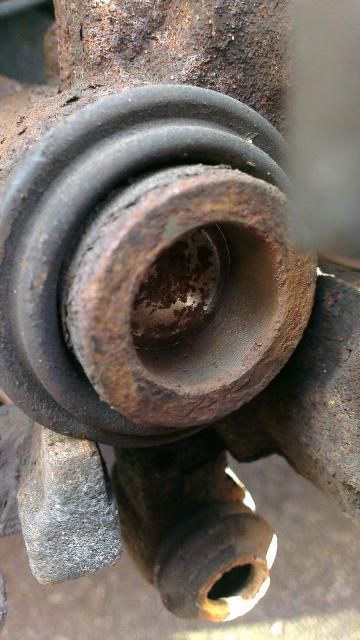
I think this photo exaggerates the caliper piston rust. They move in and out fine with the grub screw adjustment so I'm assuming this exposed bit is just cosmetic. Either way I cleaned up the face that contacts the pad the best I could and applied some copper slip.
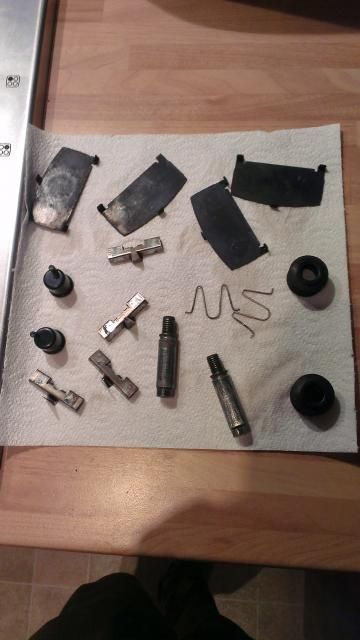
Pads and other bits cleaned up:
Everything was greased up and reassembled and new parts swiftly ordered!
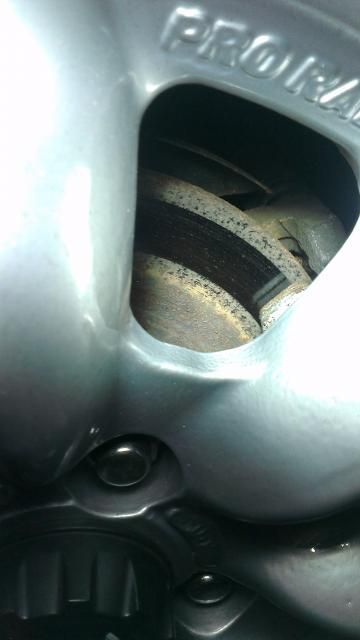
I haven't had the front wheels off but from peering through the alloys the discs look absolutely fine so only the rears are getting changed for the time being. The rears obviously haven't been contributing to me stopping much, so again that points to the fronts being ok lol.
So ordered this lot that evening:
Mintex discs
MINTEX REAR BRAKE DISCS MAZDA MX-5 Â* 1990-1998 MDC772 | eBay
Mintex pads
MINTEX REAR BRAKE PAD SET MAZDA MX-5 Â* 1990-1994 MDB1414 | eBay
Proper brake grease for the caliper sliding pins
CASTROL RED RUBBER GREASE 50 gram, BRAKE CYLINDERS,SEALS, O RINGS | eBay
Brake nipple spanners (fronts are different size to the rear)
LASER TOOLS 2602 BRAKE SPANNER - 1/4" X 7MM HEX | eBay
LASER TOOLS 2600 BRAKE SPANNER - 8MM HEX X 10MM HEX | eBay
Tube to fit over the nipples for bleeding
Clear 4mm (ID) 6mm (OD) Air Line Aquarium/Fish Tank/Pond Air Pump Hose Pipe Tube | eBay[/QUOTE]
From just one 4 mile journey I could see the pads cleaning up the discs already. Obviously they were still beyond saving, but it just goes to show what just a bit of grease in the right places can do. On the inner ring of rust you can see quite a clear line where the pad was then making more contact with the disc.

New bits turned up so got started one evening last week after work.
Quite a handy little light bollard by my parking space. That and an LED inspection light actually made the job pretty easy despite it getting dark. Managed to cut my left hand AGAIN undoing the 14mm bolts that cover the caliper piston grub screw (3 times out of 6!).
Gave these bits and pieces a good cleanup with a strong mix of G101 and a nail brush. General little gubbins used for the caliper and brake pad assembly.
Got the brakes finished the next day (Thursday last week). Covered around 150ish miles since then just taking it easy. The brakes definitely feel firmer and more responsive though so job's a good'un!
Still need to do the fluid at some point soon though, and have a proper look at the fronts.
MX5 Project Thread
|
Baskey
Member
Registered: 31st May 06
User status: Offline
|
That's what my rear disks looked like when I replaced mine.
Iv got cheap disks all round with Mintex pads and they are great. Don't even get much fade on track days although I don't go mad.
Looking forward to taking mine out the barn next month and taxing it !
[Edited on 19-02-2015 by Baskey]
|
nibnob21
Premium Member
Registered: 16th May 10
Location: South Derbyshire
User status: Offline
|
Yeah those discs were a complete state. And to be honest anything was going to be an improvement so I could have chucked on the cheapest shit and I would have been happy lol.
Planning on grinding off that exhaust hook and inspecting the front brakes this Saturday, weather depending.
MX5 Project Thread
|
nibnob21
Premium Member
Registered: 16th May 10
Location: South Derbyshire
User status: Offline
|
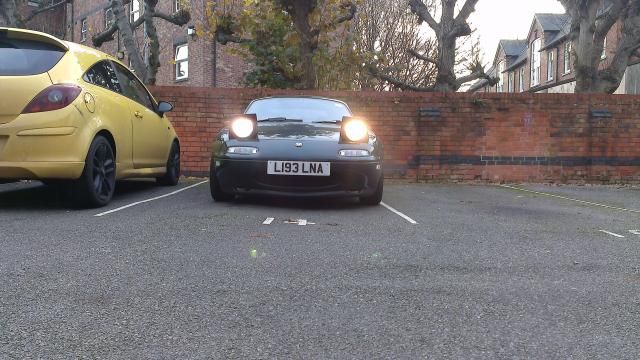
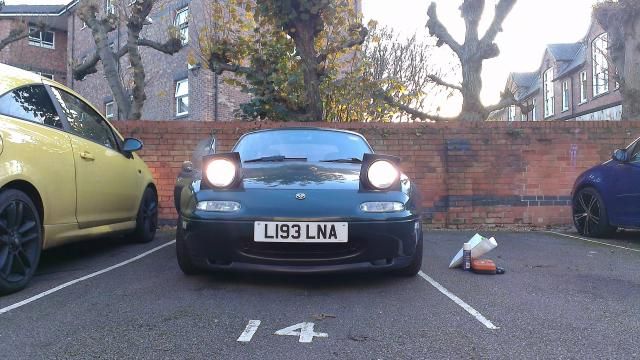
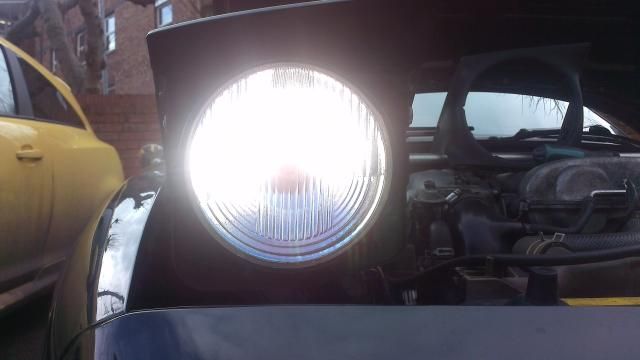
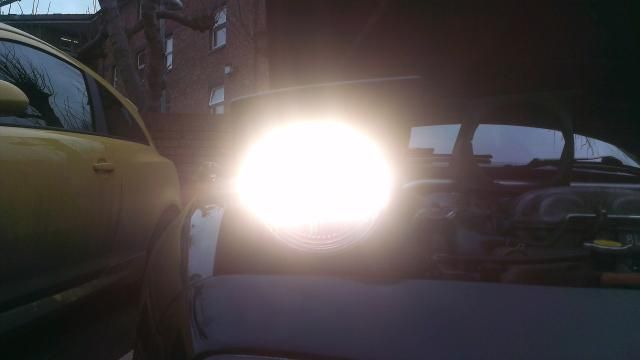
Changed the headlights again today. The ones I changed to a couple of months ago just simply aren't bright enough. Driving at night with them was a bit dodgy on narrower roads with oncoming traffic. The colour of them was great for halogens, really crisp white, the best I've come across. But that came at a price.
So after a bit of basic research I settled on the Osram Night Breaker Unlimited. Doesn't seem to be too much in it between them and some of the Philips bulbs, but the Osrams were a fair bit cheaper and seem to be very highly rated in the MX5 world. Certainly can't complain for £12 delivered!
Once they were changed, I popped to my local MOT place and got them to check the alignment; everything was good.
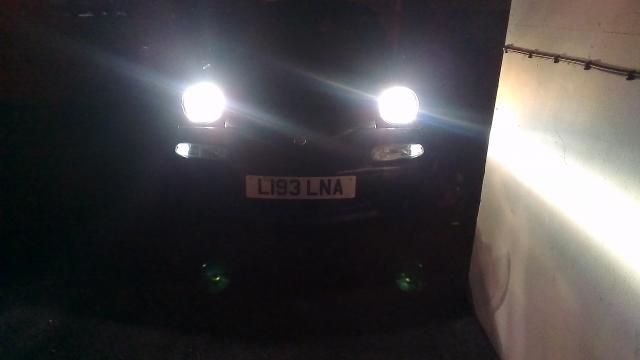
Couple of before and afters; pretty clear to see the benefits of the Osrams (take the last photo with a pinch of salt, the angle accentuates how much brighter they are):
MX5 Project Thread
|


