Fonz
Premium Member
 Registered: 12th May 06
Location: Newbury, Berks
User status: Offline
|
£5 and 5 hours later
on the weekend i painted my drums and thought i wud write a quick tutuorial to show how quick it is and just!
please note i took my guide from the one found in FAQs painting drums
firstly i needed to gather the following eqiupment
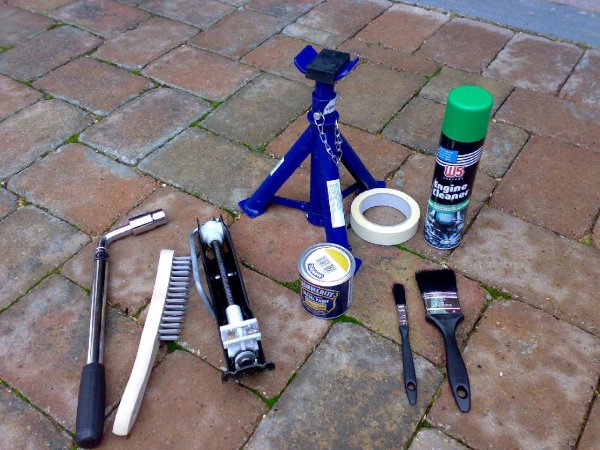
(left to right)
wheel brace (and alloy key socket if applicable)
wire brush
Jack
Axle stand (x2?)
Paint - I used Hammerite straight to rust, Hammered Gold
Masking Tape
various size paint brushes
Degreaser
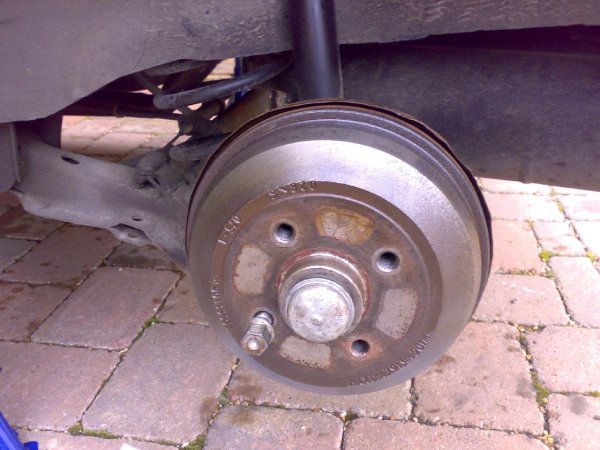
the before shot
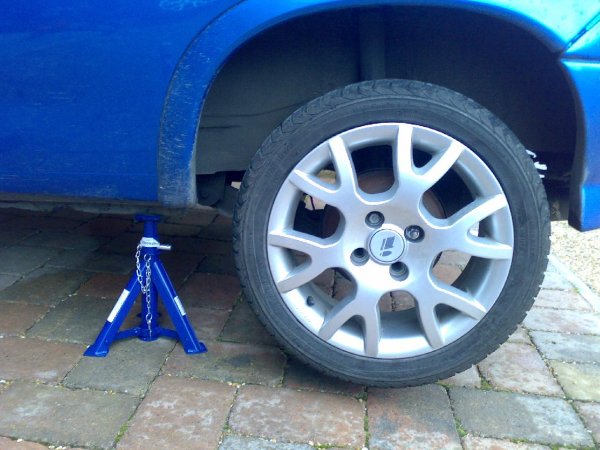
place the axles stand along the sill as this is a suitable strong chassis point to support your vehicle
once the wheel is off you'll be faced with something like this
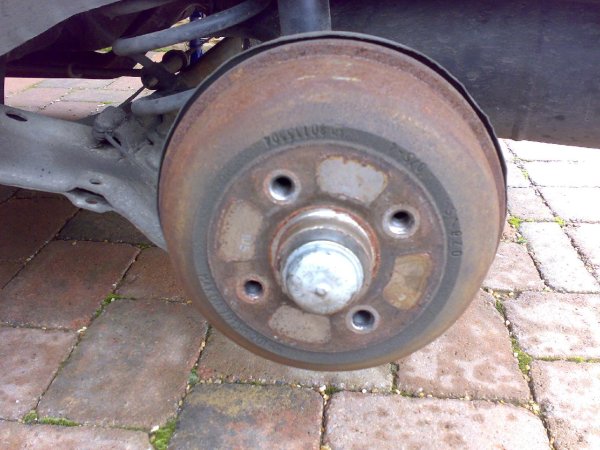
after 20-30 mins with the wire brush will look more like this
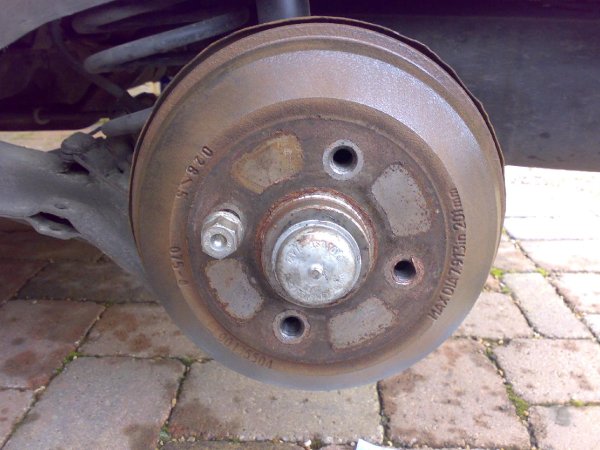
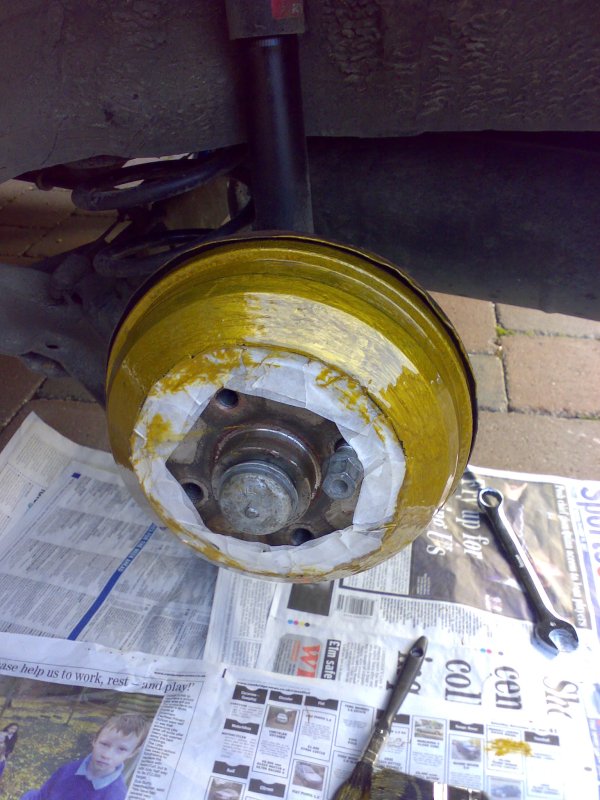
and after another 20-30mins with the degreaser and rust off* more like this
**note a bolt has been fitted to aid spinning the drum**
super tidy!! 
at this point i run out of time for the day (i cleaned both drums) so had to put the wheel back on
which looked like this
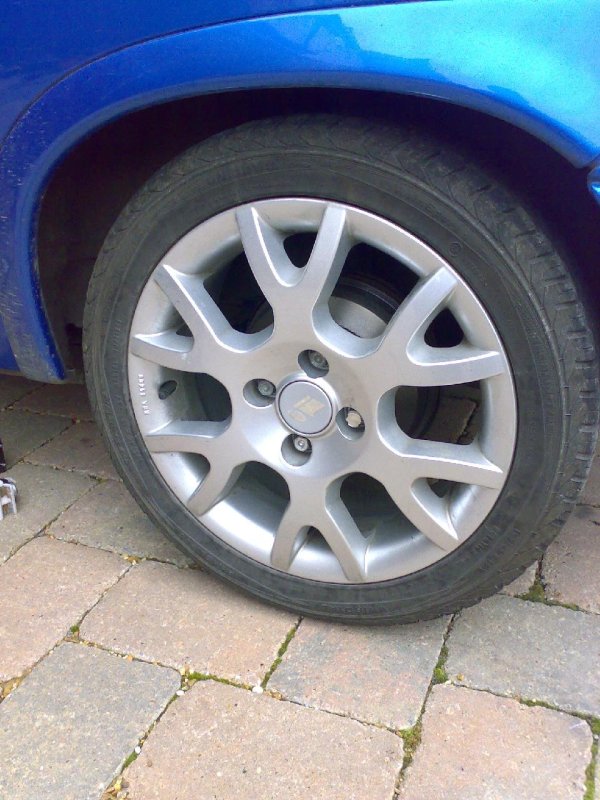
 clean!! clean!!
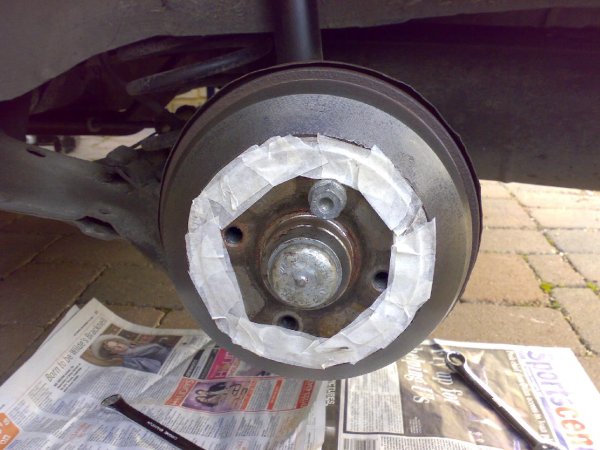
the next day i continued where i left off ready to prepare for painting
using the masking tape to leave a sharp line and avoid unnecessary painting
**please note newspaper was laid down to catch paint from staining the driveway**
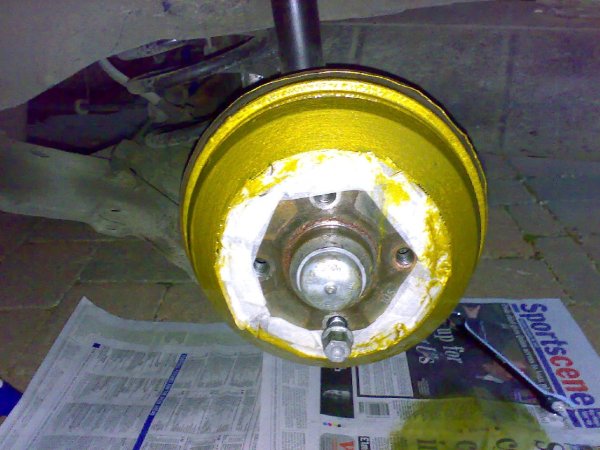
once happy with the masking i started with the paint (following the tins instructions - thick first coat)
paint:

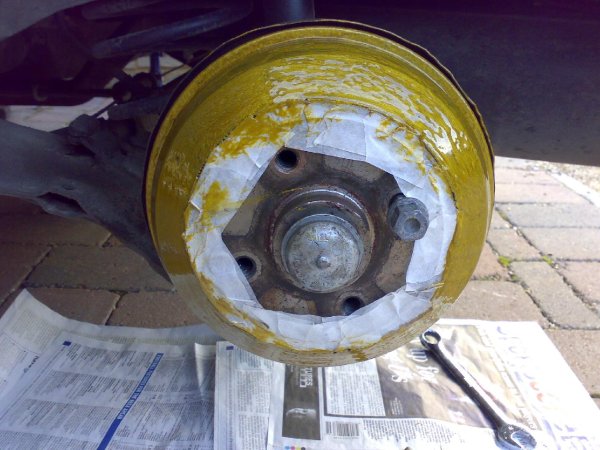
this was left to dry for an hour before adding the second coat
***note to avoid dripping marks in the paint, spin the wheel every 5-10mins***
once the second coat is on and dry......
.....the masking tape can be removed leaving you free to enjoy the work
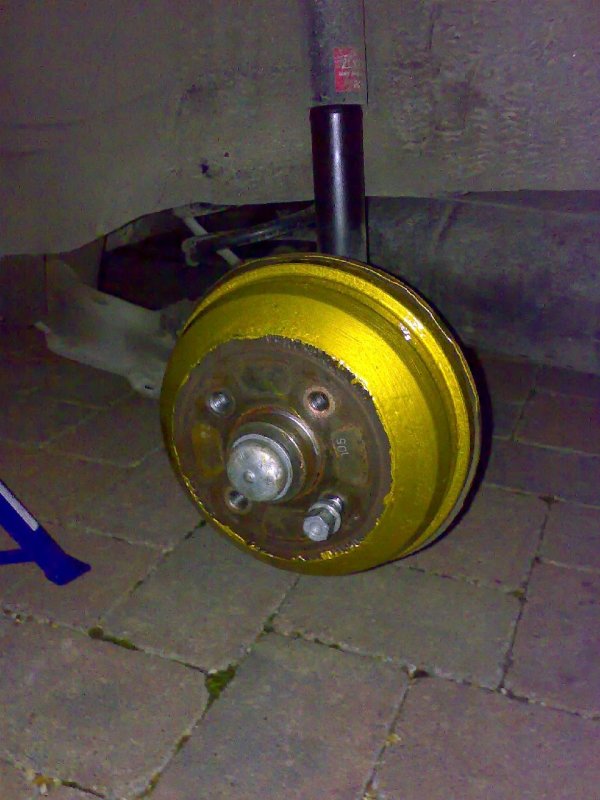
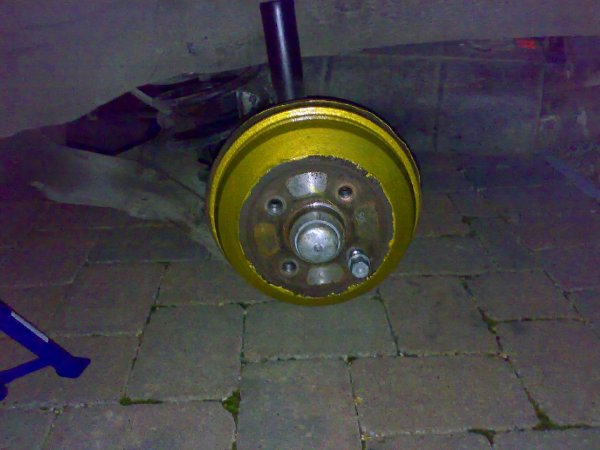
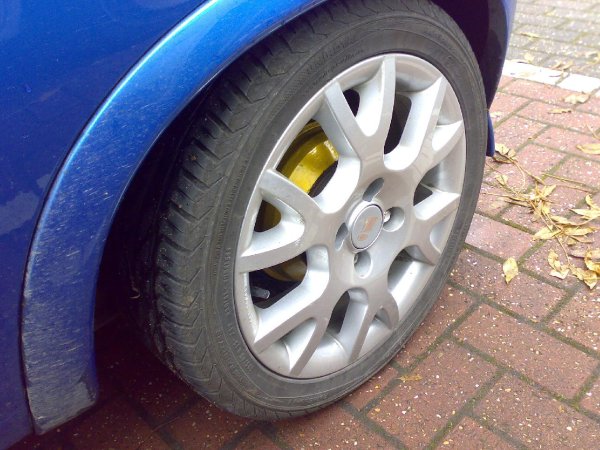
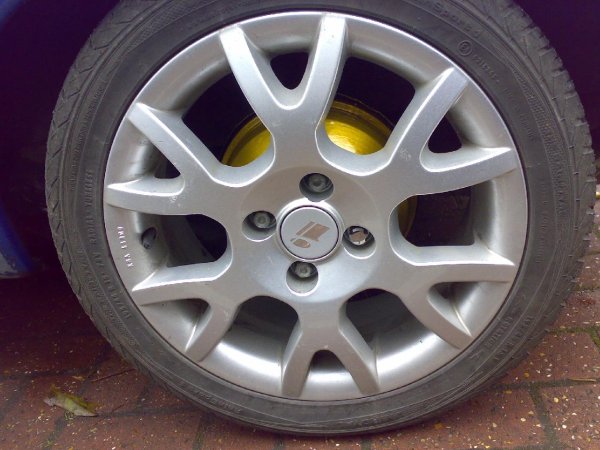
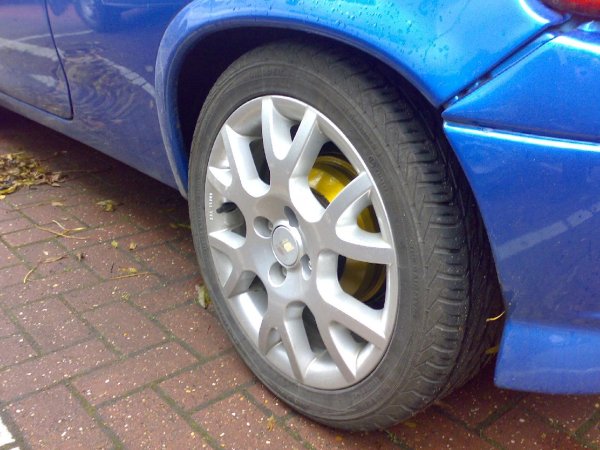
replace the wheel and the work is done!!
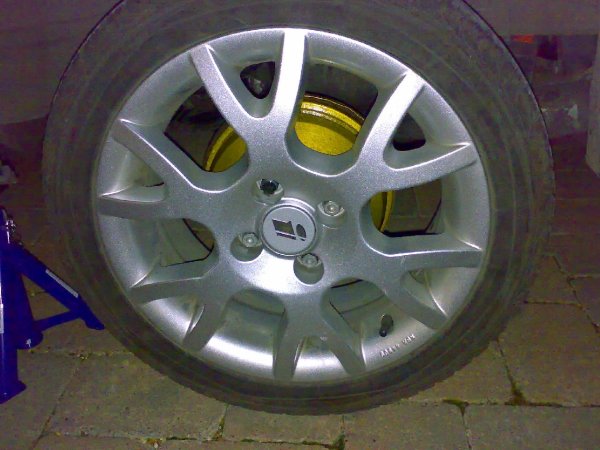
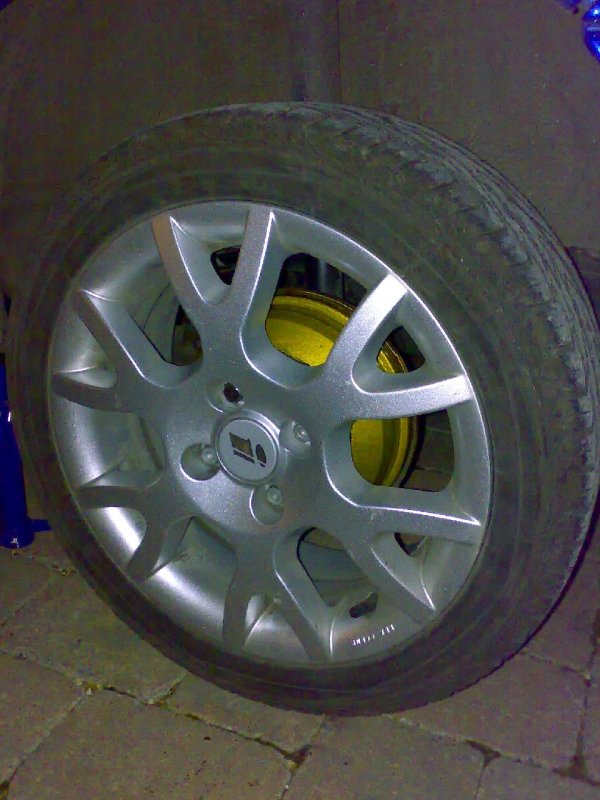
As you can see when i was doing this i lost the light on Sun evenin so took some day liht shots today and shows the paint with a better finish now it hardned over night

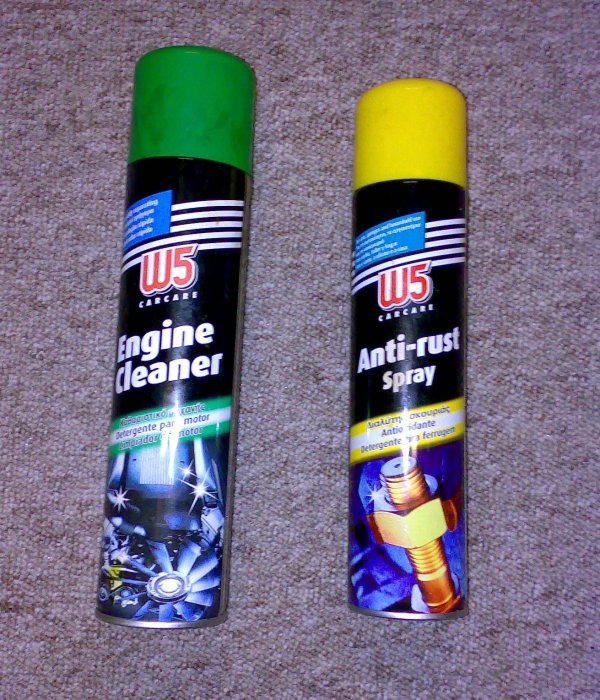
*i can highly recommend the use of W5 spray
once wired brushed i used the anti-rust spray first which loosen the rust left on the drum
then used the Engine cleaners as a degreser which really did clean the surface up a treat
|
flybikeslee
Member
Registered: 2nd Jan 07
Location: Liverpool
User status: Offline
|
5 hours  
|
nova_gteuk
Member
Registered: 15th May 02
Location: South Wales Drives: The Bandwagon
User status: Offline
|
Gold 
Would of been better in black.
|
Fonz
Premium Member
Registered: 12th May 06
Location: Newbury, Berks
User status: Offline
|
1 hr each drum to clean, an hr each drum to paint (including waitin) and an 30mins each side to get the bits out the cupboard/put away!!
|
IvIarkgraham
Premium Member
 Registered: 27th Mar 04
Location: Ellesmere Port, Cheshire
User status: Offline
|
took me 10mins to do mine
|
Superlite Ltd.
Member
Registered: 9th Jan 07
User status: Offline
|
Good guide 
Well done
If it were me i'd buy new drums and paint them before putting them on the car. But thats my lazyness
|
Hamish
Member
Registered: 4th Apr 05
Location: Ashtead, Surrey Drives: 100bhp Mint with Hole
User status: Offline
|
just to sum up:
5 hours
&
gold
|
pow
Premium Member
 Registered: 11th Sep 06
Location: Hazlemere, Buckinghamshire
User status: Offline
|
Fonz you put WAYYYY tooo much effort into it!
Jack up, wheel off, rub off any flakeyness, paint drum, wheel on, jack down, otherside.
Dont drive for a couple of hours.
|
Fonz
Premium Member
Registered: 12th May 06
Location: Newbury, Berks
User status: Offline
|
if a job is worth doin...
|
Nick-S
Member
Registered: 3rd Mar 04
Location: Leigh. Drives: RS Megane 230 F1 Team R26
User status: Offline
|
thats a very good guide that
but it took me about an hour to do the same, and the calippers
|
Haimsey
Premium Member
 Registered: 8th May 05
Location: Nottingham Drives: Corsa B
User status: Offline
|
Good guide
Although i agree, when i get off my lazy ass and do mine, they wont be gold black is best.
But what ever you want
Marcy Marc 
White Sport Progress Thread
|
Doug
Member
Registered: 8th Oct 03
User status: Offline
|
http://www.corsasport.co.uk/board/viewthread.php?tid=316489
Already did one ages ago
|
Fonz
Premium Member
Registered: 12th May 06
Location: Newbury, Berks
User status: Offline
|
quote:
Originally posted by Doug
http://www.corsasport.co.uk/board/viewthread.php?tid=316489
Already did one ages ago
this was used as my guide....note first paragraph!!!
|
corsasriboy
Member
Registered: 23rd Mar 07
Location: leicestershire
User status: Offline
|
come on people,he's only trying to help. he's given 5 hours to do it,if you do it quicker then well done,have a gold star!
|
burgess
Member
Registered: 22nd Feb 04
Location: Norton, North Yorkshire
User status: Offline
|
lots of effort there mate but while the wheel was off and wire brush in hand you should have given them hand brake quadrants a clean up and some copper slip or grease in there
makes the handbrake so much smoother!
|
Schlumpfy
Member
Registered: 2nd Apr 07
Location: Stourbridge, West Midlands
User status: Offline
|
hand brake quadrant?
|
corsasriboy
Member
Registered: 23rd Mar 07
Location: leicestershire
User status: Offline
|
i agree with burgess! i snapped my handbrake cable cus it was rubbing on the cable guides.
|
burgess
Member
Registered: 22nd Feb 04
Location: Norton, North Yorkshire
User status: Offline
|
the bracket on the rear axle that the handbrake cable passes through
it has a nylon insert but gets full of crud then gets stiff and sometimes sticks also thats where the cable will fray
|
SAL
Premium Member
 Registered: 19th Dec 05
Location: Radlett, Hertfordshire
User status: Offline
|
good work better to take your time and do it properly then rush it, i bet the finish is alot better than those claiming it take's 20 seconds
|
Schlumpfy
Member
Registered: 2nd Apr 07
Location: Stourbridge, West Midlands
User status: Offline
|
quote:
Originally posted by burgess
the bracket on the rear axle that the handbrake cable passes through
it has a nylon insert but gets full of crud then gets stiff and sometimes sticks also thats where the cable will fray
oh
I'm thinking of doing my green
[Edited on 13-11-2007 by Schlumpfy]
|
Ben G
Member
Registered: 12th Jan 07
Location: Essex
User status: Offline
|
gold thansk for the guide, will be painting mine black at the weekend, don't think i need to wire brush though as there's no rust on them 
|
Limecat
Banned
Registered: 25th Jun 05
Location: The Internet
User status: Offline
|
quote:
Originally posted by nova_gteuk
Gold
Would of been better in black.
Mirrors my thoughts exactly.
Power-drums look gash IMO.
The previous owner of my car inflicted silver power drums upon it, they look crap. I would do them black but thankfully they will be getting binned for the 280mm 4 pots when I pull my finger from my arse!
Fair play on the preperation though, as the guy says if a job is worth doing it is worth doing properly and 90% of paintwork is in the preperation.
|
Sunz
Member
Registered: 12th Jan 07
Location: SE England
User status: Offline
|
will probably take me 5 hours also.
getting the drums off a car that 13 years old wont be fun, gold looks nice i think.
|
Graham88
Member
Registered: 16th Apr 07
Location: South East Kent Drives: E46 M3
User status: Offline
|
quote:
Originally posted by Sunz
will probably take me 5 hours also.
getting the drums off a car that 13 years old wont be fun, gold looks nice i think.
You don't need to take the drums off
Took me about 2 hours, with an hour gap in between for drying
|
Wrighty
Member
Registered: 28th Feb 04
Location: Howden
User status: Offline
|
drums should only be done black
|


