chris_uk
Premium Member
 Registered: 8th Jul 03
User status: Offline
|
Checked my suspension after raising it to find that even tho it was set right on the drive, the actual numbers were off..
Front - 104mm
Rear - 110mm
I raised it up a little higher just onto the spring as not to preload them.. Final setting was 108mm/118mm so i still kept my 10mm rake.
|
chris_uk
Premium Member
Registered: 8th Jul 03
User status: Offline
|
I bought an arb for the front, its slightly larger at 1" over 3/8".
Started out with a full under tray but noticed it was flapping about, at 130mph it made an almighty racket.. So i chopped it and replaced it with a piece of ali.
Chopped with new rollbar installed on the middle setting which is quite a bit stiffer than the standard..
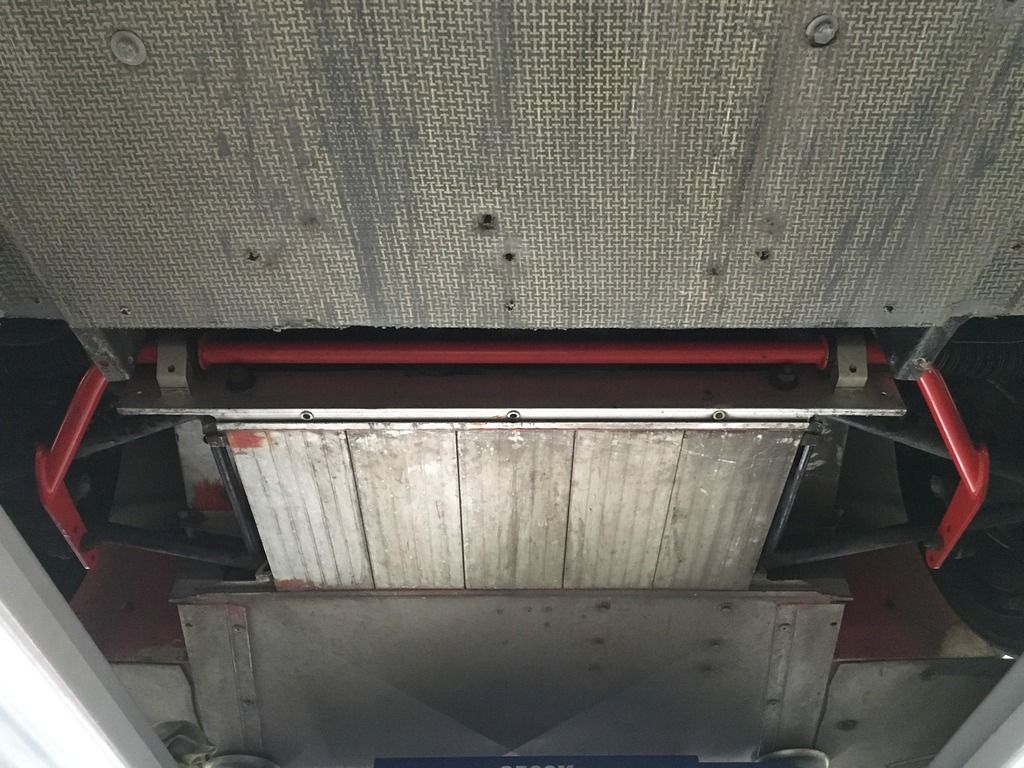
Direction changes are now much quicker and its quite remarkable how flat the car is round roundabouts.. Just doesnt roll..
[Edited on 24-04-2016 by chris_uk]
|
chris_uk
Premium Member
Registered: 8th Jul 03
User status: Offline
|
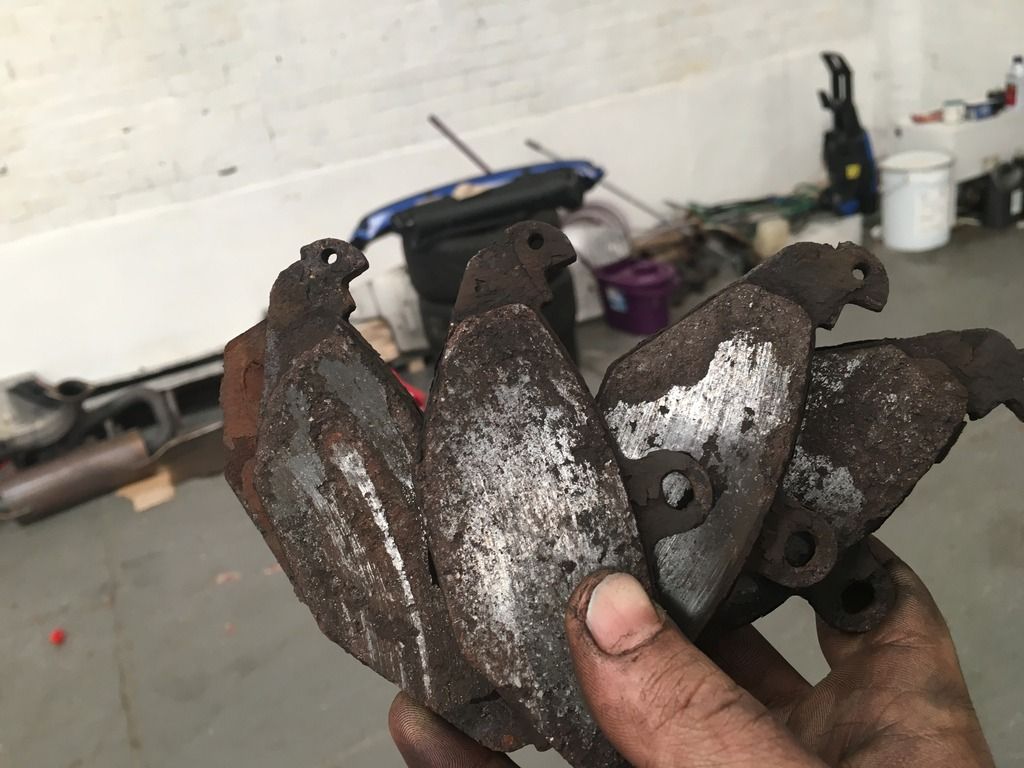
best update this..
i replaced my old handbrake pads with some old ones i replaced from work.. and since they had more meat on than mine i used them.
my old ones
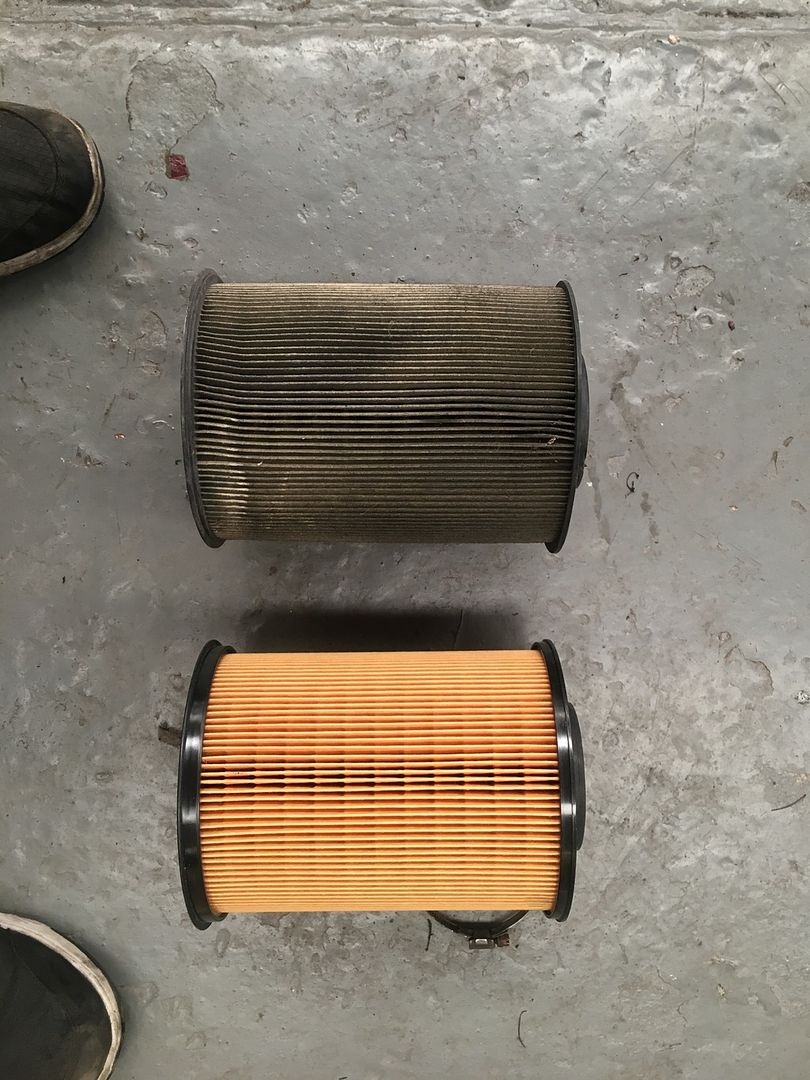
put in a new airfilter (at £5 each i just buy half a dozen at a time and just replace them twice a year.
2 pics at work,
[Edited on 12-07-2016 by chris_uk]
|
chris_uk
Premium Member
Registered: 8th Jul 03
User status: Offline
|
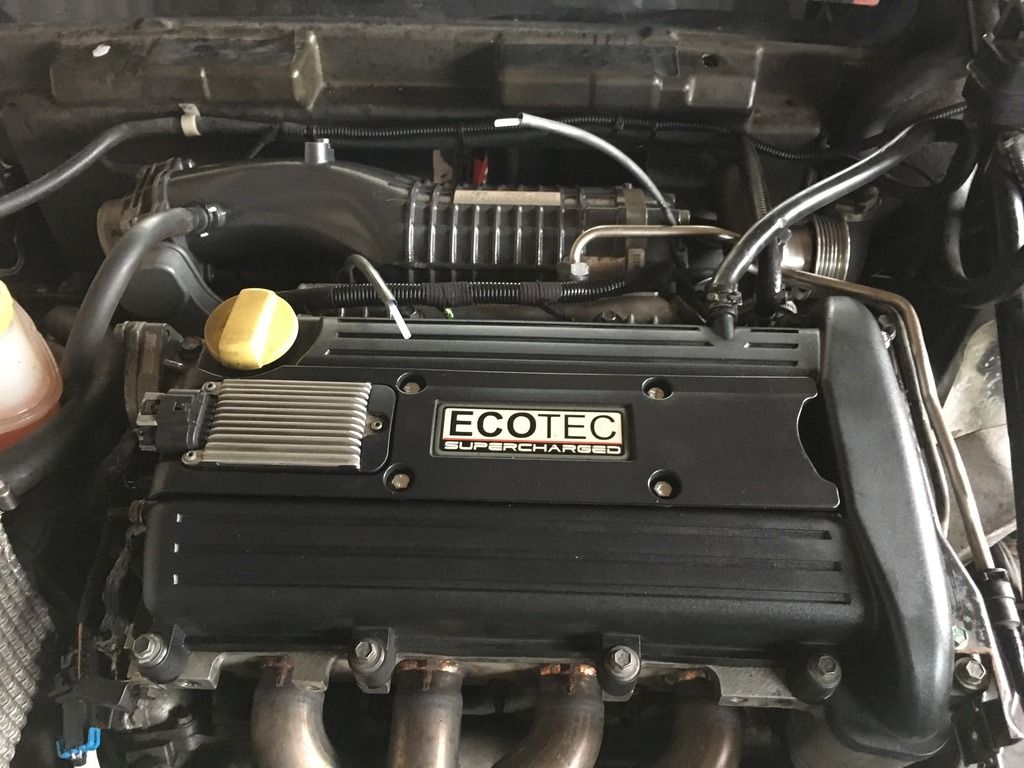
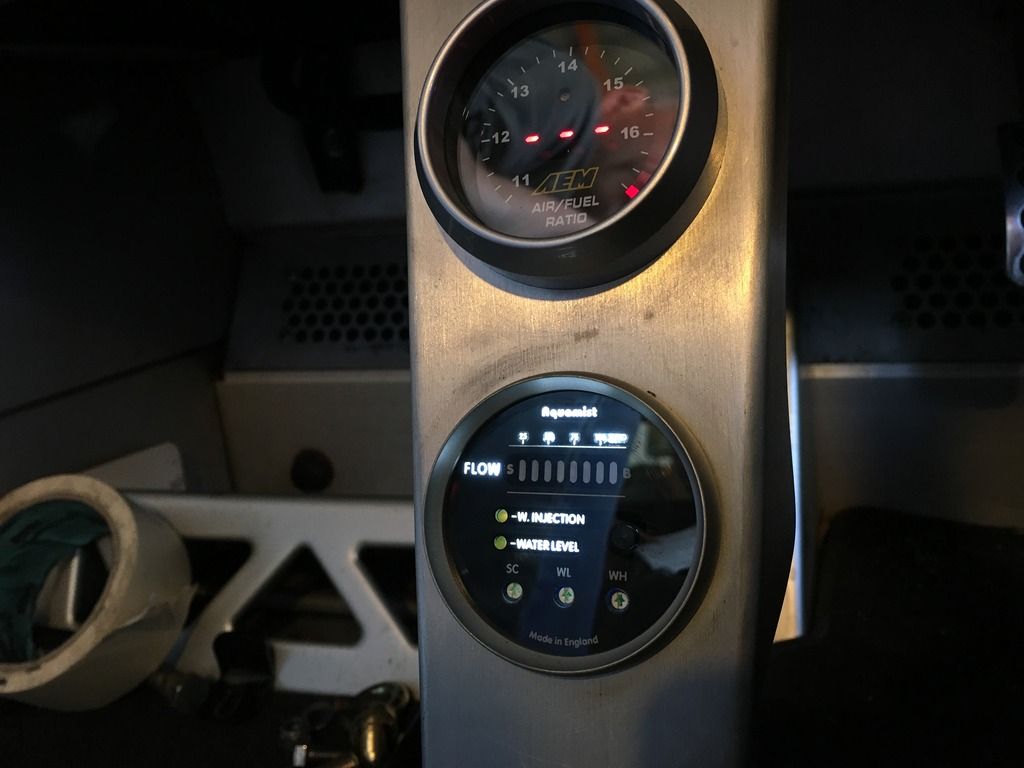
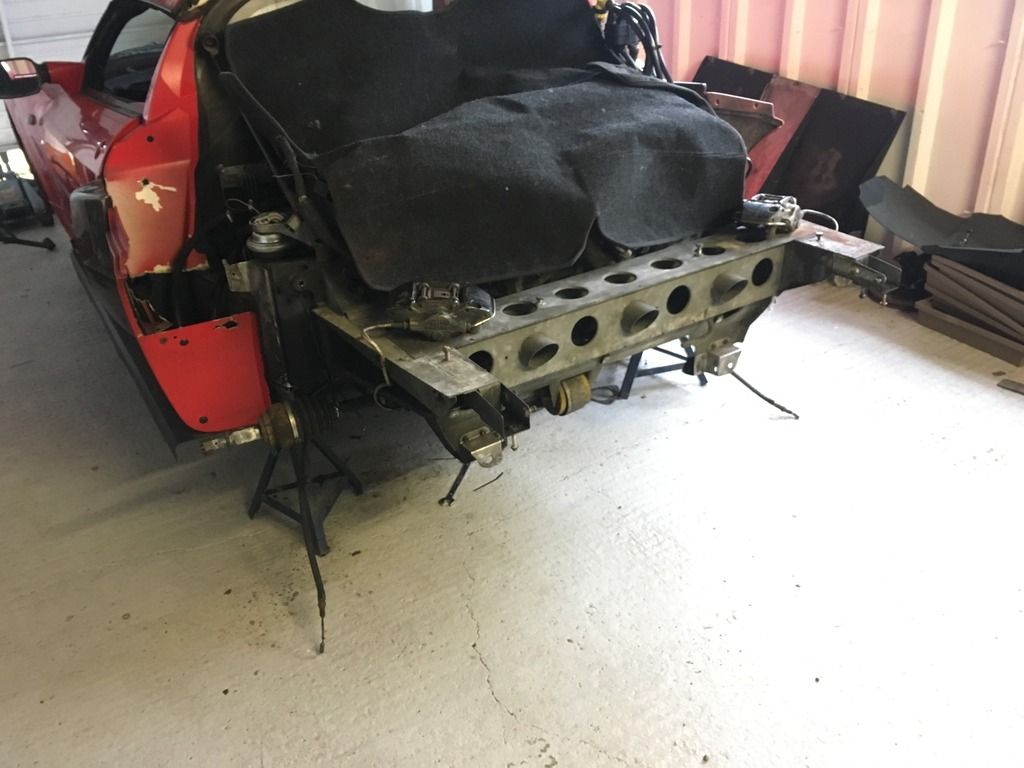
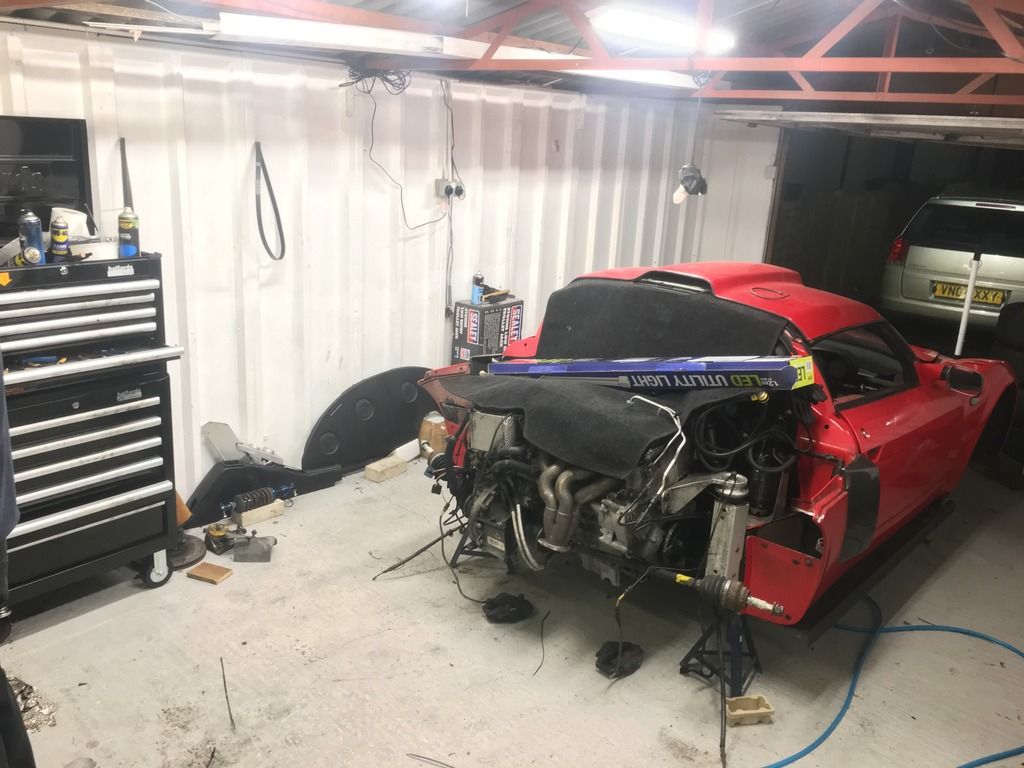
I decided to install water injection to keep the temps as low as possible when on track.
the nature of the supercharger means the compressed air gets the intake hotter and hotter resulting in knock and then the ECU pulls back the timing dropping the power.
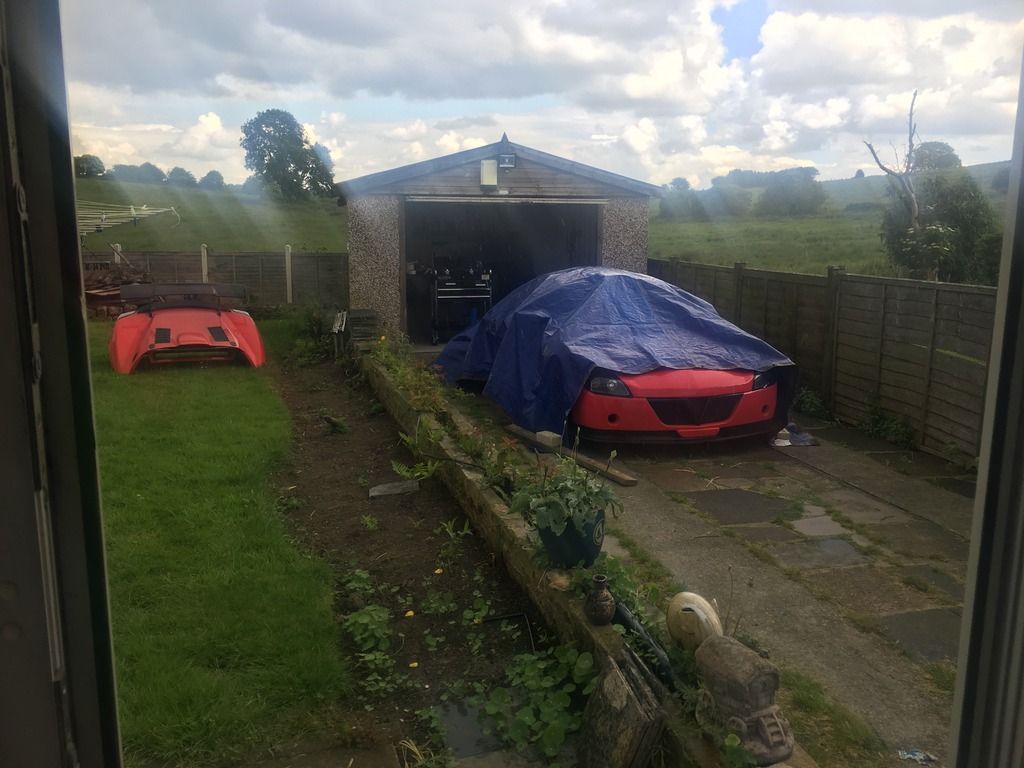
pulled the rear clam off
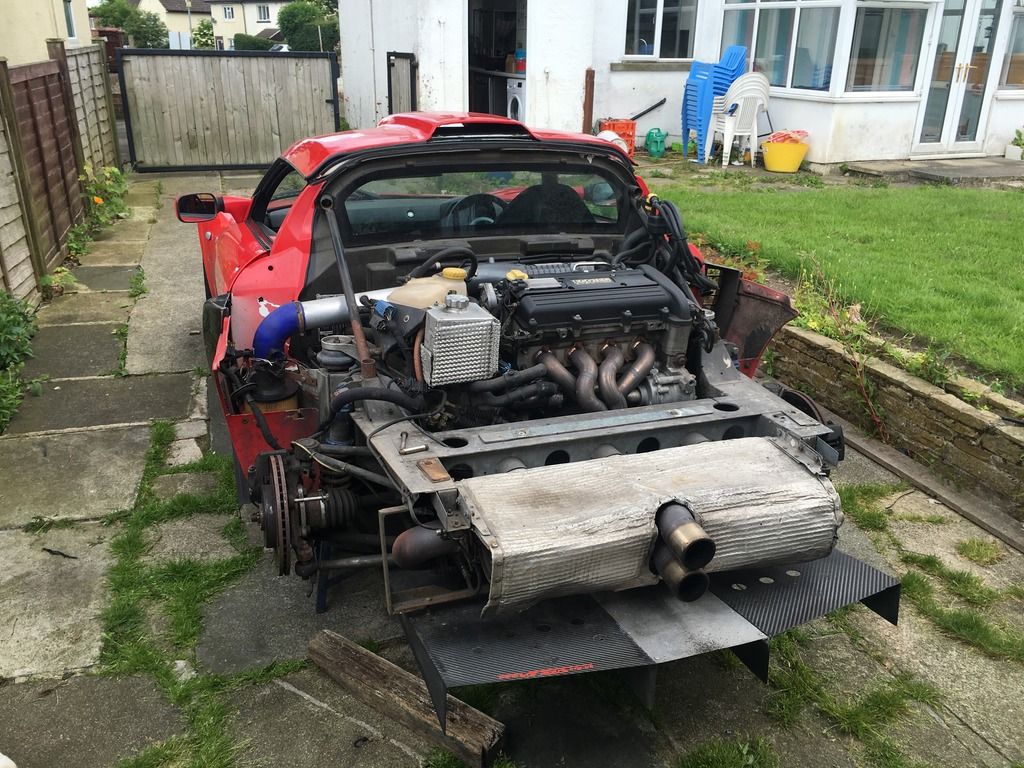
threw the clam in my messy garden
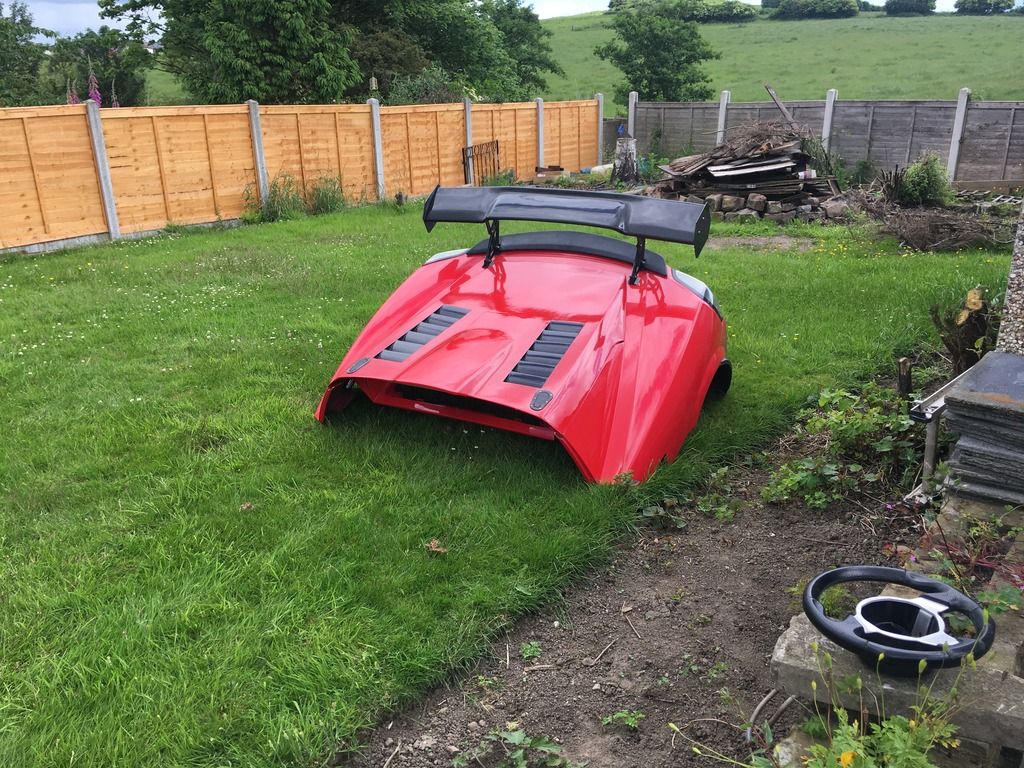
rain happened so had to move it in the garage
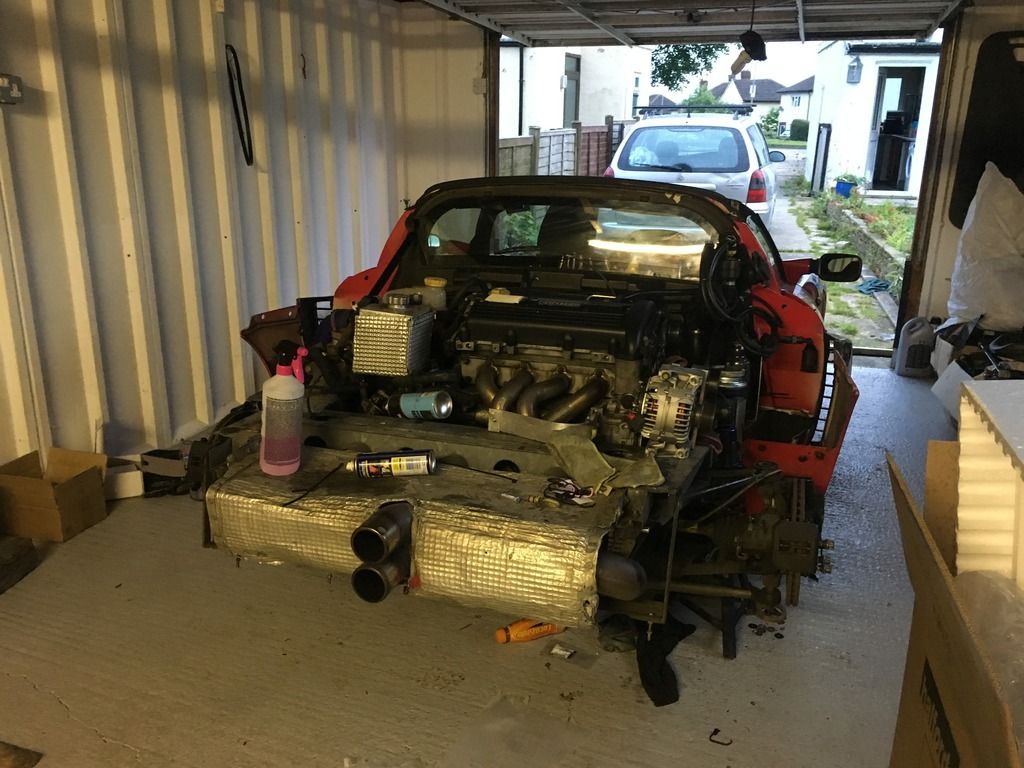
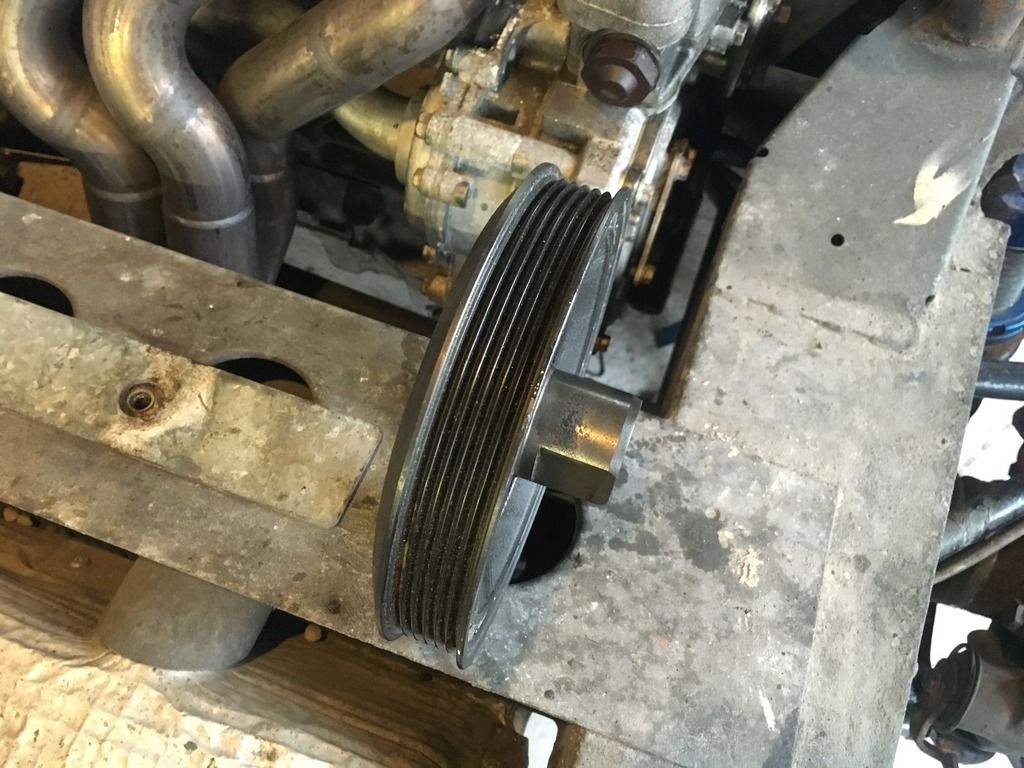
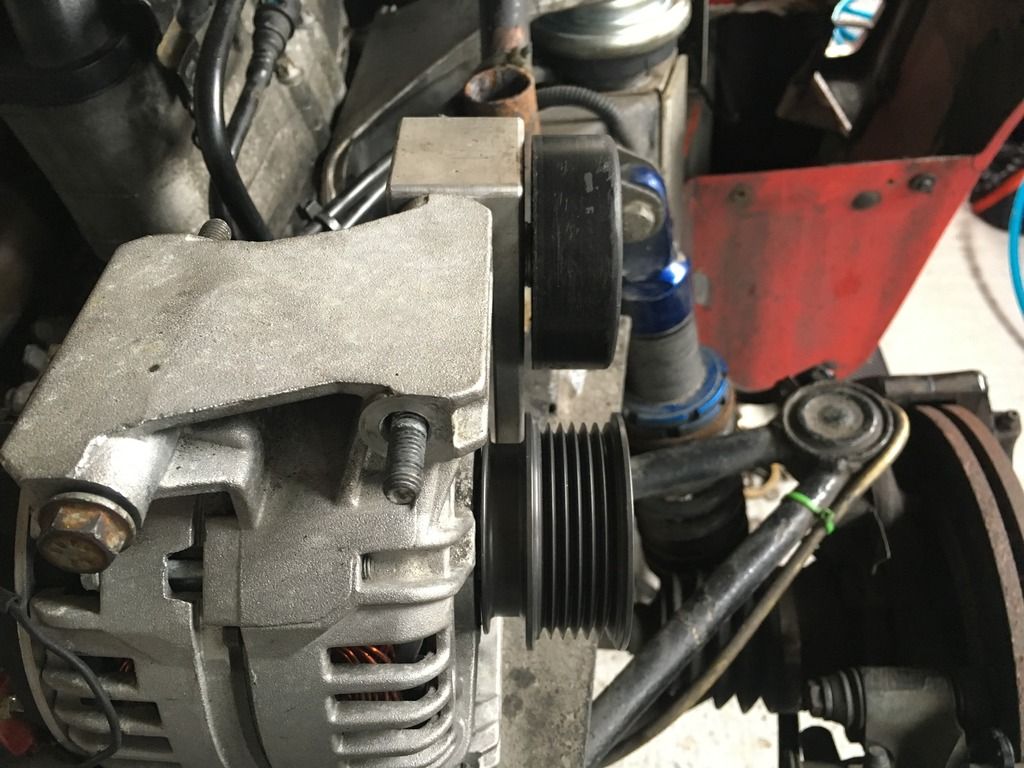
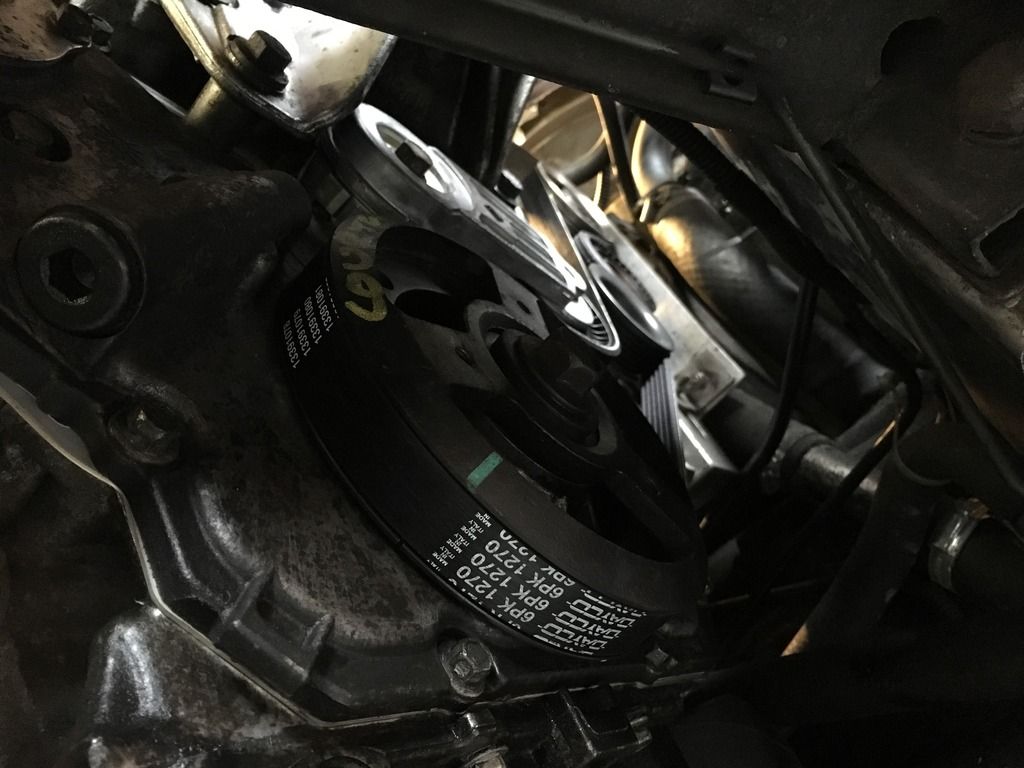
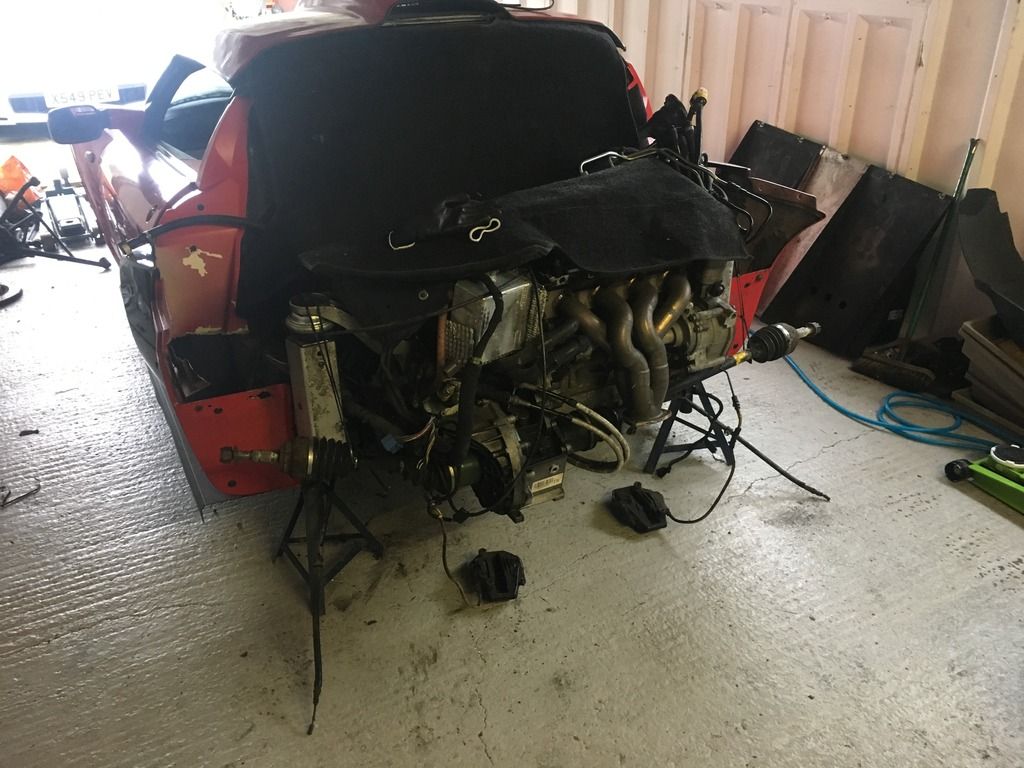
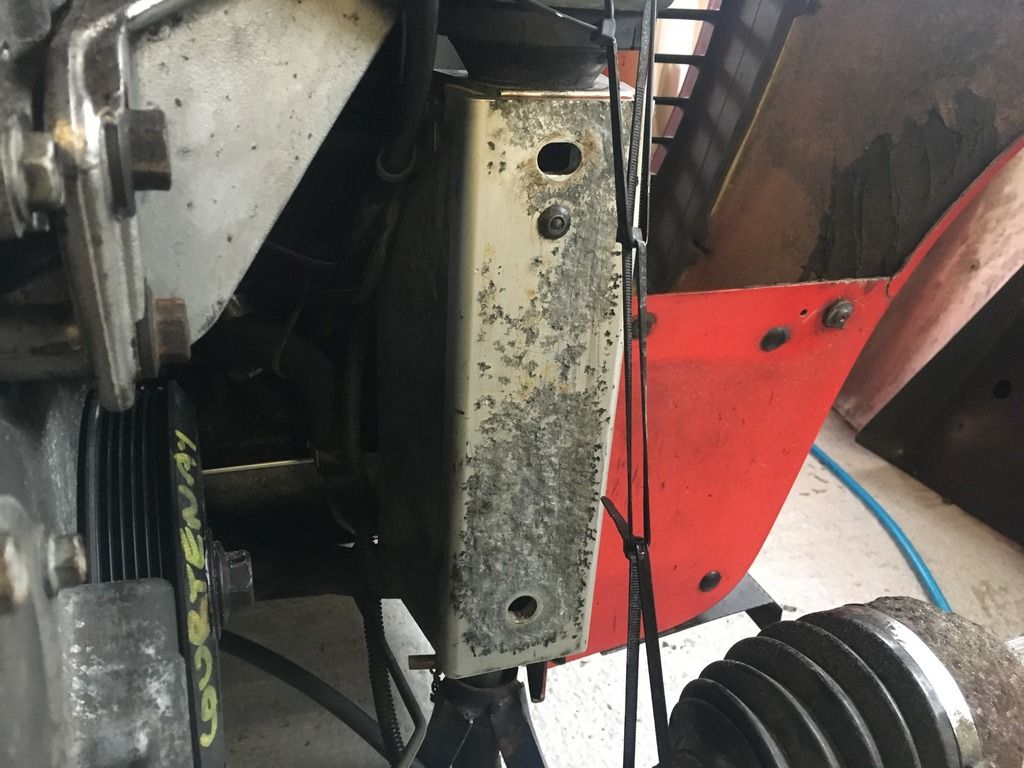
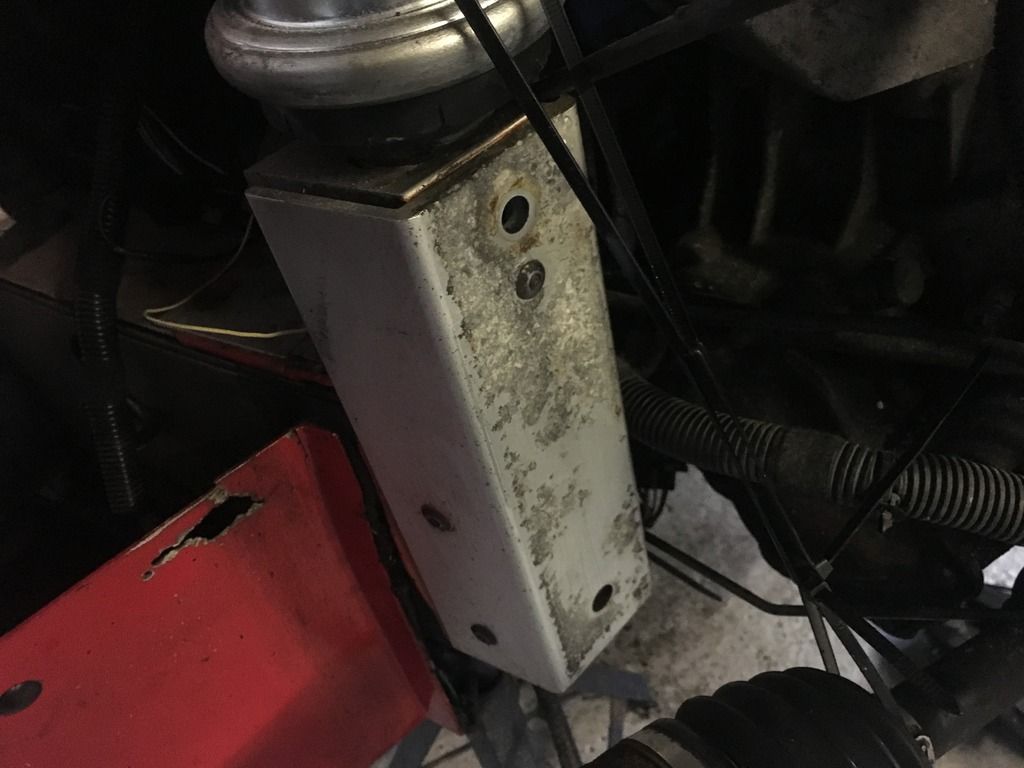
6 rib pulley to swap over.
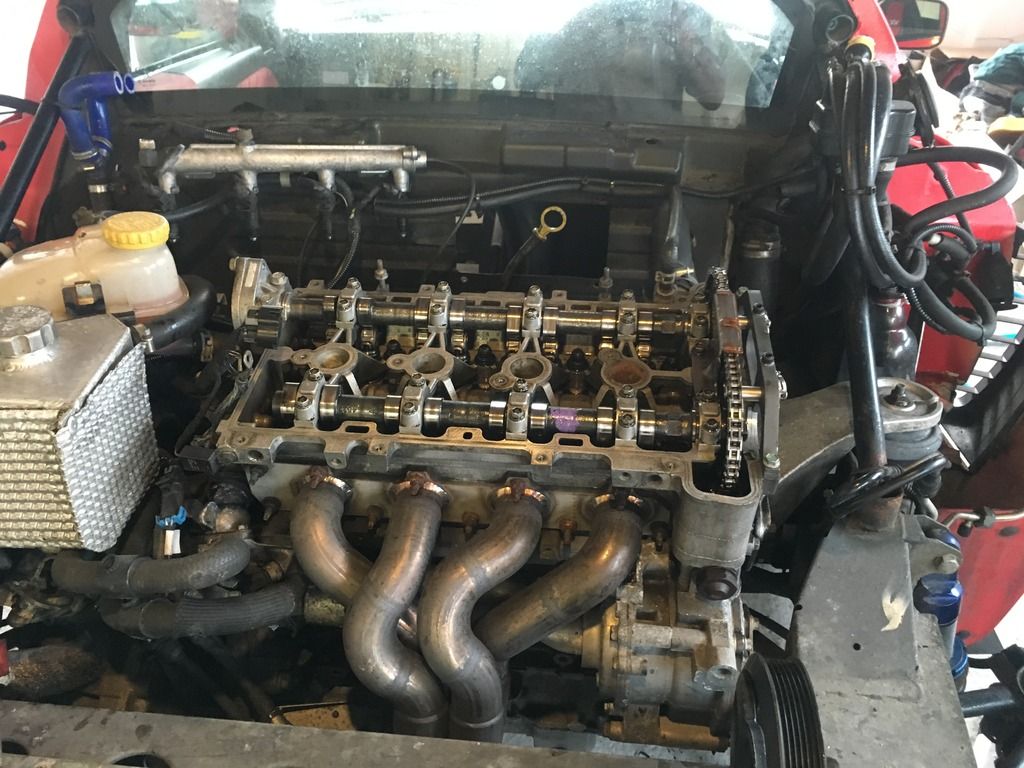
head off to do the cam chain whilst its in bits.
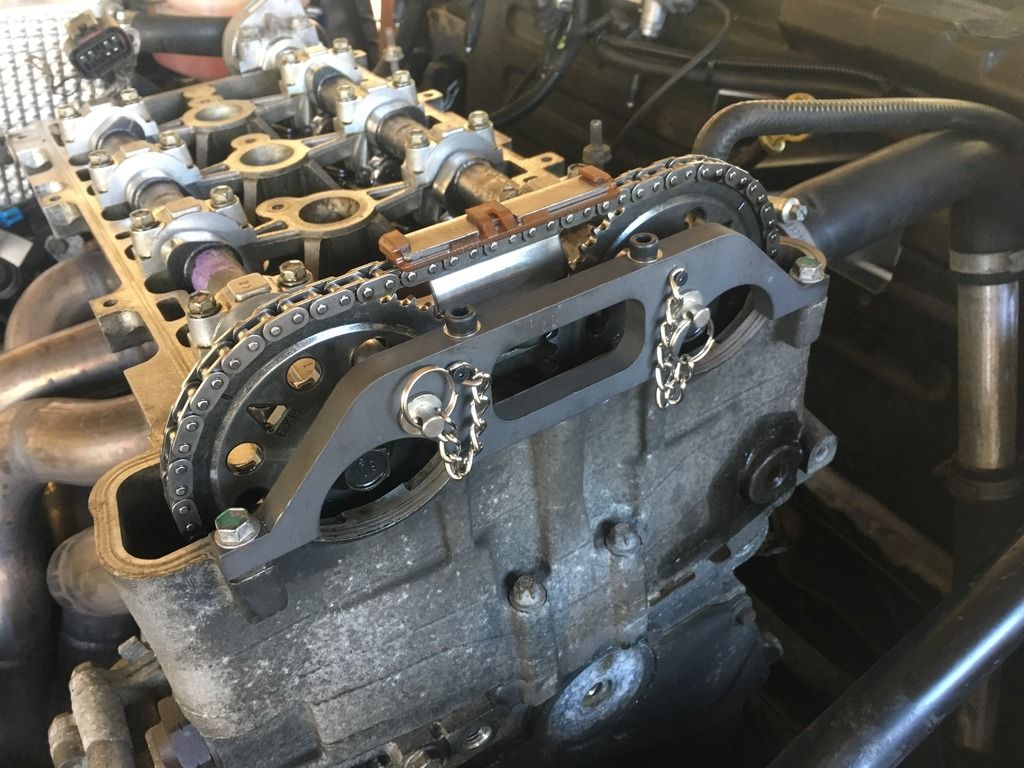
new alternator with larger/lighter pulley

i had to space out the pulley as it wasnt in line.
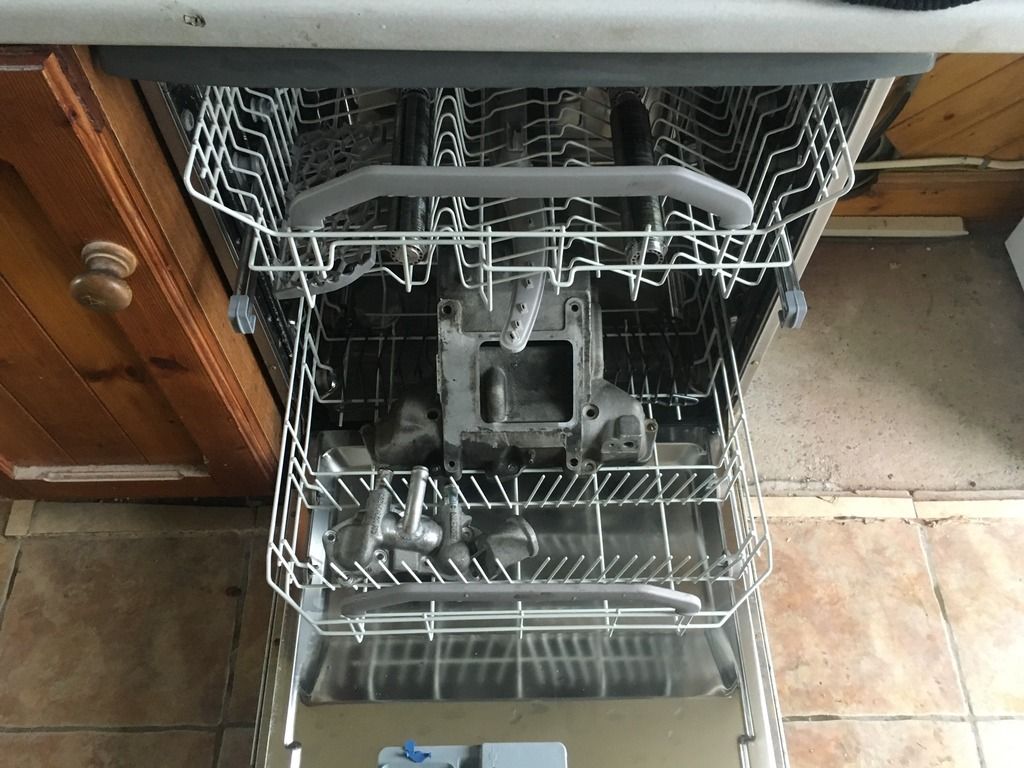
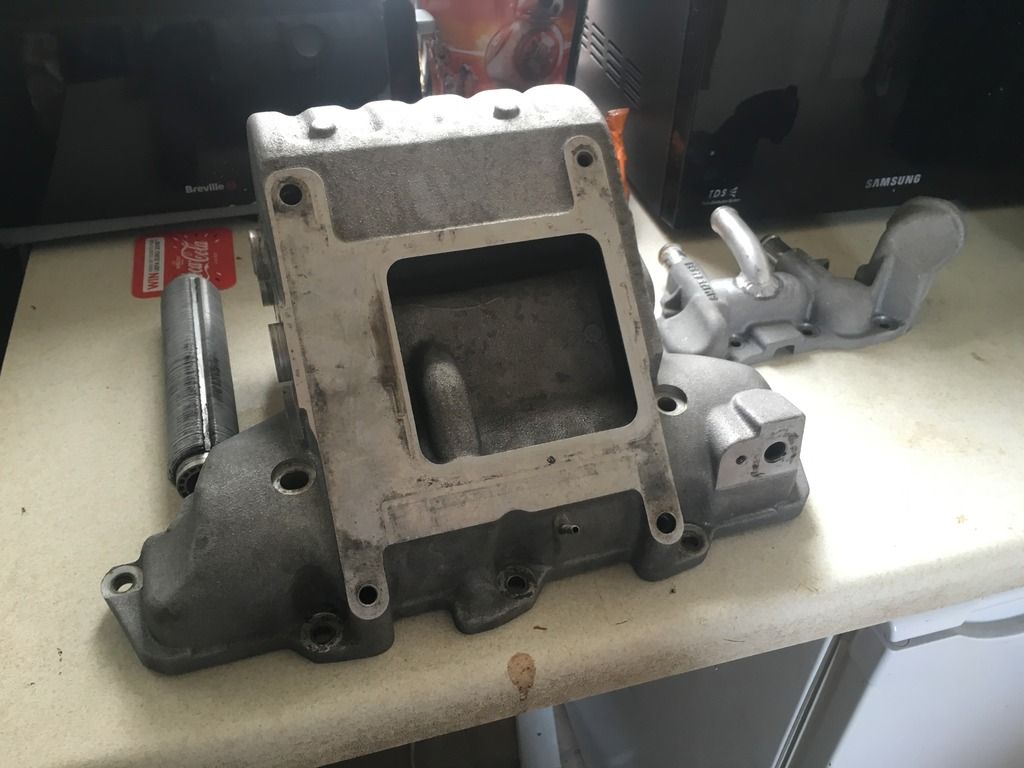
cleaned up the manifold in the mrs' parts washer.
|
chris_uk
Premium Member
Registered: 8th Jul 03
User status: Offline
|
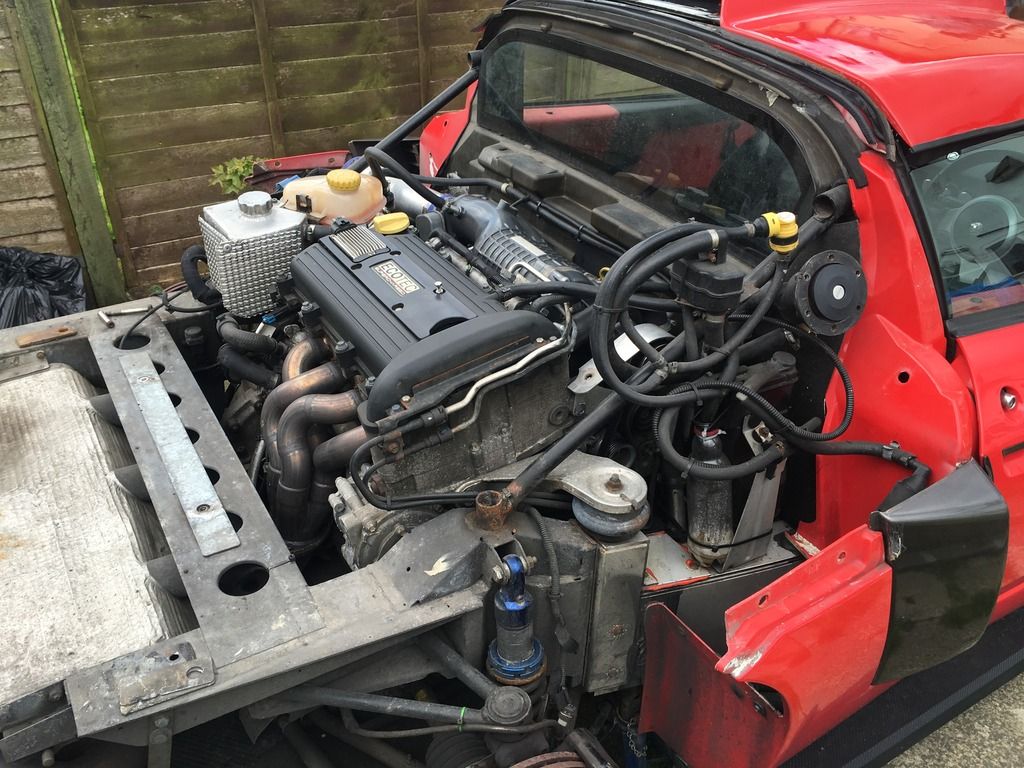
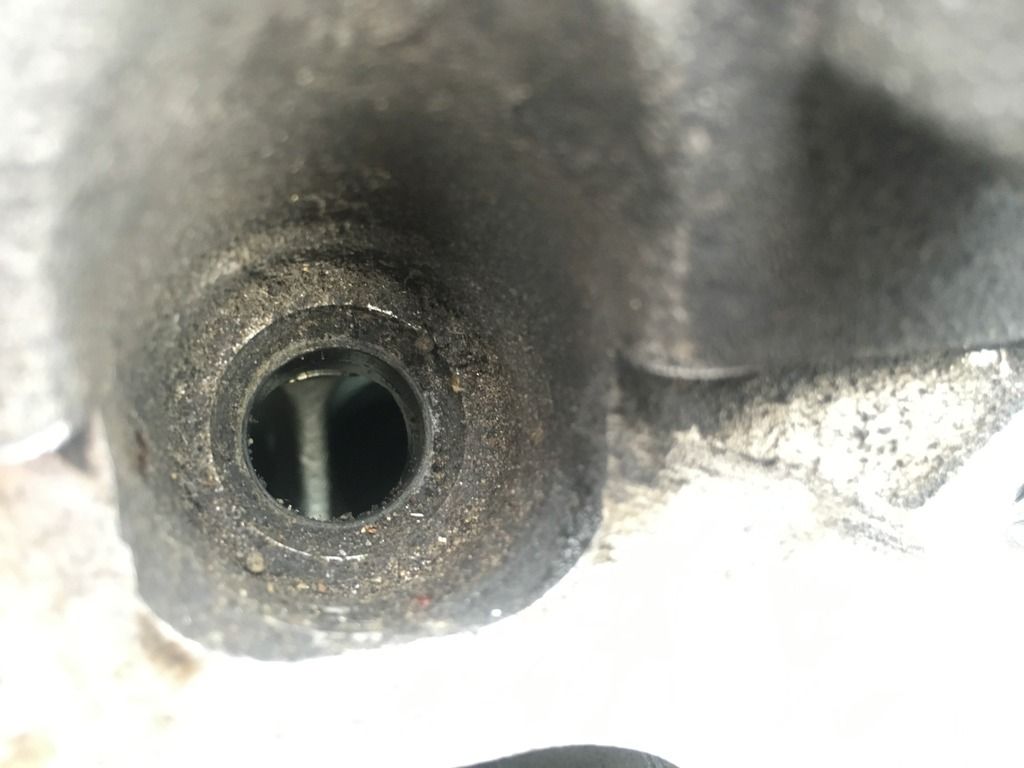
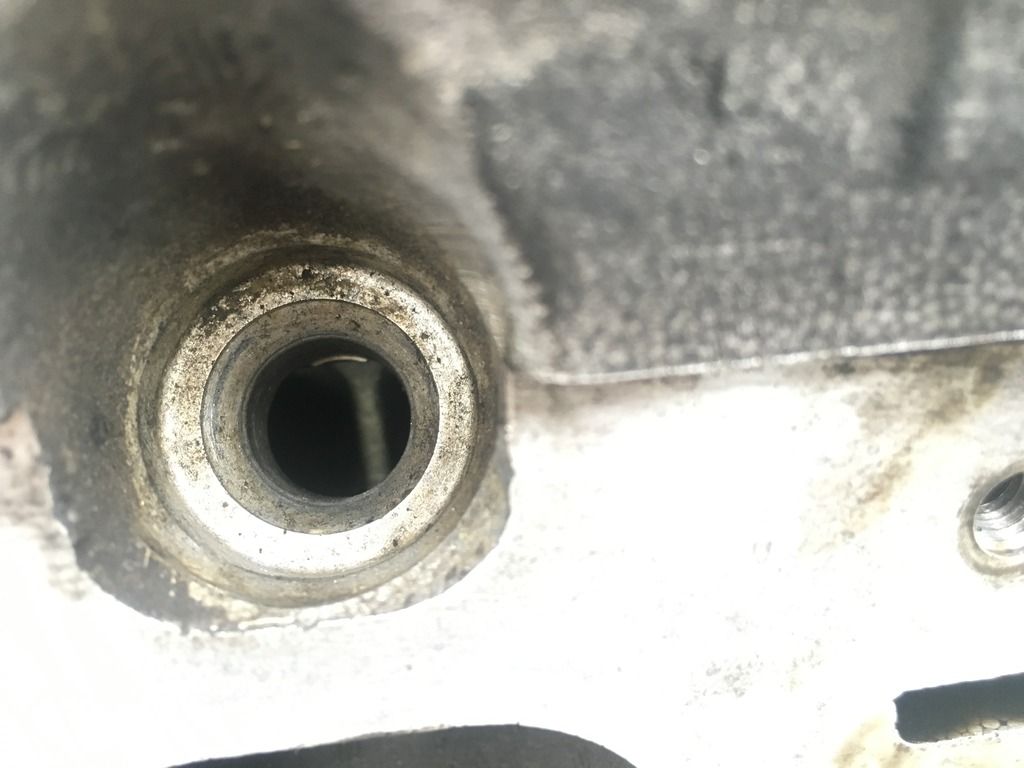
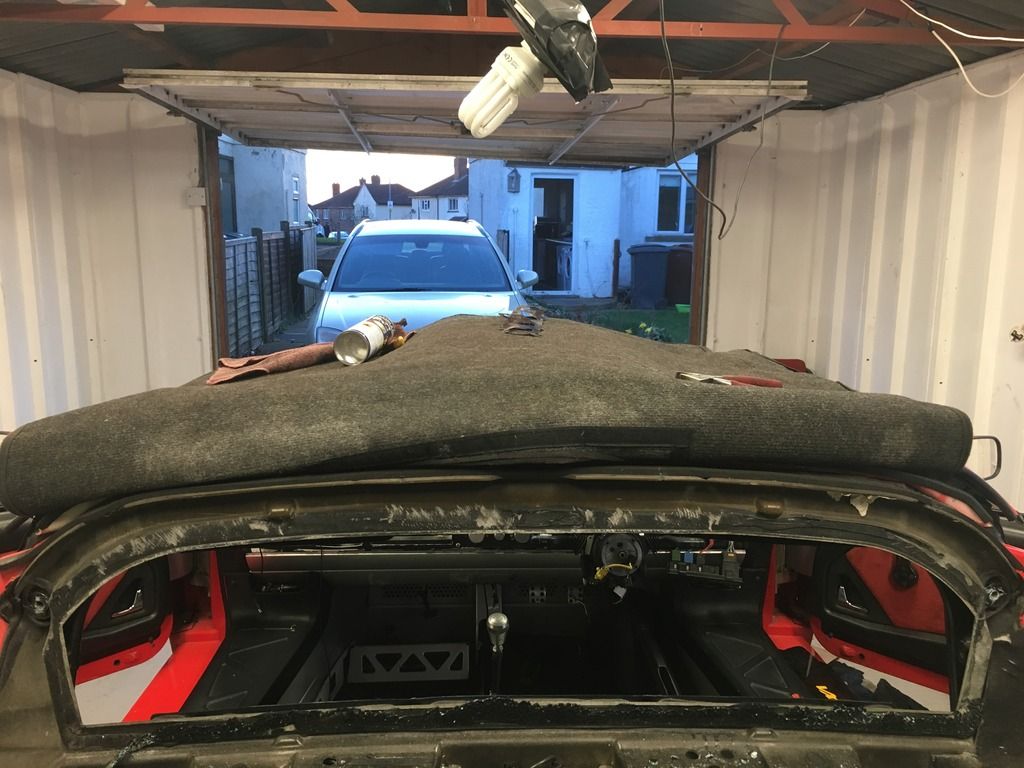
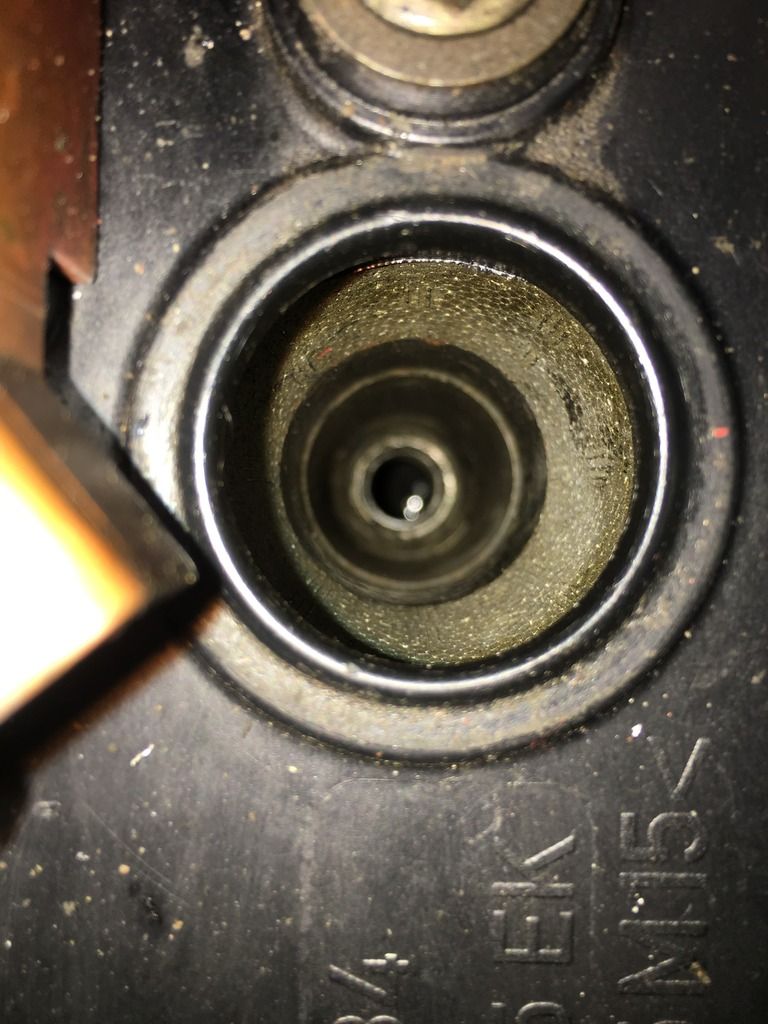
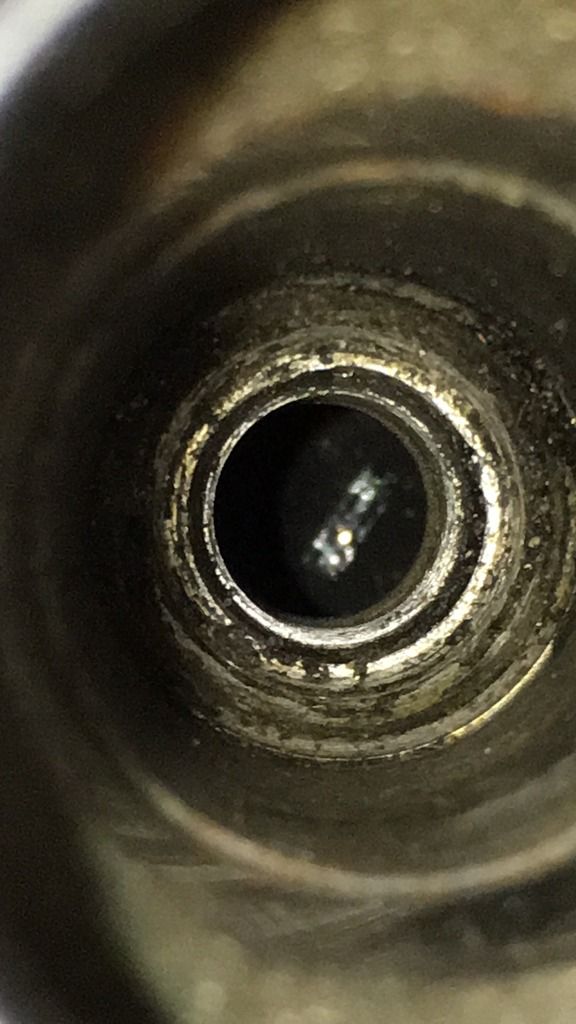
cleaned up the injector ports
before
after
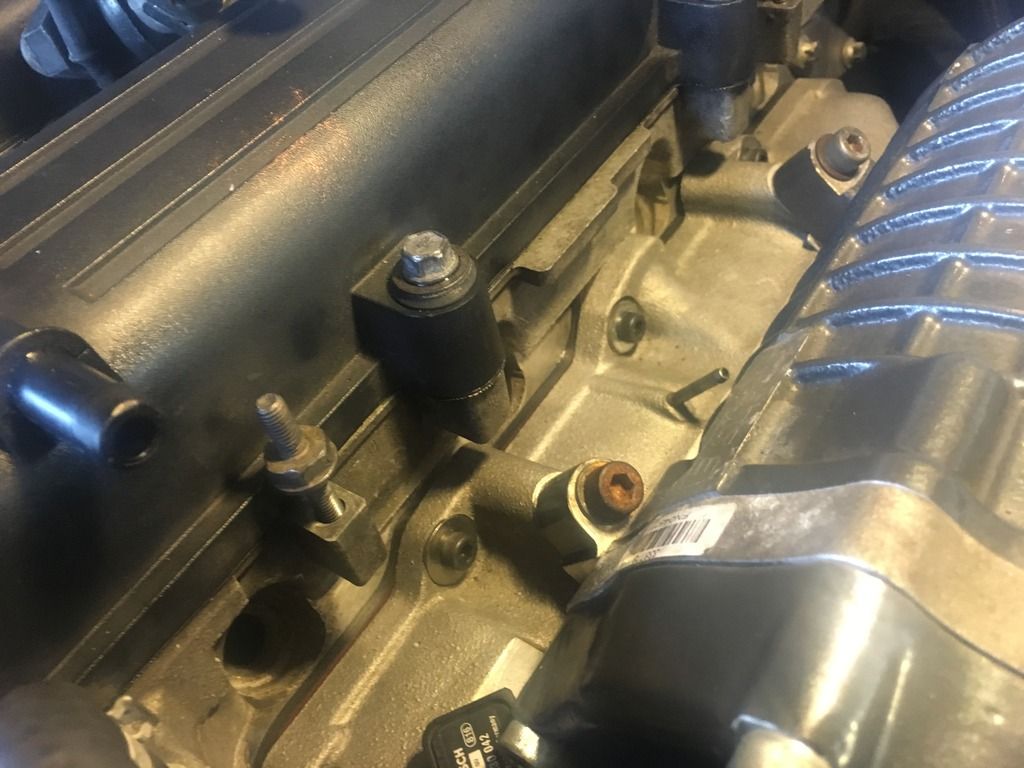
bolted back up
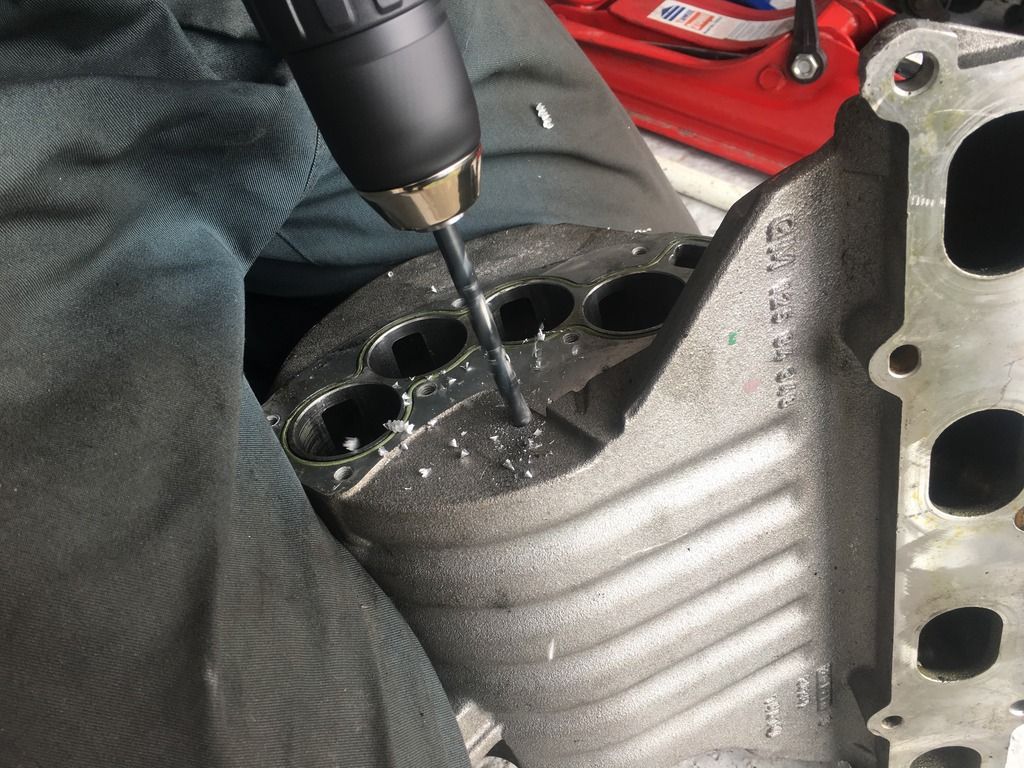
drilling for the WI
pipes from the WI just layed on top.
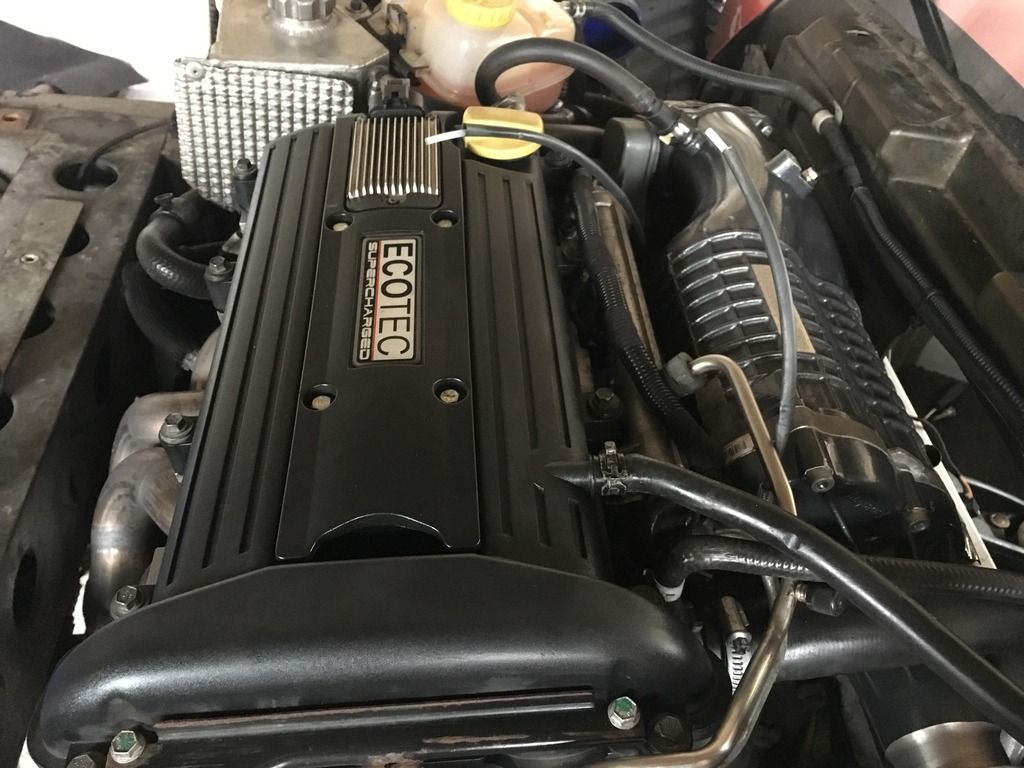
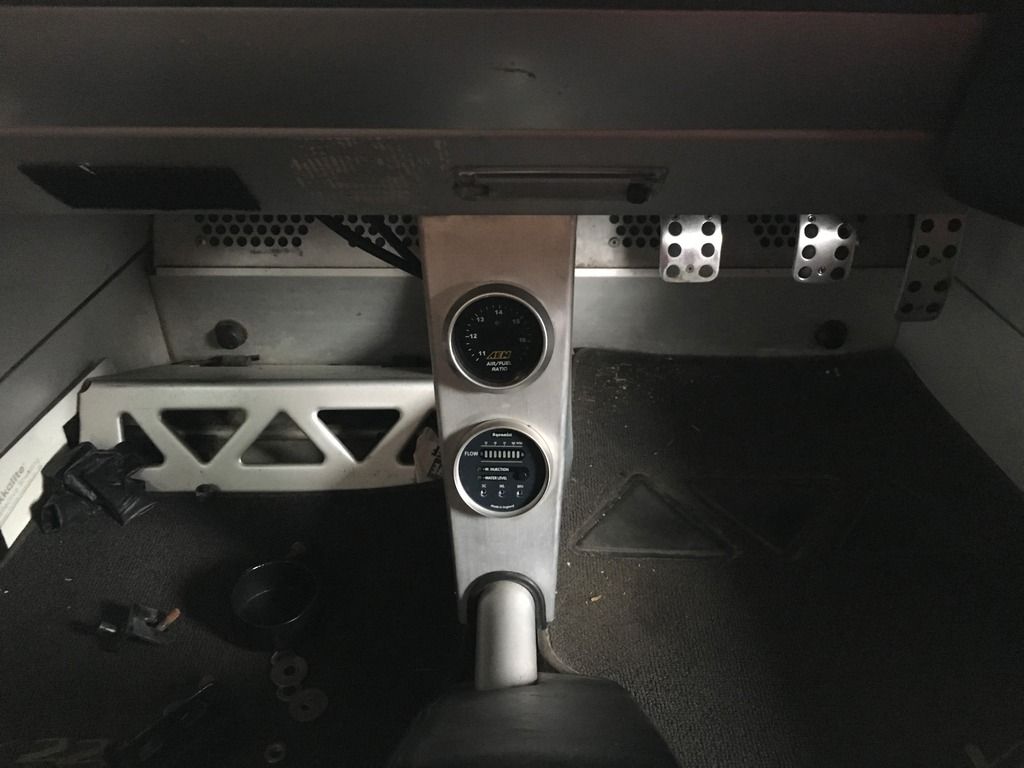
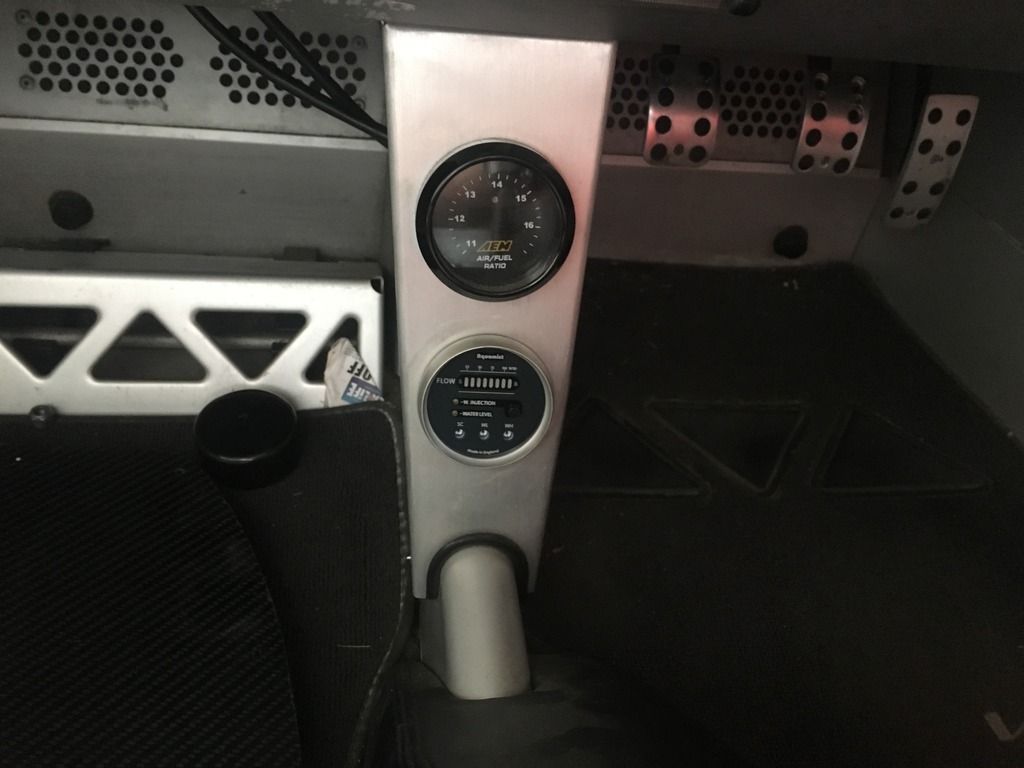
installed the gauge.
and now with power.
6rib and new alternator installed.
thats it for now, just going to finish up installing the WI and i can update again.
[Edited on 13-07-2016 by chris_uk]
|
dewismotorsport
Member
Registered: 16th Feb 08
Location: Coventry & Poole
User status: Offline
|
Cracking work mate, be interested to see how the water injection does on track, my concern was how big a tank I'd need due to a 40 minute race. Can you log the temps on the Dutch software? If so a before and after in track would be awesome
|
chris_uk
Premium Member
Registered: 8th Jul 03
User status: Offline
|
Yes you can.
I will be doing plenty of logs to test the differences.
The usage of water really depends on your flow rate, i was speaking with devils own and he sugestes about 4qtz for 30 mins.
When are you going to get the dutch upgrade?
|
Darryl H
Organiser: South Central
Premium Member
 Registered: 19th Nov 09
Location: Camberley Drives: Porsche 944
User status: Offline
|
Great work Chris 
|My Corsa|SC|My Instagram|
|
anthcorsa
Member
Registered: 18th May 07
Location: Middlesbrough
User status: Offline
|
Gauges look mint! Nice updates mate.
|
dewismotorsport
Member
Registered: 16th Feb 08
Location: Coventry & Poole
User status: Offline
|
quote:
Originally posted by chris_uk
Yes you can.
I will be doing plenty of logs to test the differences.
The usage of water really depends on your flow rate, i was speaking with devils own and he sugestes about 4qtz for 30 mins.
When are you going to get the dutch upgrade?
Happy days, if the intercooler doesn't door the trick those is my next option so I'll be interested in them logs.
That's less than I thought tbh so I'd use roughly 1 3/4 litres in a 40 minute race.
Was uming and arring whether to use the omex 600 I have but think I will go Dutch just for ease of use and home mapping, won't be till I've built the forge engine up so probably next year at some point
|
chris_uk
Premium Member
Registered: 8th Jul 03
User status: Offline
|
Deffo go dutch 
|
chris_uk
Premium Member
Registered: 8th Jul 03
User status: Offline
|
Little update..
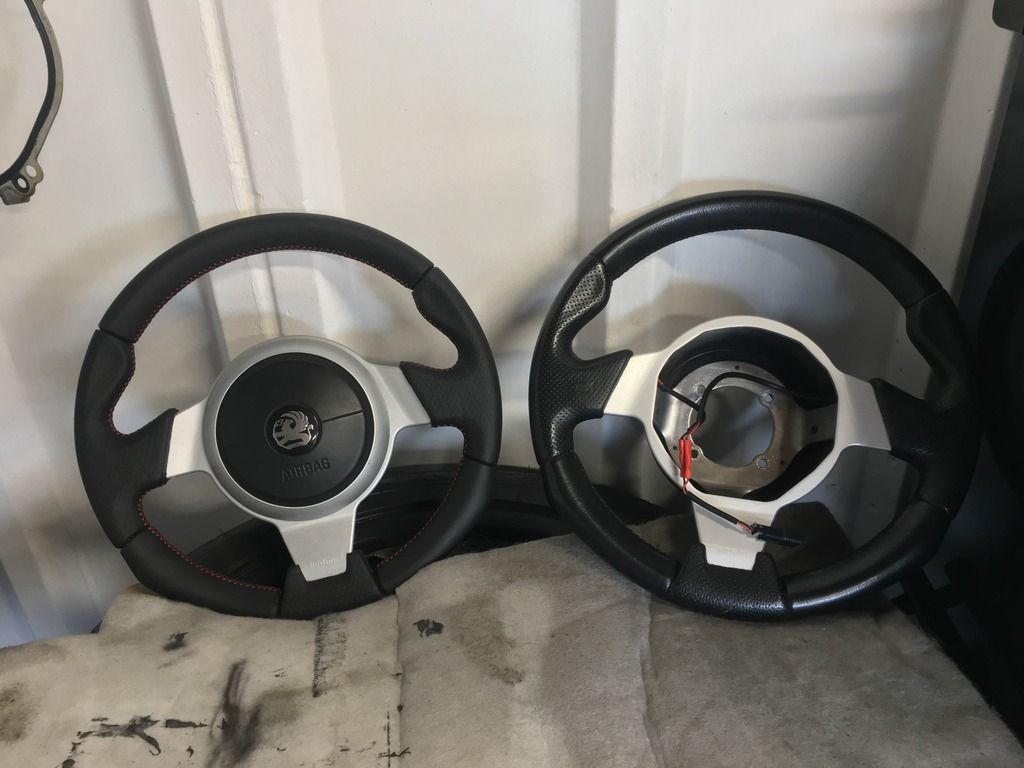
Bought a new wheel, Bentley leather with red stitching
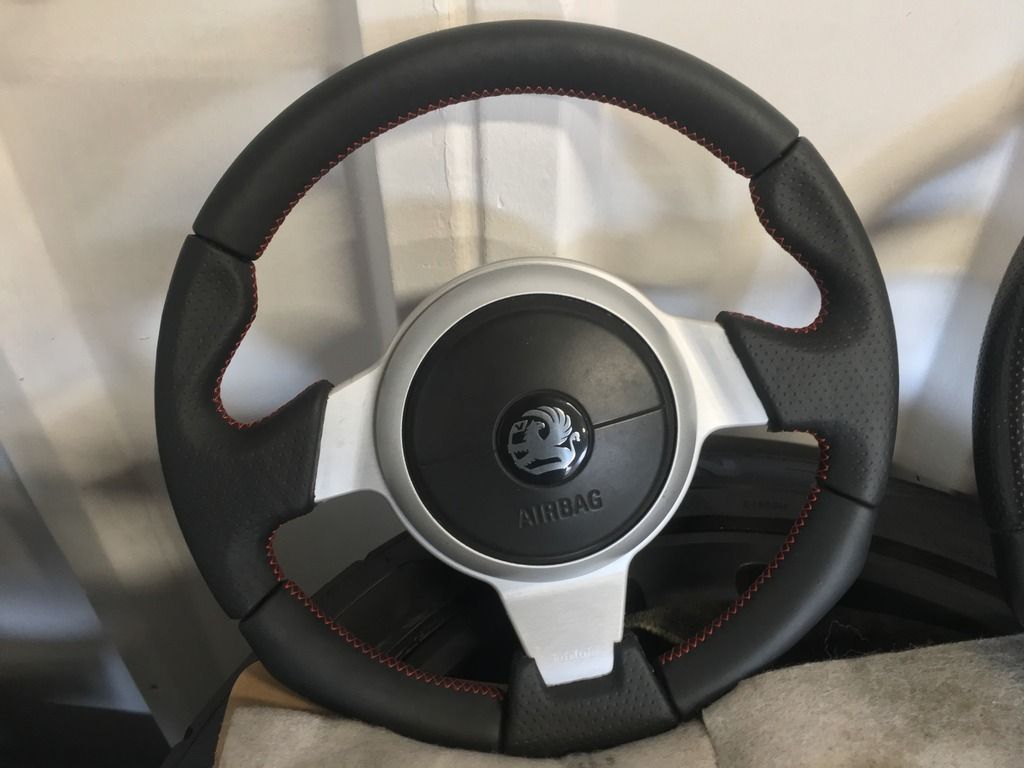
Next to the original design one.
Removed all the suspension for powder coating along with some other parts.. and decided whilst i was at it i would get the subframe off and make sure there was some duralac on the joining parts due to corroding.
Luckily not too much corrosion.
I was sick of working in candlelight so i bought 4 of these led lights. Really bright!
So things left to do before summer.
Duralac subframe mounts
Reinstall subframe
Rebuild engine
Fit and finish the water injection system
Refit suspension
Refit interior
Buy new brake discs
Remake diffuser
Redo spoiler mounts
Remove rear glass and replace with carbon fibre foam board..
Shouldnt take long.. lol
|
chris_uk
Premium Member
Registered: 8th Jul 03
User status: Offline
|
tried removing the glass in one piece, it didnt happen..
and what are the chances but when it shattered glass ended up inside the cylinders, doh!
so i tried to get it out, and i think i have, but i cant be sure there isn't more in there, im gunna get the bore scope from work and have a look and if i cant be 100% sure its all out then i will have to strip it down. damn!
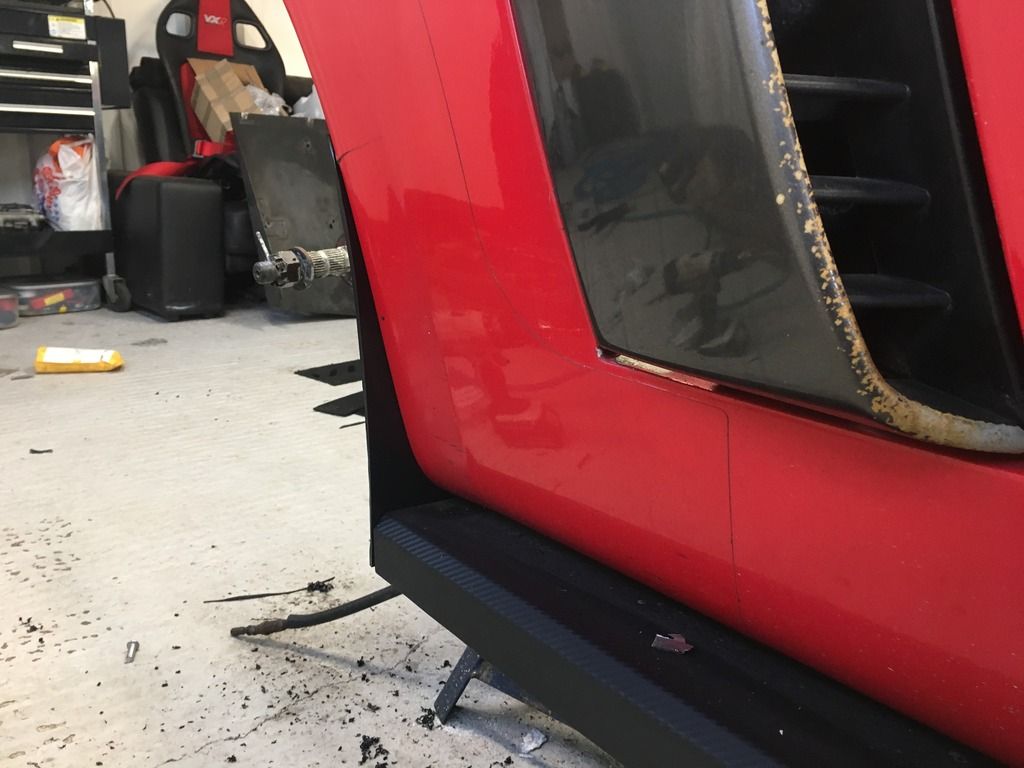
carbon template in place, fits quite well.
added some arch/sill protectors while incorporating into the side skirt, aero theory at work here.
|
chris_uk
Premium Member
Registered: 8th Jul 03
User status: Offline
|
little update. .
cant believe photobucket has fucked everyone over! the cunts.,


[Edited on 18-08-2017 by chris_uk]
|
chris_uk
Premium Member
Registered: 8th Jul 03
User status: Offline
|


|
SteveoBC
Premium Member
 Registered: 22nd Feb 07
Location: Bucks
User status: Offline
|
nice work Chris, nothing better than shiney new hubs
who you using to host your images now then? im in the same photobucket shit storm
|
chris_uk
Premium Member
Registered: 8th Jul 03
User status: Offline
|
Facebook of all things
|
chris_uk
Premium Member
Registered: 8th Jul 03
User status: Offline
|
trying to motor on with this as i'm really wanting to get it finished now.
bought some new brake discs, these are alcon rotors and im designing the bells and getting them made up.


some quick man maths tells me that i should save about 14kg of unsprung weight from what i had with the old discs, and you can see why, look how small the vanes are on the old discs.
|
chris_uk
Premium Member
Registered: 8th Jul 03
User status: Offline
|
exhaust is all back in and connected up, all lambdas are back in too.


had to make a pair of new intake gaskets.


|
chris_uk
Premium Member
Registered: 8th Jul 03
User status: Offline
|
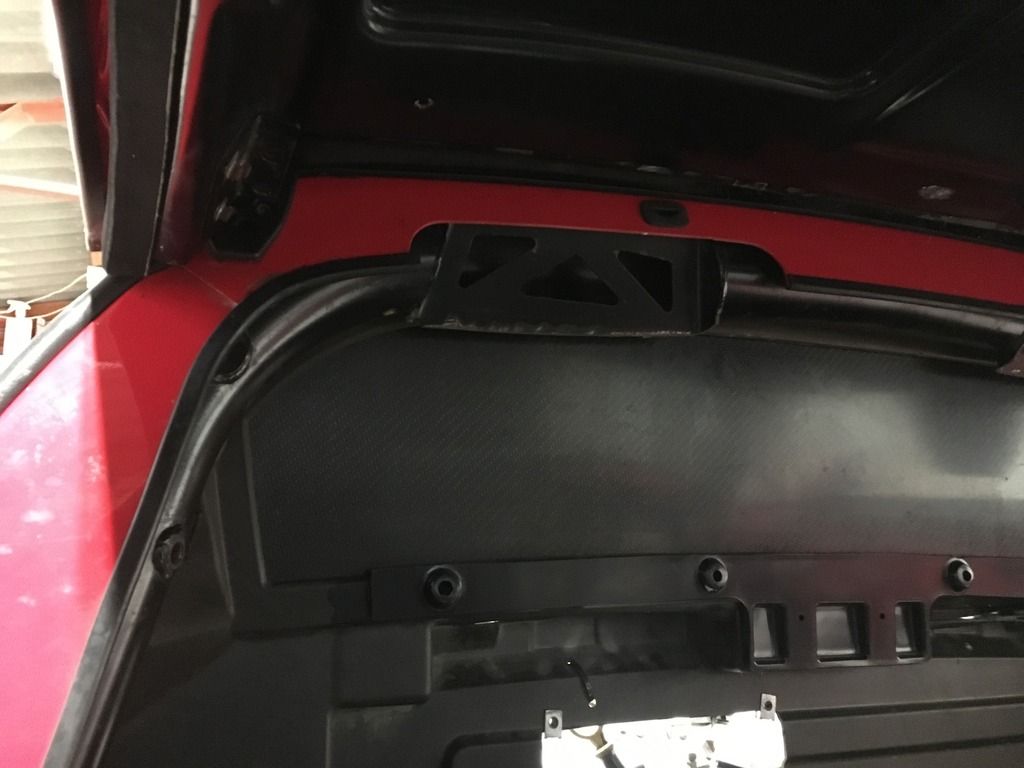
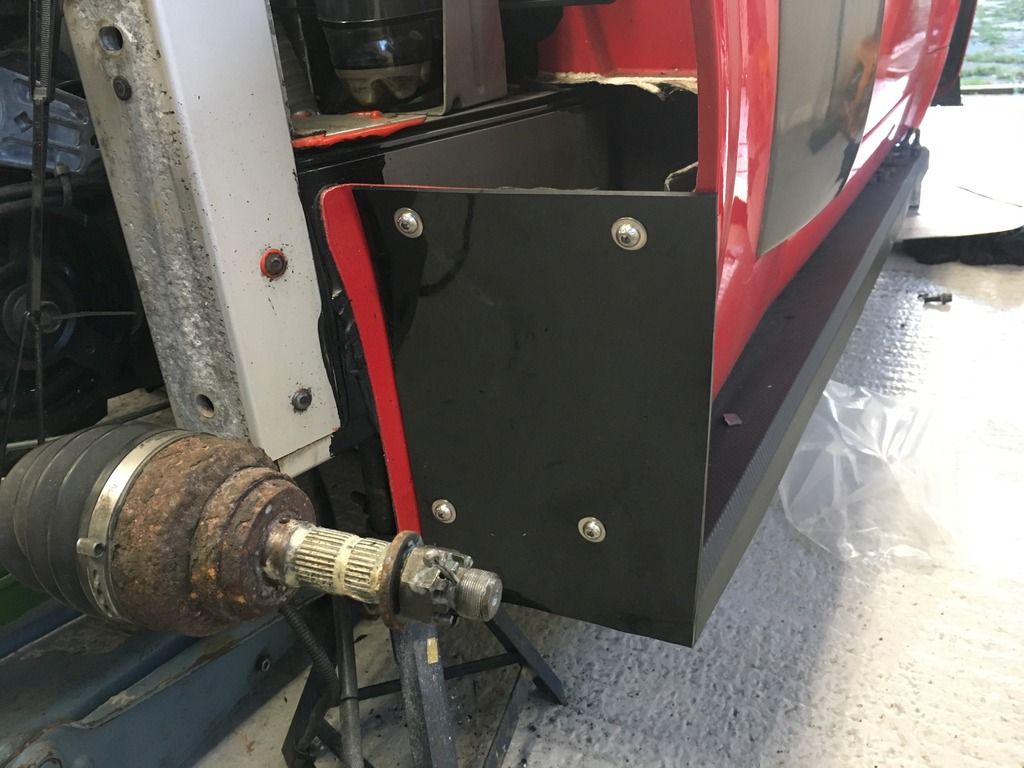
i found that my rubber aero bits were just going to flap about, i knew this when i put them on but in my mind had an elaborate way of connecting them.. in the end i looked at a spare bit of carbon and thought it would be better use than the rubber.


started addressing my messy wiring

stuck my new carbon panel in now, it will of set by the morning but i couldn't resist checking out what it will look like.. i think it looks pretty good.

|
chris_uk
Premium Member
Registered: 8th Jul 03
User status: Offline
|
Finally stuck my replacement window in, its a twin layered piece with foam core, on the inside i have stuck some alacantara on to make it slightly more comfortable inside.


also, got the supports done in gold, for no other reason than the original paintwork on them was gash, so they needed to be re-done so i figured gold.
removed the rubber and replaced with 1mm carbon sheet, much stronger and it wont bend when air hits it.


i used a 3mm camber shim to crudely attached my water pump for the CC system to the bulkhead, its only temporary atm until i figure something better to use to mount it.. Im going to use some rubber to keep vibrations to a minimum.

|
chris_uk
Premium Member
Registered: 8th Jul 03
User status: Offline
|
decided to re-do my calipers so they all look somewhat decent.

i bought new caliper pins and plates etc which i will put in at the end.
i had to pull it right down to metal for the paint to properly adhere.


|
chris_uk
Premium Member
Registered: 8th Jul 03
User status: Offline
|


finished

i did both

painted my heat shield in heat resistant paint so you cant see the silver through the clam

i started putting the fuel rail in and noticed that for whatever reason my MAP sensor plug wouldn't reach, so i had a fiddle about and noticed that one of the injector plug wires were snapped, so i decided to open up the loom because when i first did the wiring some 5 years ago i remember wrapping them in electrical tape so i thought since im here i might as well re-solder them and heat shrink the joints..
i found this.


im going to strip it all back and start again with all the joints
currently sat like this !

|
chris_uk
Premium Member
Registered: 8th Jul 03
User status: Offline
|
today i tackled the wiring and because i had to split most of the connections apart i thought i might as well re-route them.

not sure how this will work but i covered the AFR plug in Nimbus to reduce the heat getting to it.

i found online some "Milano" Alacantara with a foam backing so i thought i would try and cover the inside of my hardtop..


|
Ian
Site Administrator
 Registered: 28th Aug 99
Location: Liverpool
User status: Offline
|
quote:
Originally posted by chris_uk
cant believe photobucket has fucked everyone over! the cunts.,
Watch this space, actually not so difficult to go get all the pictures and change all the paths, 405k but I CBA to test and then do it all again so I'm doing it in one go, not sure when they'll all be here.
|


