Martin_C
Member
Registered: 27th Jun 03
Location: Ayrshire, Scotland
User status: Offline
|
following on from...
http://www.corsasport.co.uk/board/viewthread.php?tid=492218
which i've got temp wheels fitted, i've been really busy refurbing my wheels, this has been done over a few days and been posting on other forums, but i know you lot like a bit of DIY 
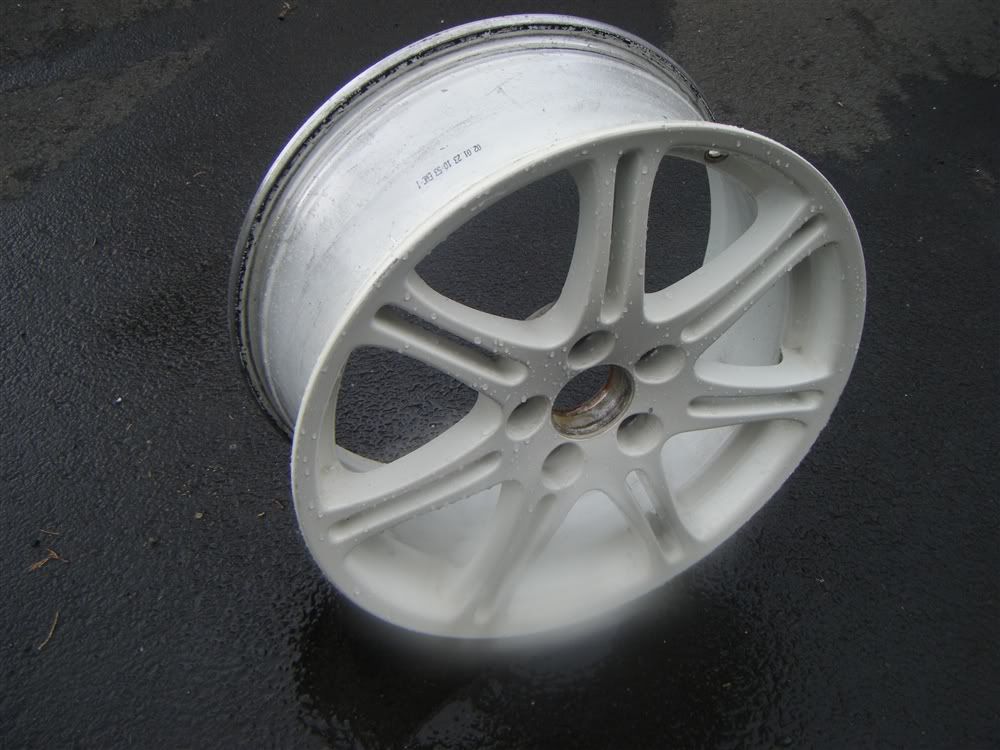
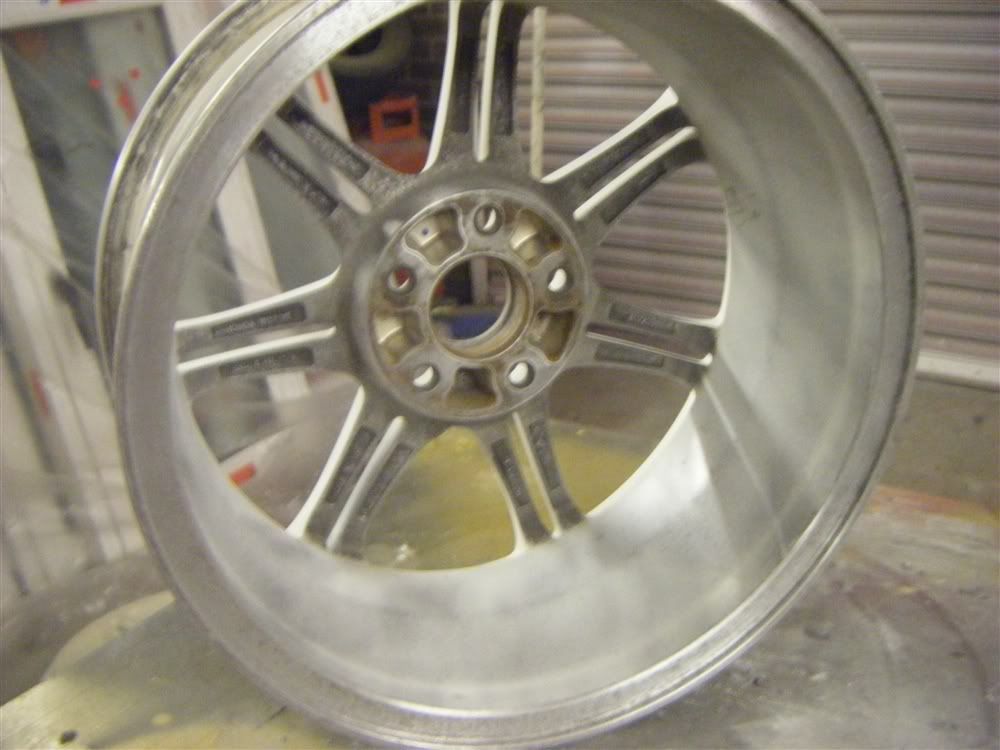
got the tyres taken off my wheels so i can start to refurb them in the original championship white. decided against powder coating them after i had my dc5 wheels done and the finish wasnt really up to my standard! also as i do painting it wasnt costing me much to paint them anyway.
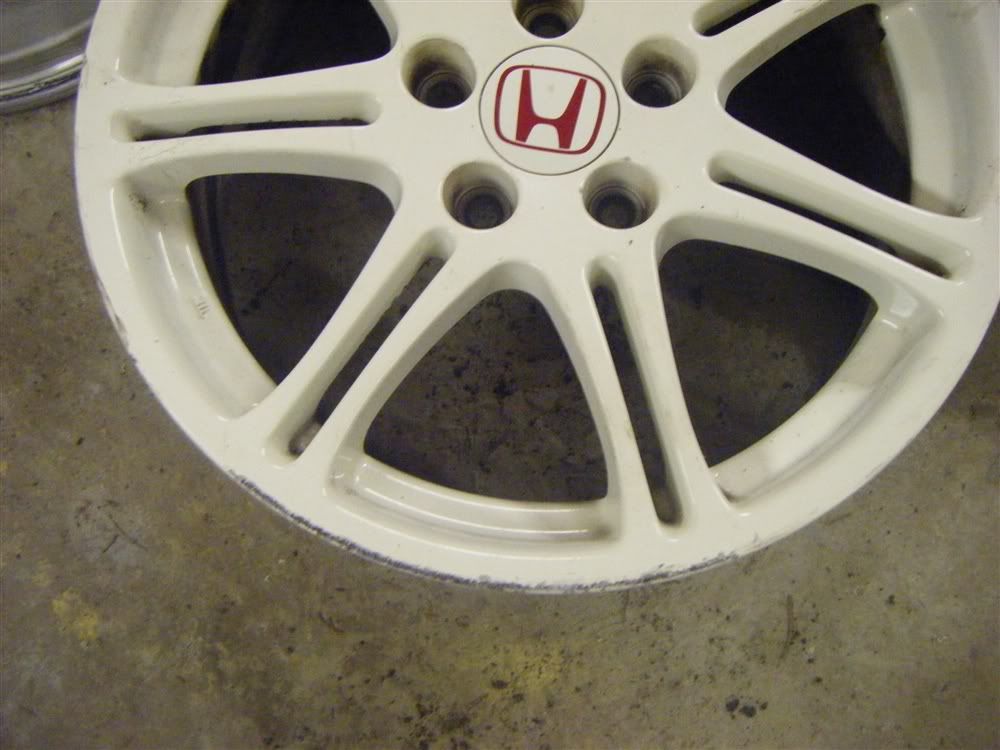
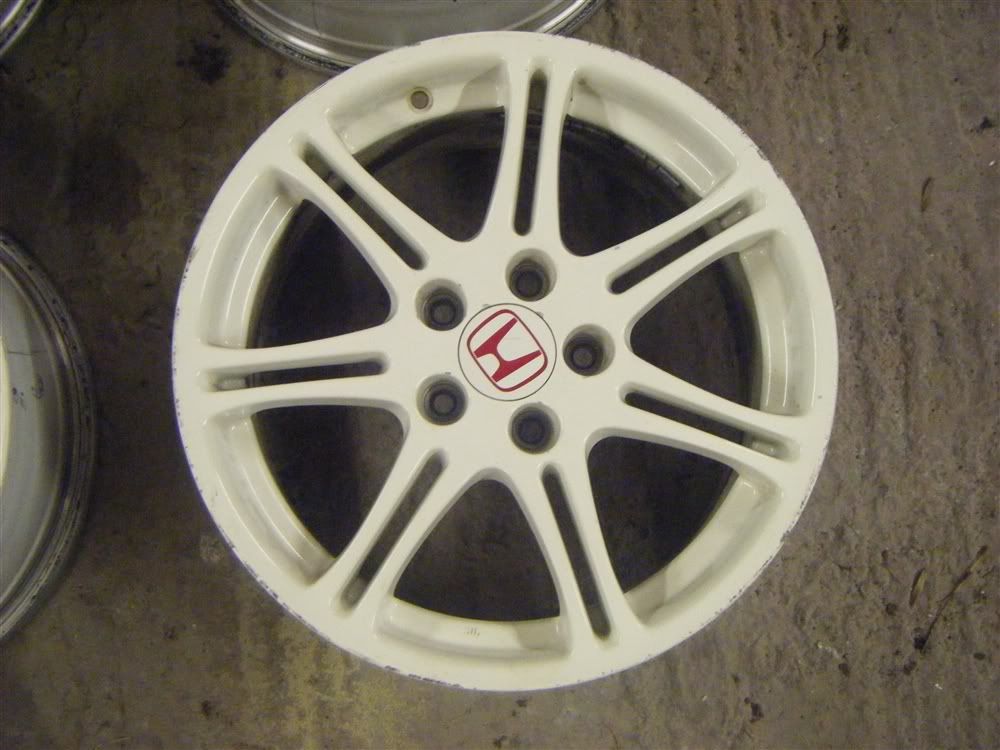
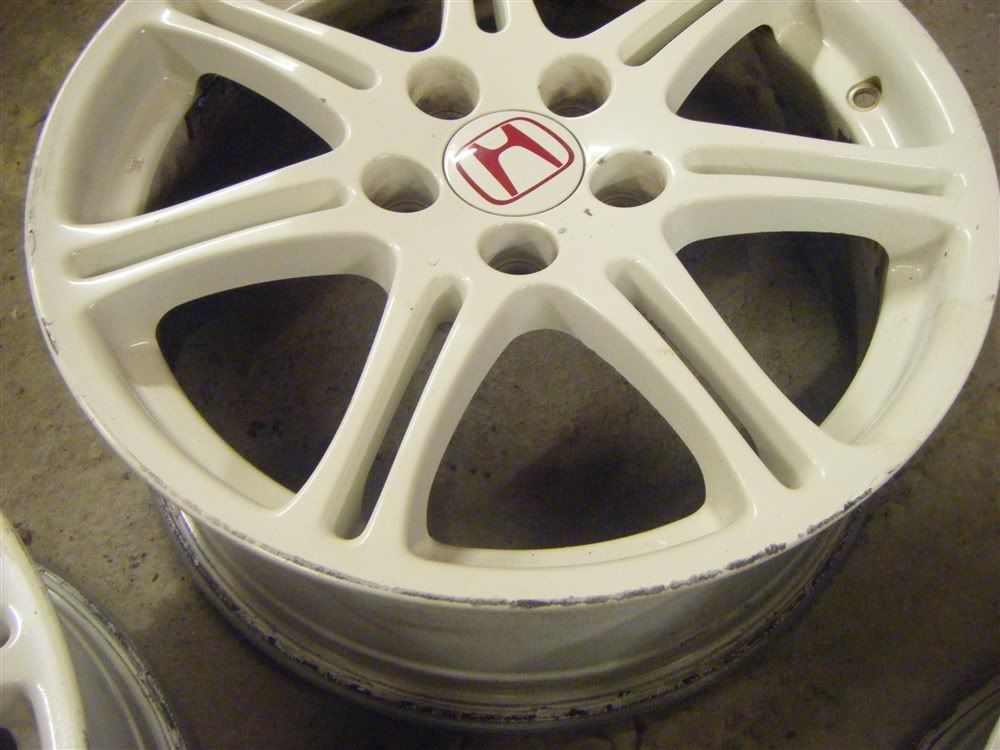
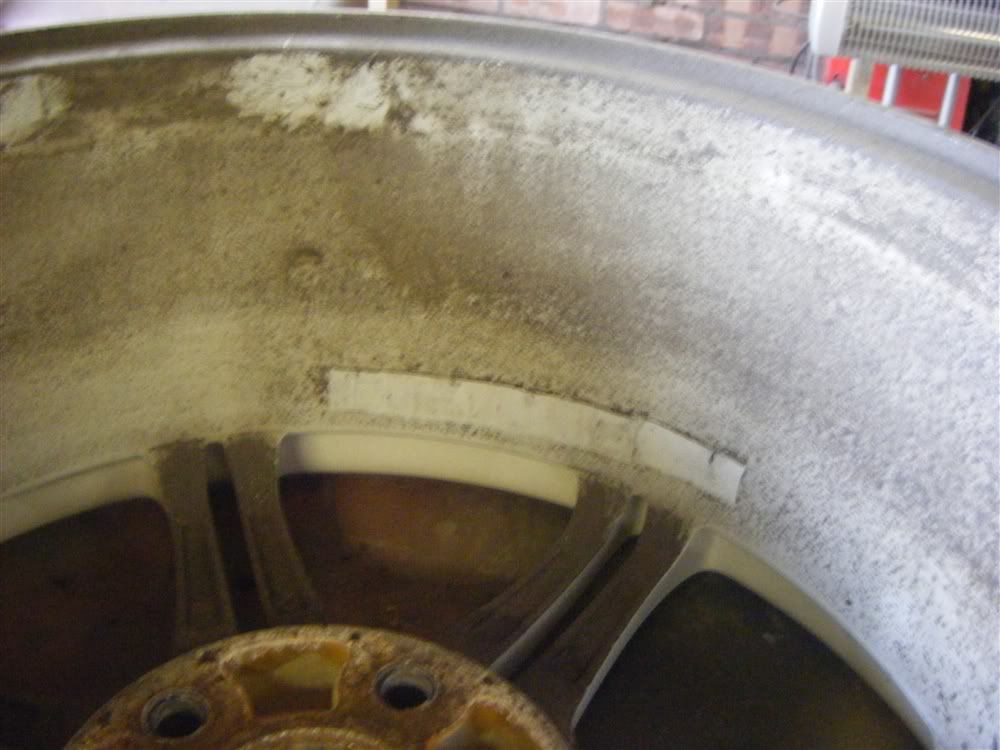
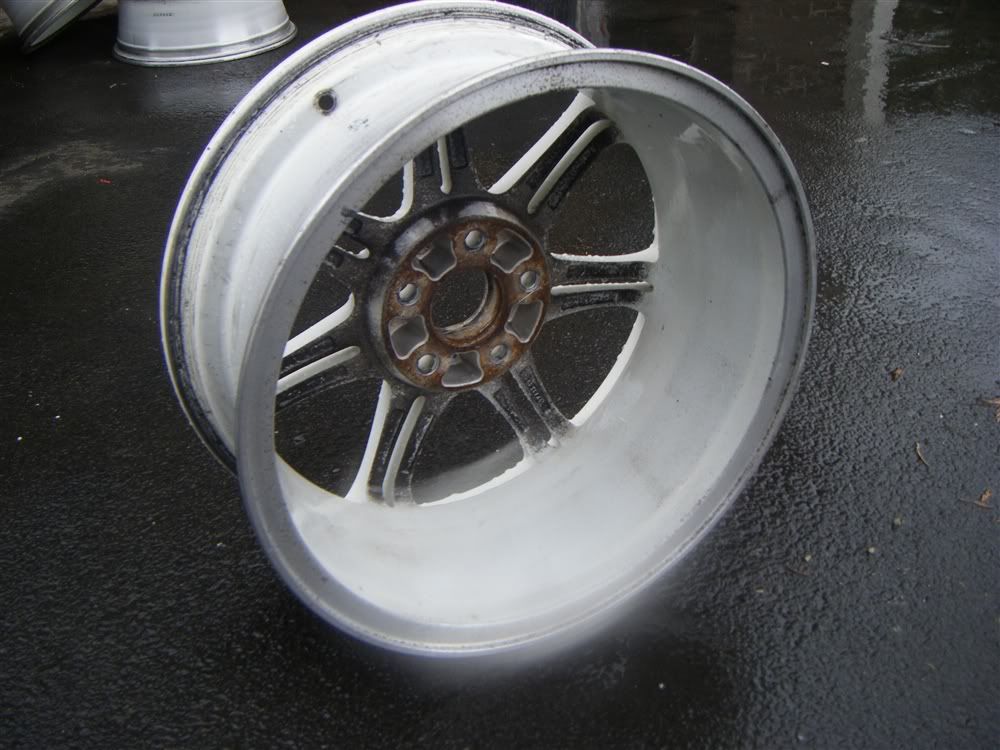
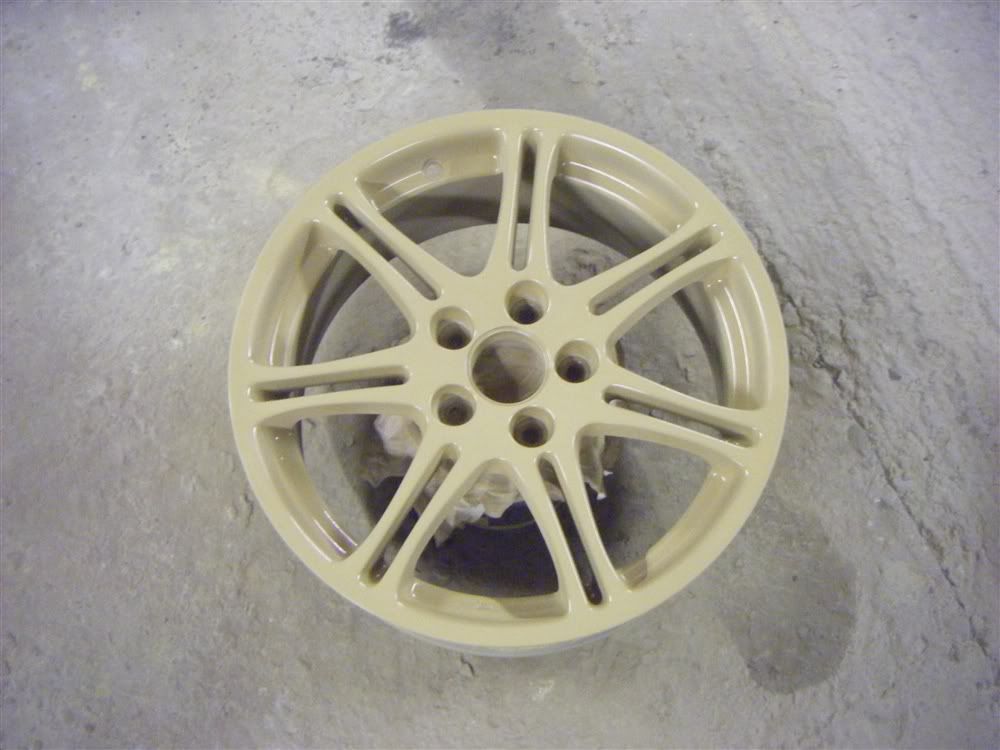
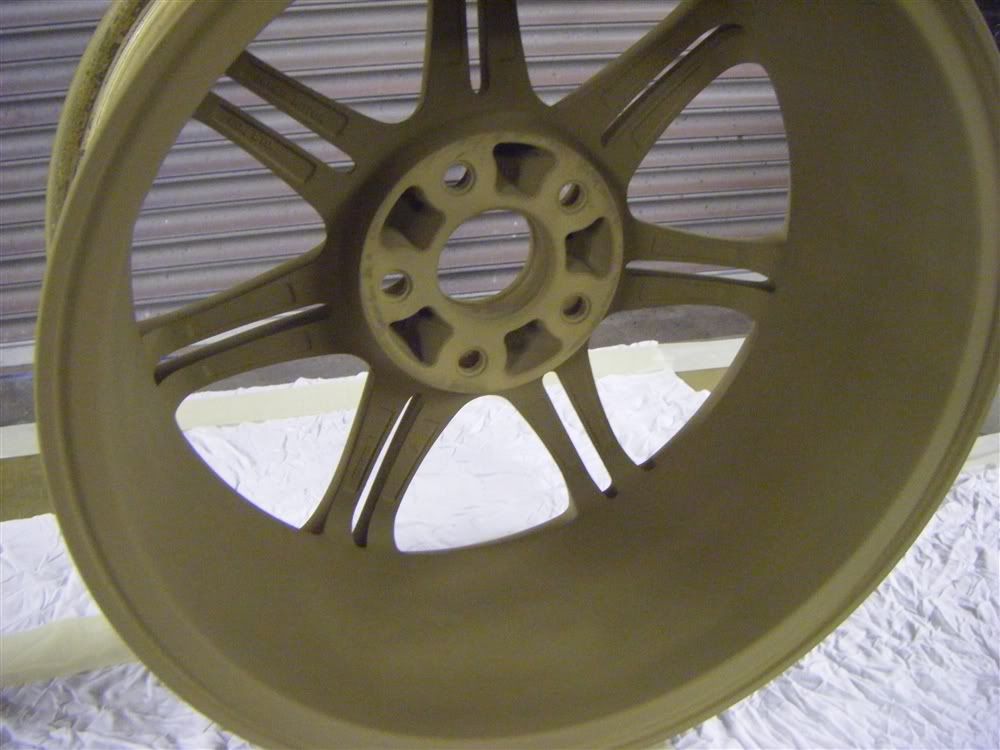
first job was to inspect the wheels properly, as you can see from the pics, plenty of scrapes, the odd chip around the wheel and lots of chips near the bolt holes.
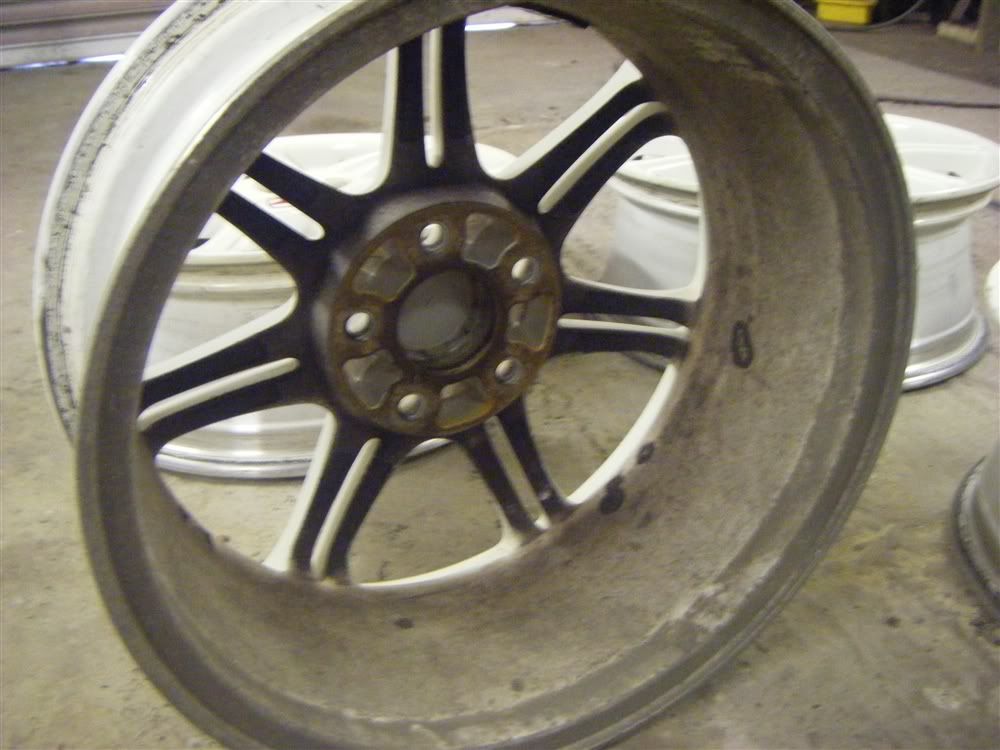
i then set about removing all the old wheel weights and any old foam tape left over from old weights.
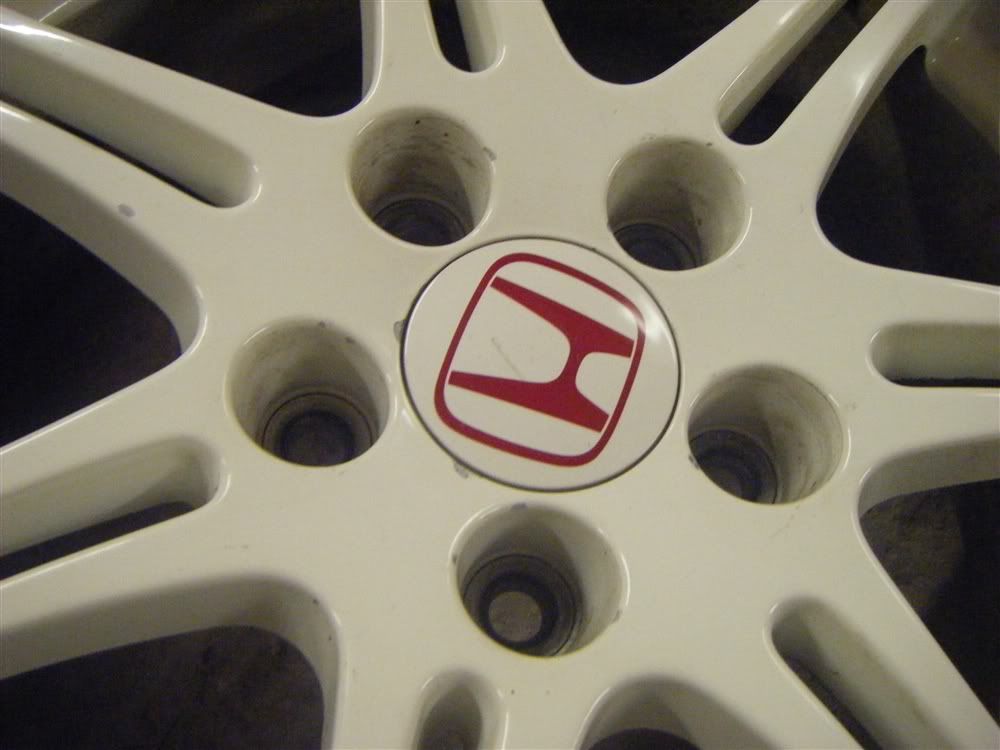
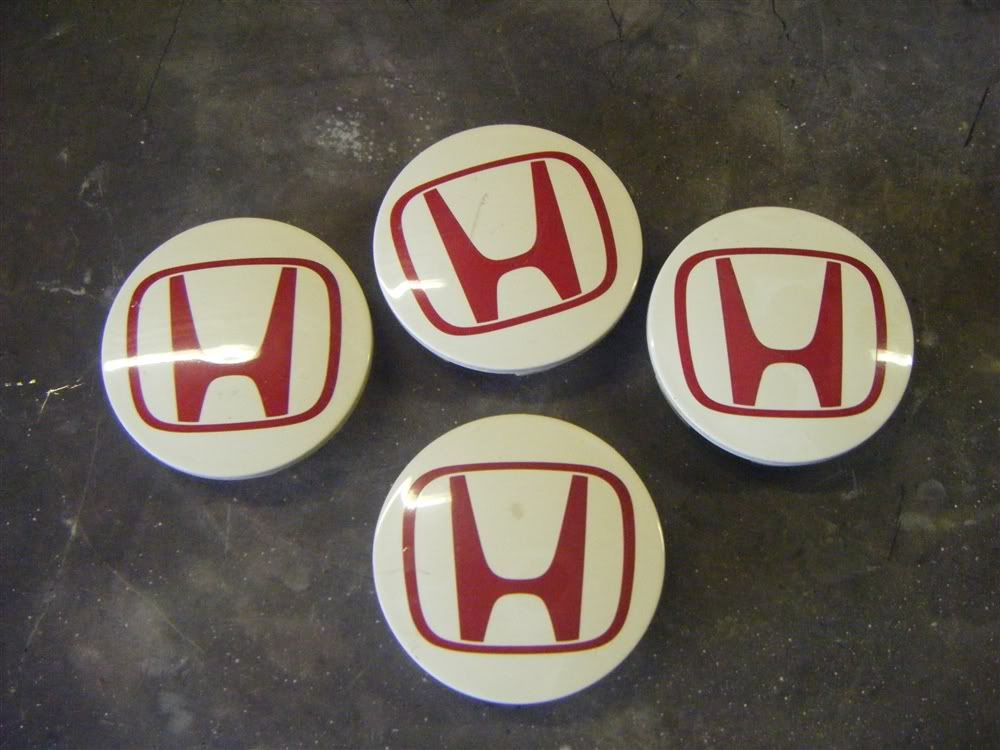
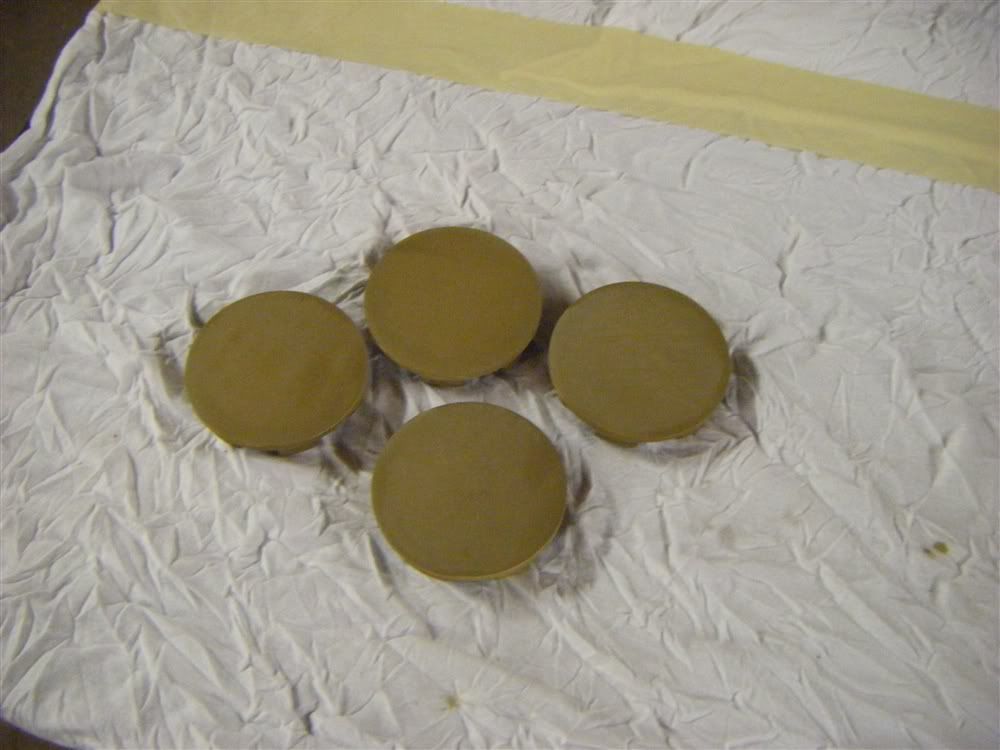
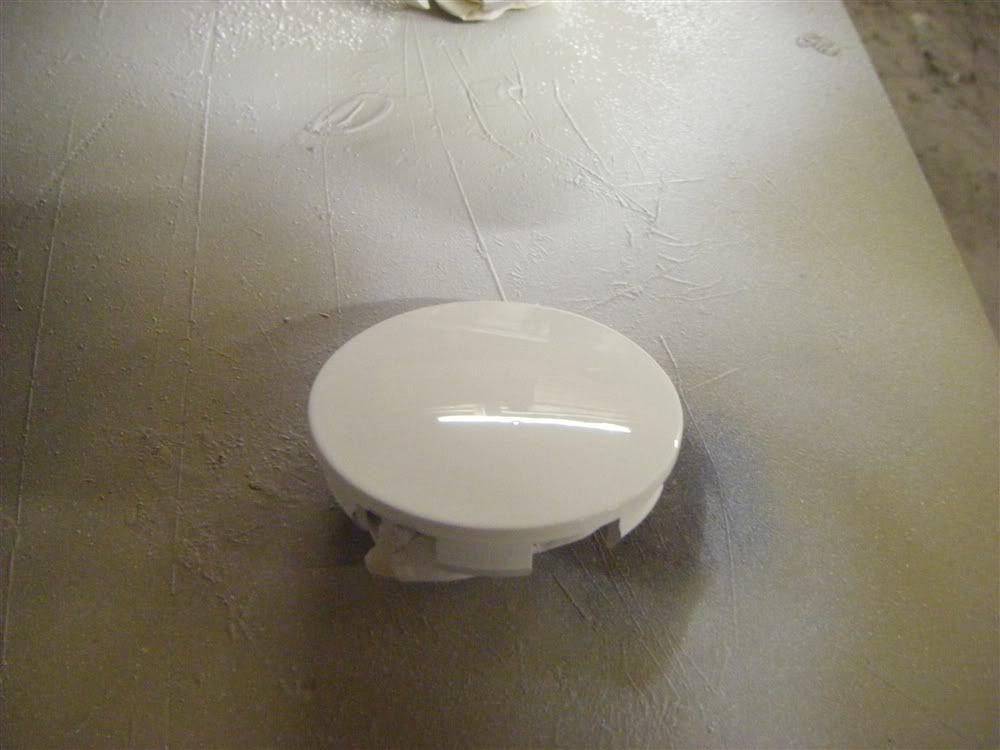
then had a look at the centre caps. my original plan was just to polish them up, as they didnt look bad. when i ordered the paint i had it matched to the centre caps as they were a slightly different shade from the wheel itself. but on closer inspection i found some of the red H areas had lacquer flaking. so a quick hunt on ebay found the correct decals to replace the red H and i've decided to paint these along with the wheels.

wheels were then taken outside, and meguiars hot rims wheel cleaner applied and left to soak for ten mins. then washed the wheels with scotch brite pad to remove most of the dirt and grime, then rinsed off.
wheels back inside, you can see the scrapes to be fixed. out with the da sander and some 180 grit discs, and they started looking like this.
before
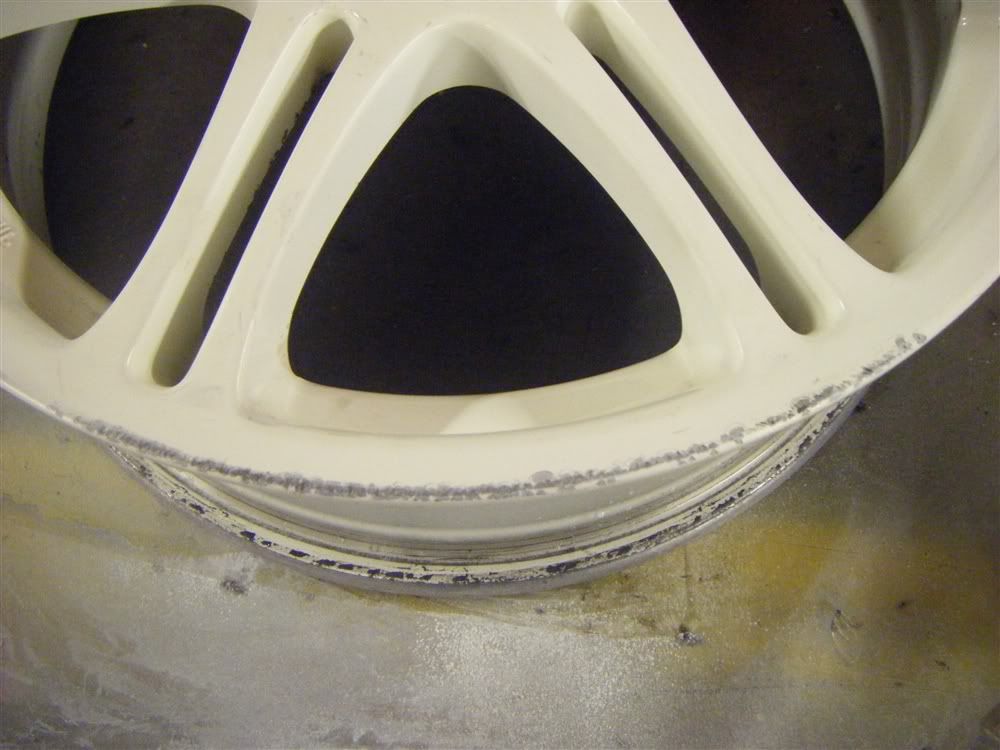
after
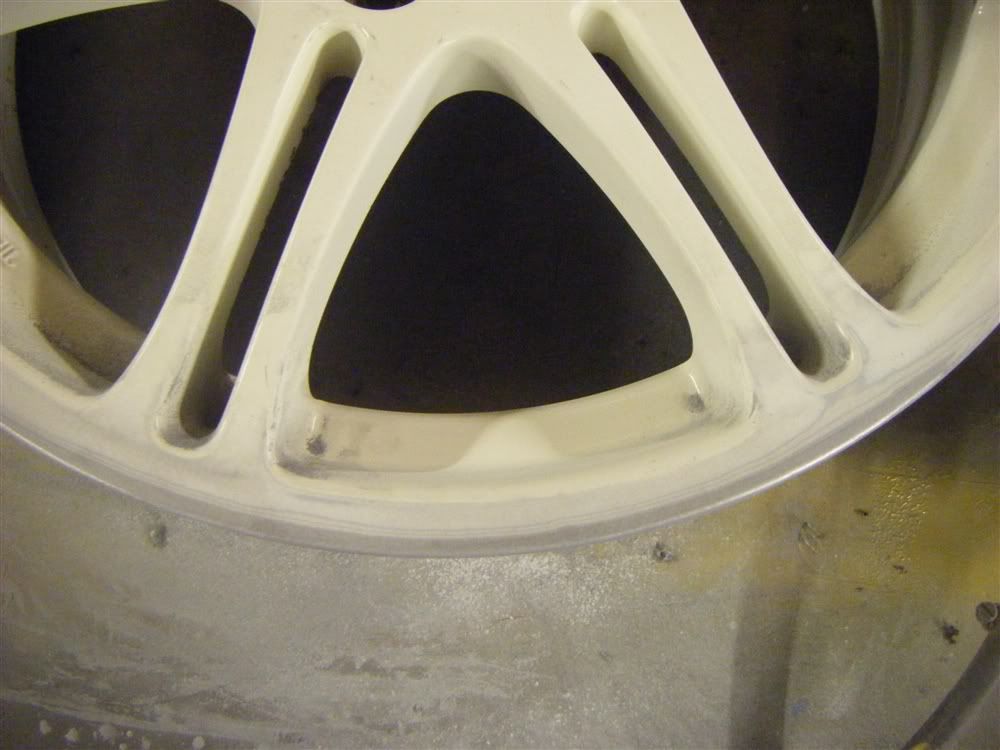
then the rest of the rim was gone over by hand to remove all the little chips and key the surface for etch primer.
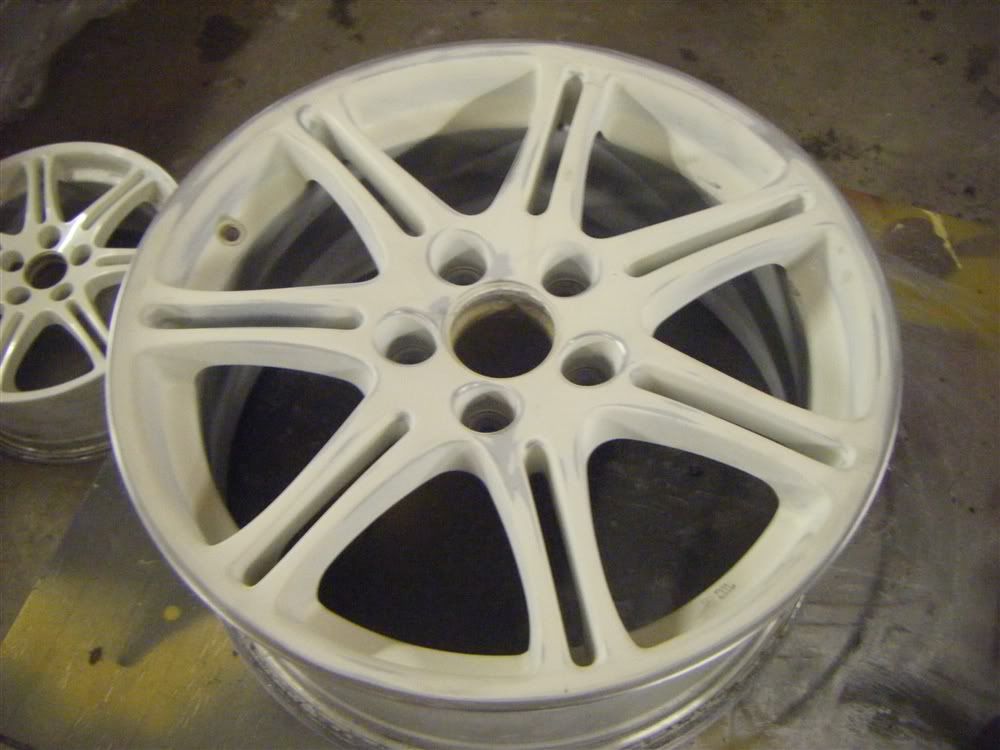
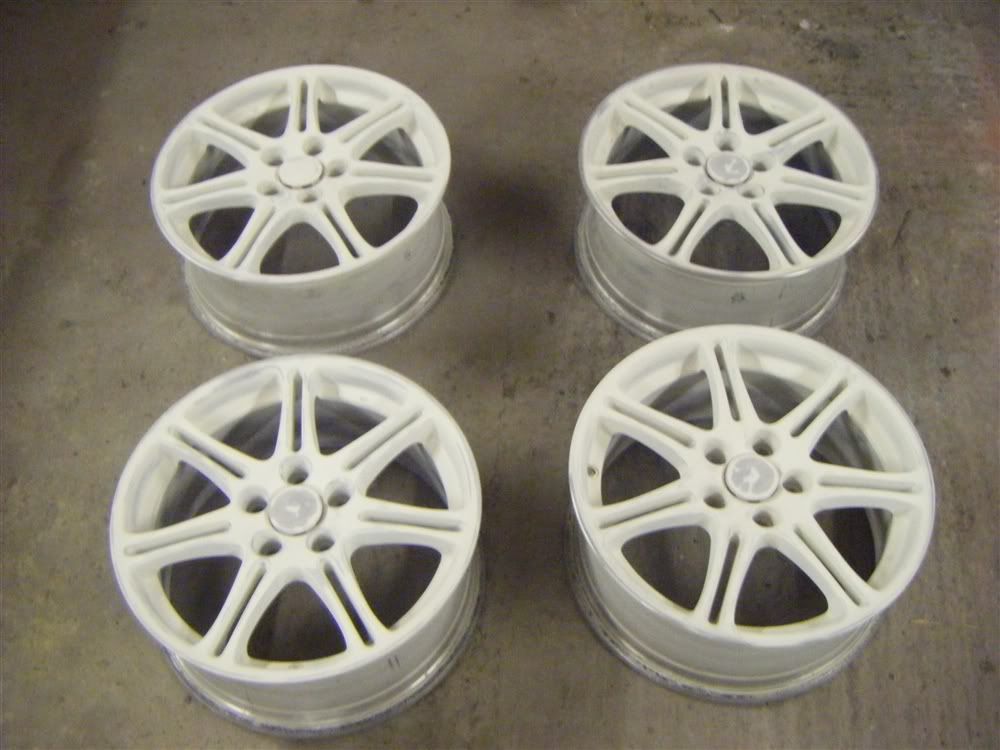
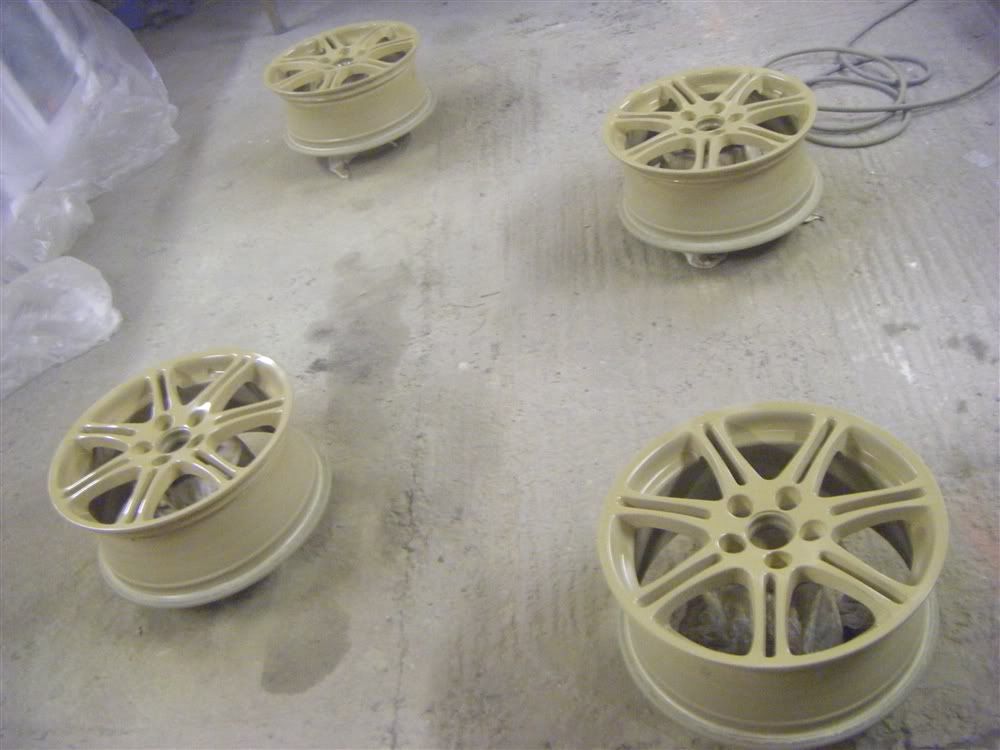
and the finished wheels and caps ready for panel wipe and etch primer tomorrow 
Part 2!
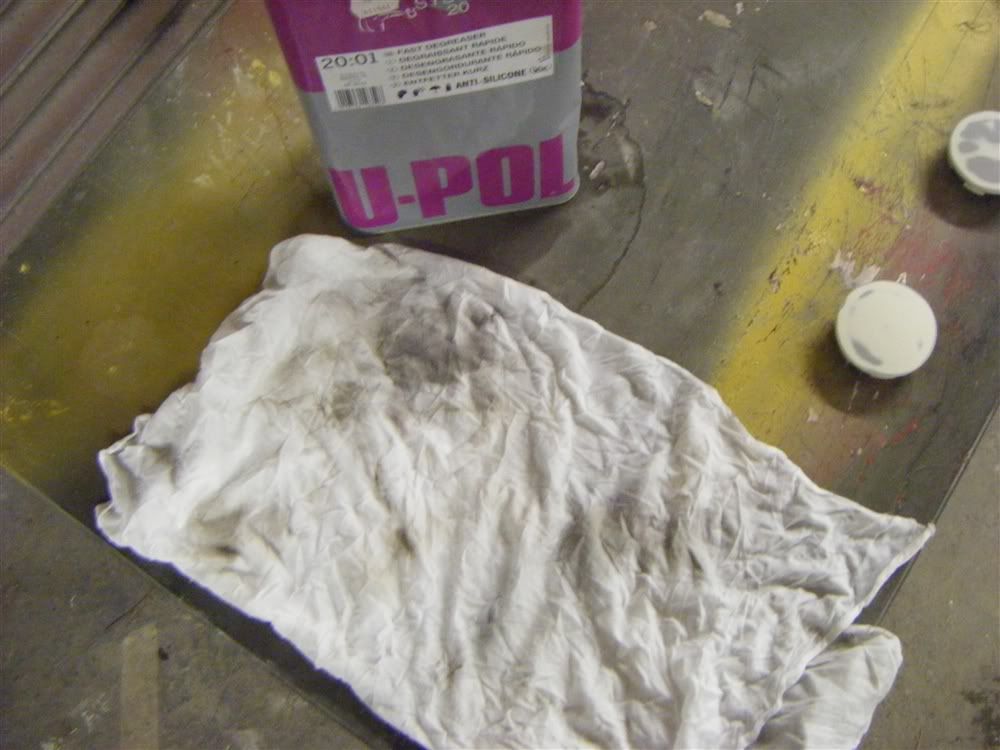
started off today by degreasing all the wheels and centre caps with UPOL degreaser panel wipe. this is the state of a clean white cloth after doing one wheel and shows why its necessary.
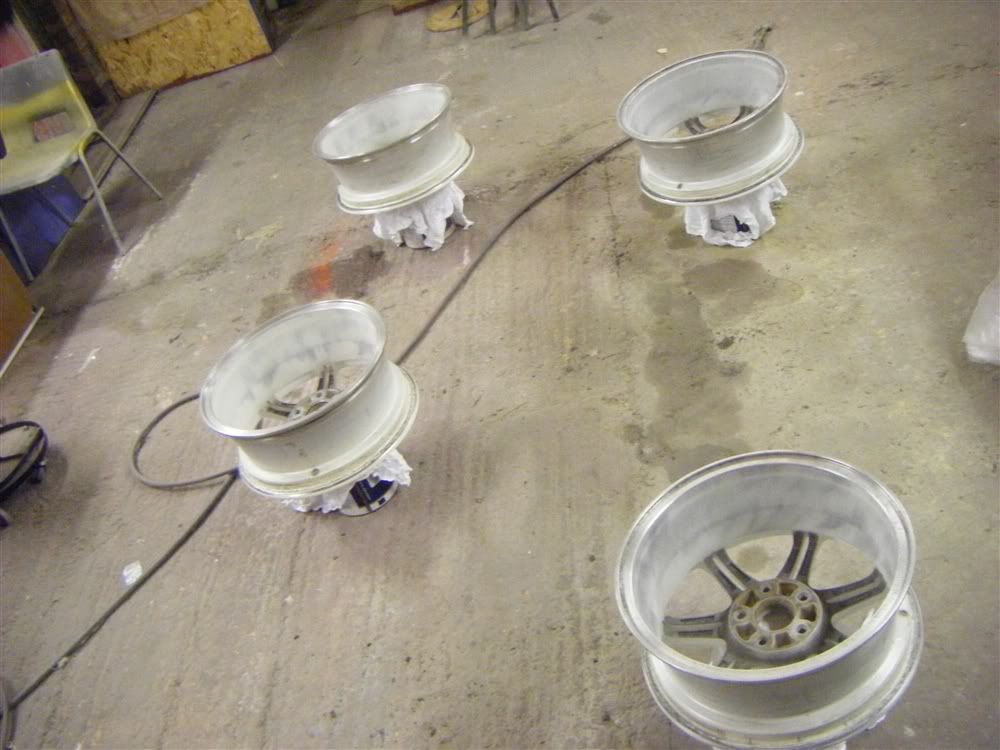
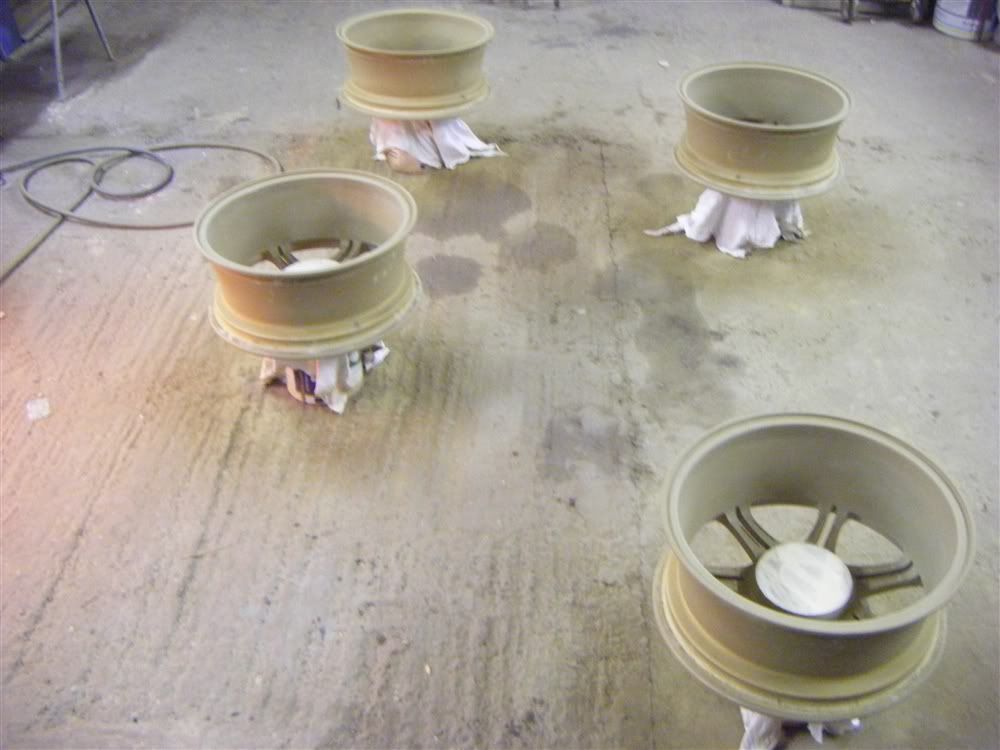
all the wheels were then laid out on my custom made stands (paint tins with a rag over them
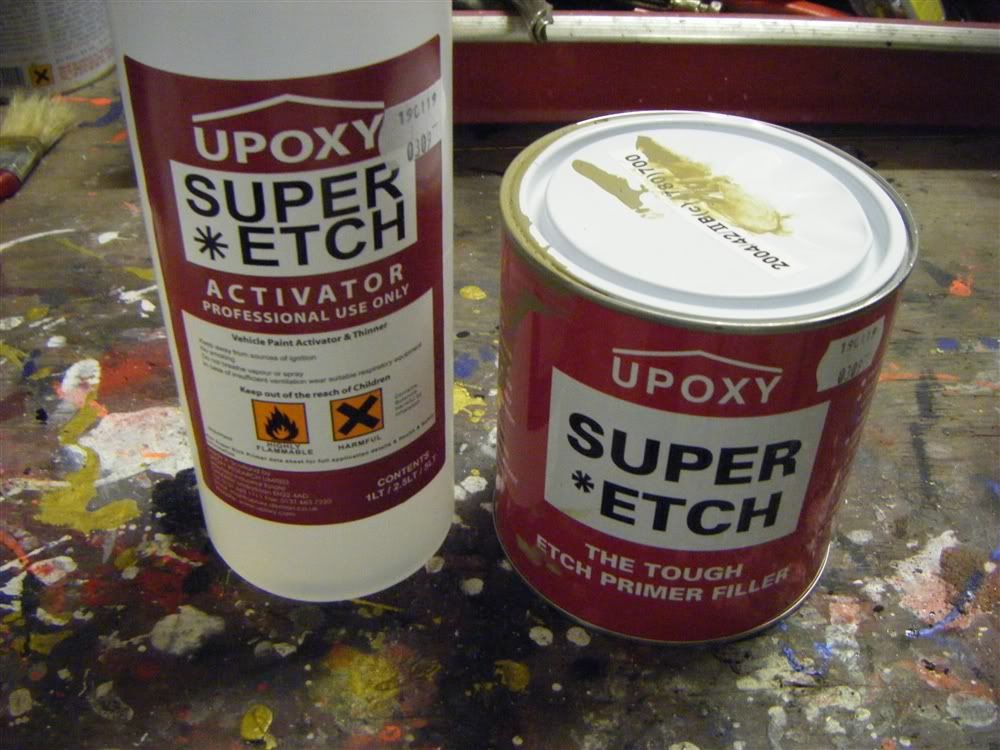
this was my weapon of choice, upoxy super etch primer.
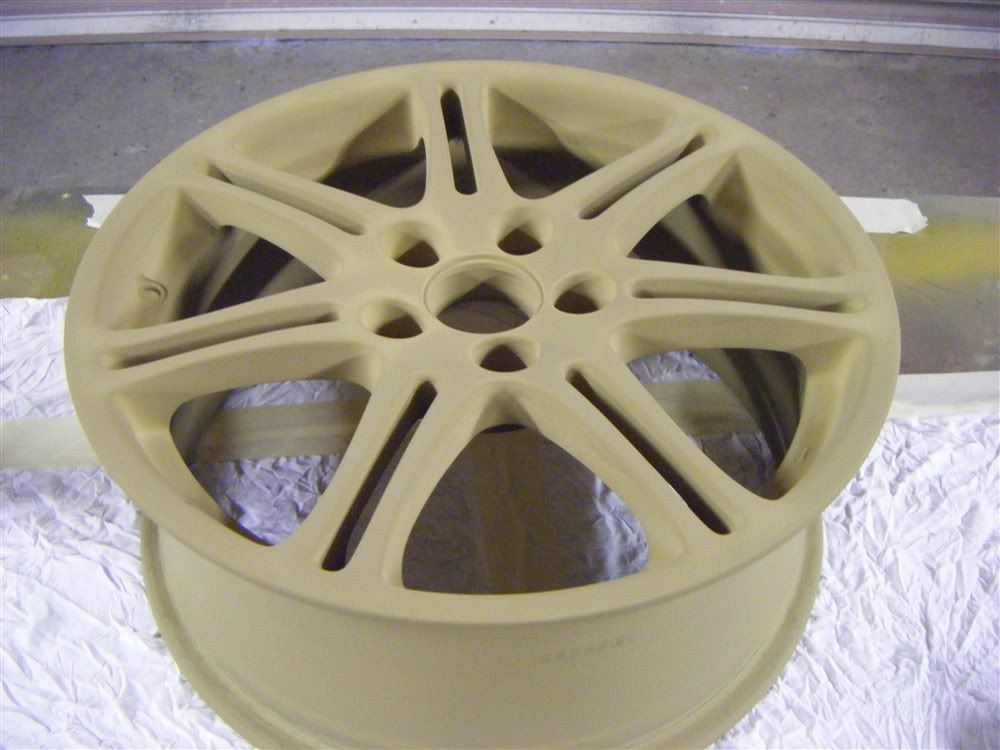
all the wheels and centre caps were then done inside and out, given a mist coat then another 3 coats of the primer using my devilbiss primer gun.
the centre caps and wheels were all wet sanded with 3M 800 grit wet and dry until uber smooth. this took alot longer than expected but preparation is the key kids.
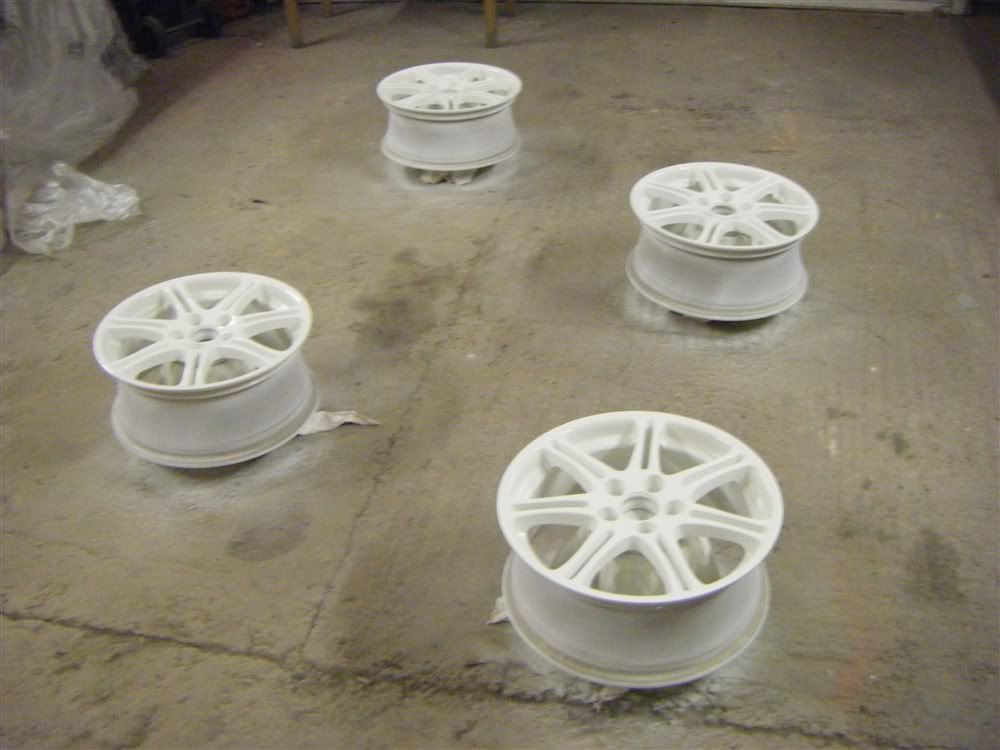
i then scraped off any excess primer from the hub face of the wheel and masked them up, to keep the surface flush and stop the centre bore of the wheel getting clogged with paint.
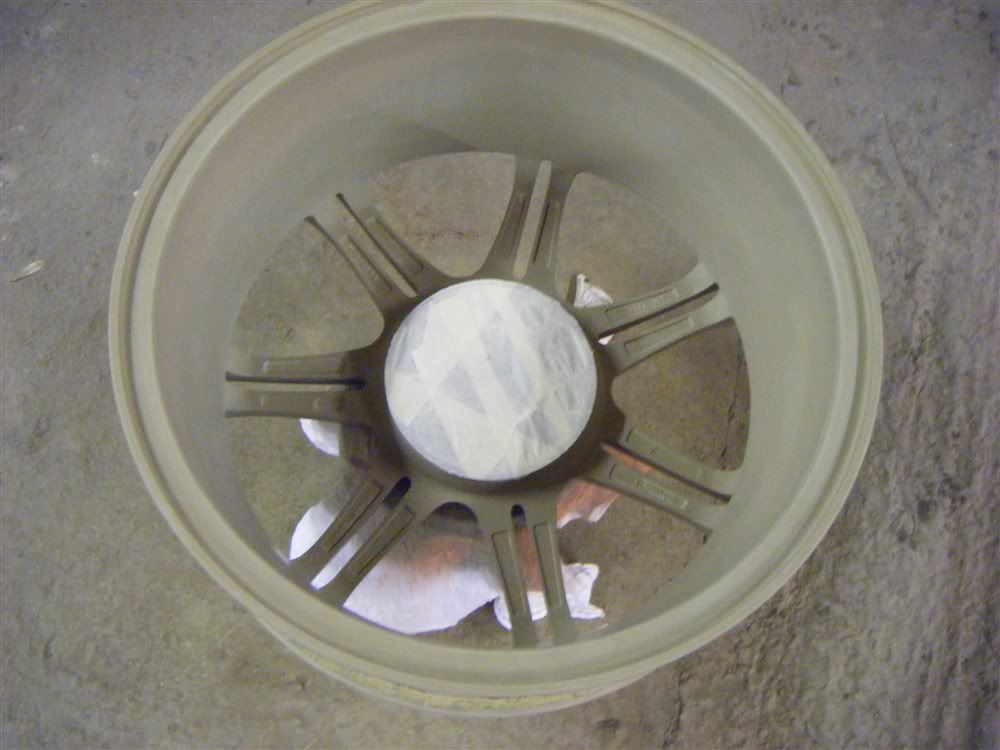
and laid them out, and again througholy degreased them.
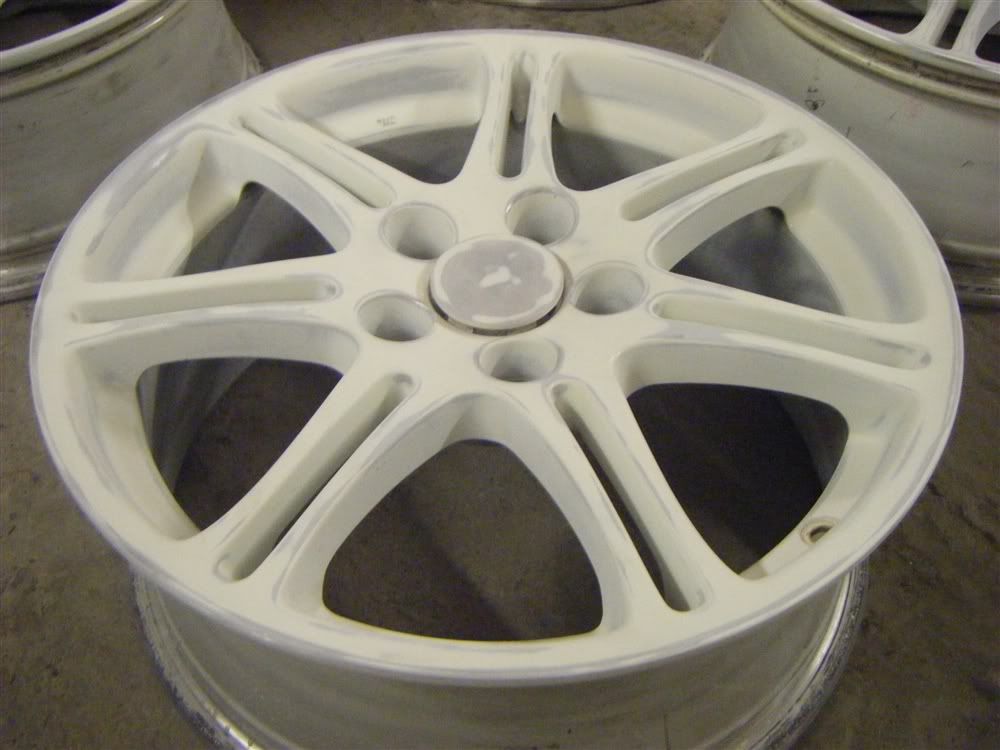
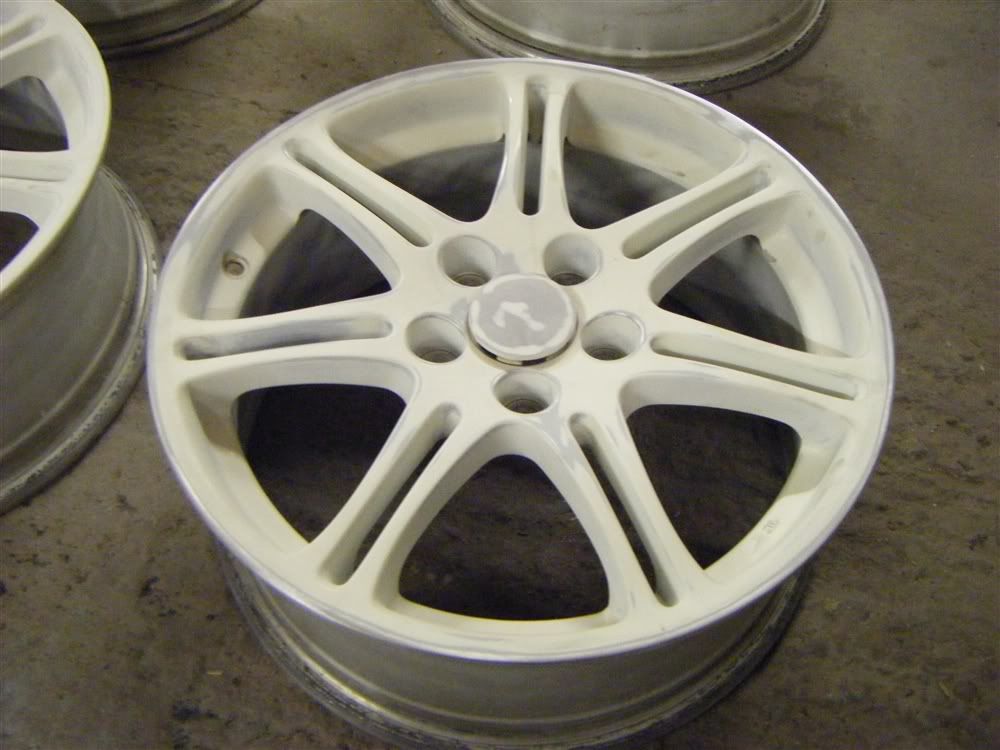
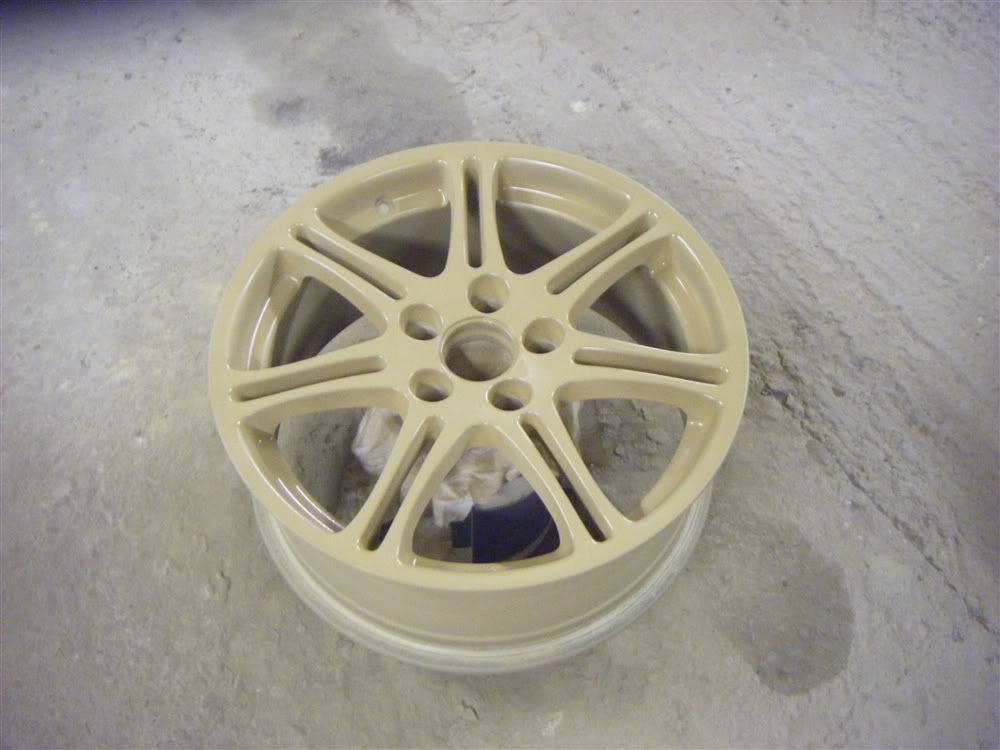
and some finished, but still wet, painted shots.
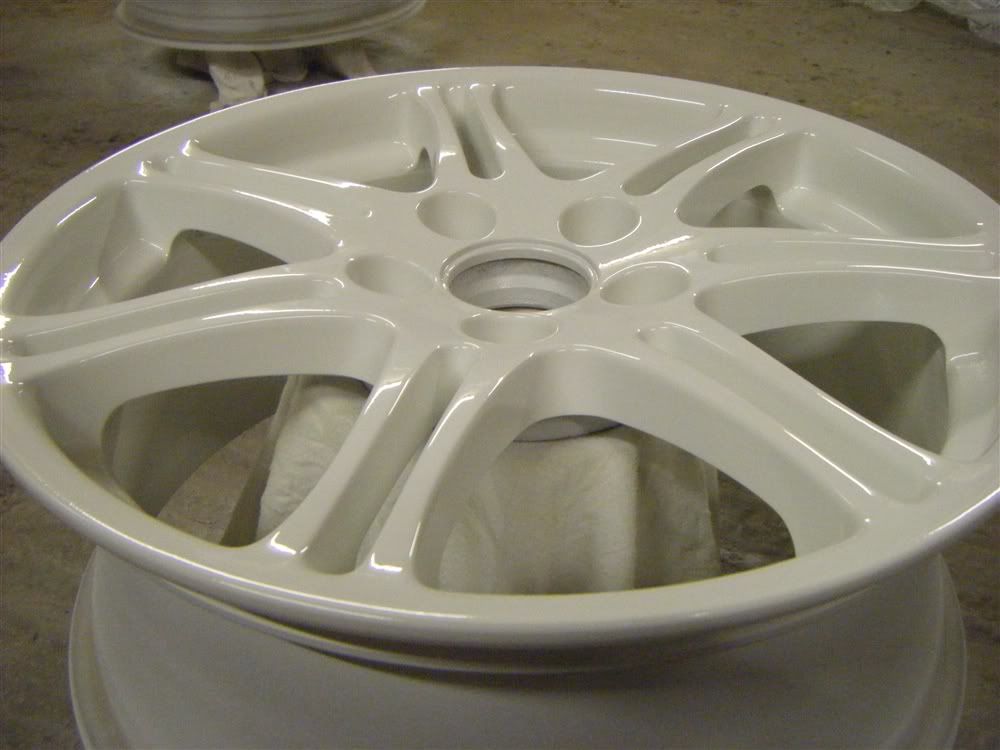
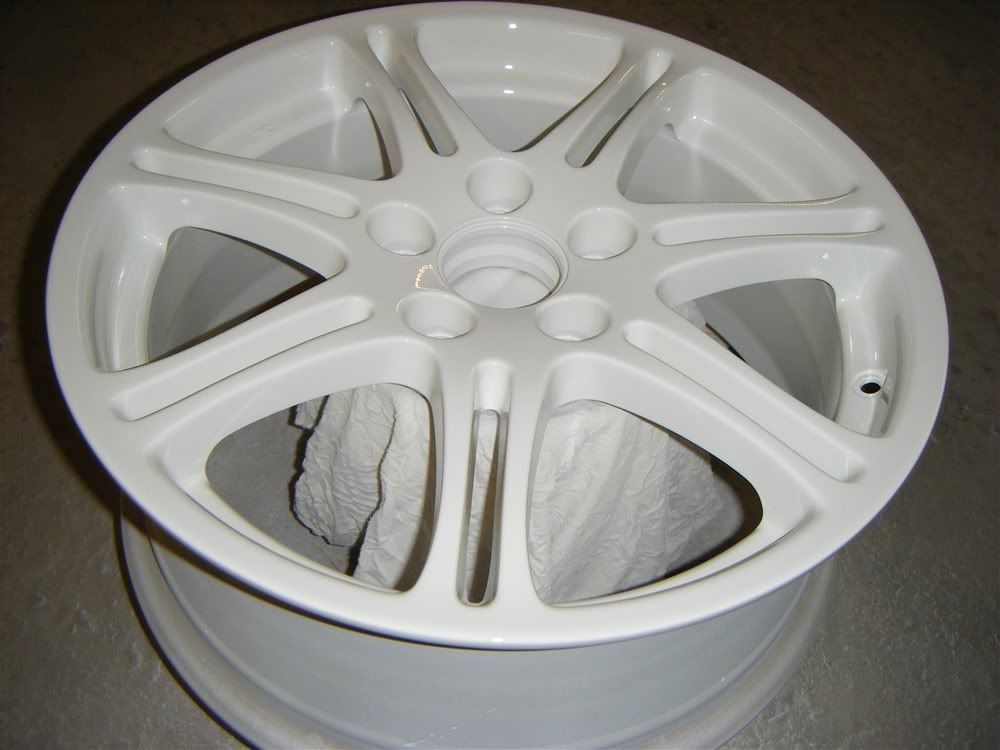
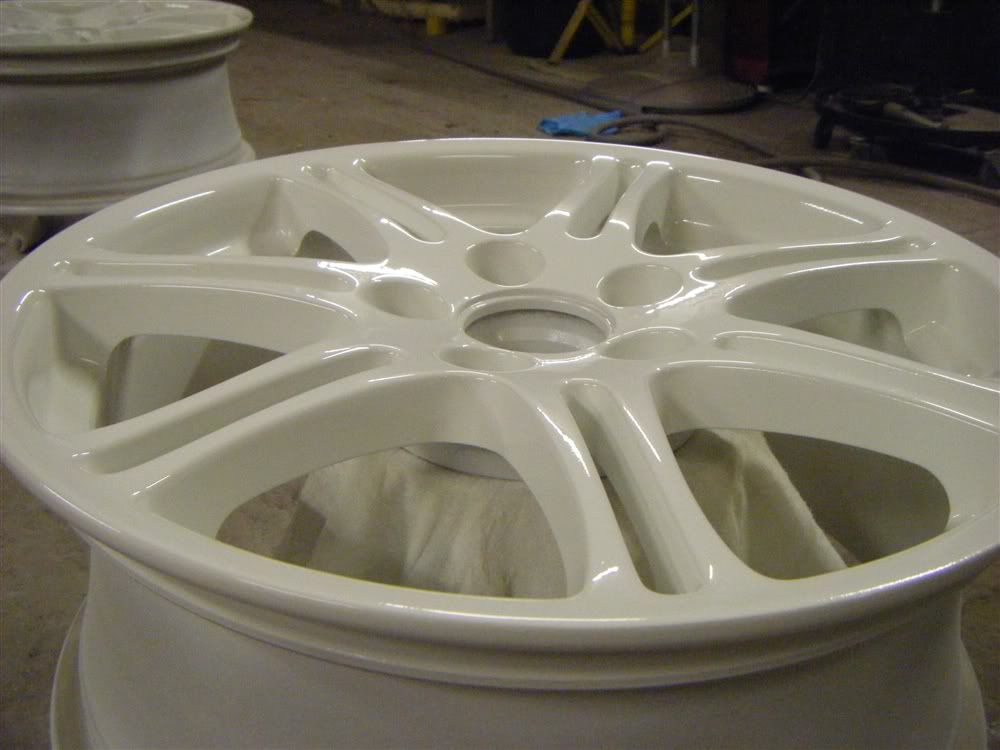

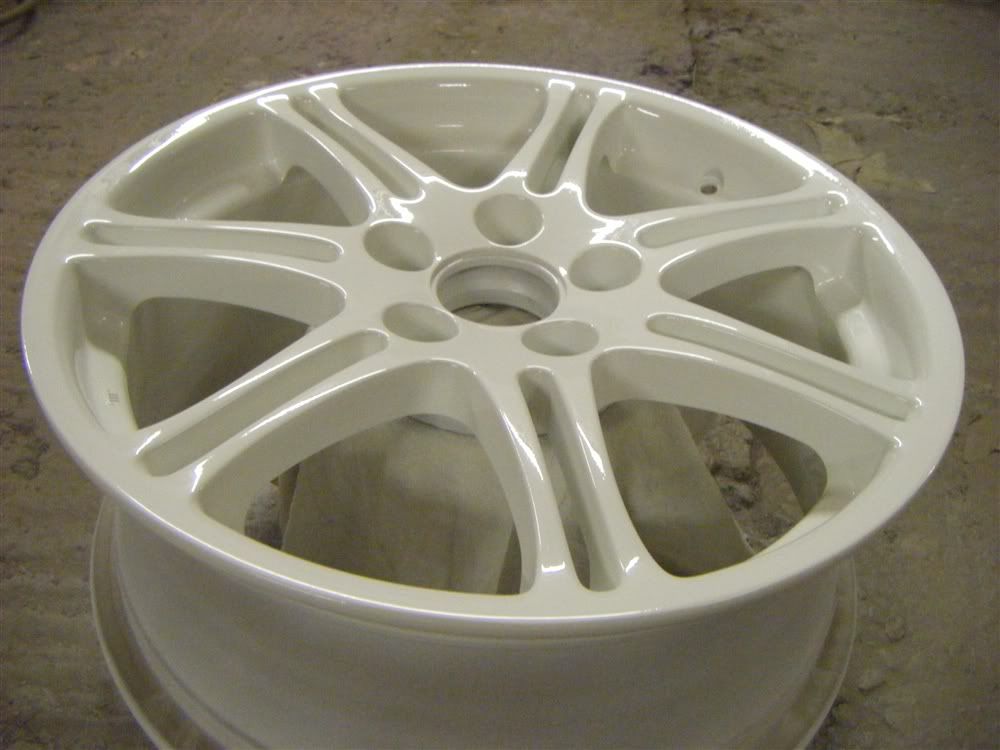
quite happy with the finish, got a nice balance between a wet smooth finish without causing any runs (believe me its better to have a little orange peel on wheels than have to try and rub out runs!). the finish should level out a bit once they harden and dry.
next jobs on the list are let them harden completely, probably until the weekend as i want to make sure they are 100% hard. then apply some coats of poorboys wheel sealant, apply stickers to centre caps, and take them to have tyres refitted and hope and pray they dont scrape the paint off!! more pics at the weekend, thanks for looking
|
Mo
Member
Registered: 29th Jan 03
Location: Bolton, Drives Q3 S-line +
User status: Offline
|
looking good 
|
sand-eel
Member
Registered: 15th Mar 07
Location: carluke/braidwood--IRNBRULAND
User status: Offline
|
looks good.
Take it you laquered them? I would wait 2 weeks about for the paint to completely harden.
|
Martin_C
Member
Registered: 27th Jun 03
Location: Ayrshire, Scotland
User status: Offline
|
no championship white is a straight single stage top coat. i could've got base coat and lacquered it but its alot easier only having one thing to worry about on wheels. they're so god damn fiddly to paint.
at room temperature 2 pack paint will normally harden in 2-3 days. the hardener does the work (i hope).
|
flybikeslee
Member
Registered: 2nd Jan 07
Location: Liverpool
User status: Offline
|
brilliant glad you went for C.white, see o many people do them white and them not matching and standing out!
|
Martin_C
Member
Registered: 27th Jun 03
Location: Ayrshire, Scotland
User status: Offline
|
i had that problem with my ek9. champ white car with buddyclub wheels, made the car look really cream. i had the colour matched with the paint on the car so it should be exactly the same.
although with the anthracite dc5 wheels on i kept considering changing last minute and doing them dark, but there used to be a uk ctr painted white with dark oem wheels about here and everyone would think this was it
|
MoesTavern
Member
Registered: 19th Jul 07
User status: Offline
|
Dark OEM wheels look too small IMO anyway.
|
Corsa_Sport21
Member
Registered: 13th Apr 08
Location: Leven, Fife. Drives : 205 GTi
User status: Offline
|
Slightly off topic but my mate Andy has your old 350Z.
|
Rich H
Member
Registered: 26th Oct 05
Location: West Sussex Drives: E46 M3
User status: Offline
|
Looks great mate - nice work!
|
AndyCorsaSport
Member
Registered: 12th Feb 06
Location: Horsforth, West Yorkshire
User status: Offline
|
Bit close to the floor arent they? Id have put some water down around it or something to stop dust wafting up in the air. We do ours at work on top of a wheelie bin.
|
Phil_b
Member
Registered: 31st Mar 08
Location: Wirral
User status: Offline
|
nice finish! what compressor have you got? what did you use to prevent you dying from the 2k fumes?
i'm really tempted to buy one and have a go myself
|
Martin_C
Member
Registered: 27th Jun 03
Location: Ayrshire, Scotland
User status: Offline
|
quote:
Originally posted by Corsa_Sport21
Slightly off topic but my mate Andy has your old 350Z.
boy i sold it to stu said he was getting rid for a skyline gtr 
quote:
Originally posted by AndyCorsaSport
Bit close to the floor arent they? Id have put some water down around it or something to stop dust wafting up in the air. We do ours at work on top of a wheelie bin.
wasn't any dirt on them at all, the small gun i used is very precise and doesnt kick up any dust.
quote:
Originally posted by Phil_b
nice finish! what compressor have you got? what did you use to prevent you dying from the 2k fumes?
i'm really tempted to buy one and have a go myself
its a clarke one, cant remember the specs but here's a pic

update on the wheels tho, they'll be on tomorrow 
|
Phil_b
Member
Registered: 31st Mar 08
Location: Wirral
User status: Offline
|
pretty big then
|
Martin_C
Member
Registered: 27th Jun 03
Location: Ayrshire, Scotland
User status: Offline
|
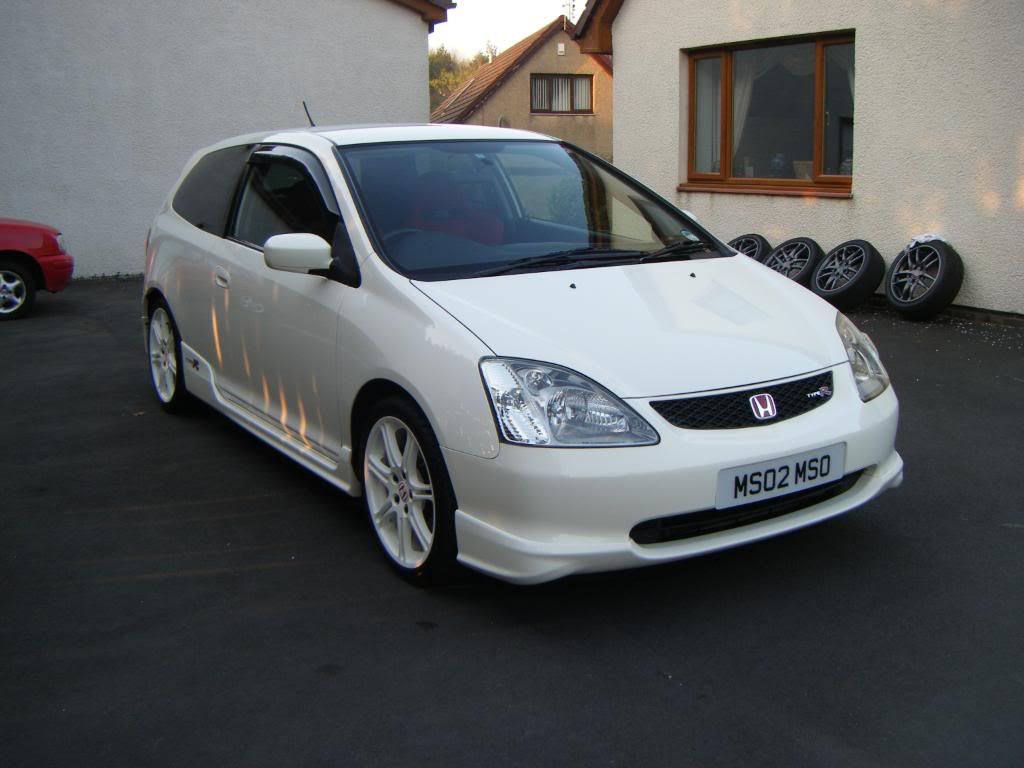
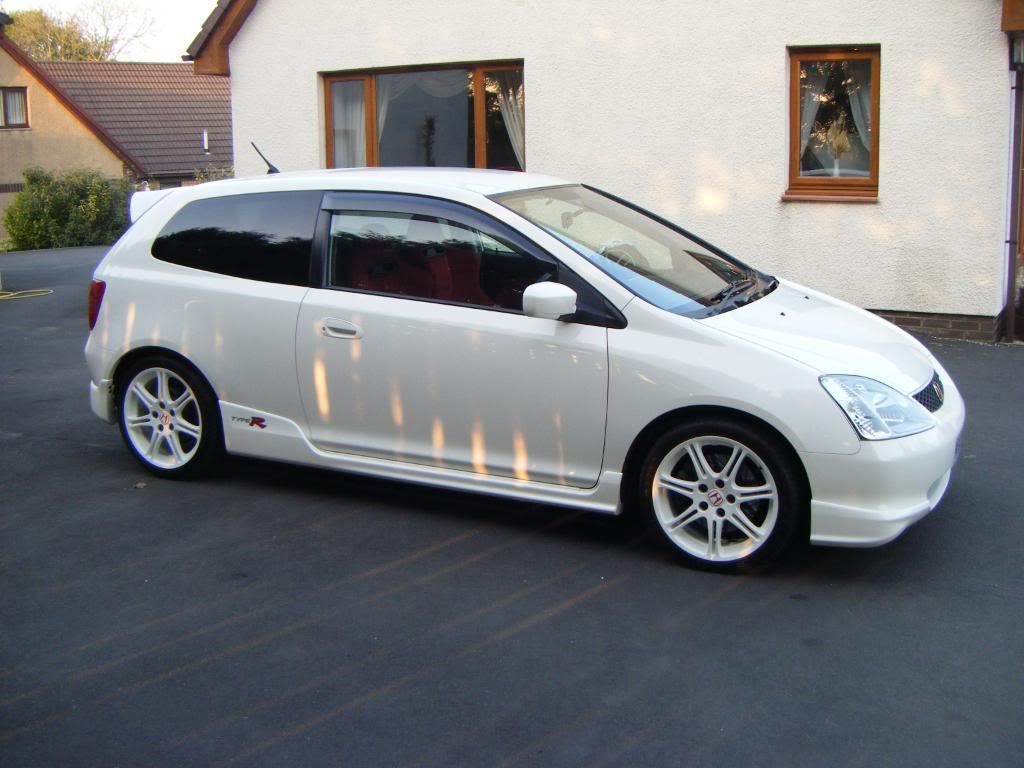
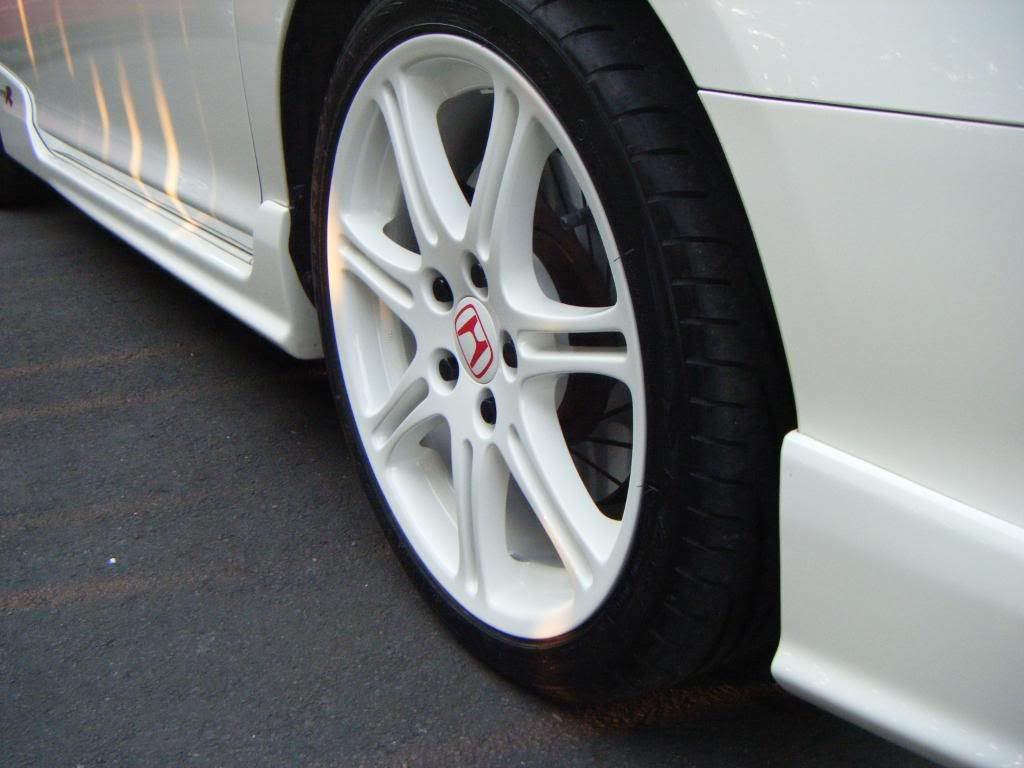
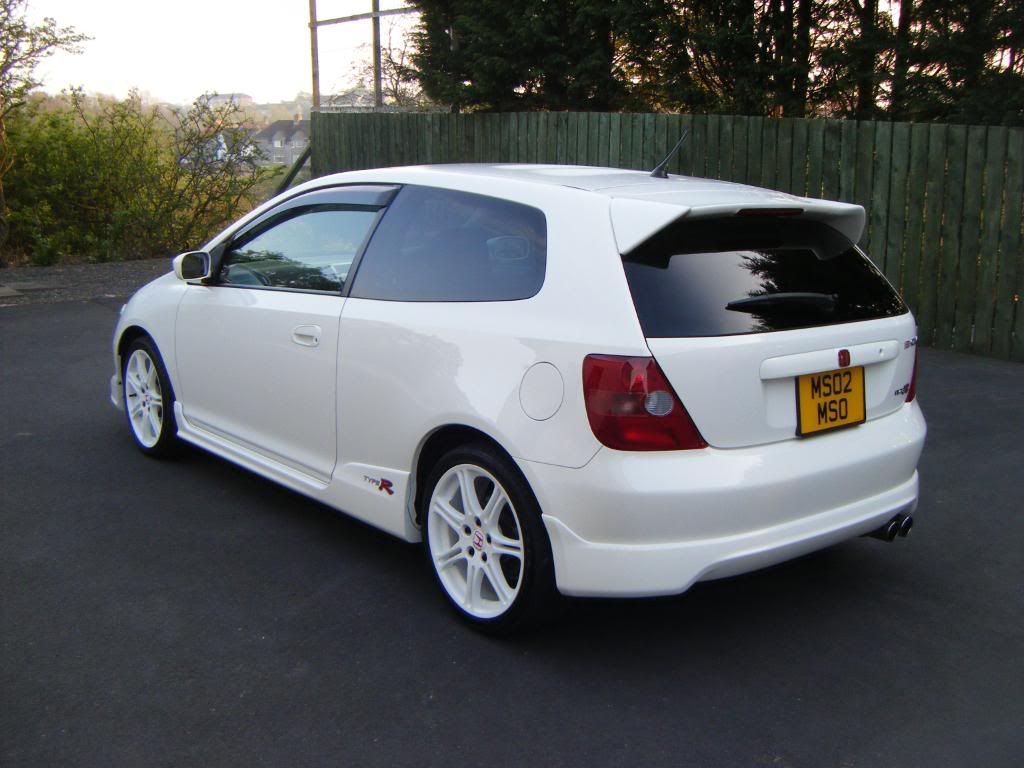
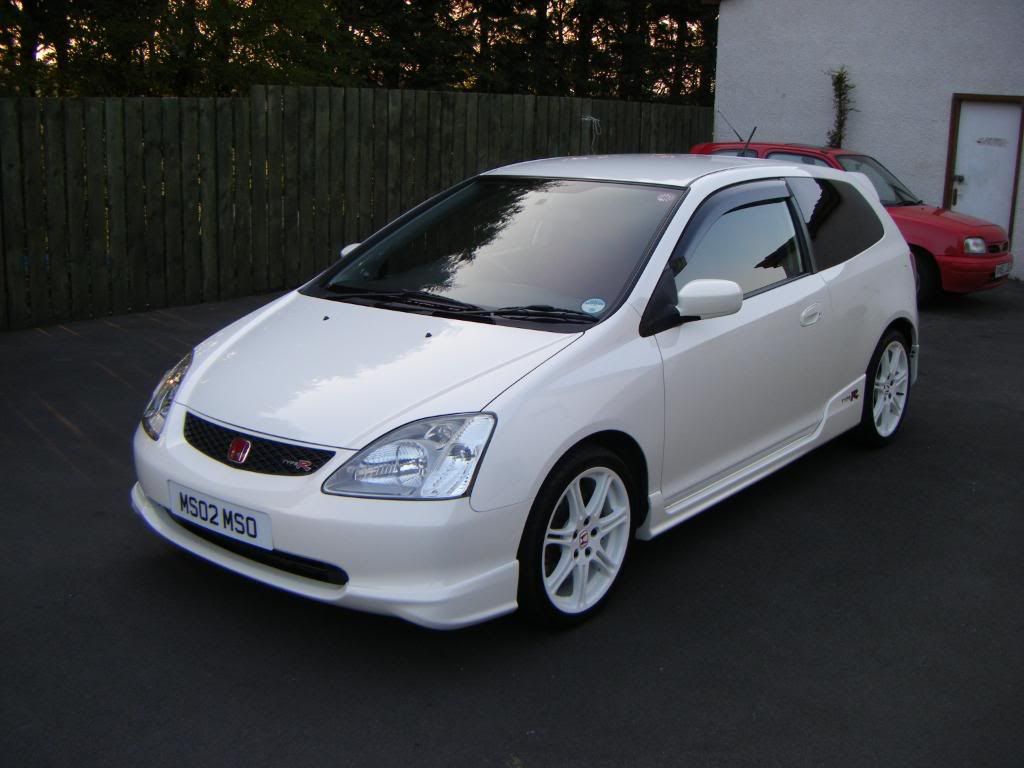
finally went and got my tyres fitted today, was absolutely bricking it that they'd scratch the wheels! before i went i put 2 layers of poorboys wheel sealant on to make sure they stay clean and shiny! when i got the wheels back i decided silver wheel weights wouldn't do so i hand painted them championship white fitted the wheels with the black lightweight nuts and i think they look stunning! well pleased!
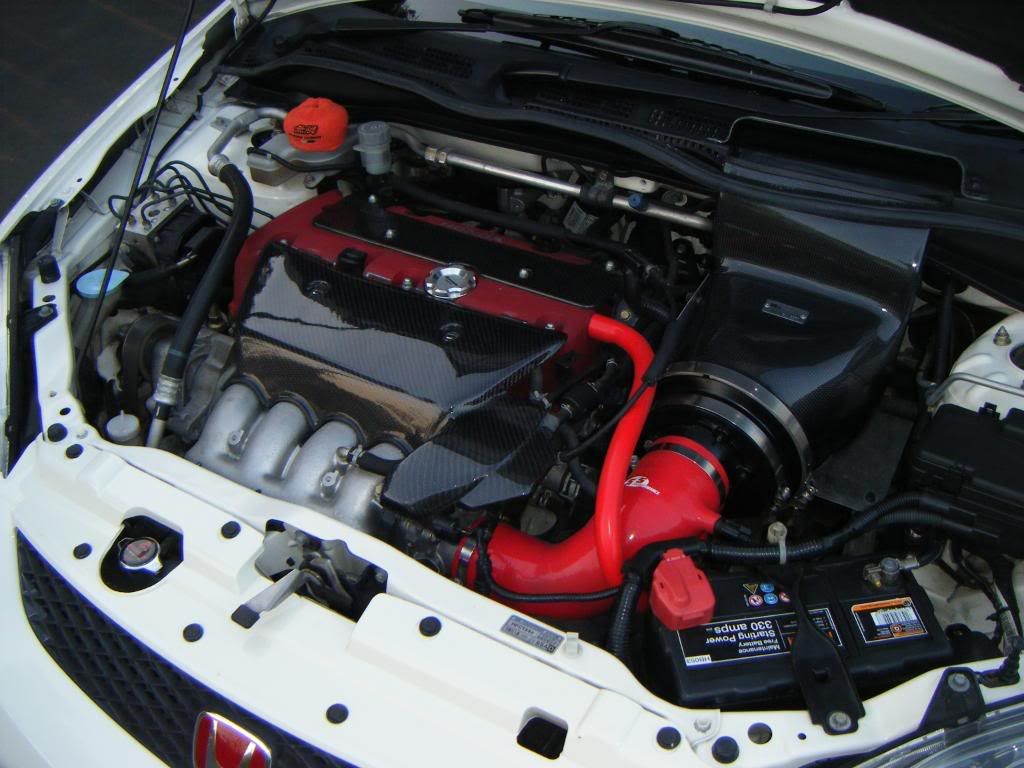
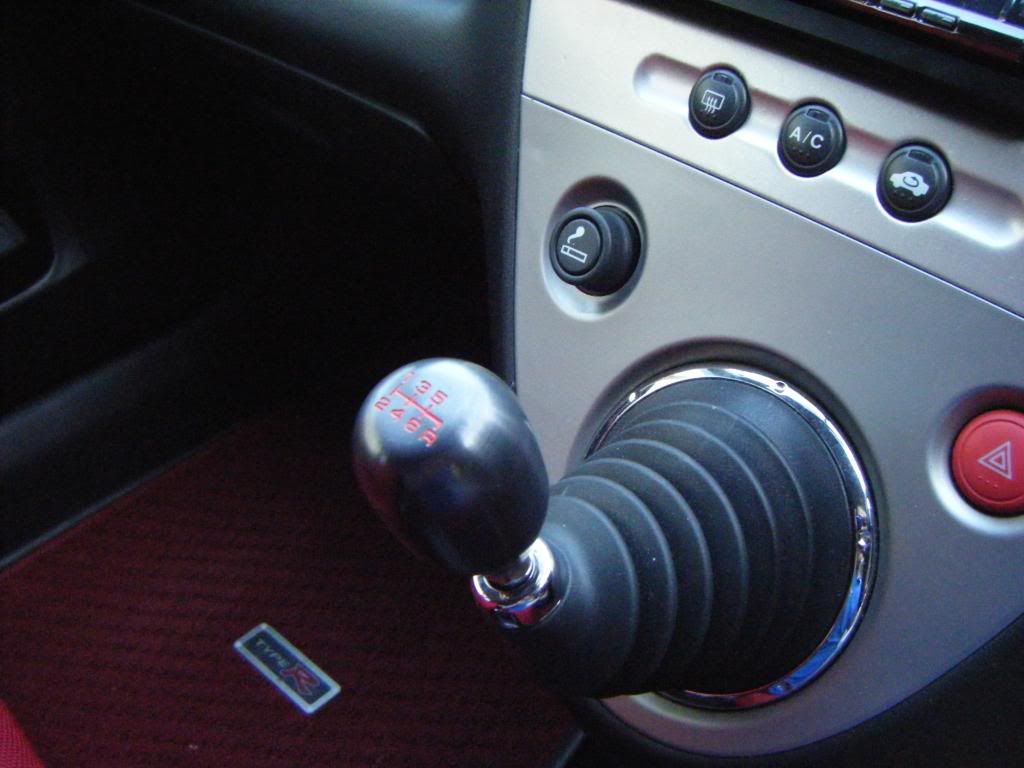
also managed to get time to fit the sfs induction hose, spoon rad cap, spoon oil cap and skunk2 gearknob i'd been waiting on.
|
flybikeslee
Member
Registered: 2nd Jan 07
Location: Liverpool
User status: Offline
|
wheels look fresh, but i really dont understand spoon rad caps! whyyyyyyyyy
|
Nick-S
Member
Registered: 3rd Mar 04
Location: Leigh. Drives: RS Megane 230 F1 Team R26
User status: Offline
|
|
Rich H
Member
Registered: 26th Oct 05
Location: West Sussex Drives: E46 M3
User status: Offline
|
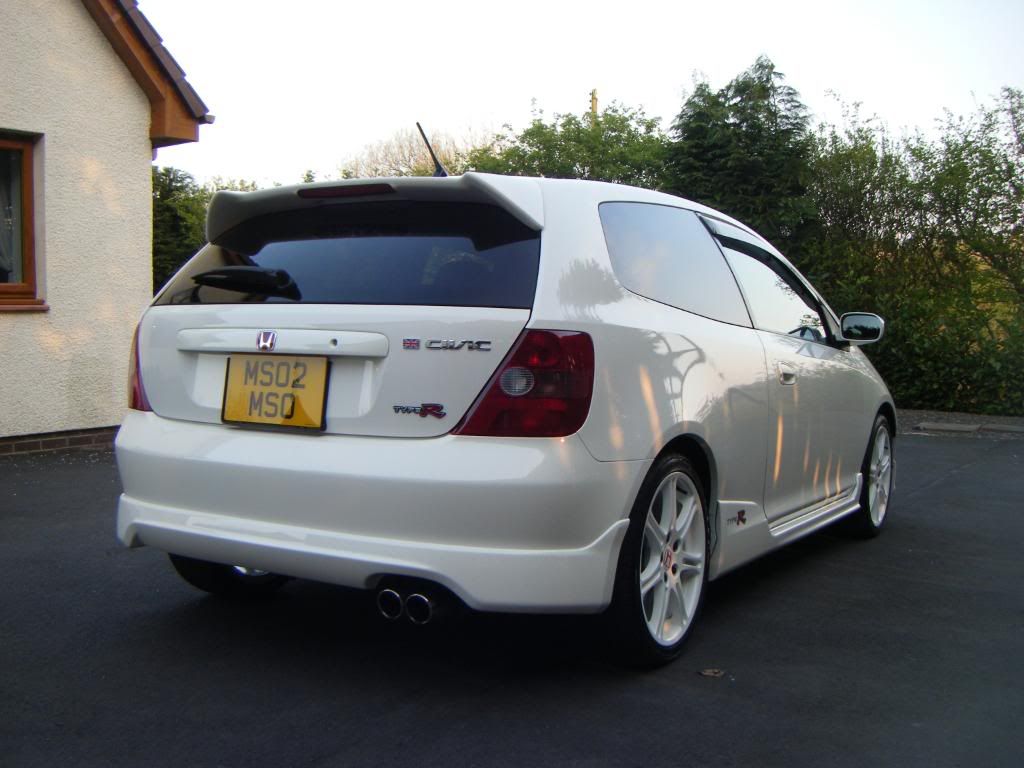
Look great mate - nice work! See you've got your plate on now too!
|
Bram
Member
Registered: 25th Mar 02
Location: Derby
User status: Offline
|
Looking good mate but that rear number plate looks crap
|
Martin_C
Member
Registered: 27th Jun 03
Location: Ayrshire, Scotland
User status: Offline
|
yeah rich forgot to mention that
the rear plate is peoper marmite material. but i did remove it when i detailed it, and because the plastic had been rubbing the paint i wouldnt really want to remove it as it'll show marks 
|
ash_corsa
Member
Registered: 15th Apr 04
Location: Shrewsbury
User status: Offline
|
That looks superb mate, top job on the wheels
|
MoesTavern
Member
Registered: 19th Jul 07
User status: Offline
|
pre-facelift EP3s need a Mugen lip STAT or they look about a million years old IMO 
|
stubbsy05
Member
Registered: 23rd Oct 02
User status: Offline
|
how much are white ep3s?
|
Martin_C
Member
Registered: 27th Jun 03
Location: Ayrshire, Scotland
User status: Offline
|
quote:
Originally posted by MoesTavern
pre-facelift EP3s need a Mugen lip STAT or they look about a million years old IMO
a new genuine mugen lip is £720 
import ep3's vary from around 8k for a shitter to 11k for a good one.
|
MJ
Member
Registered: 18th Sep 03
Location: Hampshire Drives: ITR DC2 + Skoda Felicia
User status: Offline
|
Where abouts did u get the black wheel nuts from? Are they the correct profile for OEM wheels
Cheers MJ
|
Corsa_Sport21
Member
Registered: 13th Apr 08
Location: Leven, Fife. Drives : 205 GTi
User status: Offline
|
quote:
Originally posted by flybikeslee
wheels look fresh, but i really dont understand spoon rad caps! whyyyyyyyyy
Probably in the same league as those stupid brake reservoir sock things.
|


