BluKoo
Member
Registered: 8th Apr 02
Location: Stonehaven (Scotland)
User status: Offline
|
I've just copied and pasted this from my brothers post on DW. This has nothing to do with me so ignore any reference to "I" or "we".
I thought this was so incredible, i just had to share it with you...
-----------------------------------------------------------------------------------------------
ne plus ultra \nee-plus-UL-truh; nay-\, noun:
1. The highest point, as of excellence or achievement; the acme; the pinnacle; the ultimate.
2. The most profound degree of a quality or condition.
---
Hello all 
Going by some of the PM's I've received in the last couple of weeks, it would appear that some of you thought I had disappeared off the face of the earth so I decided that it was about time I got my backside in gear and put together another write up.
In all honesty, Id lost my motivation for doing write ups as the nicer weather has finally arrived and the last thing I wanted to do was sit at the computer for hours after a day of detailing, however I decided to make an exception for this particular Supercar though, one Id looked forward to for months :thumb:....


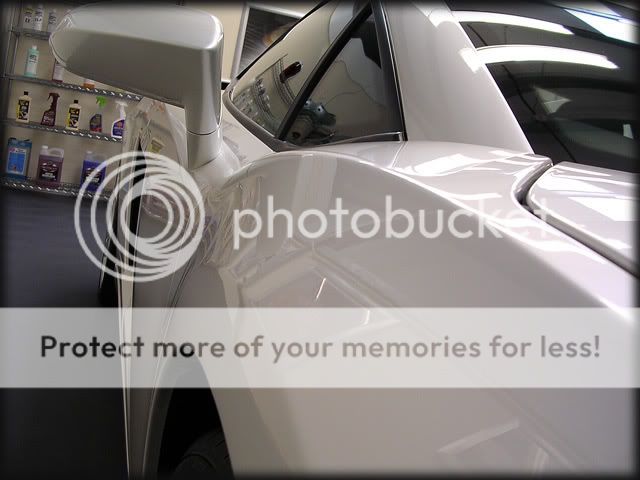
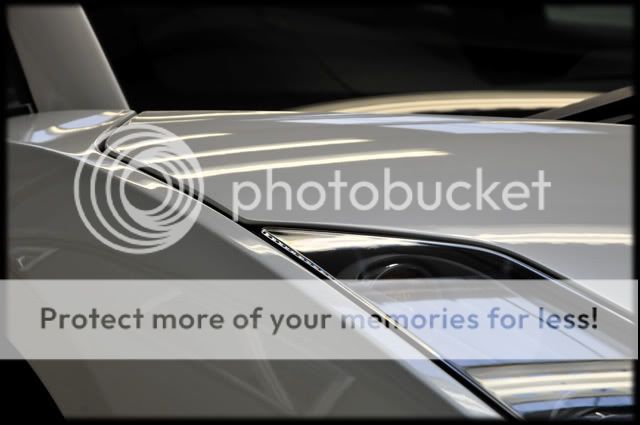
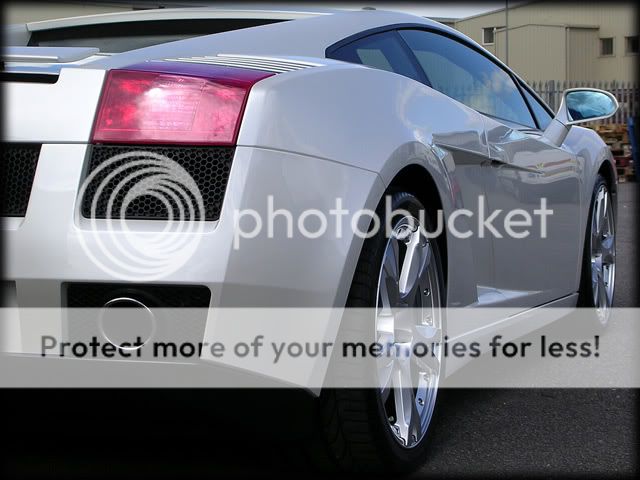
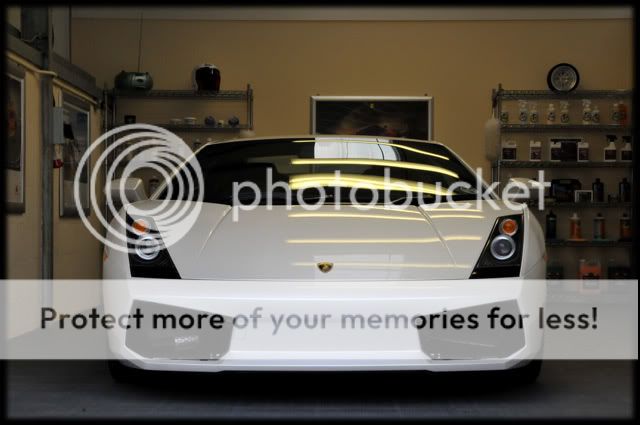
The car is 6 months old, finished in pearlescent Balloon White and in my opinion is probably the nicest colour that the Gallardo comes in 
This was to be a rather special week at work too, as this was the first Ne Plus Ultra (TM) hyper-detail to be done for a customer. This is a new service option we are offering to supercar owners throughout Scotland who want their vehicles to receive a detail that achieves as close to perfection as physically possible (without replacing any parts or adding paint) and leaves no surface untouched. No time limit is set for this service; it simply takes as long as it takes, over a minimum of 7 days (to allow enough time for multiple bespoke premium carnauba wax coats to fully cure). Full details will shortly be added to the detailing services section of the website.
So, on with the detail...
Wednesday was officially day 1 of the detail, us having collected it on Tuesday from the customers house (paying out for £150k of full road risks insurance cover has its benefits!).
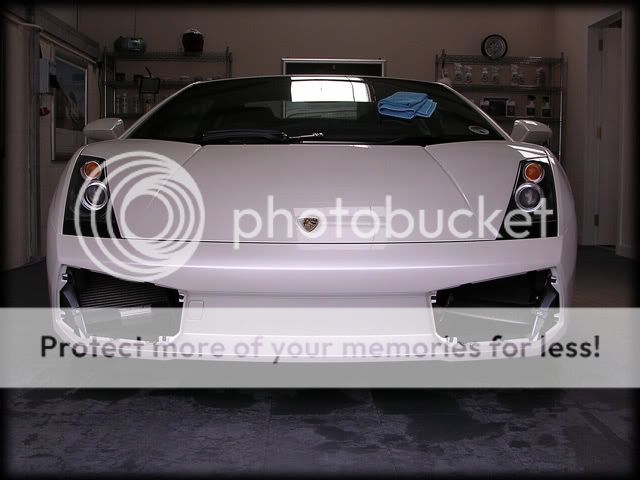
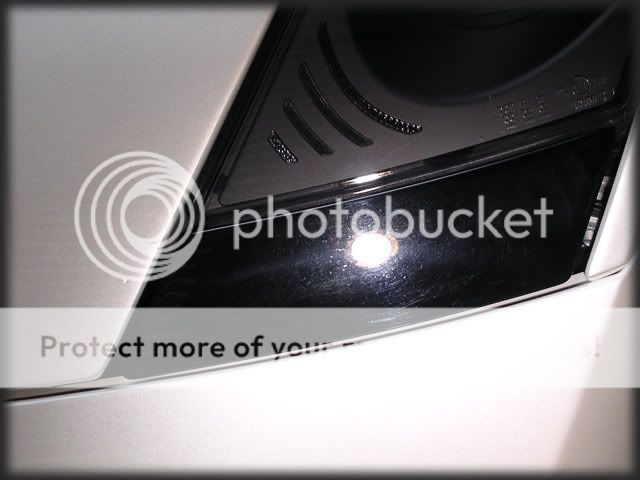
The warmer weather has brought out all the flies and various bugs up here and this was evident on the front of the car:
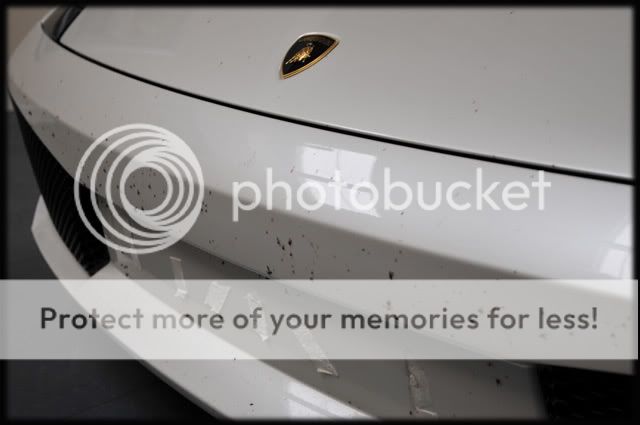
The car only had approximately 400 miles on the clock when we first viewed it back in the spring, but the owner has obviously been out enjoying it in the last few weeks as it was a bit grubbier than when we first saw it tucked away in the garage:
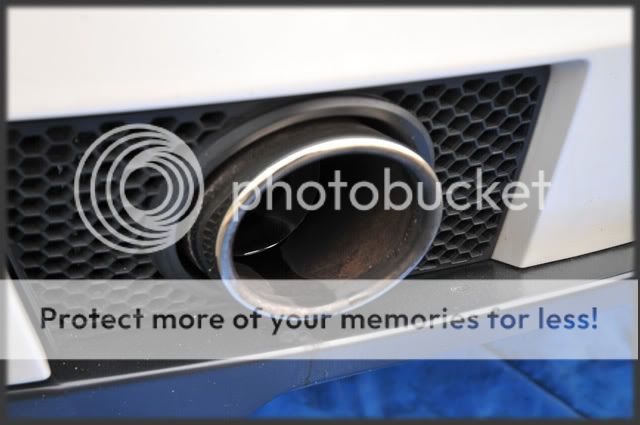
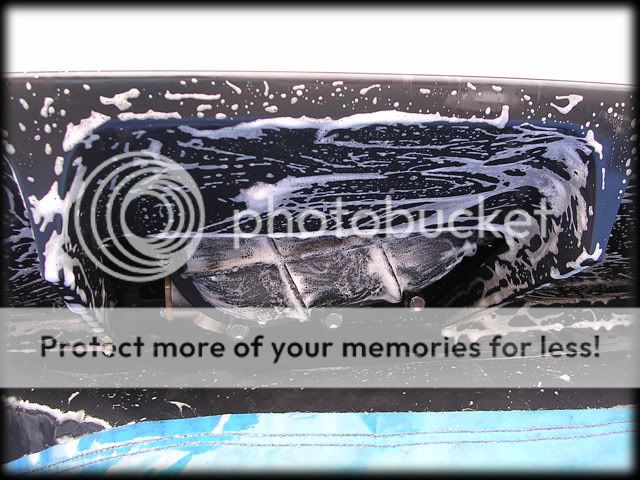
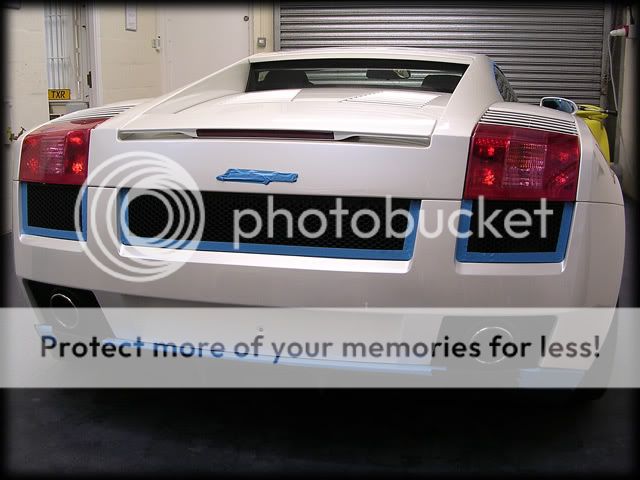
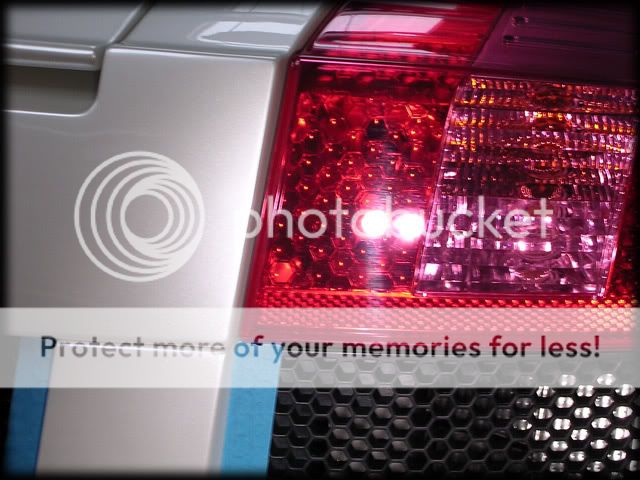
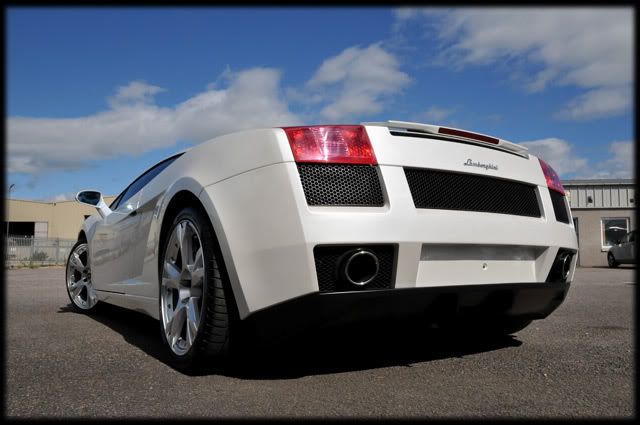
The back end was covered in soot from the exhausts:

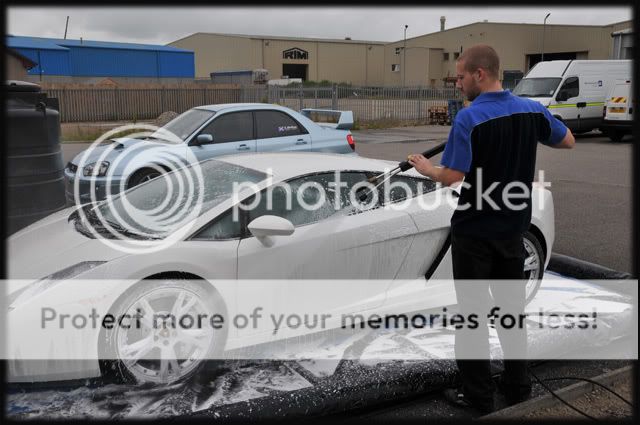
Wash stage:
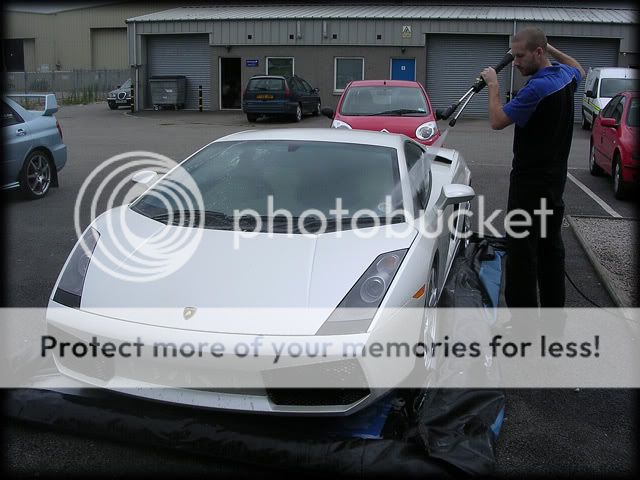
First up was the pre-foam, using Meguiars Hyperwash @ 50 degrees:

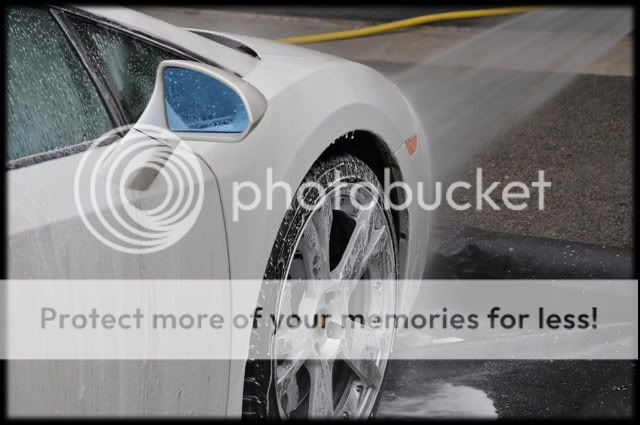
Followed by a thorough rinse at high pressure:
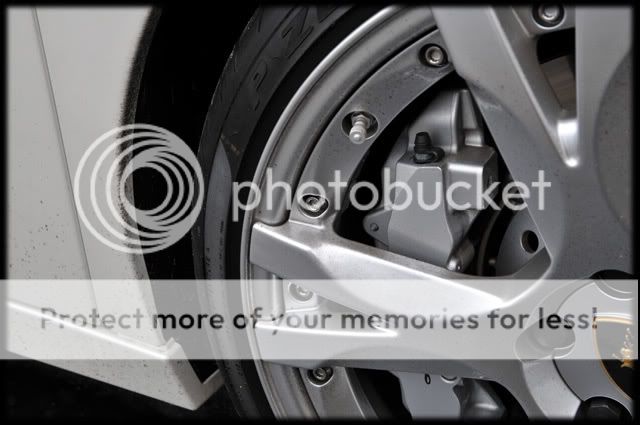
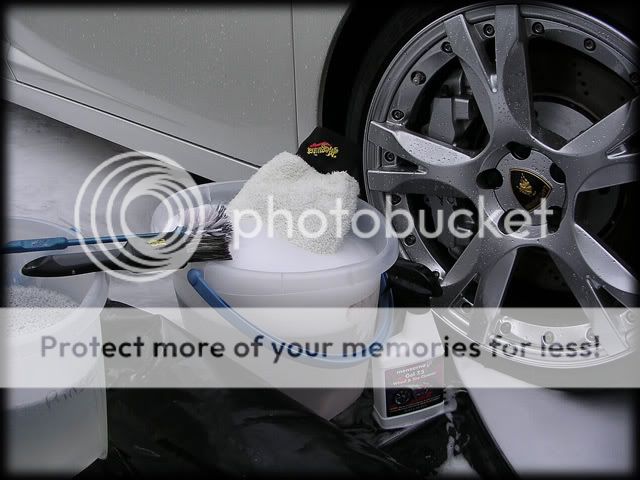
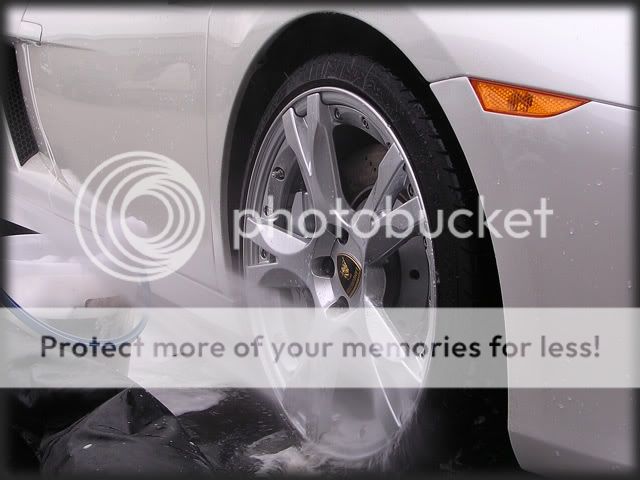
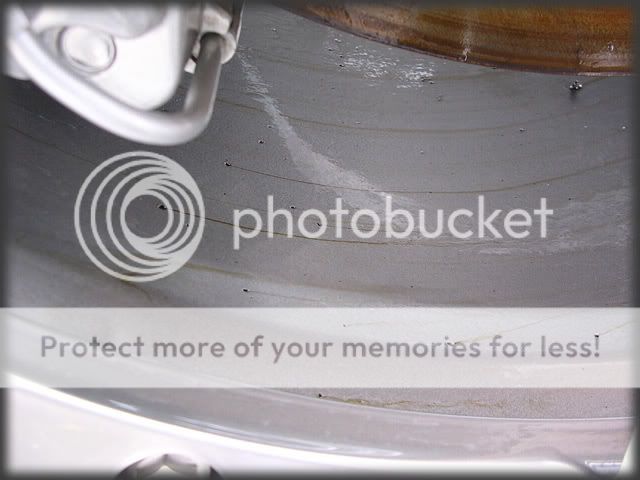
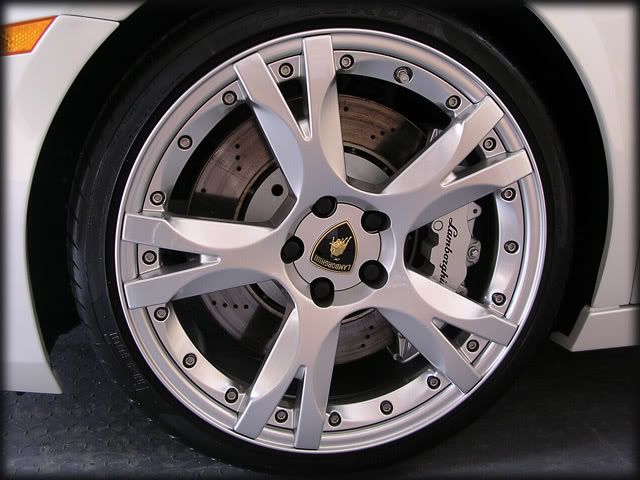
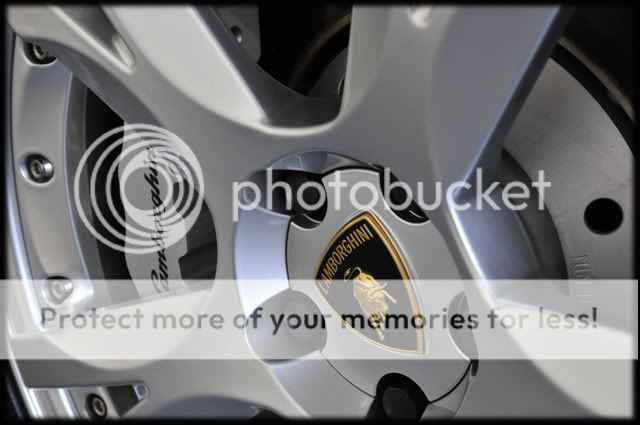
The wheels were next, using the followings bits and pieces:
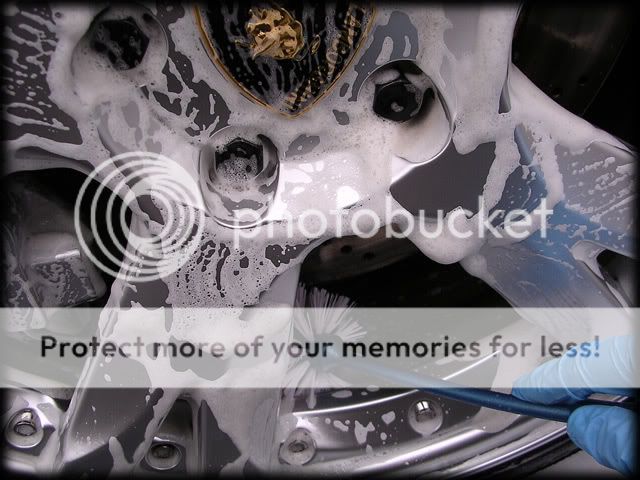
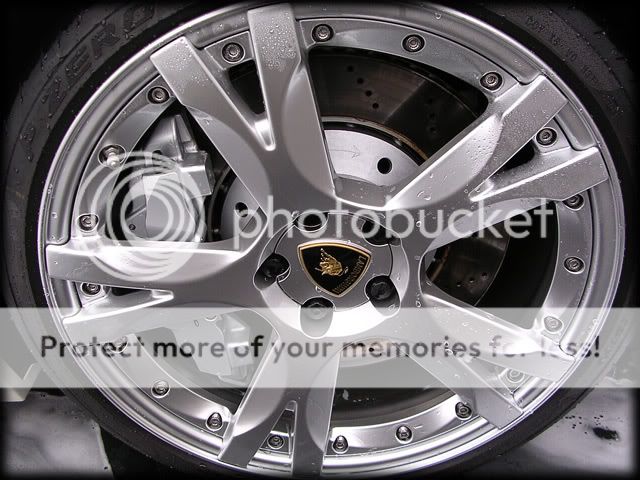
Menzerna 7.5 was sprayed onto the wheel face and inner rim and left for 30 seconds or so:
This was then agitated with a Meguiars Slide Lock Brush (as good as anything else I've used):

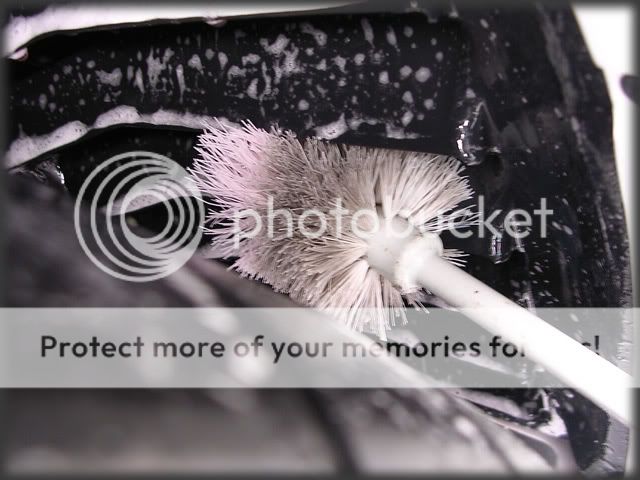
Our wheel back brush was used for the inner rim and caliper:
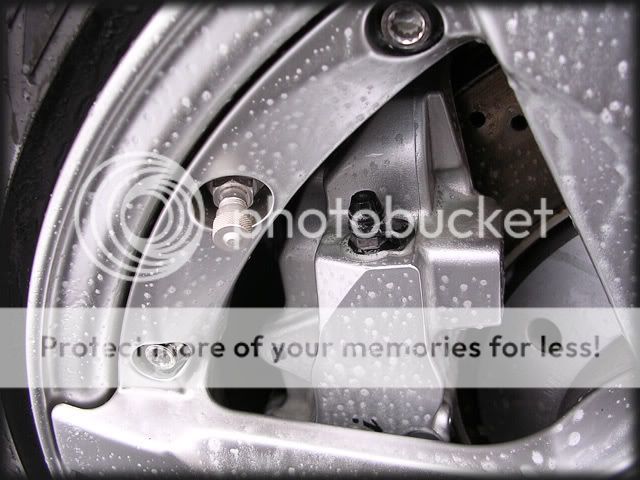
The car was then rolled back a bit to ensure I'd cleaned the entire inner rim and caliper face before rinsing off:
A few tar spots remained though so we'll come back to these in a bit
The arches and tyres were thoroughly cleaned with a brush and Meguiars Super Degreaser (4:1):
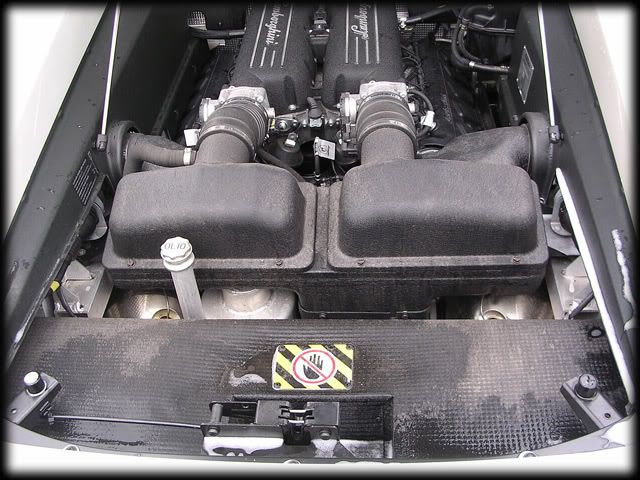
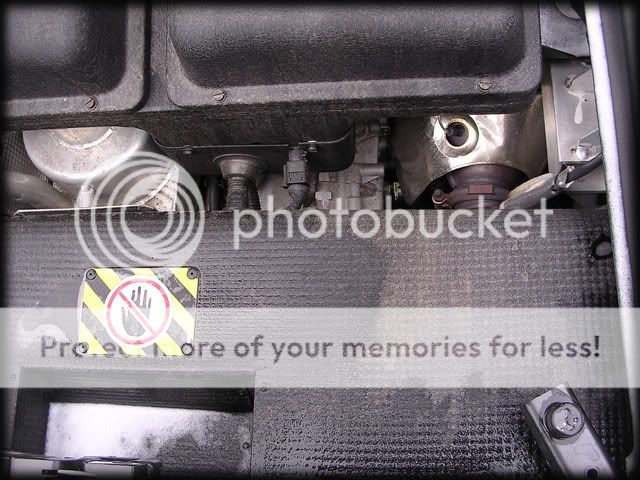
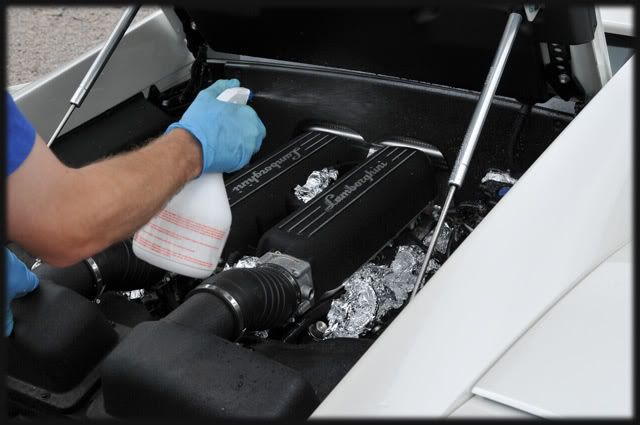
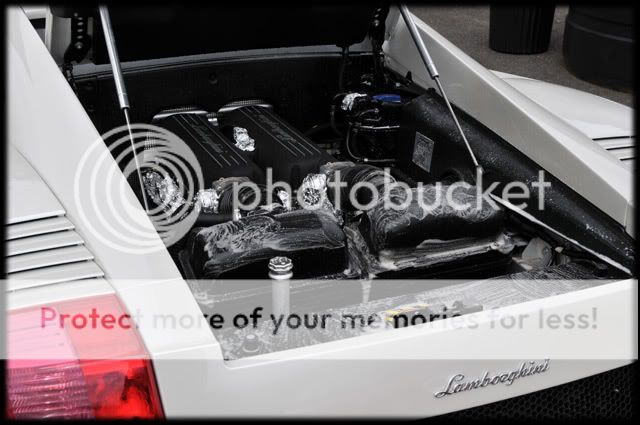
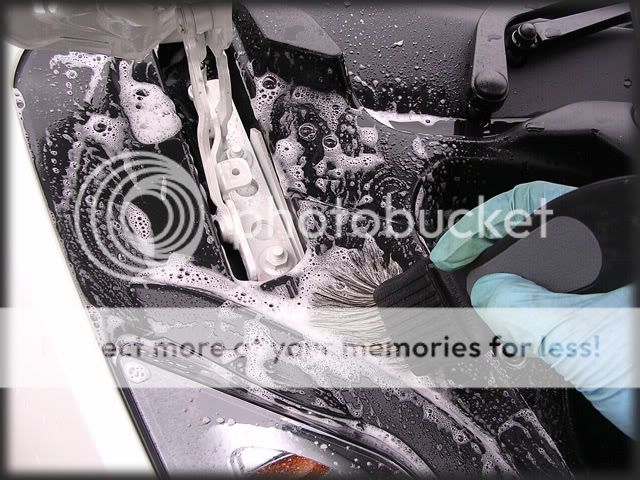
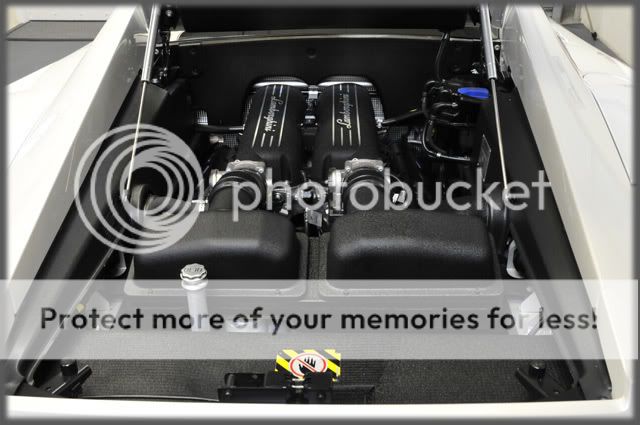
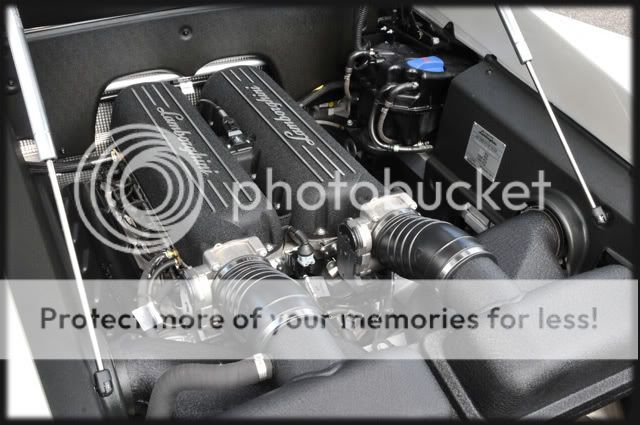
I then moved round to the engine, which was showing a fair bit of grime already:
Any exposed parts were covered up with foil (perfectly safe on modern engines with plastic plugs, etc, just dont be daft and use it across battery terminals, etc!) and P21S Total Auto Wash was applied to the entire engine and bay:
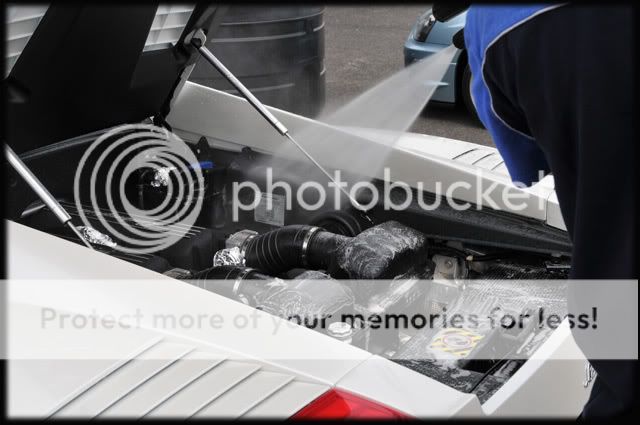
The worst bits were given a bit of agitation with the brush:
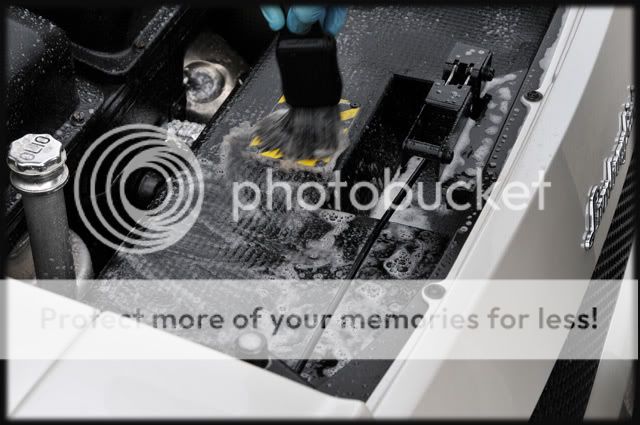
Then using the pressure washer on medium setting, I rinsed the engine off:
All bits of foil were then removed and I let the car sit and idle for 5 minutes to help the majority of the water dry off quicker.
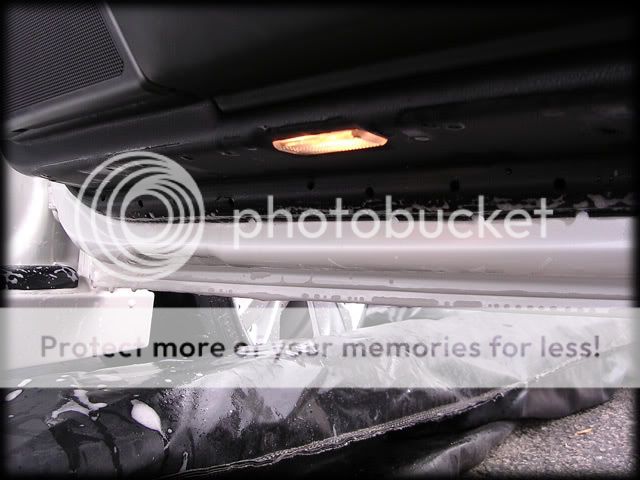
The door shuts were attended to next, just showing a light covering of dust more than anything:
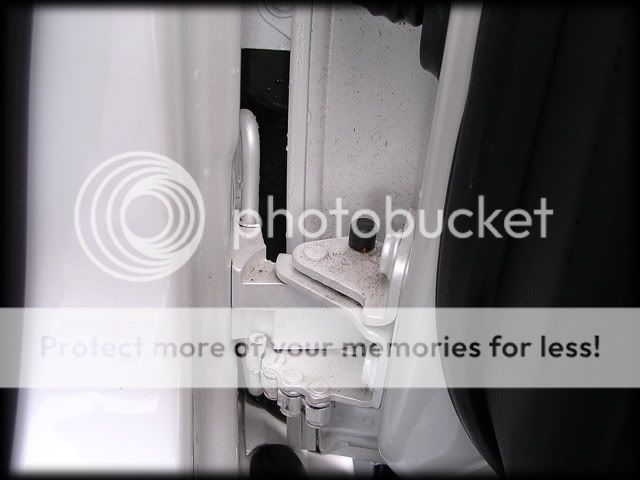
P21S Total Auto Wash and the brush were used again to agitate the worst of the grime:

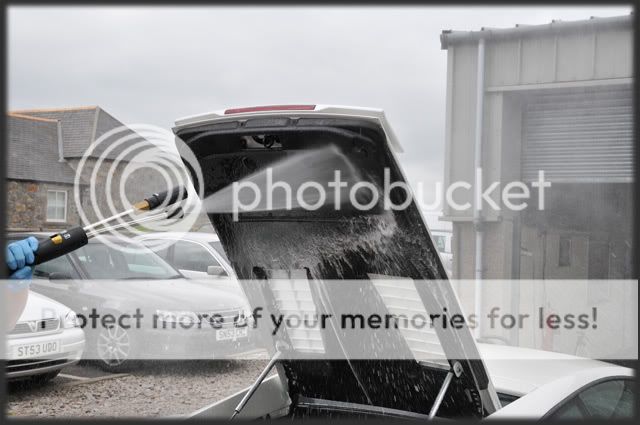
A trick learned from my valeting days still comes in handy for this bit, using the pressure washer on medium setting I rinsed the shuts thoroughly without getting a drop of water in the car:

The best way to do it is to start the lance away from the shuts and then aim it where you want it - this way you wont get any splash back 
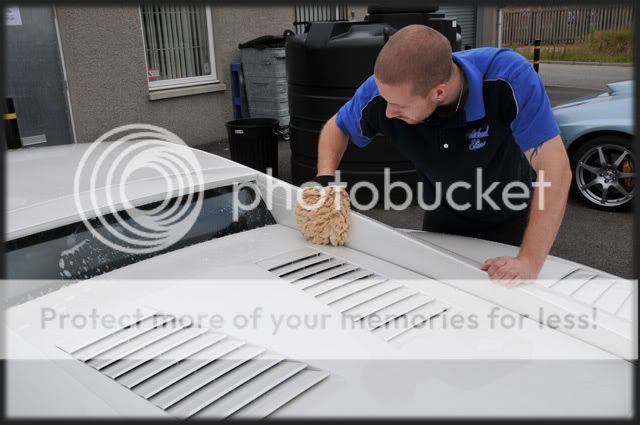
Now having done the smaller jobs - I washed the car with the usual 2 bucket method using Meguiars Shampoo Plus and one of the new wash mitts we'd been given to try out (very impressed too :thumb:
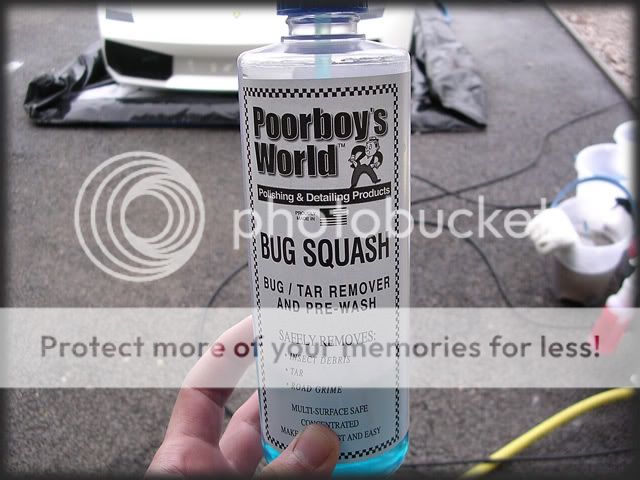
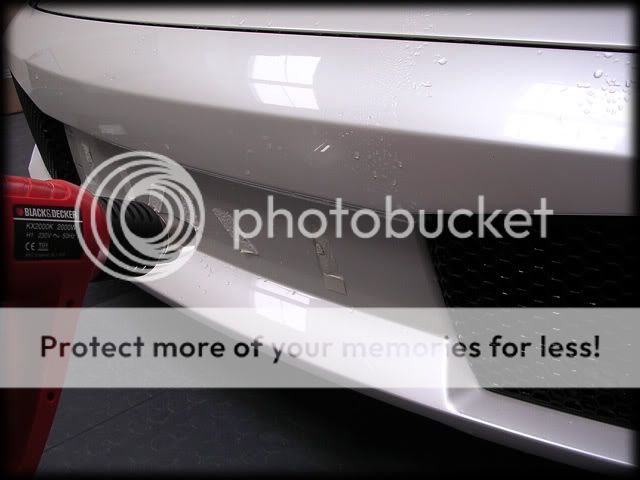
After rinsing there were still some stubborn bug splatters on the front end so instead of trying to scrub them off with the mitt I got out a product I'm using more and more of now the warmer weather is here:
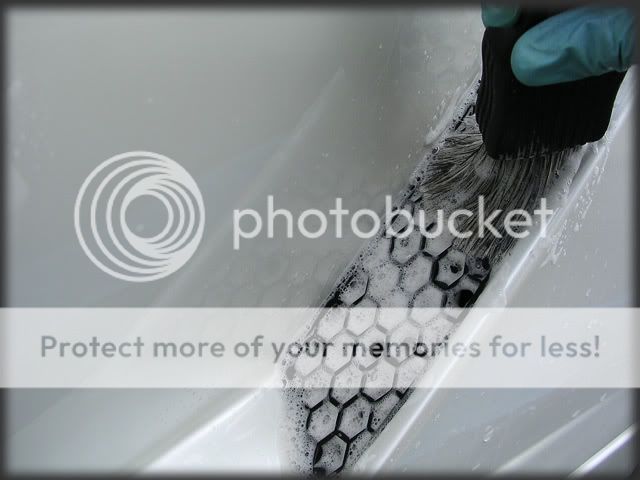
This was sprayed on and left for a minute or two:

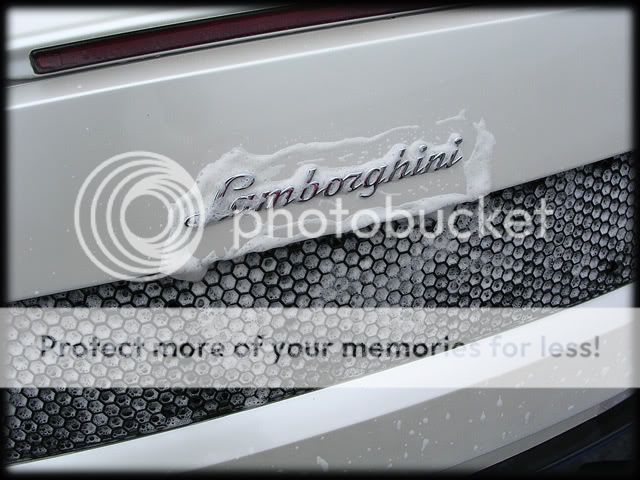
A pic after rinsing off at high pressure - bugs all gone 

P21S Total Auto Wash was used again to ensure all exterior trim was perfectly clean:
A quick rinse followed.
The final job before claying was to tackle the tar spots clinging to the paint and wheels. As usual - Autosmart Tardis was used:

(note the contaminants still stuck to the rear end from the exhaust even after washing).
I used a MF work towel to wipe away the tar after the Tardis has been left to do its thing for a minute:
Before:
After:

One final rinse followed to get rid of any Tarids still left on the paint:
Total time so far: 5 hours
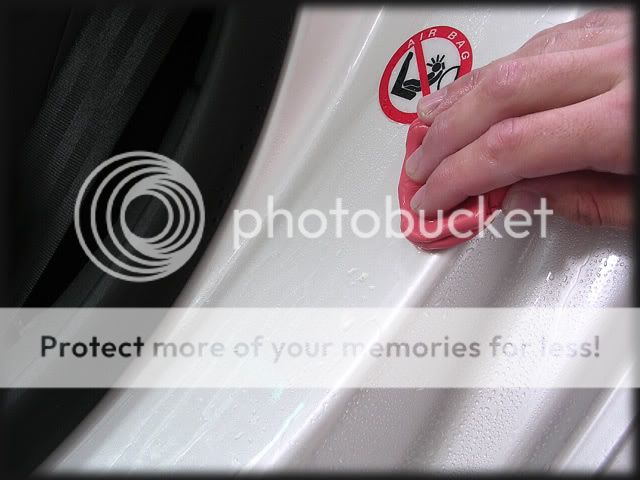
I then moved the car inside ready for claying but firstly removed the remaining sticky fixers from the bumpers with the heat gun:
I went straight to Meguiars Aggressive Detailing Clay for this detail...
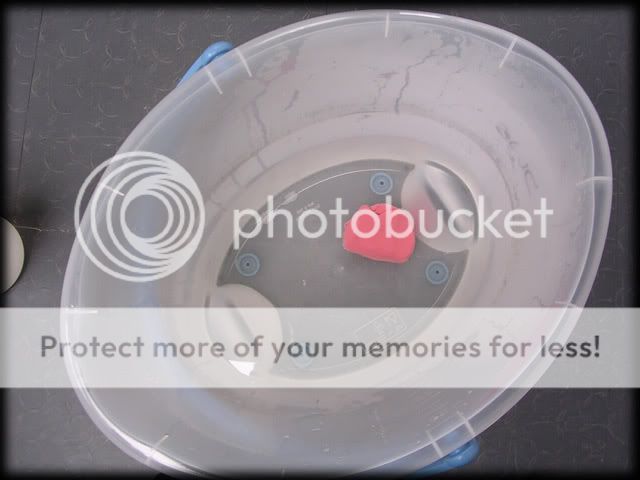
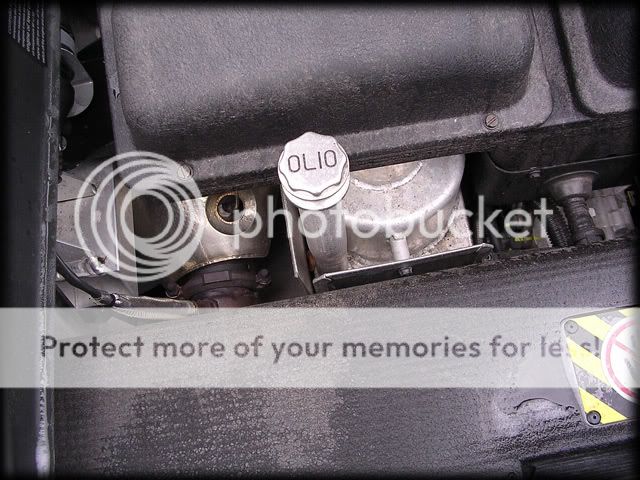
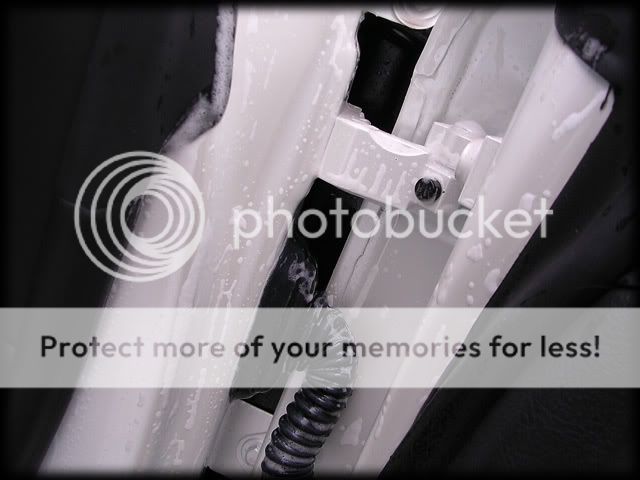
...reason being that the car was covered in small metal filings:

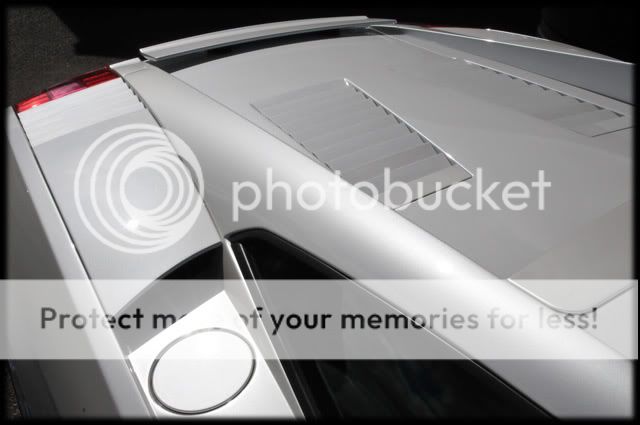
They were everywhere, even under the fuel cap:
The clay did its job well though:
It was a bit tedious at times but I slowly worked my way around the car - ensuring each panel was 100% clean:
Including the shuts:
The car was then moved back outside, foamed and rinsed one last time and then dried off with the leaf blower:

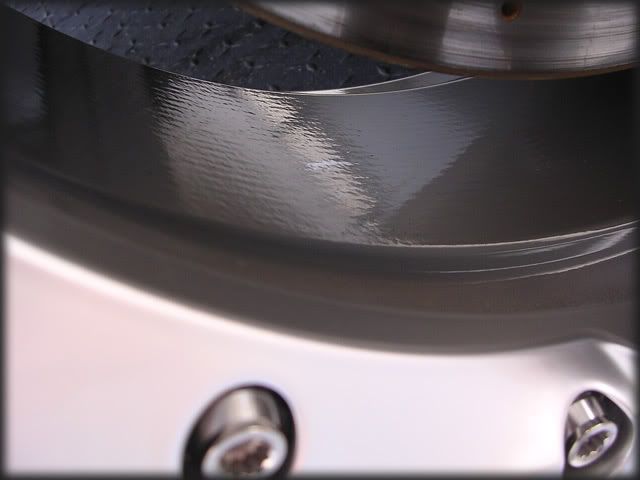
I then drove the car back and forwards a few times to clean up the discs as I didnt want them sticking while the car was sat in the unit for the next week and rusty discs also look crap for the final pictures 
Now parked up inside, I removed the front grills to gain better access to the lower parts of the front bumper when I got round to polishing them:
The car was then taped up ready for polishing:
It was now 5:30pm by this point so I stopped at there for day 1.
Total time so far was 8.5 hours which just goes to show that there is no real quick way of doing every little detail if you are to do them properly, admittedly the claying stage did take several hours
Thursday - Day 2
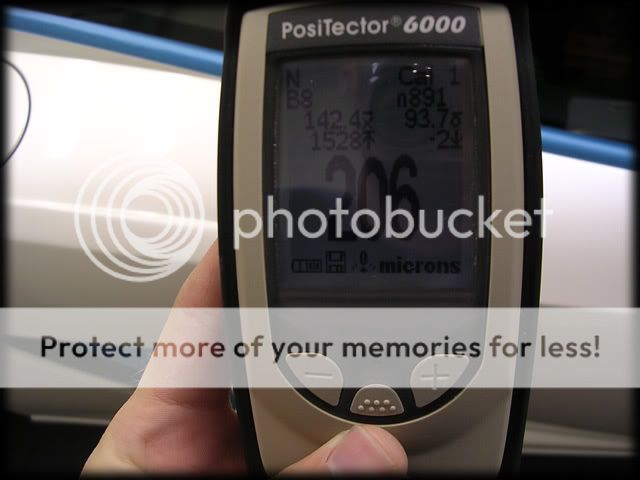
Before paint readings were taken, I checked that the gauge was reading accurately, as you can see below, it was working perfectly:
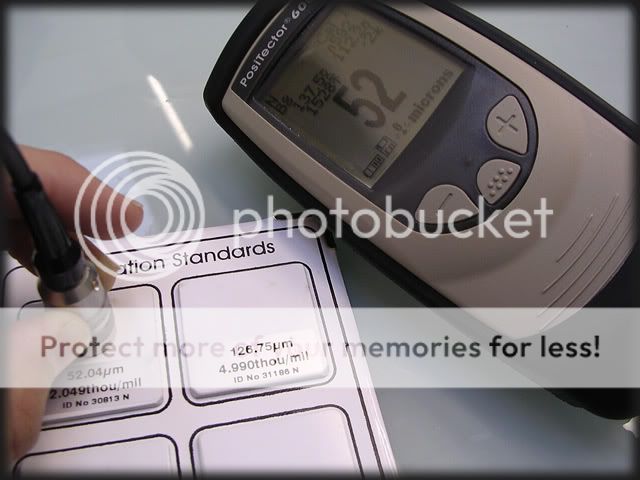
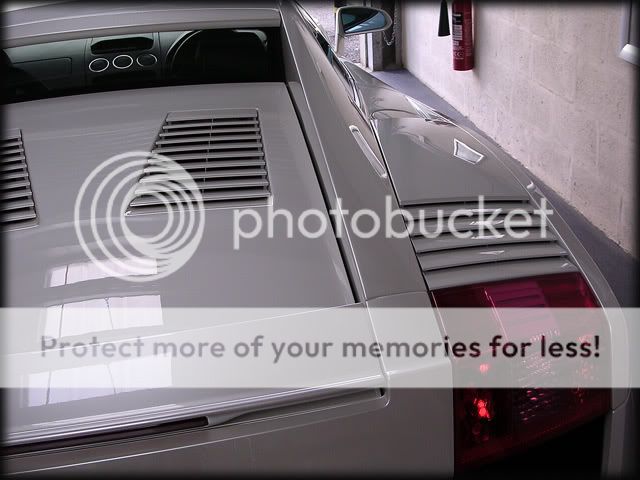
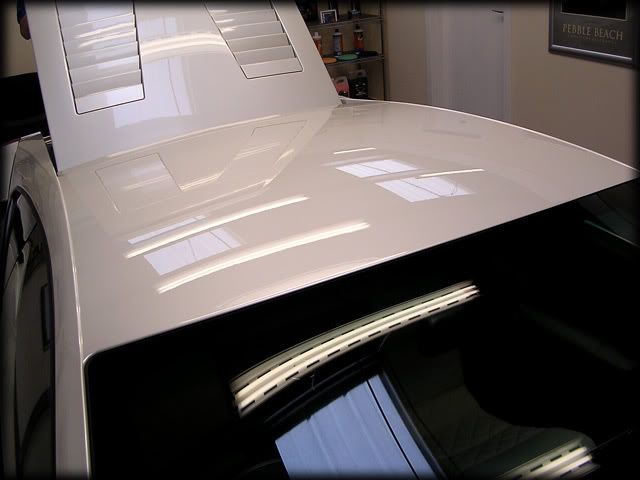
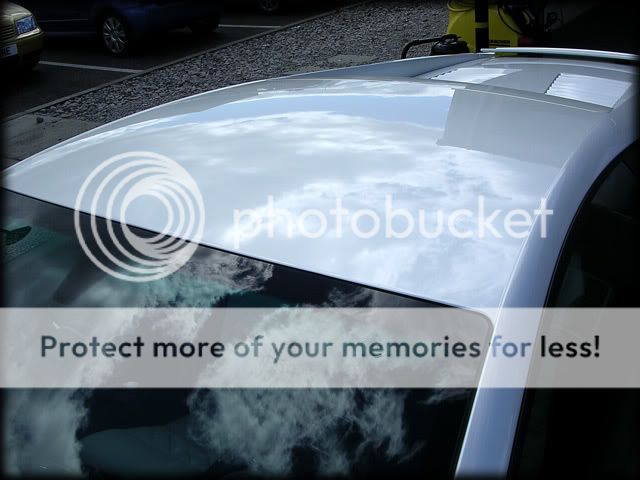
The Gallardo is hand painted (and also has white as the ground coat, followed by the clear coat with the pearl mixed in and then topped with another coat of clear) so I was expecting fairly high readings. The top panels such as the bonnet, roof and engine cover were in the 200+ territory:
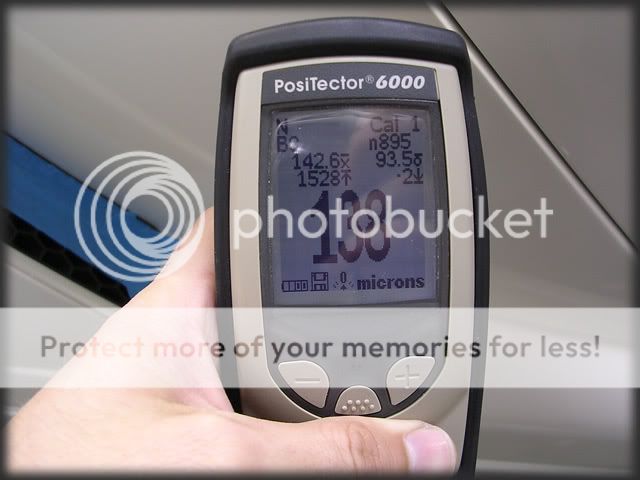
The lowest readings down the sides were in the 130's:
The plastics were also showing healthy levels:
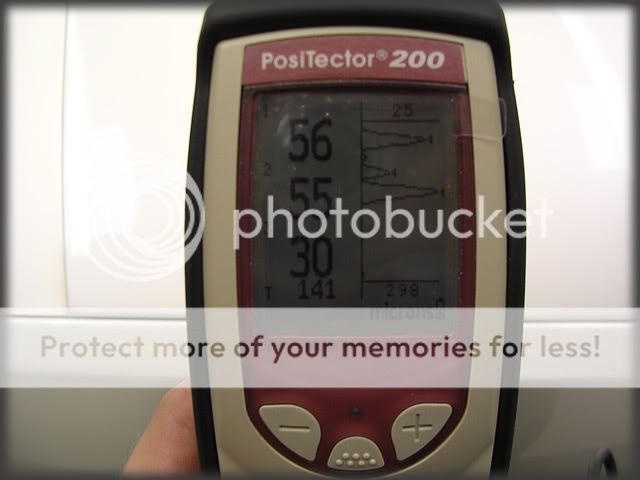
The composite's gauge can sometimes struggle to identify individual layers on alot of modern day paints as the majority of them are painted "wet on wet", but on the Gallardo I was getting very clear and precise readings nearly every time which would suggest that they are given time to cure in between coats.
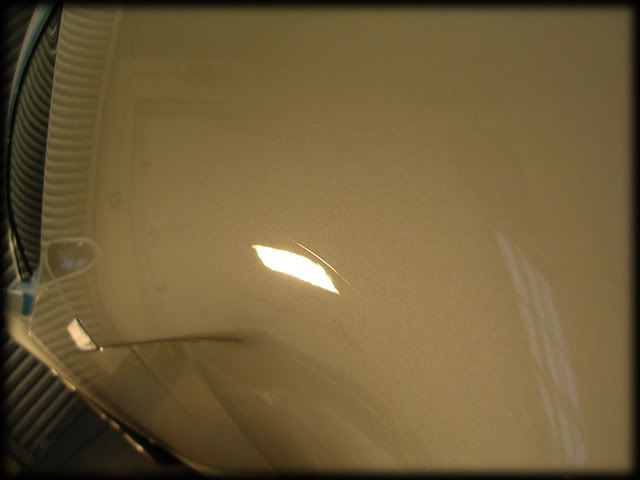
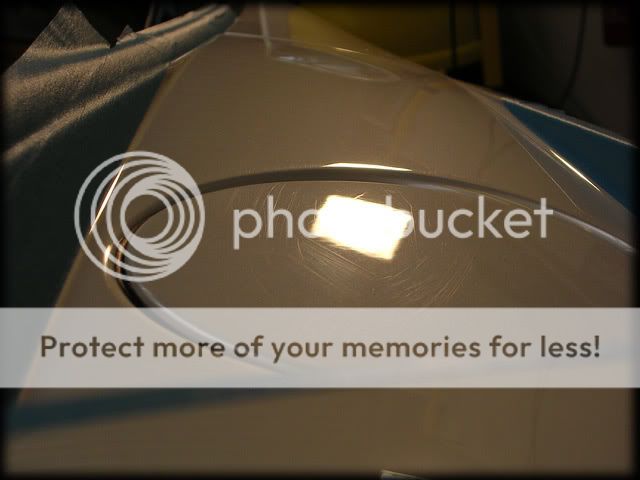
Being the colour that it was (and also having only covered around 1k miles) it was always going to be difficult to capture the true extent of the defects present in the paintwork but here are some that I managed to get which give you an idea:


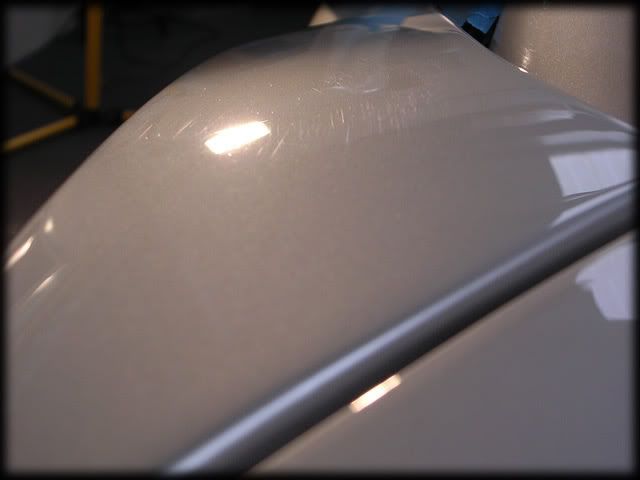


Not overly bad, but not perfect - and perfect is what we are aiming for on this one :thumb:
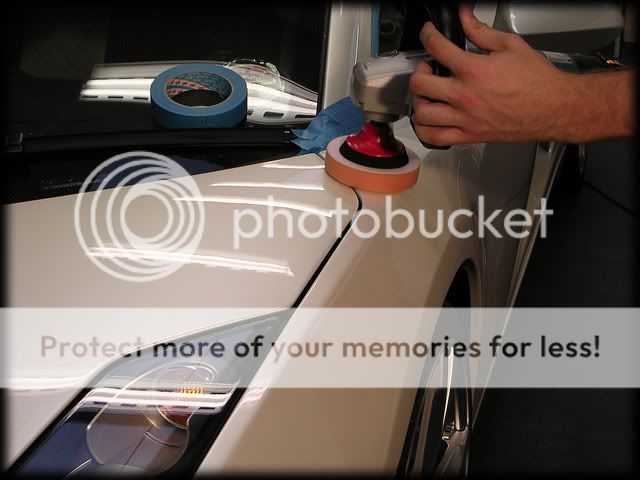
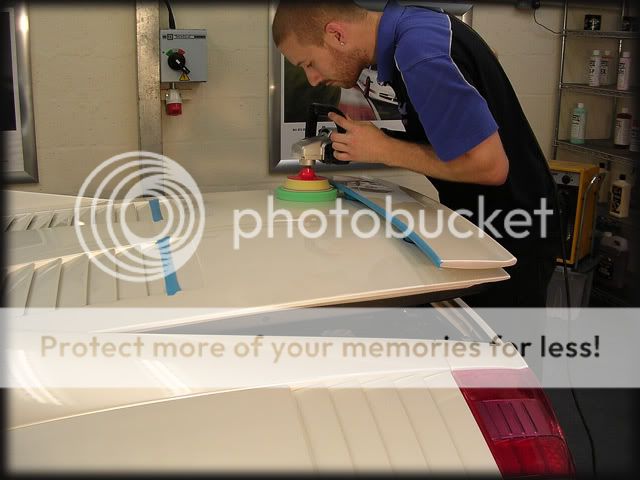
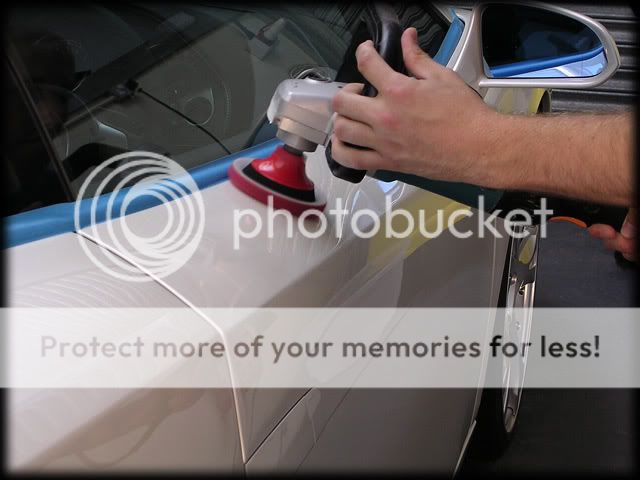
After a quick bit of playing about with polish and pad combinations I started off with one of 3M's new polishing pads and Menzerna 3.02:
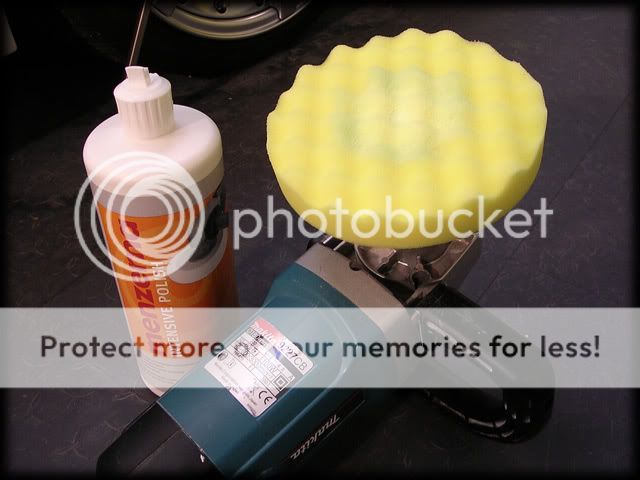
Initial impressions of this pad are very good. It's very similar to the firmness and cut of a Meguiars Polishing Pad but has the added bonus of being alot easier to centre first time!
This pad and polish combo removed between 1-2 microns.
I knew this as I had blatantly stolen an idea from a fellow pro-detailer, so all the credit for this little invention must go to Matt at Off Your Marks, cheers Matt :thumb::
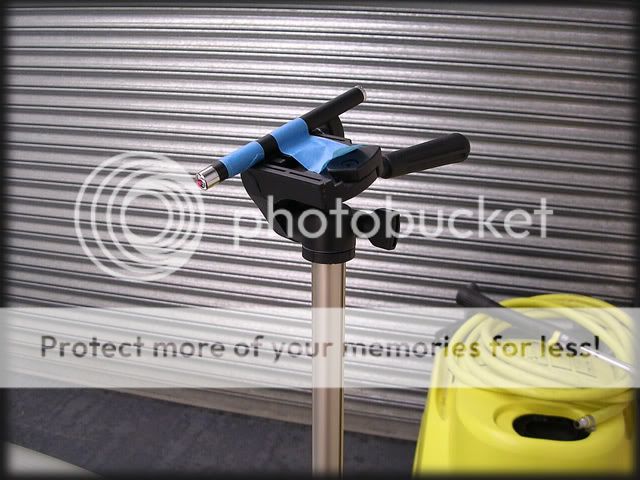
Simple yet effective - a laser pen taped to a camera tripod.
This enables you to accurately pin-point an area of paint you are polishing and providing you dont move the tripod you will be able to get a very good indication of paint removal after polishing:

I should add that the readings were taken after the panel was allowed to cool down as a warm panel could potentially give false readings.
I started polishing on the roof but after a couple of passes I soon realised that a couple of deeper scratches were remaining. The paint on the Gallardo was probably one of the hardest paints Ive polished yet - a good bit harder than normal Audi Paint, however I wasnt complaining as I prefer hard paint to soft paint
An example of what was left after a couple of hits on the roof:

Yes it was small but it was there so it had to come out!
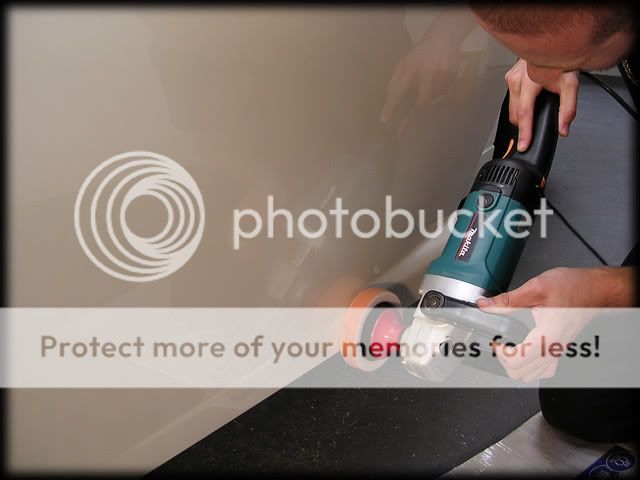
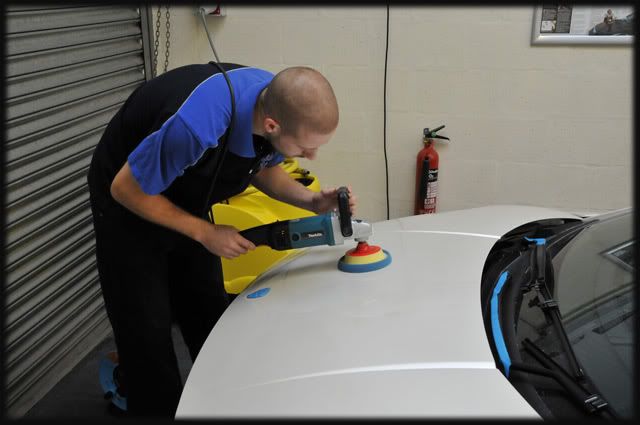
So out with another new 3M Pad, this time one designed for compounding with Fast Cut Plus (hence the green):
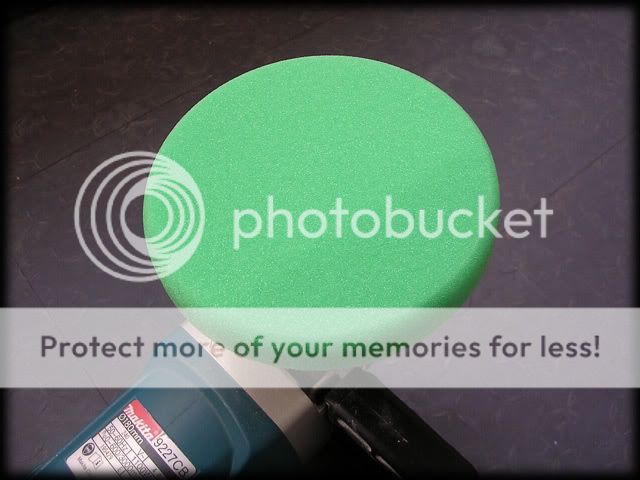
1800-2000rpm's were used for the majority of the correction work and this removed the few remaining defects perfectly, removing 2-3 microns at a time:

Below is a pic of the roof after stopping polishing @ 2000rpm's - no refining at all after the FCP. Even under the Sun Gun there was no evidence of buffer trails at all so this was a good indication of how hard the paint was:

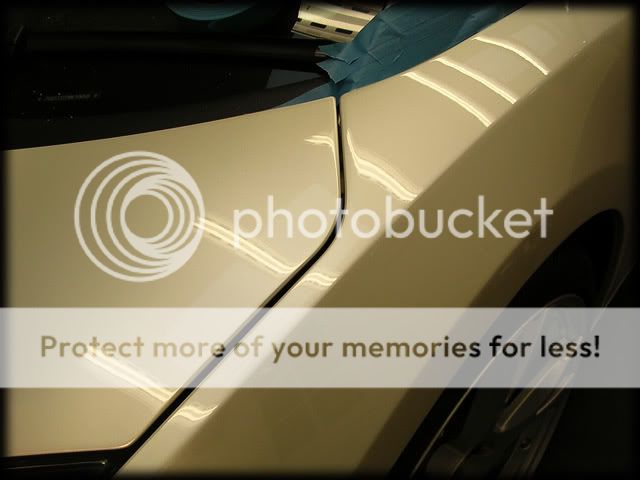
I moved down to the bonnet next and again ended up switching to FCP after the 3.02 didnt provide quite enough cut:

Fortunately, the vast majority of the drivers side was fully corrected using the slightly less aggressive combination of the polishing pad and 3.02:

I could have gone at the entire car with FCP but I always try to remove all defects whilst removing as little paint as possible
Round the other side was a bit different though. The rear 1/4 had picked up a couple of bad scratches at some point:

After 1 hit of FCP (sorry about the blurry pic, the camera didnt focus well on the white at times):

Still there so another hit!
All gone except for a deeper scratch which remained:
This was too deep to polish out so I marked it with a piece of masking tape:

I planned to go back and remove any more defects like this one by wet sanding later on so that was the reason for marking them on the paint as they were hard to see at certain angles (multiple customers "examining" the car thought I was mad to go further at a scratch that they could barely see but I knew it was there and the aim of this detail was ultimate perfection).
The rest of the near side corrected the same as the off side with the 3.02 and polishing pad:

I stopped work at 7:30pm having corrected the majority of the larger areas.
Friday - Day 3
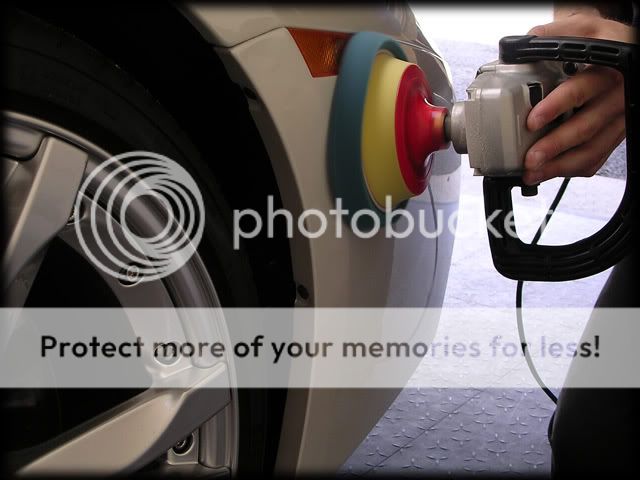
4" compounding pads were used throughout the detail for when I needed to get into the tighter areas:


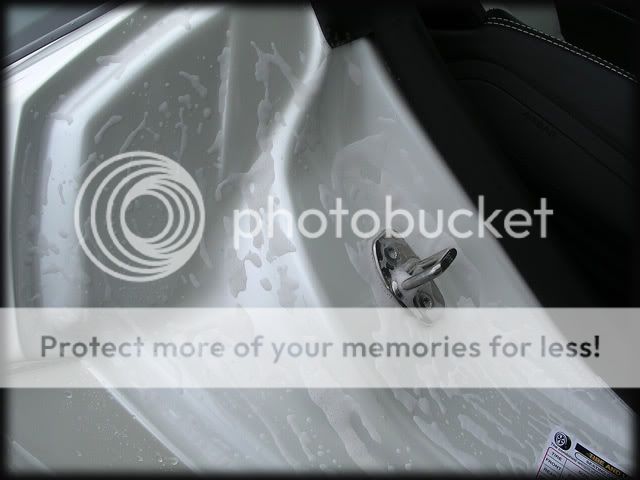
Opening the doors allowed easier access to the lower sections and side skirts:

The fuel cap was in dire need of correcting:
During polishing (note the extra masking tape to prevent the edge of the pad from coming in contact with paint I didnt want it to touch!):
After:
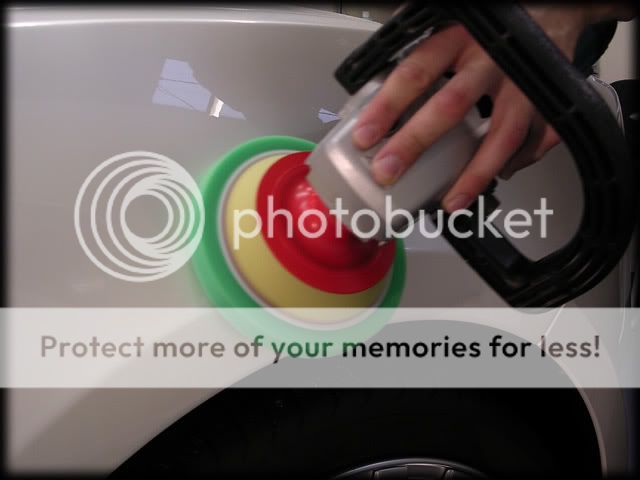
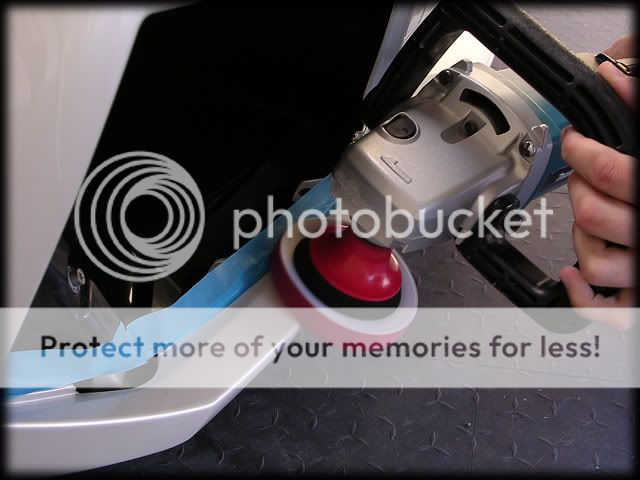
Polishing of the front bumper - plastics were polished @1500rpm's:


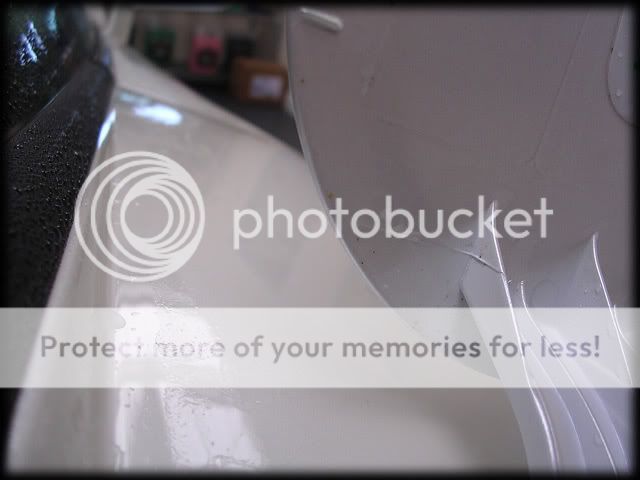
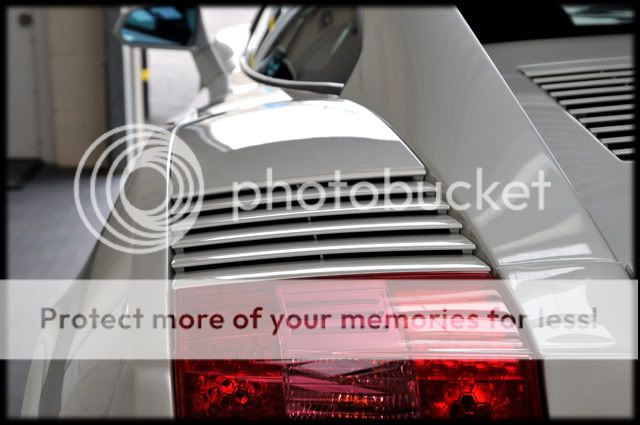
The rear bumper had significant swirling that was robbing the paint of its true clarity:

After FCP:

Even after the thorough claying stage there was still some exhaust contamination being pulled off the paint by the polishing step, here's a poor attempt at a 50/50 :

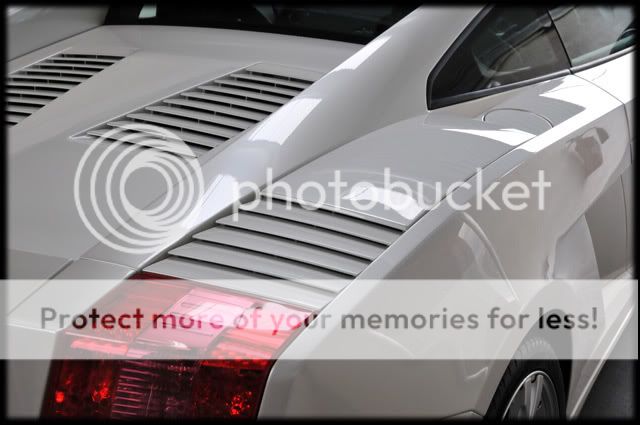
Fully corrected:

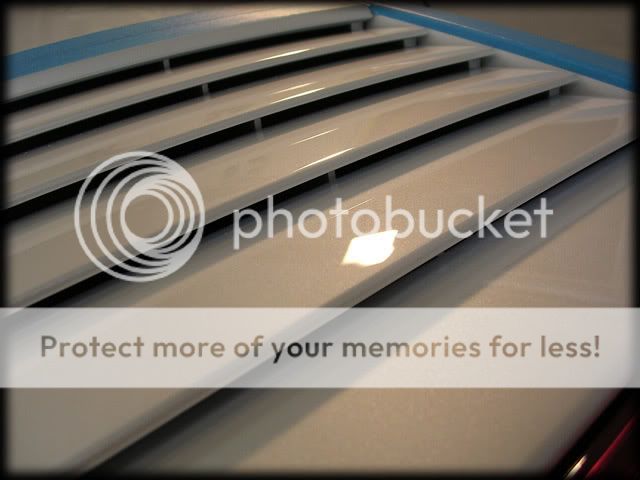
A bit of improvisation was needed to allow me to comfortably polish the engine cover
This was probably the worst area of the car in terms of RIDS so 2 or 3 hits per section with FCP was needed:
This was the last area of the car to be corrected (except for those that I knew would be corrected with the finishing polish such as headlights/wing mirrors etc) so I called it a day at 6pm - late enough for a Friday night!
The car was still in for a few more days yet and I had initially decided to have the whole weekend off but I decided to go into work on the Sunday to do all the wet sanding. This would enable me to start the finishing polish stage first thing on Monday morning.
There were 4 or 5 smaller RIDS marked out on various places of the car and these were sanded out with 2000 and 4000 Mirka discs on a finger pad. I took pics but the majority of them were out of focus and to be honest we all know what a bit of sanding haze looks like now!
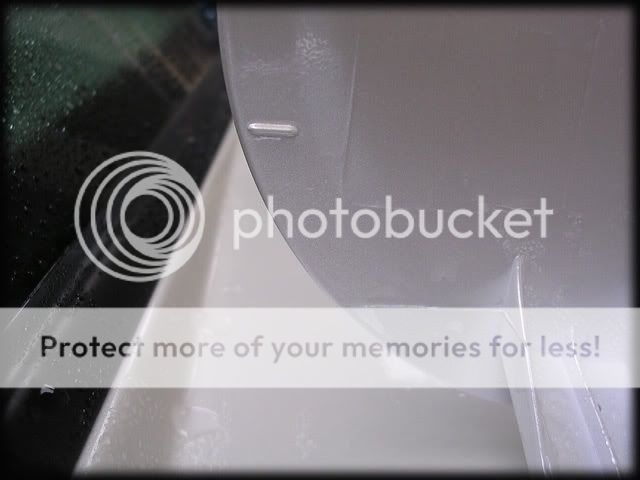
I got some good pics of the other piece of sanding I had to do though
There was a 4-5" scratch running in line with the spoiler (pic taken on Rich's camera as his is considerably better than mine!):

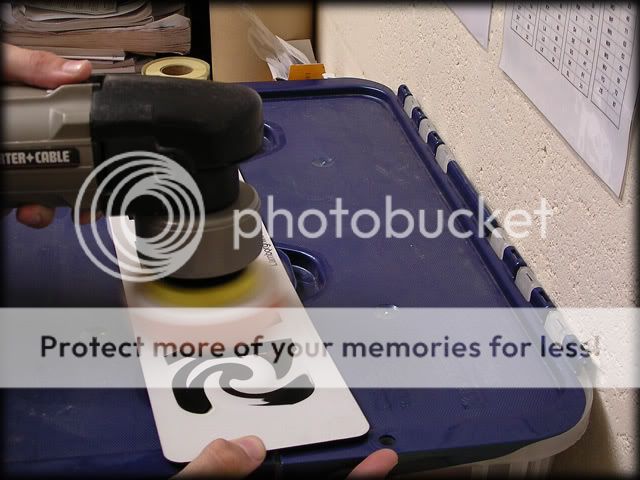
Due to the size of the scratch I decided to sand this one out by machine. I'd prepared for this on the Wednesday though as we'd spotted the scratch on the Tuesday evening so I had a couple of sanding discs soaking in a bucket of Shampoo Plus for a couple of days:
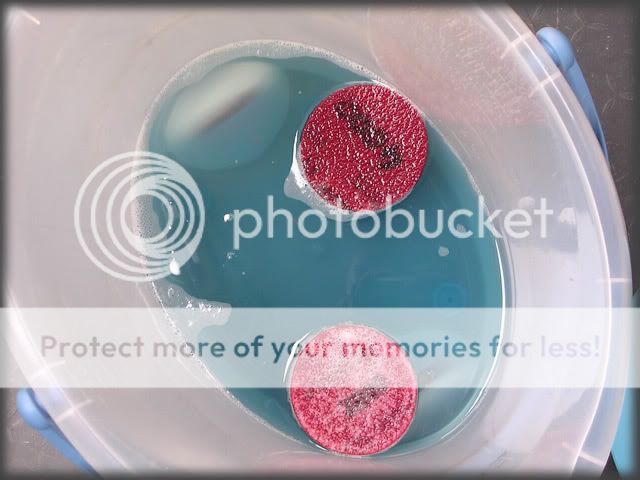
So with the laser pen put to good use again...

...I proceeded to sand the paint with the PC on speed 2, firstly using the 2000 disc:

After 4 passes and 6-8 microns of paint removed, the scratch was now no longer visible, just the sanding haze and pig tailing:


I followed up with the 4000 disc to make the marks slightly easier to polish out with the G220 and a 4" spot pad with 3.02. 2 hits were done in order to make sure all sanding marks were fully removed:
Scratch now gone:


There were some odd etching marks on the fuel cap, almost like something hot (such as hot metal filings?) had been flicked up onto the side of the car (they were only a couple of mm wide so no chance my camera was picking these up). These marks had polished out completely on the rest of the car but the fuel cap still wasnt perfect so this was sanded back too:

Polished out using the same process as the engine cover:

Wet sanding increasingly seems to be the "in thing" to do just now, especially with people still fairly new to detailing and it is still a last resort to me - Id much rather polish out defects if possible
Sundays work came to around 4 hours so it was a nice easy morning, which allowed me to go into work on the Monday with a clearer state of mind. The correction work seemed to go on forever due to all the different contours and oddly shapen panels that only a supercar could have.
Monday - Day 4
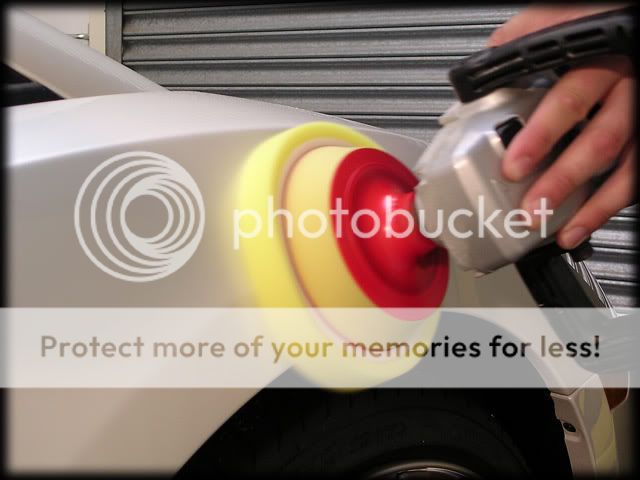
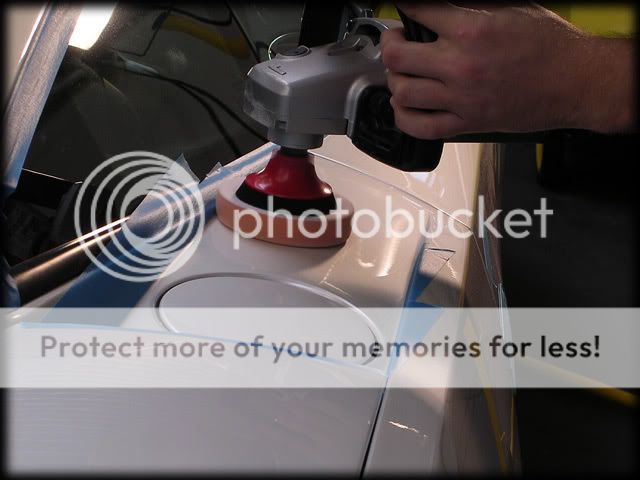
The finishing polish stage began, using a 3M Finishing Pad and Menzerna PO85RD @ 1800rpm's:
A 4" finishing pad was used for the smaller areas:
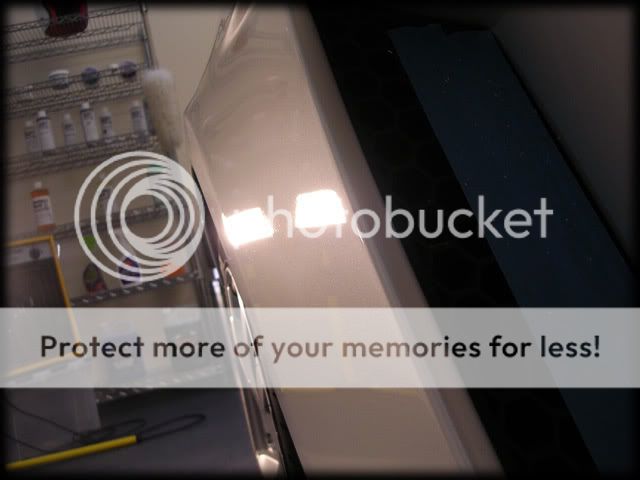
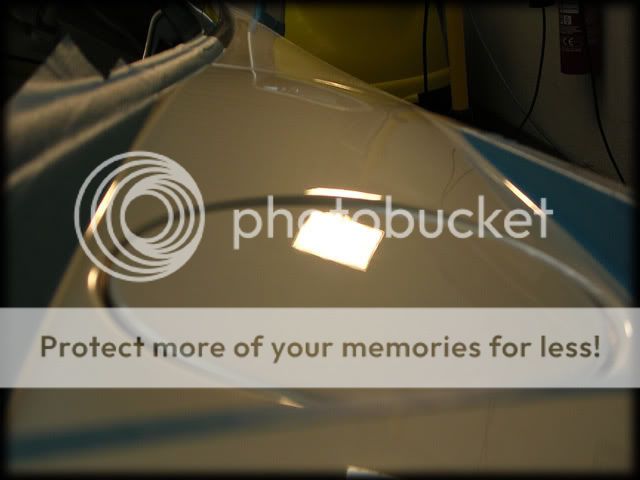
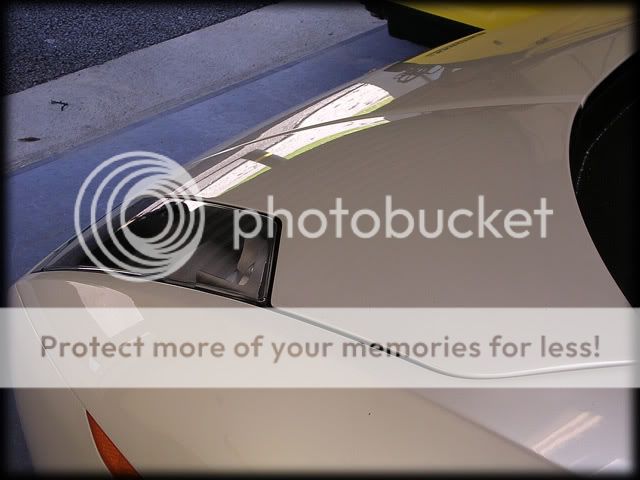
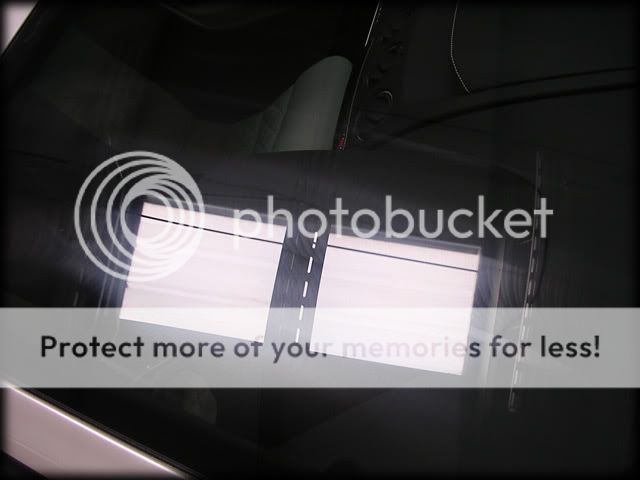
That crystal clear finish we all love to see was showing nicely now :thumb:


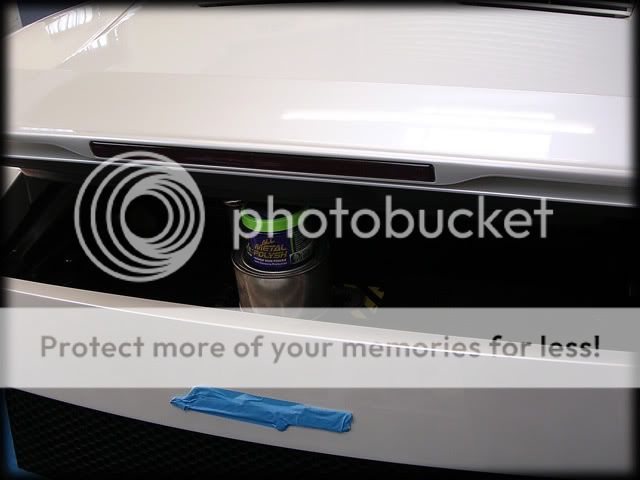
The very last stage of polishing was a slightly unusual one...
Blackfire's Metal Polish was used...
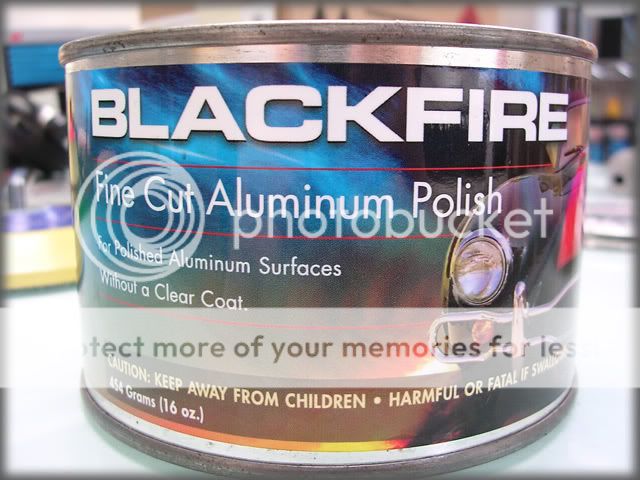
...to polish up the glass:
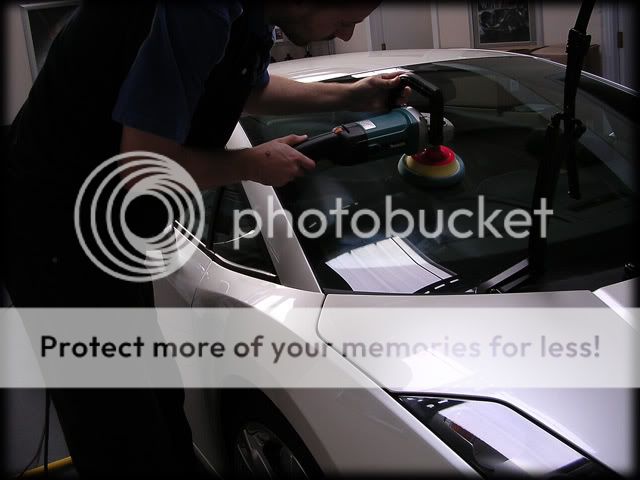
This contains a certain amount of jewellers rouge and whilst it didnt do much in the way of correction (I didnt expect it to) it definitely helped to give a great crystal clear look to the glass.
It finishes down just like any other polish too:
Now all the polishing was complete I had a little job to do before applying the LSP (Last Step Product)-
There was a tiny chip on the corner of the drivers side door handle so we ordered in come clear coat and had the local Porsche Approved Body shop mix up the correct paint for the car:
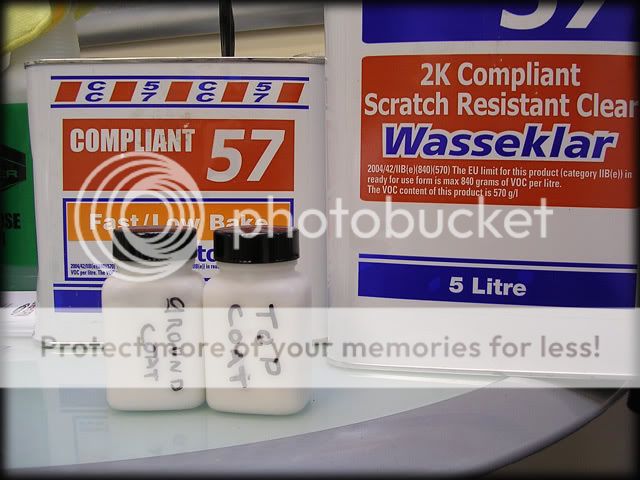
Using a fine artists brush I firstly applied the white ground coat:

This was then allowed to dry and then topped with the pearl layer:
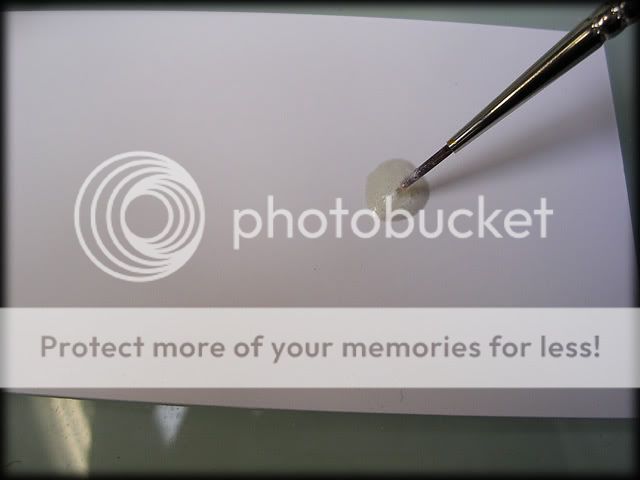
The last clear coat layer was then added once the pearl had fully dried:

I was now fast approaching the end of day 4 and I wanted the first coat of protection applied to the car before I called it a night so after a quick coffee I cracked on.
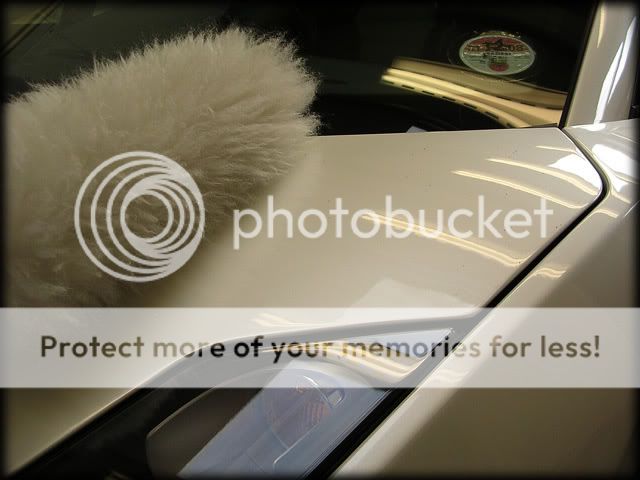
Out came the duster to remove any polishing dust:
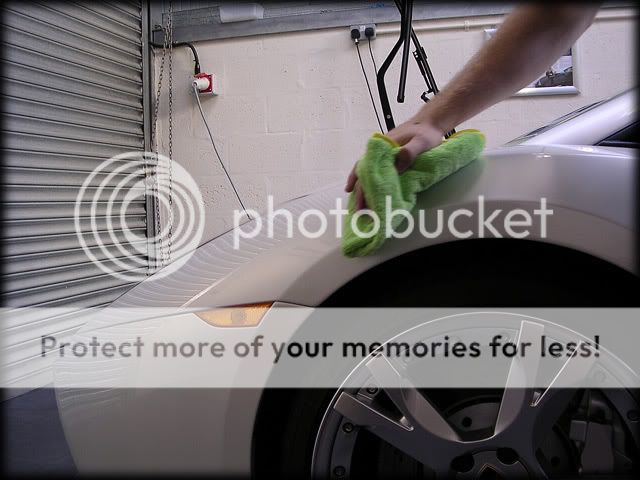
I then gave the car a wipe down with Menzerna Top Inspection to remove any last remaining traces of polishing oils:
1st application of Vintage followed (the customer has purchased his own pot of Vintage):

I buffed the wax off with a PB Ultimate Mega Towel...
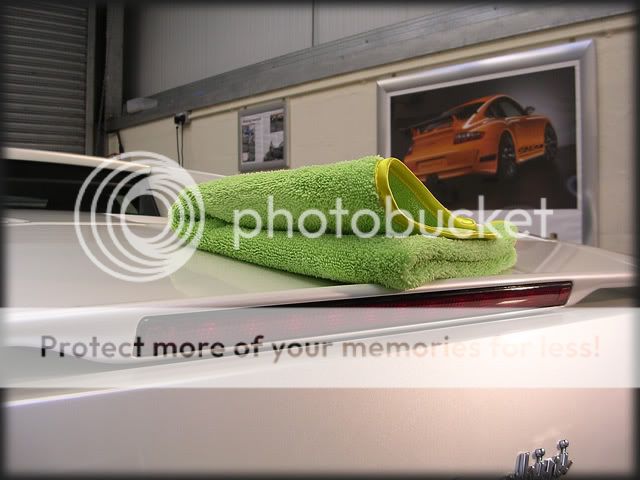
...then called it a night bang on 9pm.:thumb:
Tuesday - Day 5
As the 1st coat of Vintage was allowed to cure over night, I gave the car a wipe down with Last Touch and then applied a 2nd coat. It was extremely hot outside and the unit was like an oven inside so curing wasnt going to be a problem - with the oils showing signs of rising after an hour or two.
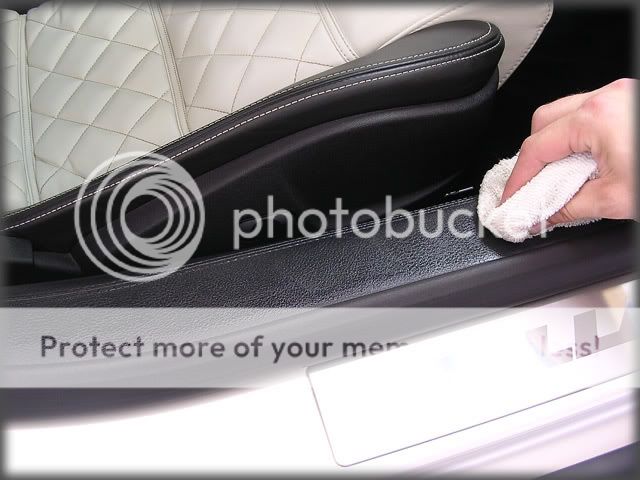
My focus then turned to the interior:
The leather was suffering from a bit of colour transfer from the customers jeans:
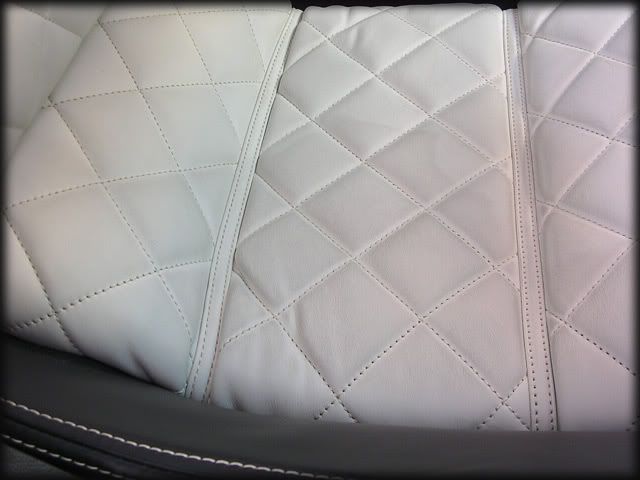
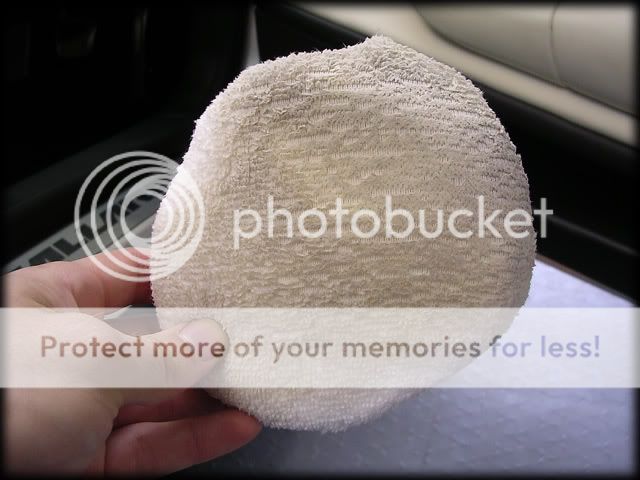
This was fixed with the help of Raceglaze Leather Cleaner and a MF applicator:
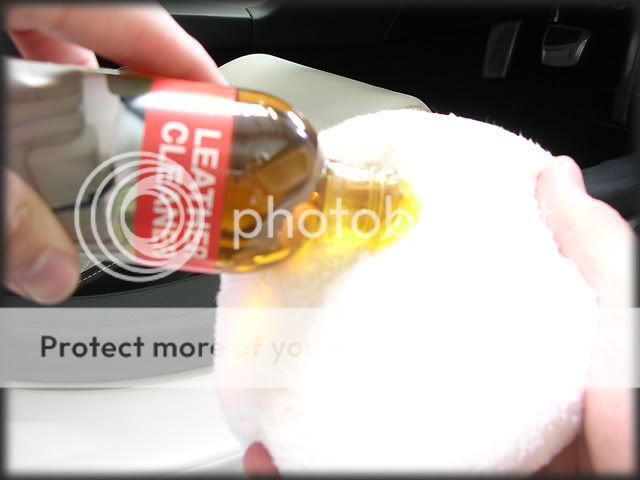
I worked the cleaner into the leather:

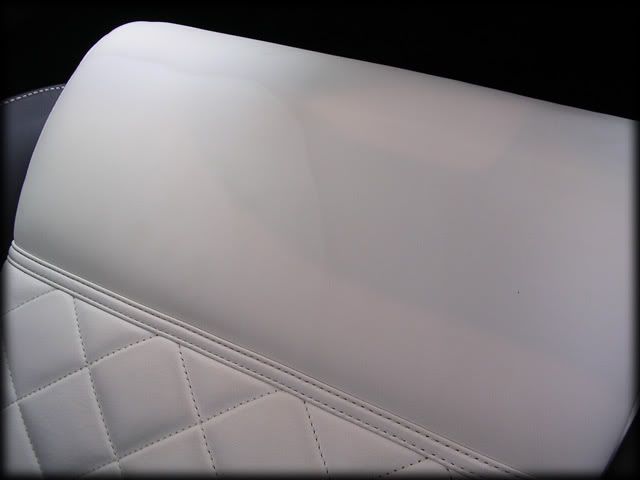
Dirt lifted:
Good as new


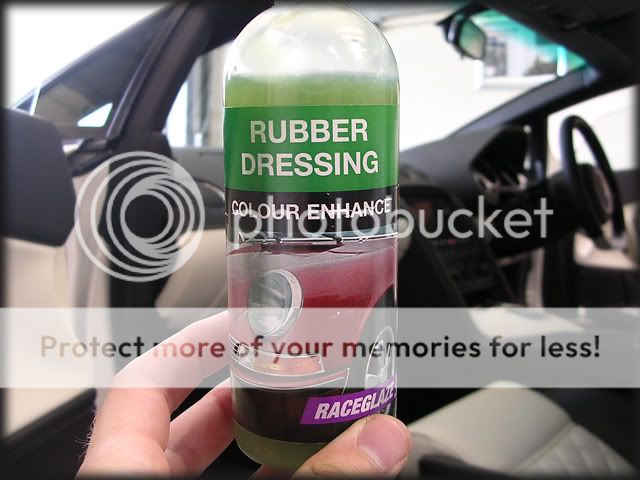
Having cleansed all the leather, I then fed it with Raceglaze Leather Balm. Every single customer so far has absolutely loved the smell and look of this stuff so it gets the big thumbs up from us :thumb:


I gave the leather a wipe down a few hours later to remove any slight smears that remained (all smears disappear over 24 hours in my experience but I didnt want any for when the customer collected the car):

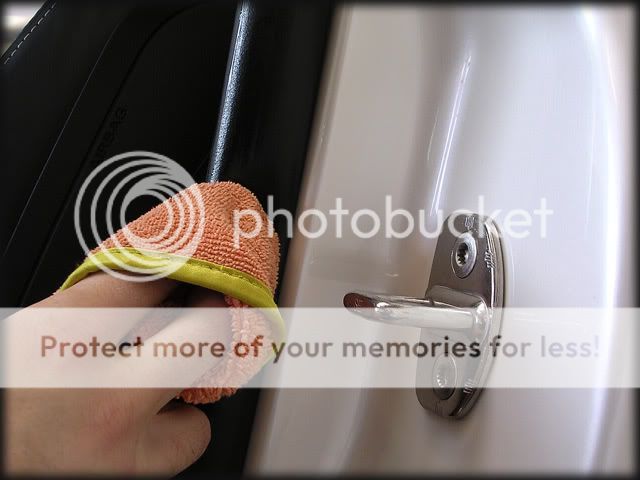
The door shuts were waxed with Vintage:

The seals were fed with another product from Raceglaze:
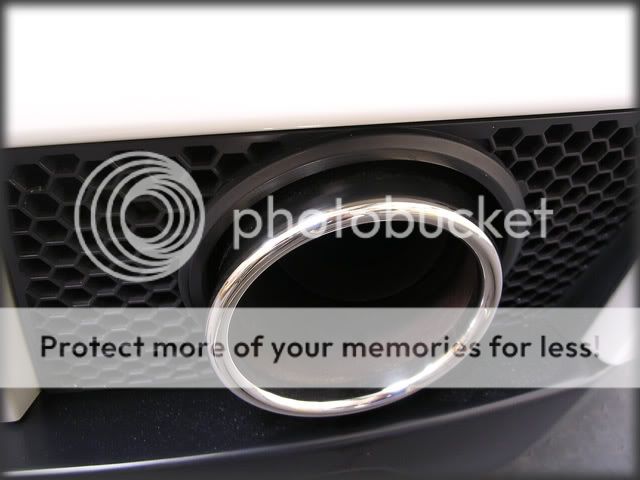
The tailpipes were polished up with Raceglaze Metal Polish and a CCS Light Cut Pad
Before:
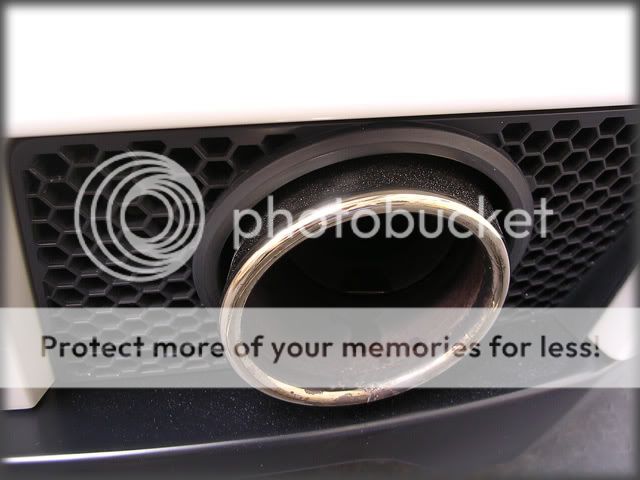
After:
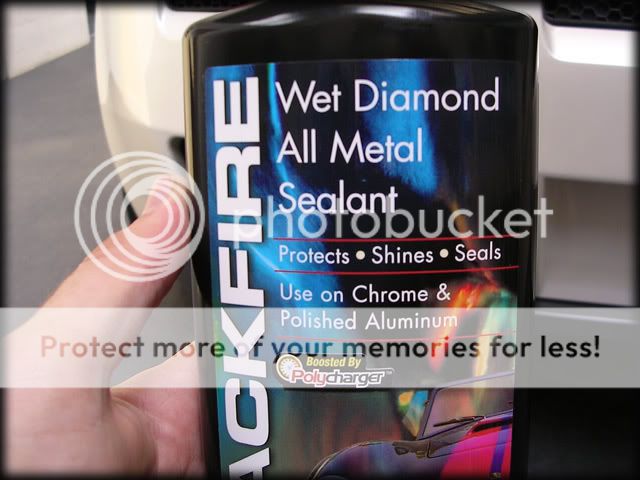
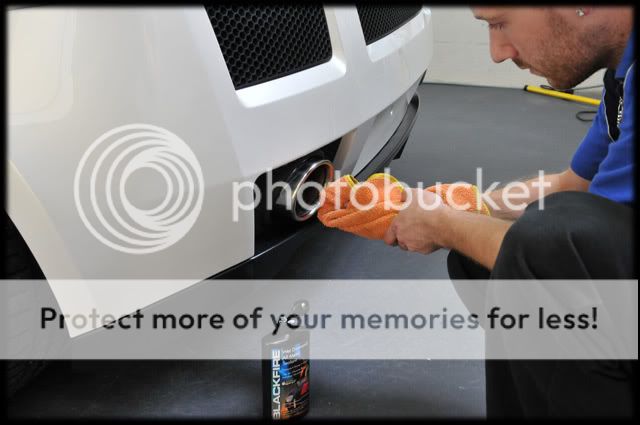
I then sealed them with one of Blackfire's latest Polycharged products:
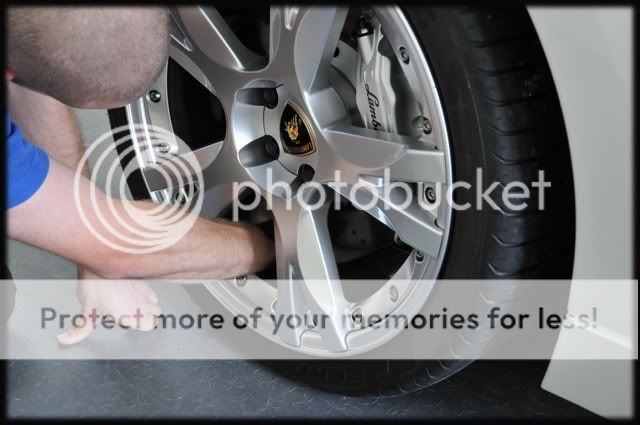
Onto the wheels, these were sealed with PB Wheel Sealant:

Including the inner rims:

We'd been sent several types of wash mitts to try out and whilst this one was no use for paintwork I had decided it had a good use...

...for removing the sealant from the inner rims
Tyres were dressed with Blackfire Long Lasting Tyre Gel and then buffed off 30 mins later:
I then realised Id forgotten to de-swirl the number plates:
A 3rd coat of Vintage was applied and then removed after another wipe down with last touch to remove the oils from the 2nd coat.
The engine bay was dusted down and then dressed with 303 Aerospace Protectant:
On a detail as extensive as this I usually write a list of things that need to be done so I checked everything had been done and was looking A1 and then gave the car one last wipe down with Last Touch.
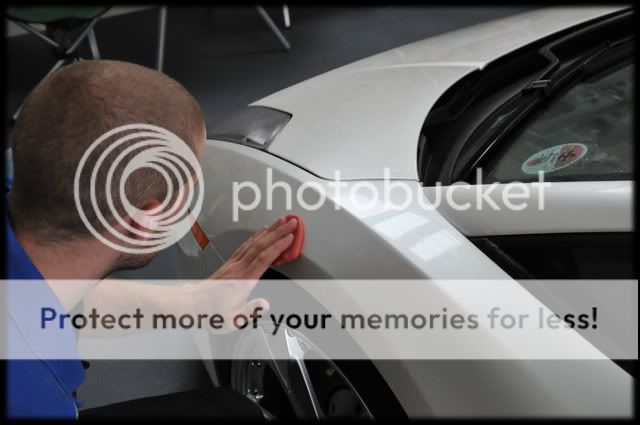
I guess there's not much else to say other than here's the results of 32 hours machine polishing and over 55 hours of work in total enjoy! :thumb:

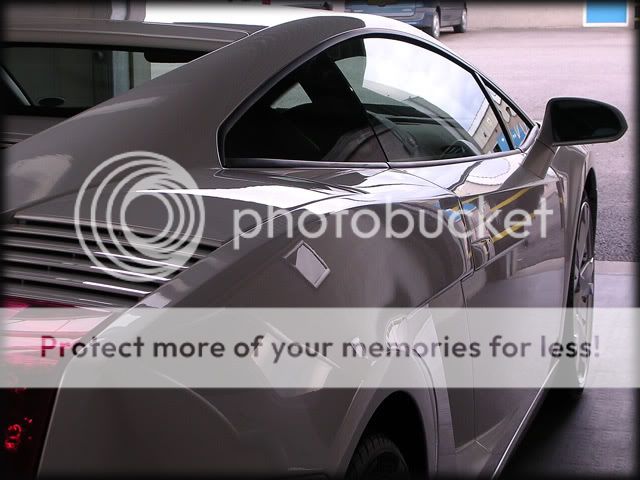


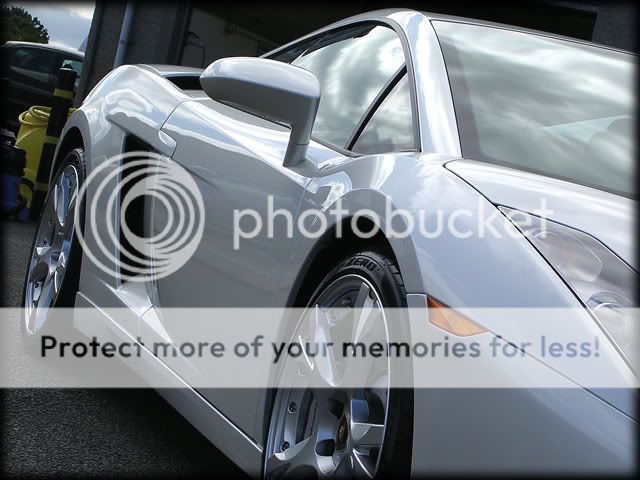
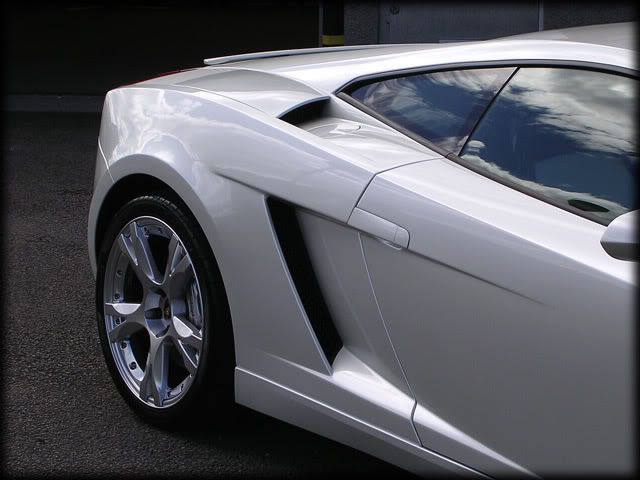


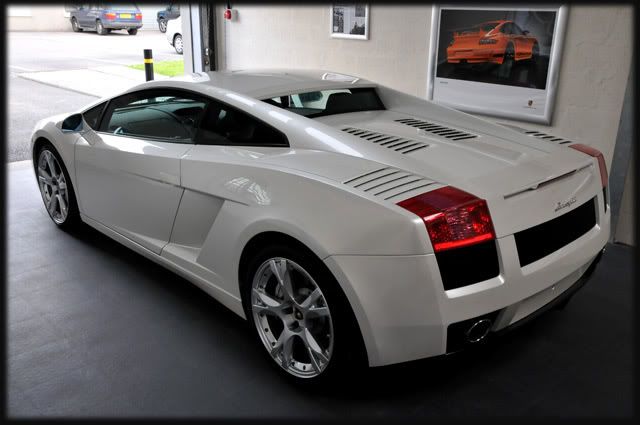

So there you have it, our first Ne Plus Ultra (TM) detail. I just hope the next one is equally enjoyable as this one was.
I also hope you enjoyed the write up as it has taken bloody ages to put together! 
Thanks for taking the time to read as always,
Clark
|
BarnshaW
Member
Registered: 25th Oct 06
User status: Offline
|
thats just ridiculous. thats taking cleaning a car to an extreme
|
mattk
Member
Registered: 27th Feb 06
Location: St. Helens
User status: Offline
|
yeah Im not sure I get all this crap
|
Ian
Site Administrator
 Registered: 28th Aug 99
Location: Liverpool
User status: Offline
|
Great amount of work as always. I just hope the owner wheelspun it out of the car park.
|
BluKoo
Member
Registered: 8th Apr 02
Location: Stonehaven (Scotland)
User status: Offline
|
quote:
Originally posted by mattk
yeah Im not sure I get all this crap
What don't you get about it?
The fact that someone will clean a car to this extent, or that someone will pay £xxxx to get it done?
quote:
Originally posted by Ian
Great amount of work as always. I just hope the owner wheelspun it out of the car park.
Wouldn't surprise me if he did He's quite a young, but very wealthy man.
This is just one of 4 cars he has signed up to the year long contract.
[Edited on 28-07-2008 by BluKoo]
|
Ian
Site Administrator
Registered: 28th Aug 99
Location: Liverpool
User status: Offline
|
Good lad. The car looks well but I wouldn't like to think this would put him off using it. The comments about the colour are correct, it really does work very well.
[Edited on 28-07-2008 by Ian]
|
mattk
Member
Registered: 27th Feb 06
Location: St. Helens
User status: Offline
|
the fact people will pay for it, Id love to have the patients and skill to do it,
I suppose if your rich enough though
|
Ian W
Member
Registered: 8th Nov 03
Location: Wirral, Merseyside
User status: Offline
|
[standard reply] Can get the same finish on my drive with autoglym [/standard reply]
Looks mint, I follow the posts on audo-sport and some of the work they do is immense, got most of my cleaning products off them, good lads 
|
BluKoo
Member
Registered: 8th Apr 02
Location: Stonehaven (Scotland)
User status: Offline
|
quote:
Originally posted by mattk
the fact people will pay for it, Id love to have the patients and skill to do it,
I suppose if your rich enough though
Just out of curiosity, how much would you expect this level of detail to cost you?
|
c20let
Member
Registered: 25th Jun 05
Location: Aberdeenshire Drives: VXR Astravan,Evo 9GT,mr2 tbo
User status: Offline
|
how much did that detail cost?
|
Eck
Premium Member
 Registered: 17th Apr 06
Location: Lundin Links, Fife
User status: Offline
|
quote:
Originally posted by BluKoo
quote:
Originally posted by mattk
the fact people will pay for it, Id love to have the patients and skill to do it,
I suppose if your rich enough though
Just out of curiosity, how much would you expect this level of detail to cost you?
I'd say that would cost about £7-8k tbh Stunning motor, and your brother is absolutely phenomenal at what he does.
|
Colin
Member
Registered: 4th Apr 02
User status: Offline
|
Leafblower....................surely a piss take? 
I got bored reading at day 2, but I quess its a good job.
|
Steve X16XE
Member
Registered: 31st Dec 06
Location: Barnsley, South Yorkshire
User status: Offline
|
That's FANTASTIC!!!
If i had one of them, i'd want it looking that clean after every outing.
|
Paul_J
Member
Registered: 6th Jun 02
Location: London
User status: Offline
|
quote:
Originally posted by Eck
quote:
Originally posted by BluKoo
quote:
Originally posted by mattk
the fact people will pay for it, Id love to have the patients and skill to do it,
I suppose if your rich enough though
Just out of curiosity, how much would you expect this level of detail to cost you?
I'd say that would cost about £7-8k tbh Stunning motor, and your brother is absolutely phenomenal at what he does.
55 hours... 7000-8000 £?
£145 an hour.
I should hope it didn't cost that, otherwise the lambo owner is clearly insane / has more money than sense. 
Prob more £30/£40 per hr?
Say £2000 or so?
|
Steve X16XE
Member
Registered: 31st Dec 06
Location: Barnsley, South Yorkshire
User status: Offline
|
If your earning £20k £30k or £40k a month.... your not going to be that bothered.
|
Eck
Premium Member
Registered: 17th Apr 06
Location: Lundin Links, Fife
User status: Offline
|
quote:
Originally posted by Paul_J
quote:
Originally posted by Eck
quote:
Originally posted by BluKoo
quote:
Originally posted by mattk
the fact people will pay for it, Id love to have the patients and skill to do it,
I suppose if your rich enough though
Just out of curiosity, how much would you expect this level of detail to cost you?
I'd say that would cost about £7-8k tbh Stunning motor, and your brother is absolutely phenomenal at what he does.
55 hours... 7000-8000 £?
£145 an hour.
I should hope it didn't cost that, otherwise the lambo owner is clearly insane / has more money than sense.
Prob more £30/£40 per hr?
Say £2000 or so?
That's less than most garages per hour these days Paul. And then the cost of the chemicals used too?
|
Paul_J
Member
Registered: 6th Jun 02
Location: London
User status: Offline
|
true Eck. Most Garages change like £50-£60 per hour.
But then most garages generally don't take 55 hours to do something.
I'd be interested to know what a Ultra Detail like that would cost, but I personally think 7-8k for 55 hours work is a bit silly really.
|
Eck
Premium Member
Registered: 17th Apr 06
Location: Lundin Links, Fife
User status: Offline
|
quote:
Originally posted by Paul_J
true Eck. Most Garages change like £50-£60 per hour.
But then most garages generally don't take 55 hours to do something.
I'd be interested to know what a Ultra Detail like that would cost, but I personally think 7-8k for 55 hours work is a bit silly really.
Yeah I may have been a tad ott in my estimation But I'd imagine it wouldn't be cheap, seeing as it's the top detail that they do!
|
Paul_J
Member
Registered: 6th Jun 02
Location: London
User status: Offline
|
quote:
Originally posted by Steve X16XE
If your earning £20k £30k or £40k a month.... your not going to be that bothered.
I don't know about that, he's signed up for a full year subscription for it, so I'm assuming gets one per month.
7k a month out of 20-40k income a month is still a fair chunk.
Say you currently earn 2400 a month. That's like you paying £600 for your car to be washed... It's a fair chunk of your wage.
I still hedge my bets of it costing around 2k.
|
Steve X16XE
Member
Registered: 31st Dec 06
Location: Barnsley, South Yorkshire
User status: Offline
|
A month, not a year.
I'm going on how much they'd need to earn to buy the car in the 1st place.
|
Steve X16XE
Member
Registered: 31st Dec 06
Location: Barnsley, South Yorkshire
User status: Offline
|
Is this it?
http://www.miracledetail.co.uk/treatments-and-applications.html
Estimated time: 1 - 2 days approx.
Estimated cost: £450 - £600+
Paintwork measured on every panel, whether steel, aluminium, GRP, PU or carbon fibre
24-stage Miracle natural wash with wheels, arches and door shuts cleaned with Citrus degreaser
Wheels cleaned with a pH-neutral wheel gel and a selection of special wheel brushes
Full paintwork decontamination (removes embedded contaminants)
Hand-dried using microfibre drying towels
1-3 Stage Paintwork correction process - paintwork is measured for thickness and re-levelled by a maximum of 1 or 2 microns to ensure that all surfaces reflect light perfectly
Paintwork cleansed including door shuts (pre-wax cleaner)
'Paul Dalton's Crystal Rock Wax' (76% by volume of ultra pure white Carnauba) application to all paintwork
'Paul Dalton's Crystal Rock Wax' applied to door shuts and wheels where possible
Tyres and exterior plastics cleaned and conditioned Exterior windows and mirrors cleaned and polished Water repellent window treatment to all exterior windows
All chrome and stainless steel surfaces cleaned and polished
Interior cleaned and detailed using compressed air process including Leather cleaning and conditioning (available at extra cost)
|
Paul_J
Member
Registered: 6th Jun 02
Location: London
User status: Offline
|
^^ paintwork correction is £75 / hr according to that site.
|
Steve X16XE
Member
Registered: 31st Dec 06
Location: Barnsley, South Yorkshire
User status: Offline
|
quote:
Originally posted at the top of this page
No time limit is set for this service; it simply takes as long as it takes, over a minimum of 7 days (to allow enough time for multiple bespoke premium carnauba wax coats to fully cure). Full details will shortly be added to the detailing services section of the website.
|
Steve X16XE
Member
Registered: 31st Dec 06
Location: Barnsley, South Yorkshire
User status: Offline
|
Looks like the same guy.
If i had a £150k car.... i'd spend £1500 to make sure that i looks good all year round (it said that he's subscribed to his service all year round).
|
Sunz
Member
Registered: 12th Jan 07
Location: SE England
User status: Offline
|
Bug remover xD
Would have been easyier to have it resprayed.
The whole thing works, The car is ott and so its the cleaning, go to esso and pay £3
|


