jr
Member
Registered: 20th May 02
Location: Kent
User status: Offline
|
[QUOTE=mad russell;3272888]Hi all thought i would share my little project 
Its no where near finished yet so don't flame me
Spec
So far :
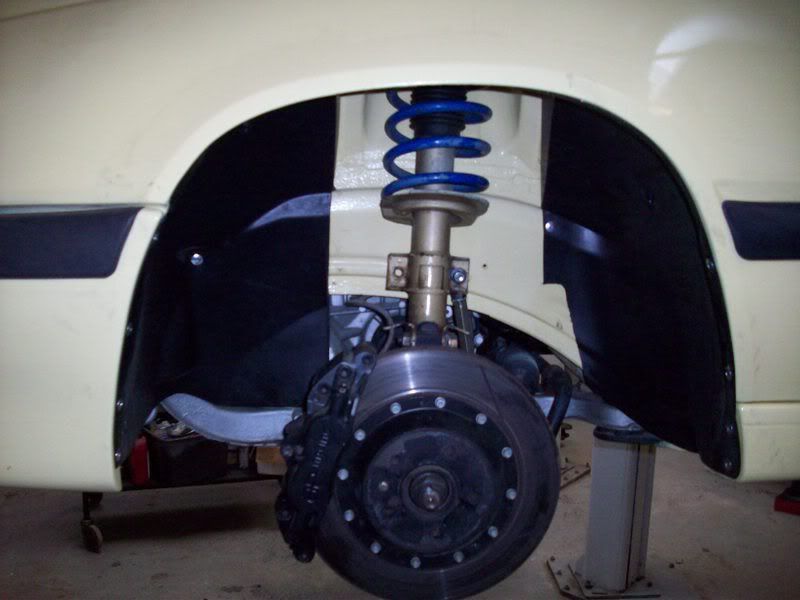
Ap330 mm front big brake kit,
Volvo V70R 330 mm rear discs and R calipers,
Koni Fsd shock kit and Eibach springs.
RT front adjustable camber kit
Autronic stand alone SM4 Ecu with complete wiring loom
Autronic cdi unit with 5 individual coils
Volvo engine bay ecu wiring all removed
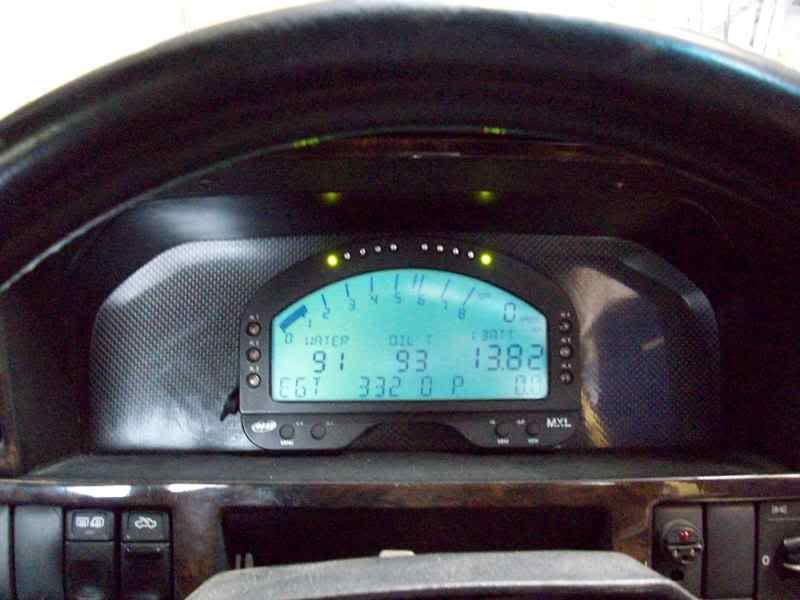
Digital dash display covering all sensors for oil temp/water temp/oil pressure/exhaust gas temp/boost pressure/speed/tacho and carbon fibre surround
Front fogs removed and brake ducts added
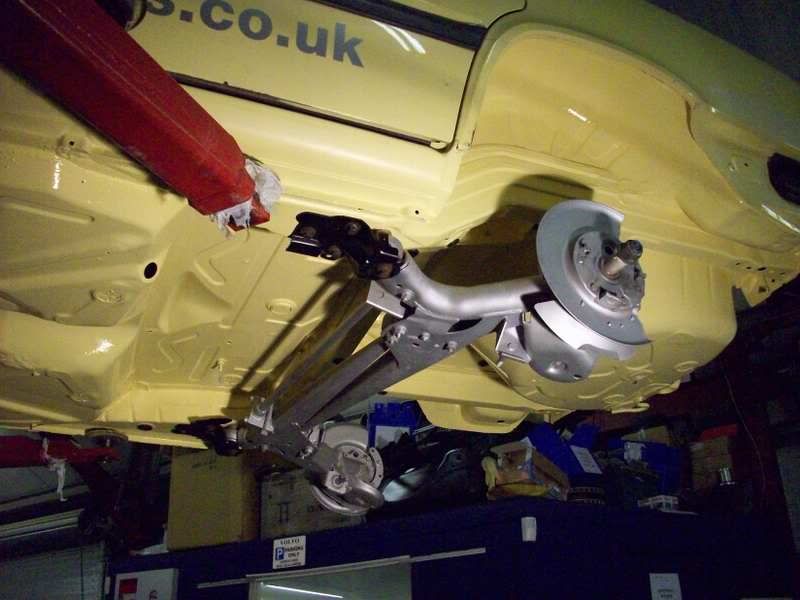
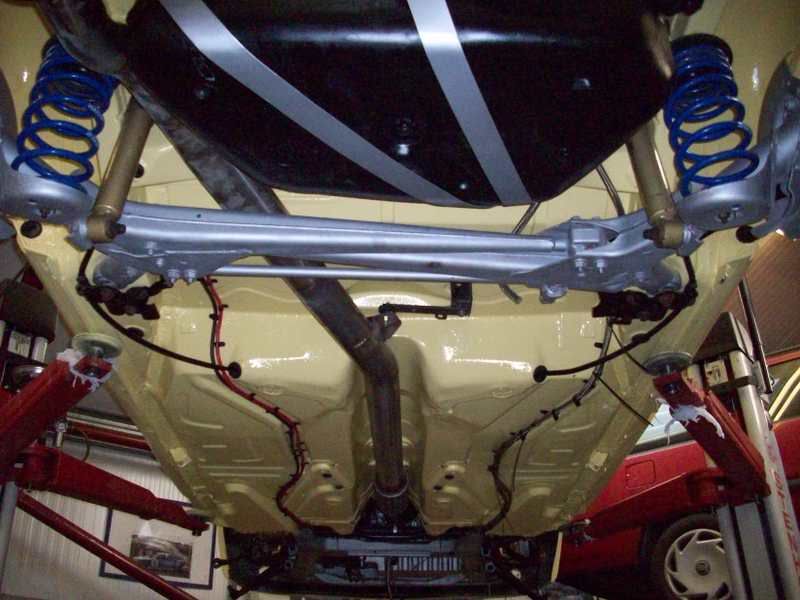
Complete strip and re paint of underside of car with body coloured underseal
All parts cleaned and repainted/powdercoated to match
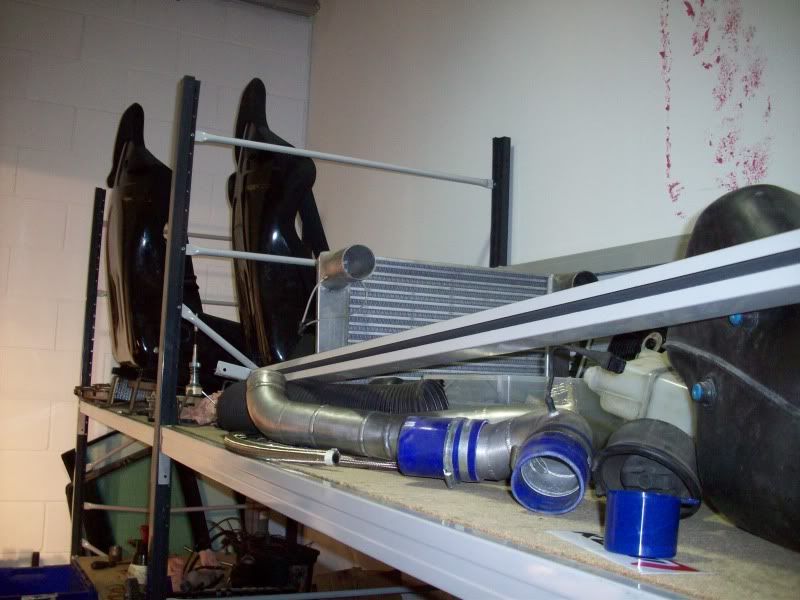
RT Custom Intercooler with three inch custom alloy pipe work .
RT Custom front panel mods
RT Custom modified / Strengthened bulkhead
RT Pedal box and brake bias valve
Complete Braided brake lines front to back
Aeroquipt hoses on all fuel and water lines
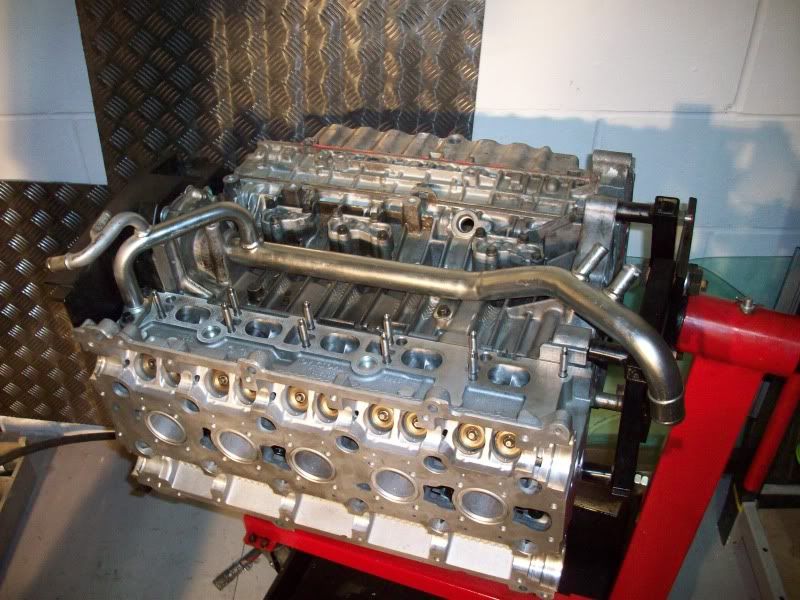
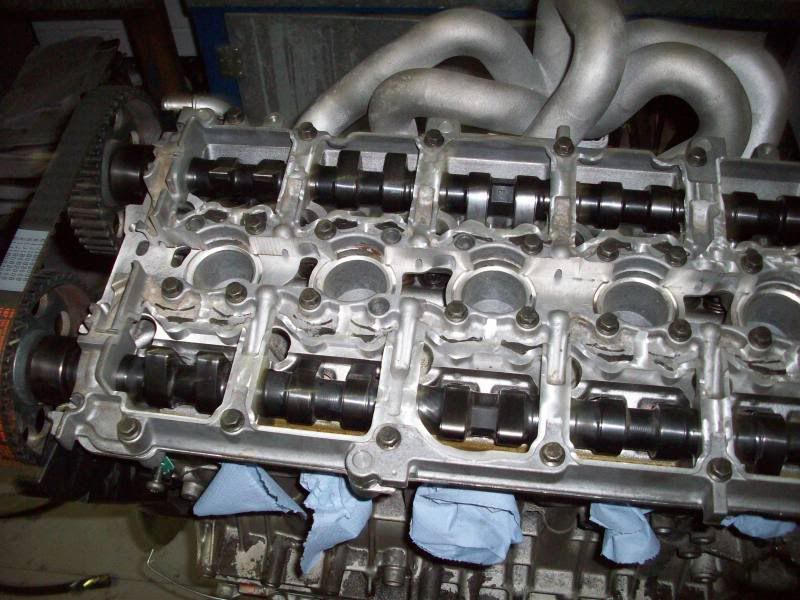
RT Spec Custom engine re build with RT Polished ported 3 angle valve seats with matching inlet manifold/conrods/pistons/cams and all engine parts balenced.
Custom equal length tubular exhaust manifold
3.5 Inch exhaust system from turbo to tailpipe
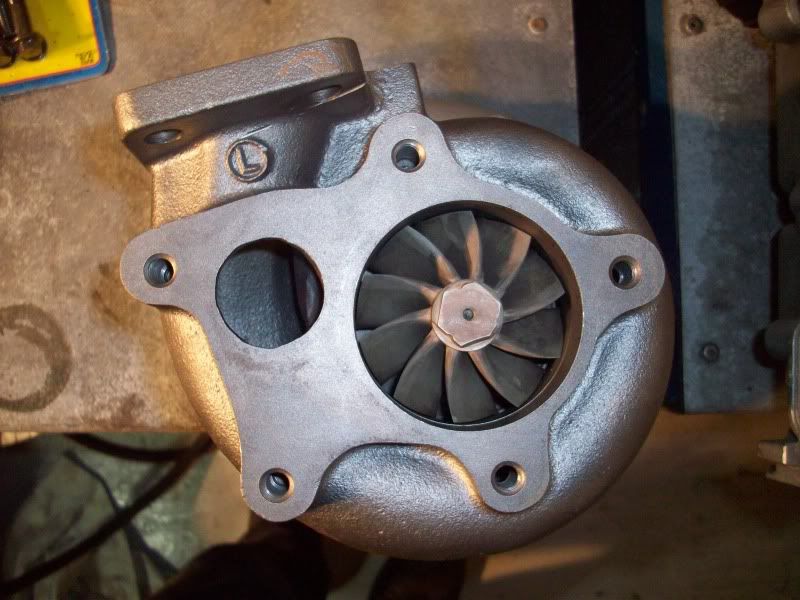
GT35
RT custom Intercooler with 3 inch alloy pipe work.
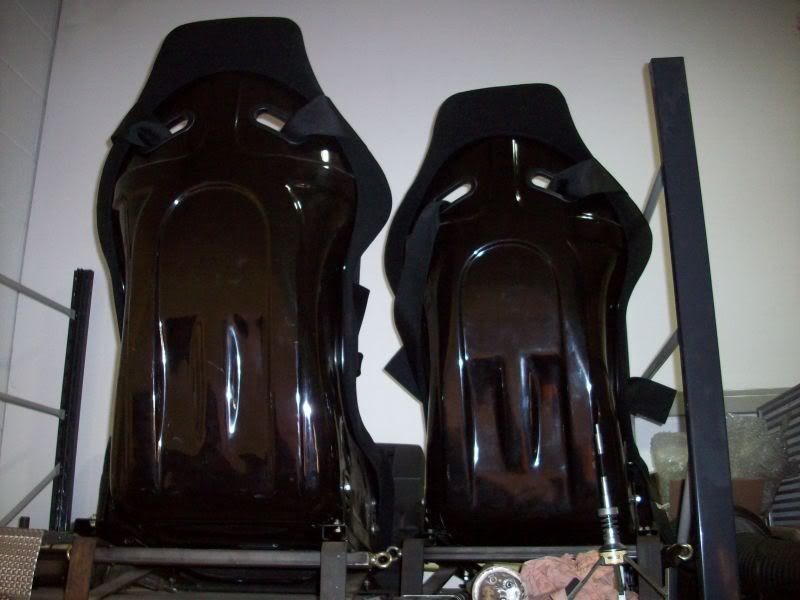
Interior stripped front and rear volvo seats removed
D2 front lightweight seats
Modified seat frames and runners
Willans 3 inch four point harness kit
Poly wishbone arm bushes
Custom RT front strutbrace
Custom RT rear strutbrace
Ipd Anti roll bar kit front/rear,
Adjustable,Anti roll bar end links
18 inch Genuine Volvo silver pegasus alloys wheels
Goodrich braided brake hose kit,
RT carbon boot trim cover,
RT carbon with yellow weave spark plug cover,and throttle body cover,
RT carbon front lip spoiler
Crystal head lamps and side light units.
Battery relocated to boot area
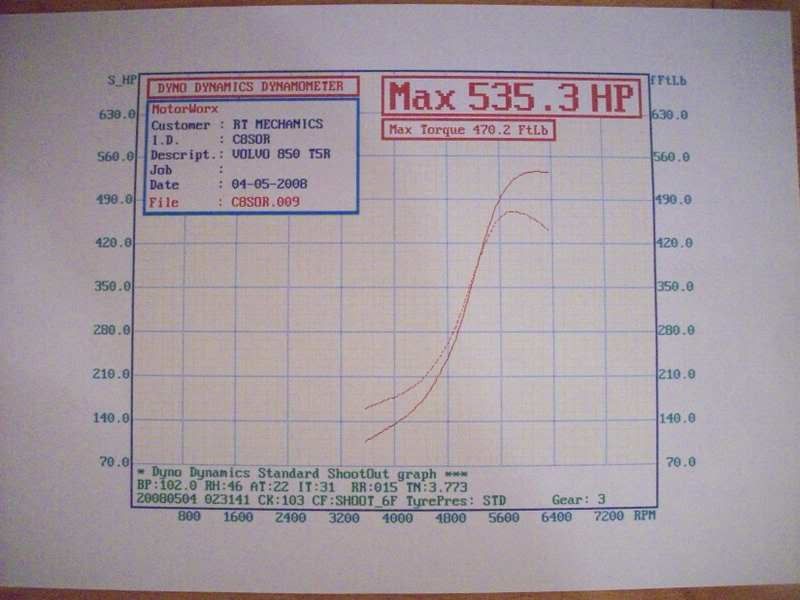
My first RR session there is more power to come


Hope you enjoy the pics
Russ
www.rtmechanics.co.uk[/QUOTE]
|
RS6
Member
Registered: 5th Nov 03
Location: with MJ
User status: Offline
|
i love volvos seriously good cars esp that shape 
|
SAL
Premium Member
 Registered: 19th Dec 05
Location: Radlett, Hertfordshire
User status: Offline
|
that is bloody clean 
|
JM_16v
Member
Registered: 17th Oct 05
Location: Essex Drives: GLC63S
User status: Offline
|
love it, amazing power
|
Daveskater
Premium Member
 Registered: 29th Apr 08
Location: Oxford, UK Drives: Jap wagon
User status: Offline
|
I do quite like that shape Volvo, it looks kinda sporty whereas the rest of them don't much imo.
Quite like the pic with "535.3 HP" written on it as well 
Nice job mate, can't wait until it's finished.
Numberwang!
Originally posted by AlunJ
I like you Dave, you are a man of men
Originally Whatapp'd by Neo
Dave's maybe capable of a drive-by cuddle
Look at my pictures
|
Simon L
Member
Registered: 24th Mar 02
Location: Glasgow
User status: Offline
|
So it has a 2000rpm power band.
If that stays FWD it will never see traction.
|
Robin
Premium Member
 Registered: 7th Jan 04
Location: Northants Drives: Clio 182 Cup
User status: Offline
|
Jesus 
nothingnothingnothingnothingnothingPOWERchangegear
|
DannyB
Premium Member
 Registered: 6th Feb 08
User status: Offline
|
quote:
Originally posted by Daveskater
Nice job mate, can't wait until it's finished.
Its not his car
|
Warren G
Member
Registered: 14th May 06
Location: Kent
User status: Offline
|
o my god 
|
16V_1600
Member
Registered: 7th Oct 07
User status: Offline
|
I WANT!! 
|
SVM 286
Member
Registered: 13th Feb 05
Location: pain
User status: Offline
|
There's something dreadfully wrong with that back axle.
|
RS6
Member
Registered: 5th Nov 03
Location: with MJ
User status: Offline
|
what ever happened to mav??
|
dhdev
Member
Registered: 22nd Dec 05
Location: Midlands
User status: Offline
|
WTF, no no no. Seriously not cool IMO. Massive lag + Power + FWD = Wheelspin city.
Respect the work that's gone into it and the standard of work appears good, but complete waste of time.
|
jr
Member
Registered: 20th May 02
Location: Kent
User status: Offline
|
apprently it looks like that (power band wise) as the graph is scaled in diffrent way
that wasnt the owner who pointed that out either
|
willhouse
Member
Registered: 11th Jul 06
Location: Sheffield
User status: Offline
|
gotta love the flying bricks
|
Novaneil
Member
Registered: 26th Oct 06
Location: Leamington Spa
User status: Offline
|
quote:
Originally posted by dhdev
WTF, no no no. Seriously not cool IMO. Massive lag + Power + FWD = Wheelspin city.
Respect the work that's gone into it and the standard of work appears good, but complete waste of time.
#
Semi agree.... BUT! He did say "its nowhere near finished yet"
It is running SM4 ECU which I believe has launch/traction and antilag control. And with a turbo that size i'd be expecting it to rev a fair bit higher potentially before it runs out of steam? That was his first RR session with it.
|
Nick-S
Member
Registered: 3rd Mar 04
Location: Leigh. Drives: RS Megane 230 F1 Team R26
User status: Offline
|
think of the noise and tyre smoke 
|
Bram
Member
Registered: 25th Mar 02
Location: Derby
User status: Offline
|
quote:
Originally posted by Robin
Jesus
nothingnothingnothingnothingnothingPOWERchangegear
|
jr
Member
Registered: 20th May 02
Location: Kent
User status: Offline
|
[QUOTE=mad russell;4028892]Time for a few updates :
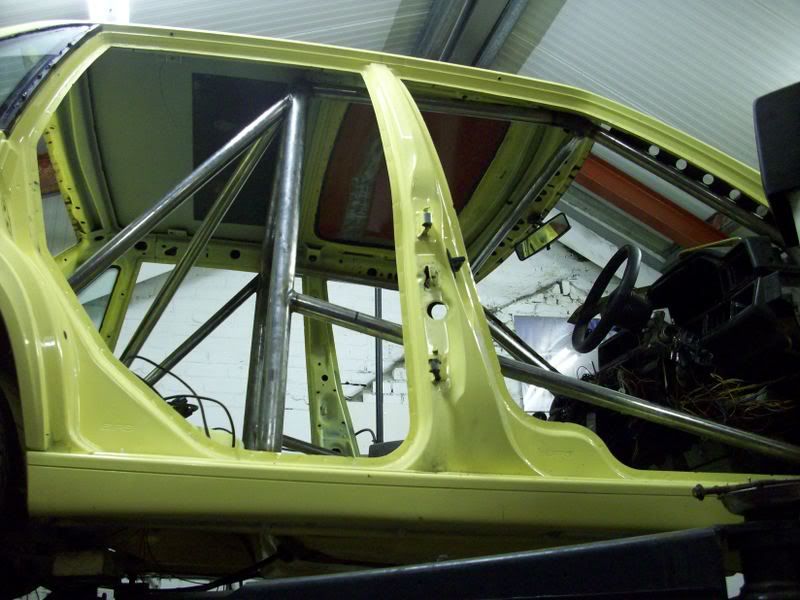
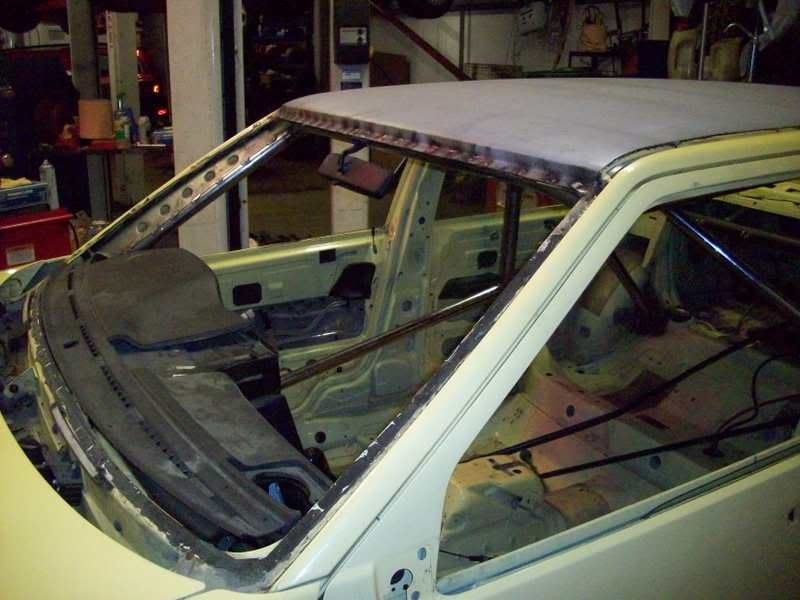
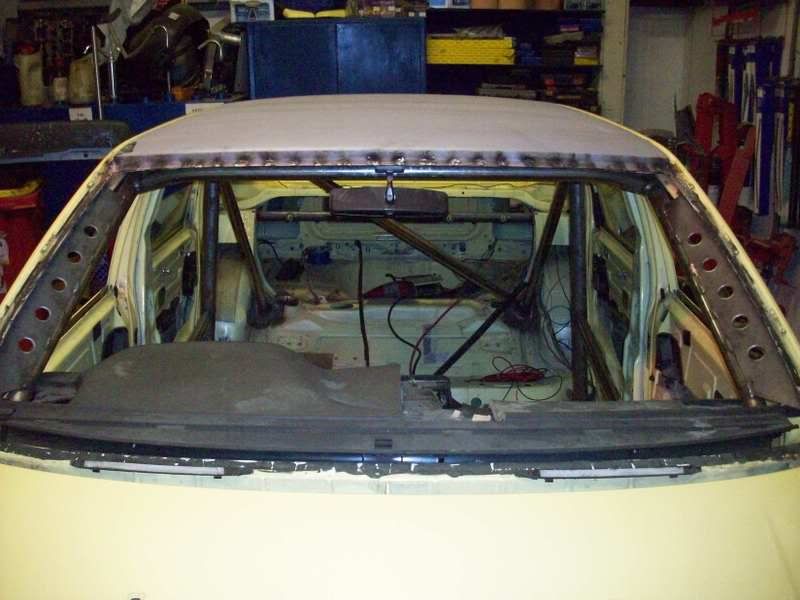
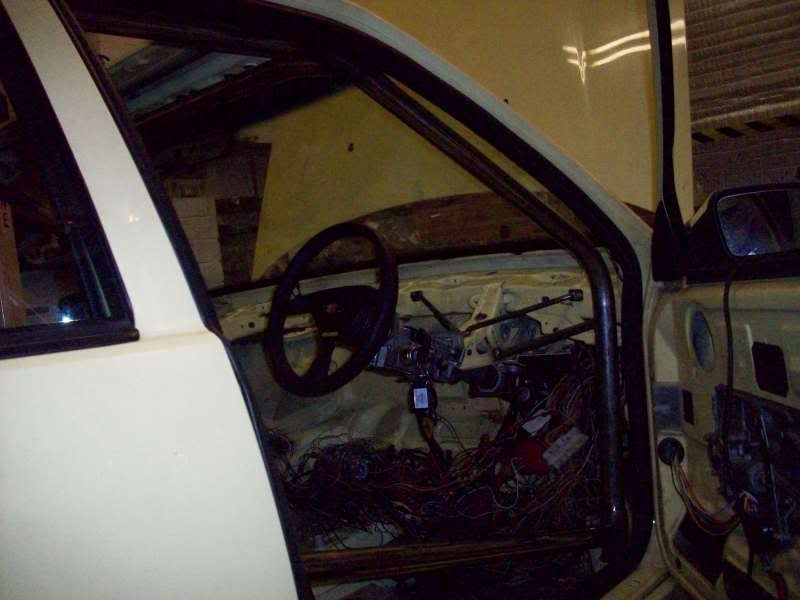
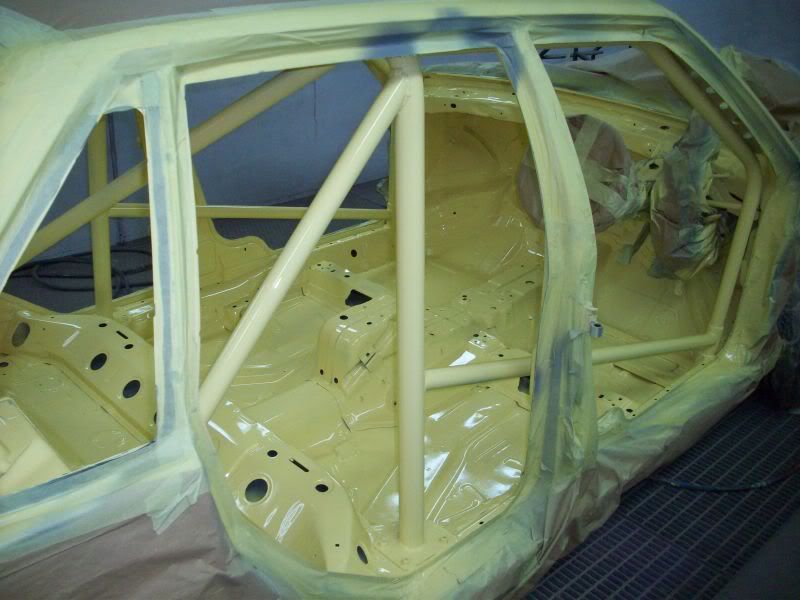
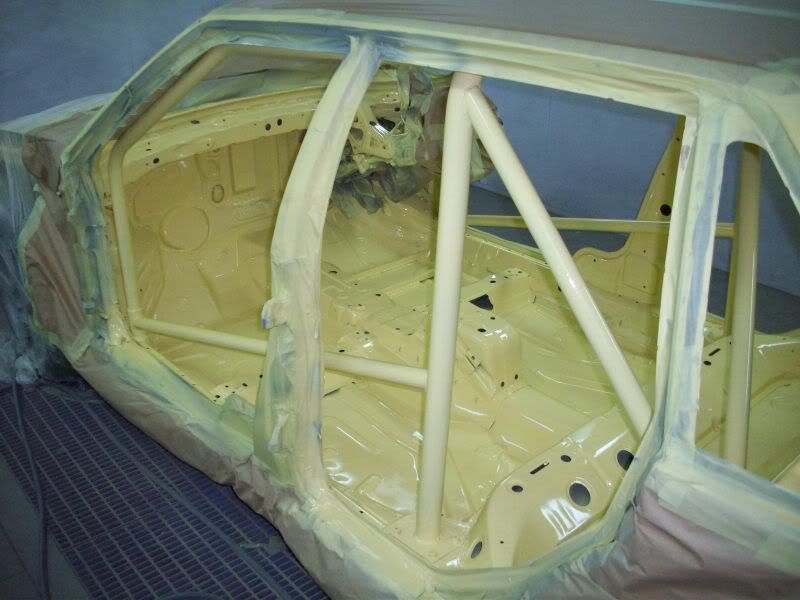
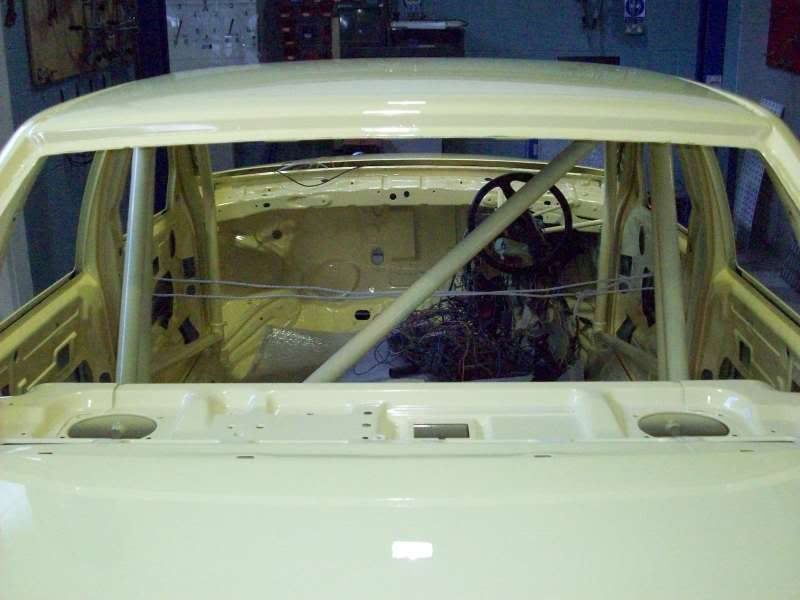
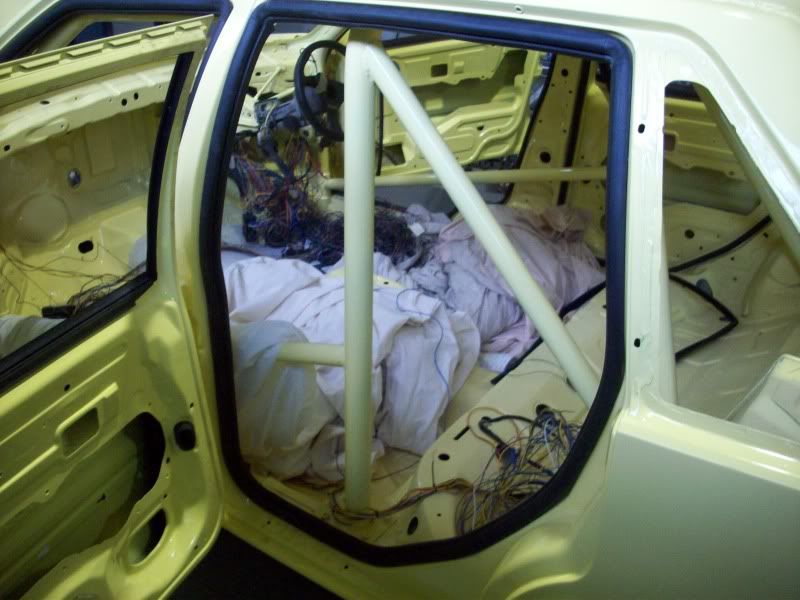
The roll cage is finished and i am happy with the results its been made so i can fit inside without hitting my head on the roof bars or my long monkey arms on the side bars,i had windscreen pillar plates also made for the front section as i like the look and hope they will help with the strength
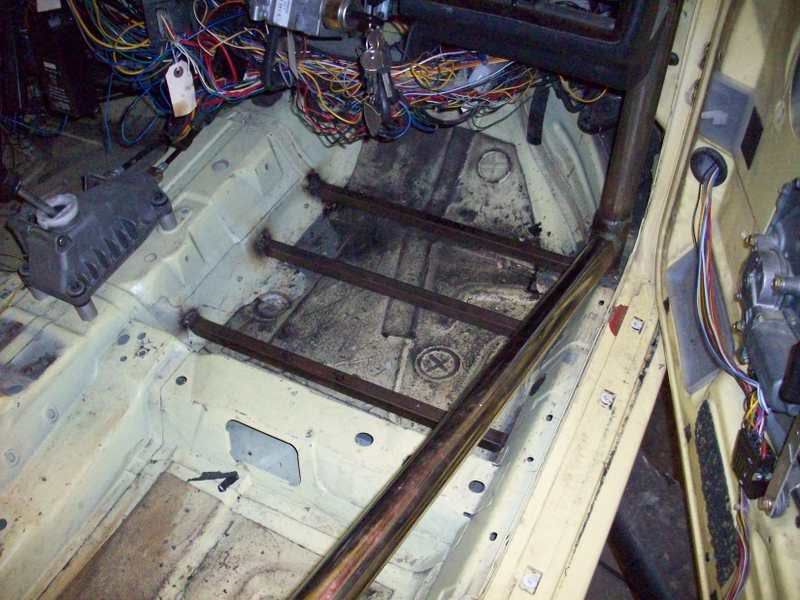
I also had a few bars put in the drivers floor to raise the floor height an inch to make the angle of the clutch pedal better on my ankle and so that the Peril can be driven by a couple of different drivers

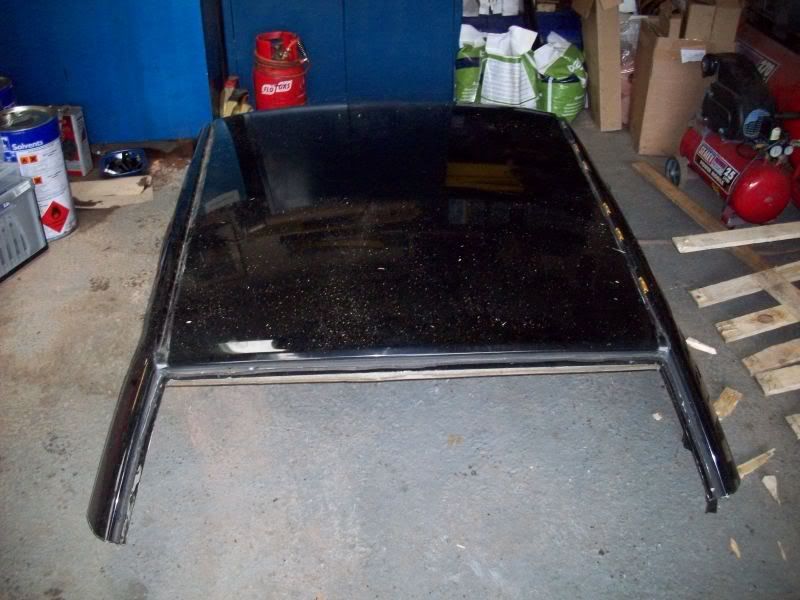
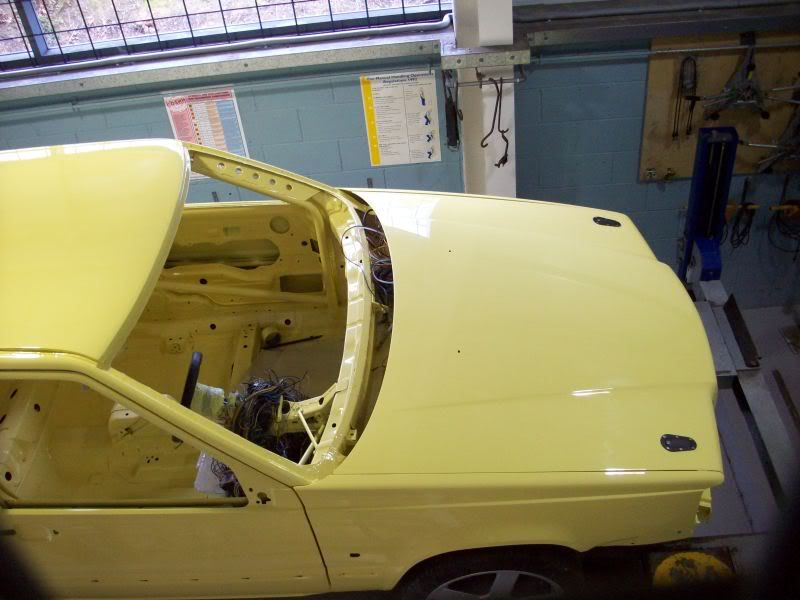
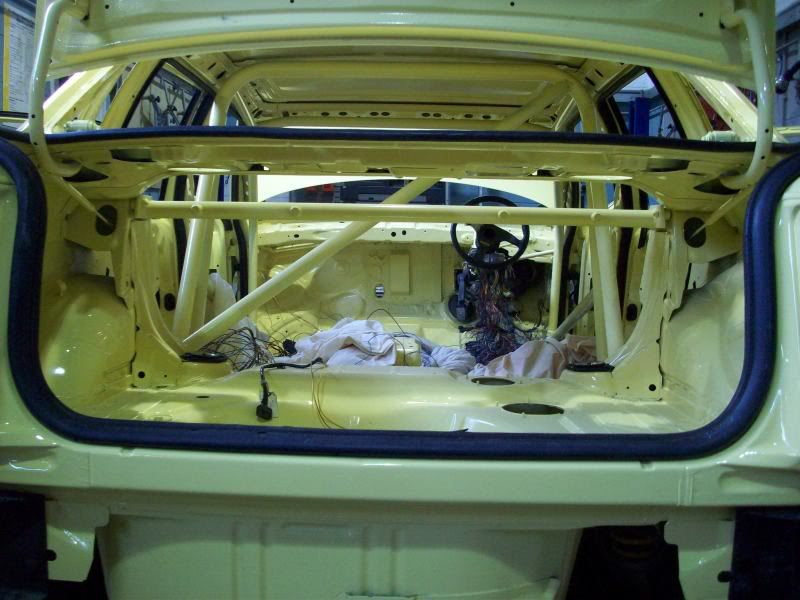
I wandered what to do about my sunroof and finally decided to remove the whole unit and had to decide which way to go with the roof :
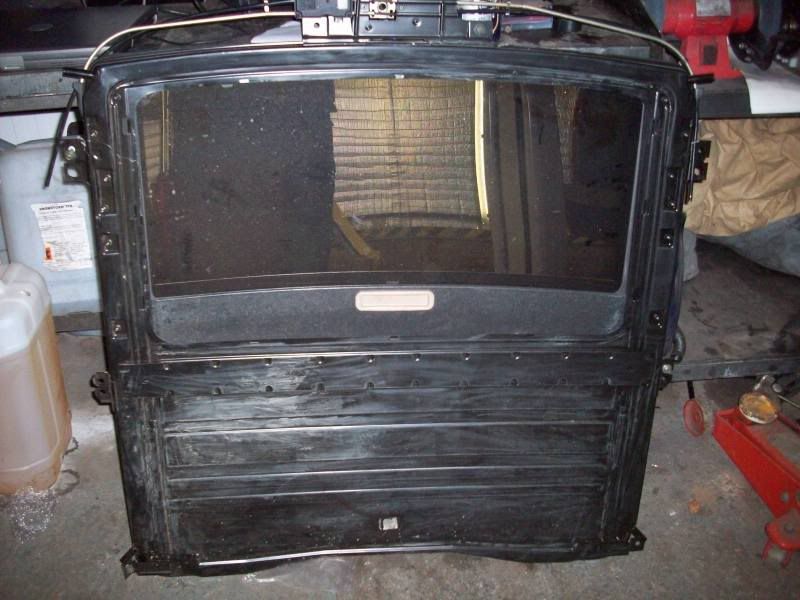
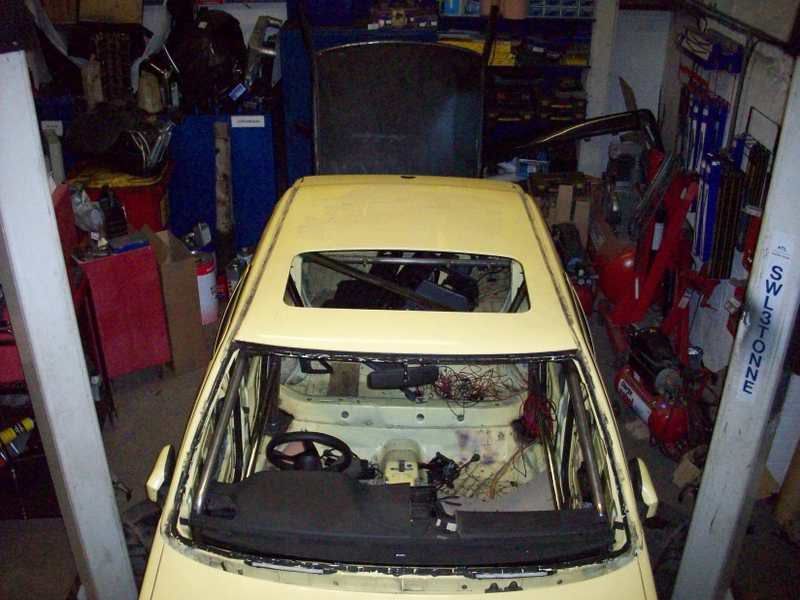
I had decided to buy another roof from a kind black 850 saloon that gave its life for the project
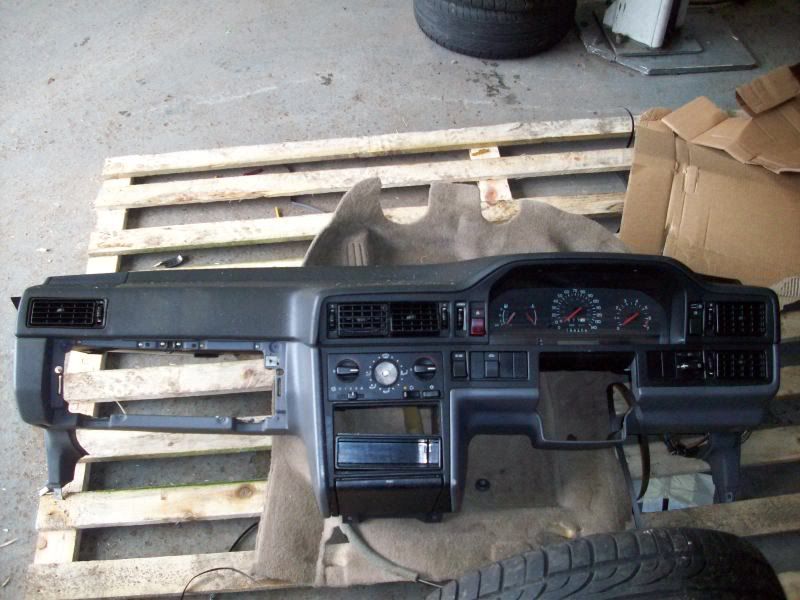
I also brought another dash at the time as i needed to cut one as a template to fit around the roll cage now it came down the A pillar
After a lot of this :
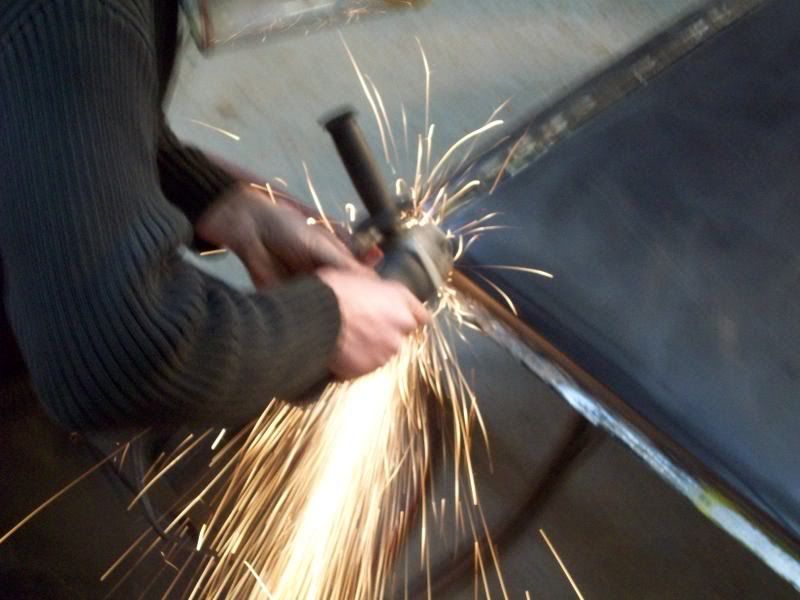
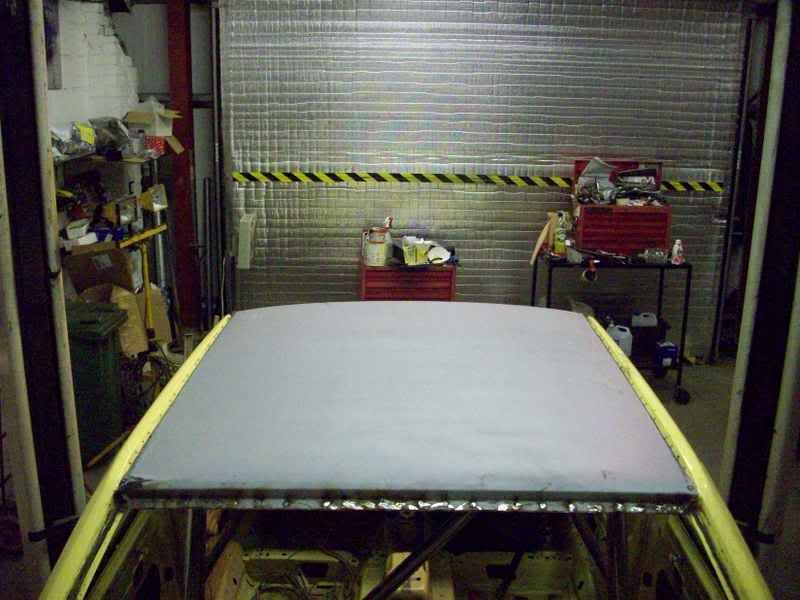
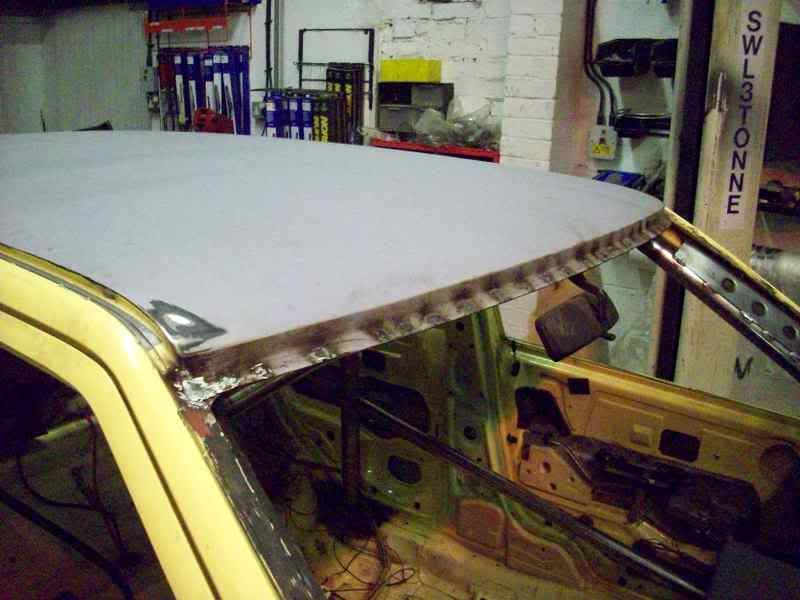
We ended up with this after ten hours cutting :
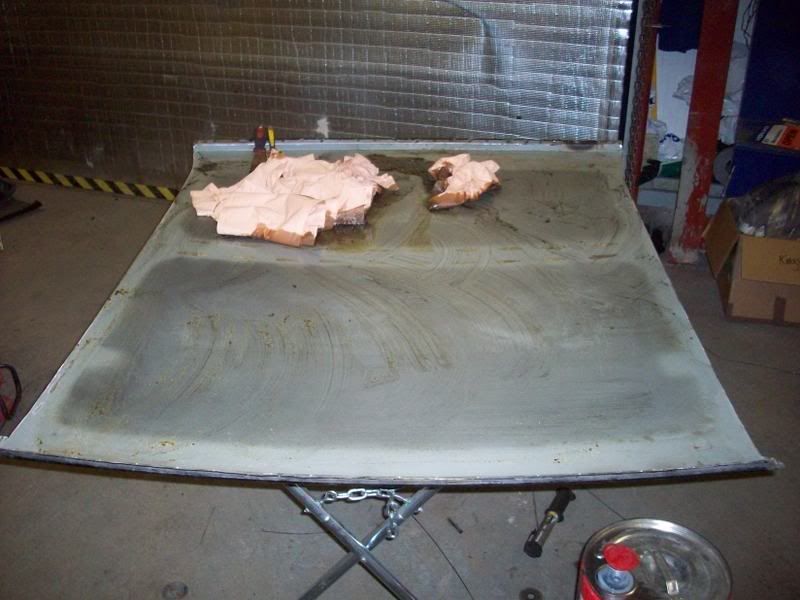
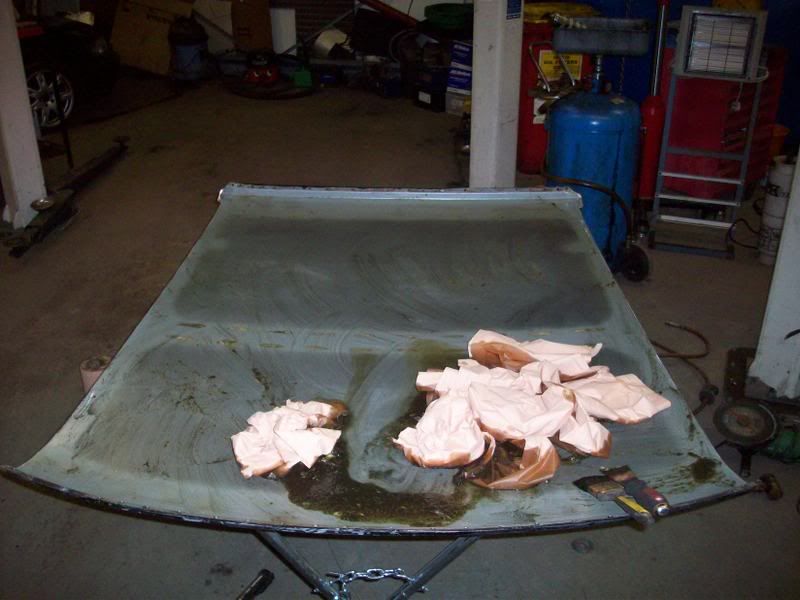
We decided to go this route rather than cut the original roof off the Peril as volvo make such a good job of building the car the roof has about 5 seperate layers and is also seam welded too ,the risk of killing the car due to an incorrect cut was too great ,so we decided on using the new roof as just a thin skin and weld/bond it over the top of the standard roof.
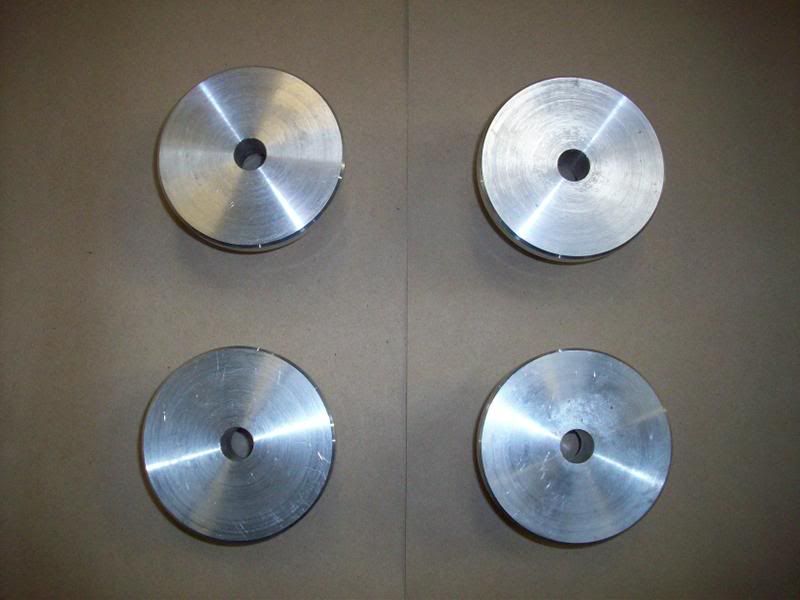
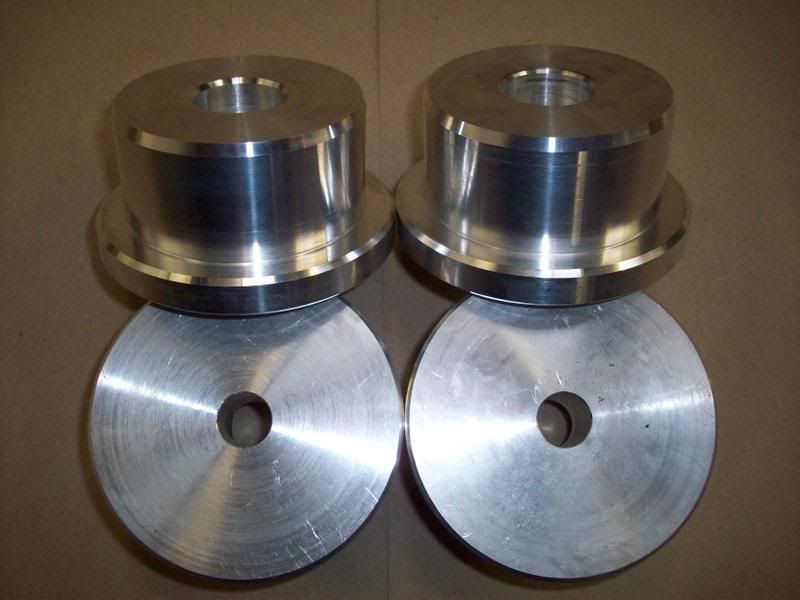
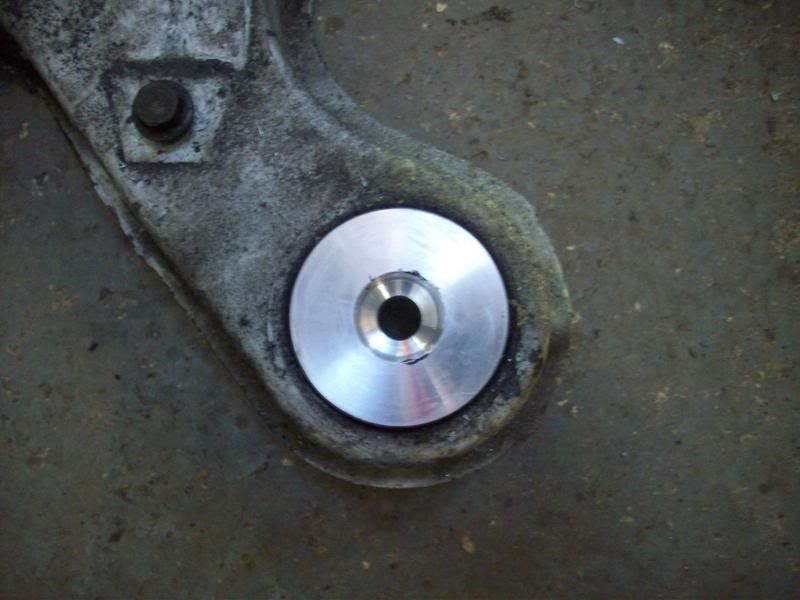
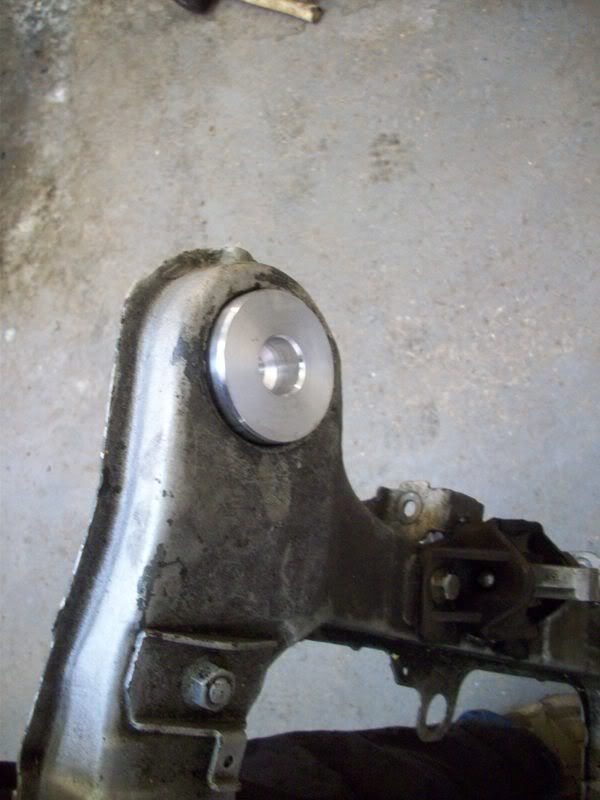
I also had been busy thinking of other ideas for the chassis to help put down the power and thought i would try all alloy subframe mounts to get rid of the twisting action the stress of the torque of my engine made before so our machine shop was given my subframe and the old bushes and came up with these
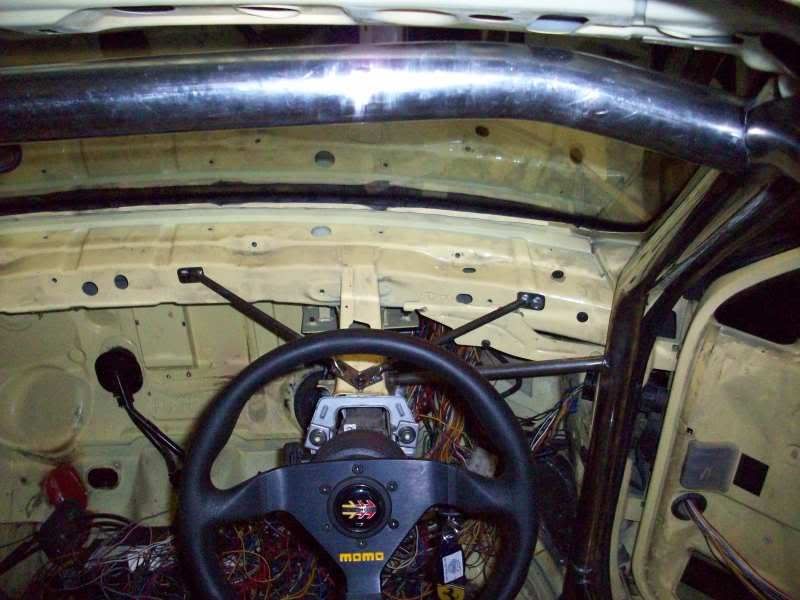
I also found when the dash was out that when you hold the steering wheel and apply force as if your cornering the amount of flex was shocking so decided to have strengthen bars made to help the steering feel it may work it may not but i wanted to try it 
More to come soon as theres lots to tell thanks for looking[/QUOTE]
|
Rich H
Member
Registered: 26th Oct 05
Location: West Sussex Drives: E46 M3
User status: Offline
|
This guys garage is about 20 mins away from me these days
Awesome car. Have seen it around a couple of times in old spec.
Mate has managed to blag a ride in it once it's all up and running again lol.
|
jr
Member
Registered: 20th May 02
Location: Kent
User status: Offline
|
[QUOTE=mad russell;4170772]Hi all time for an update:
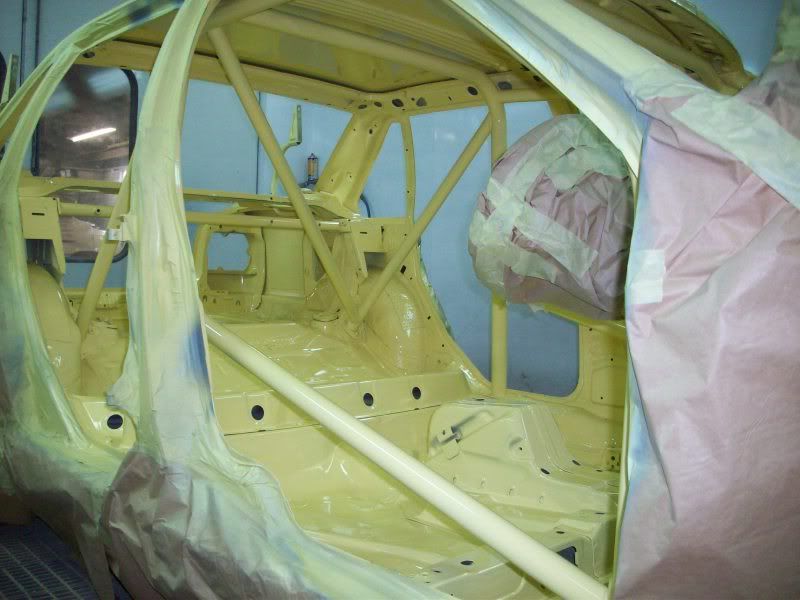
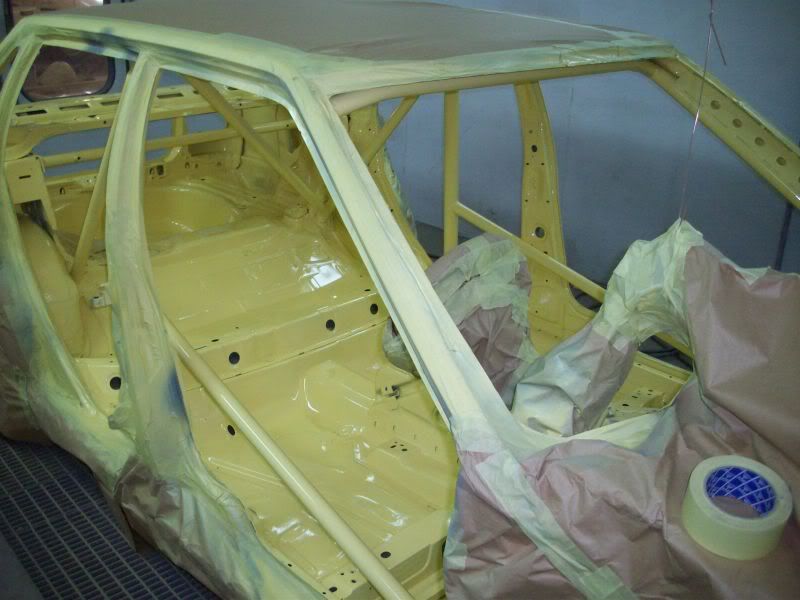
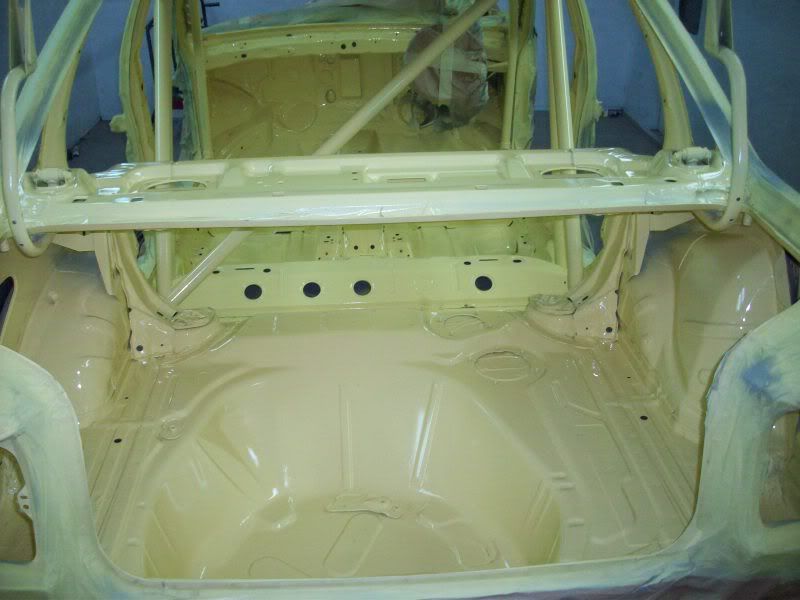
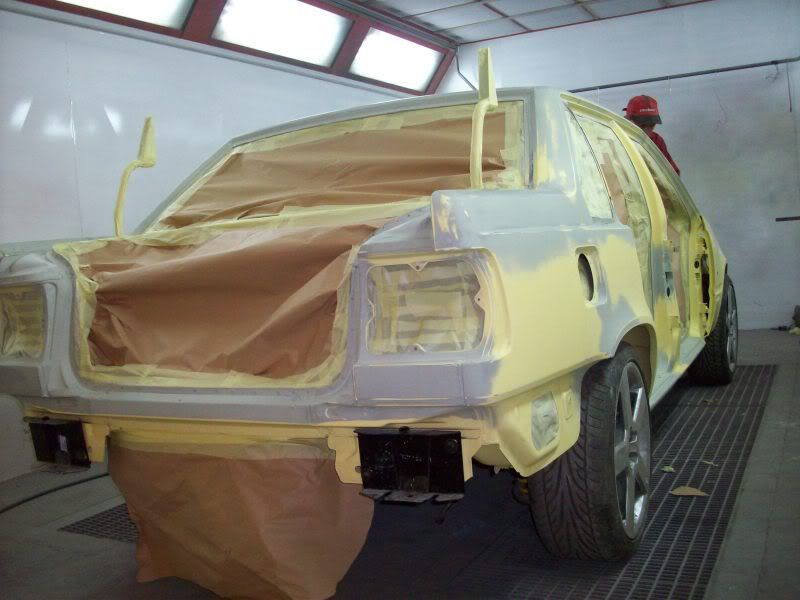
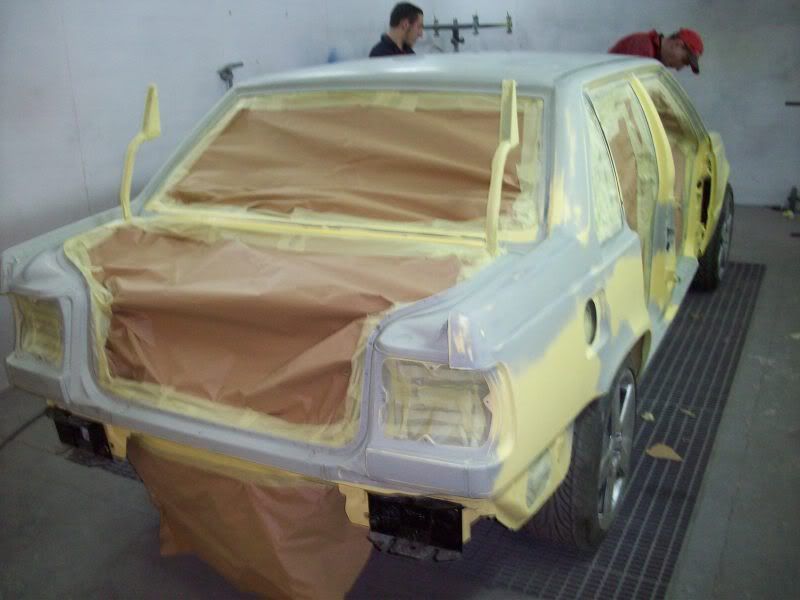
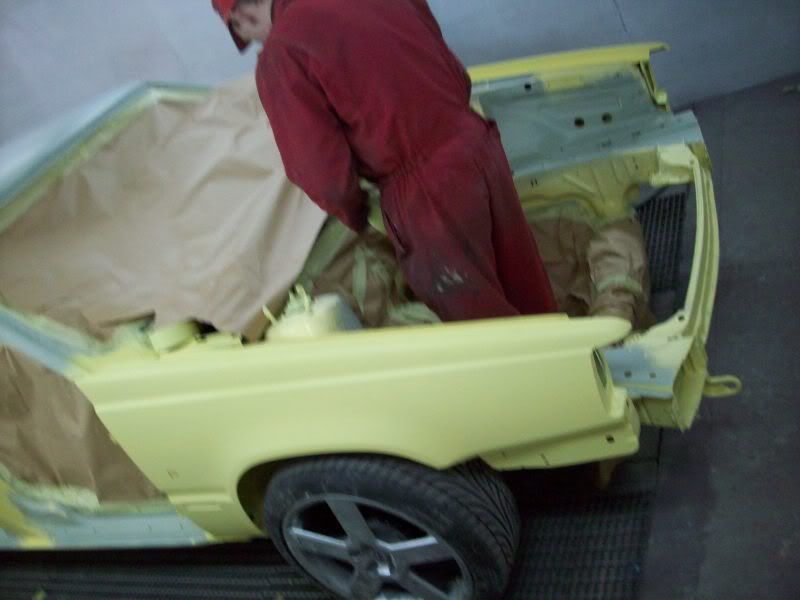
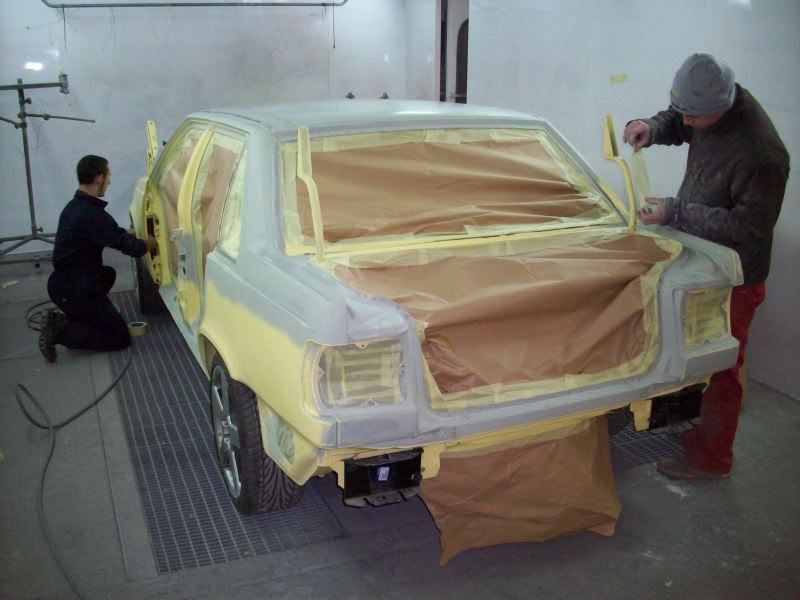
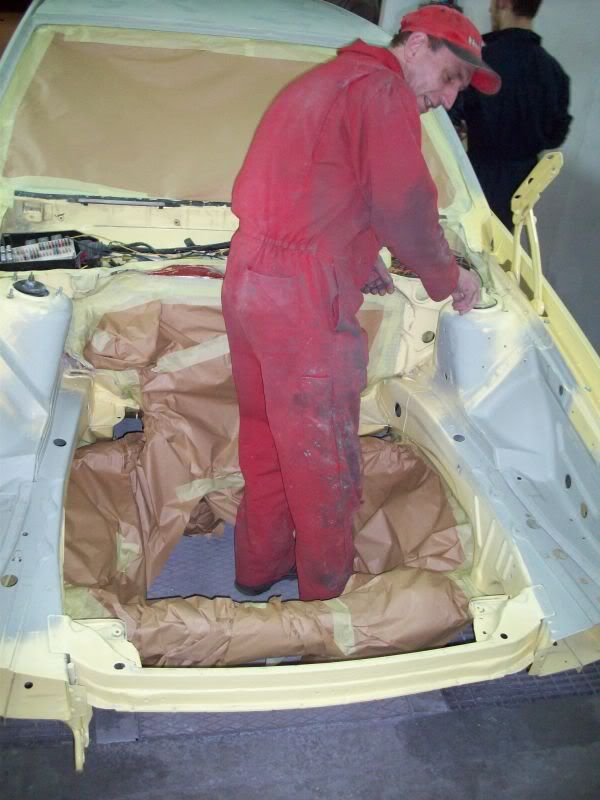
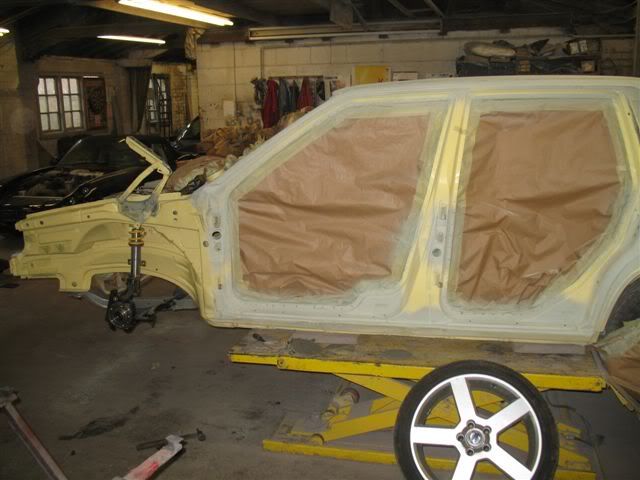
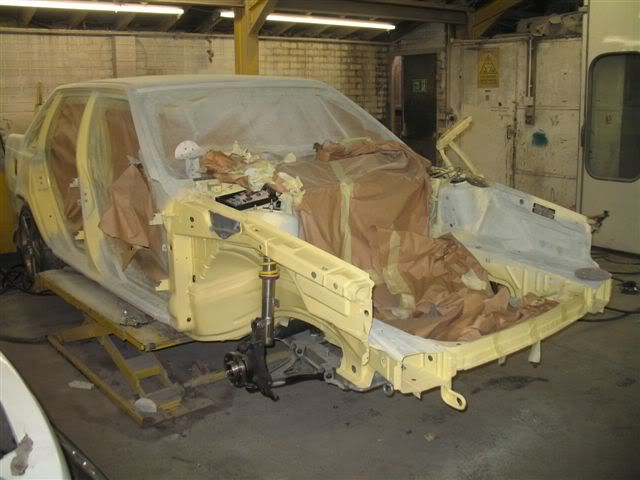
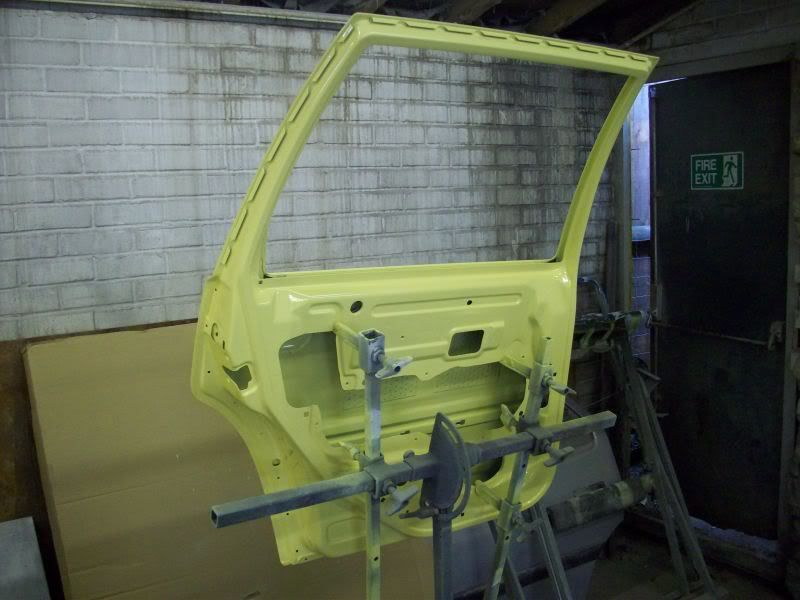
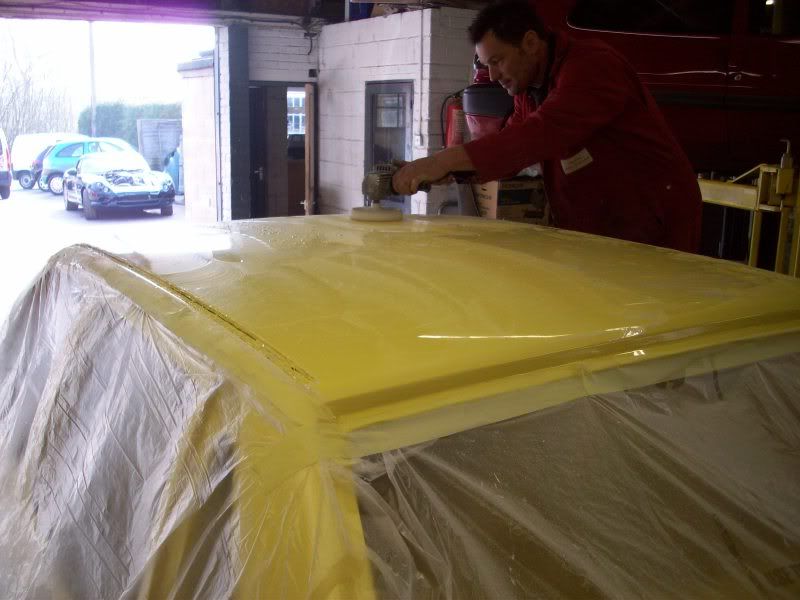
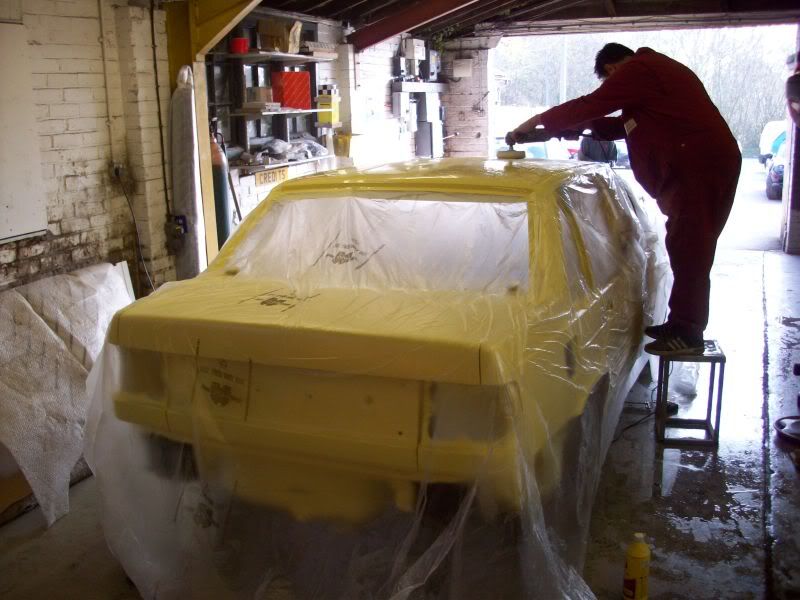
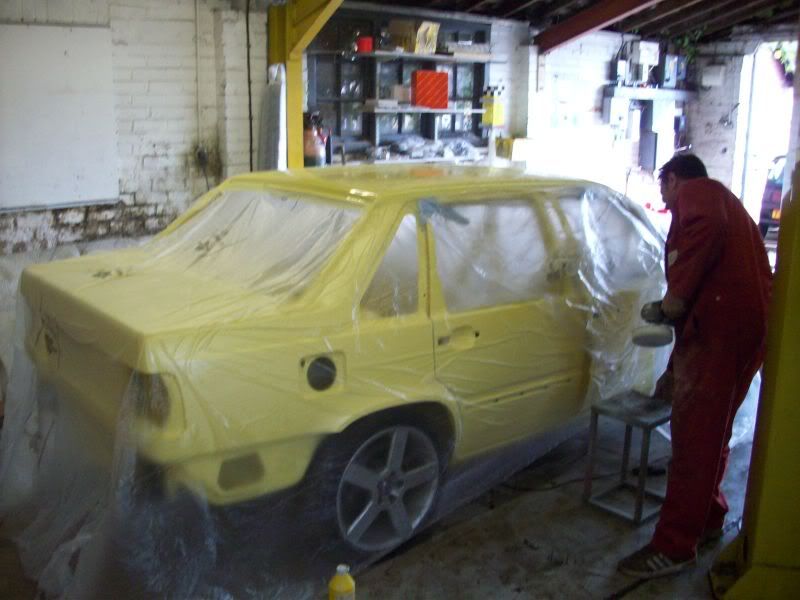
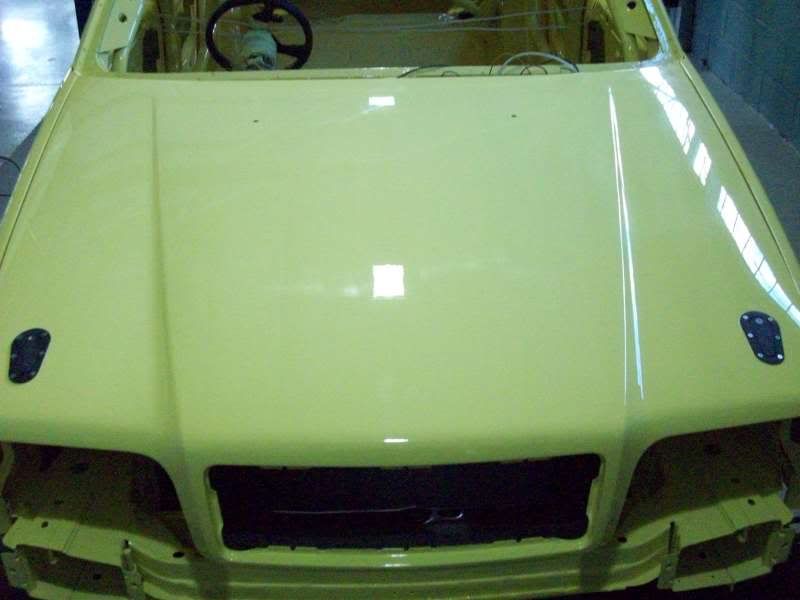
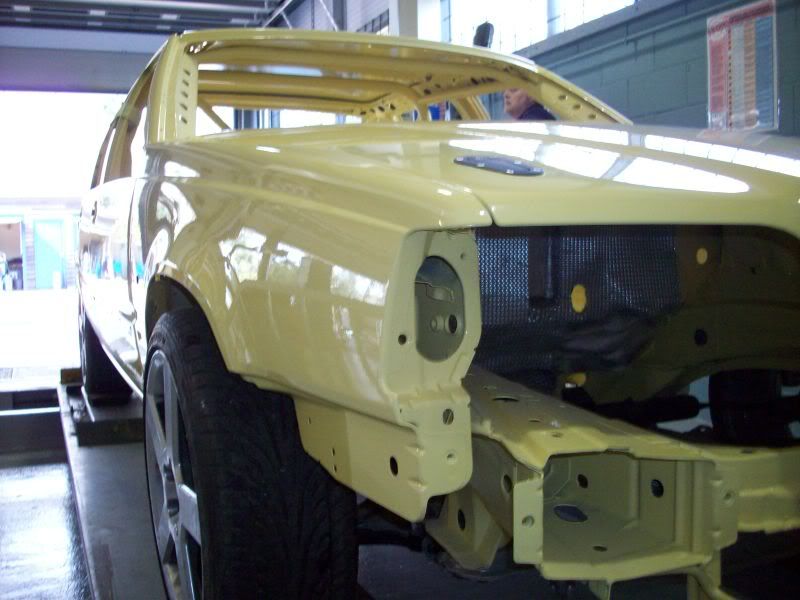
Since the last update the car has been coming along nicely slowly but surely I think is the best way to describe it  The car went to our local bodyshop and was then prepaired ready for the full re paint inside and out I was on no hurry to have the car finished so left the bodyshop guys to get on with what they do best I did pop in from time to time just to see how its going
.
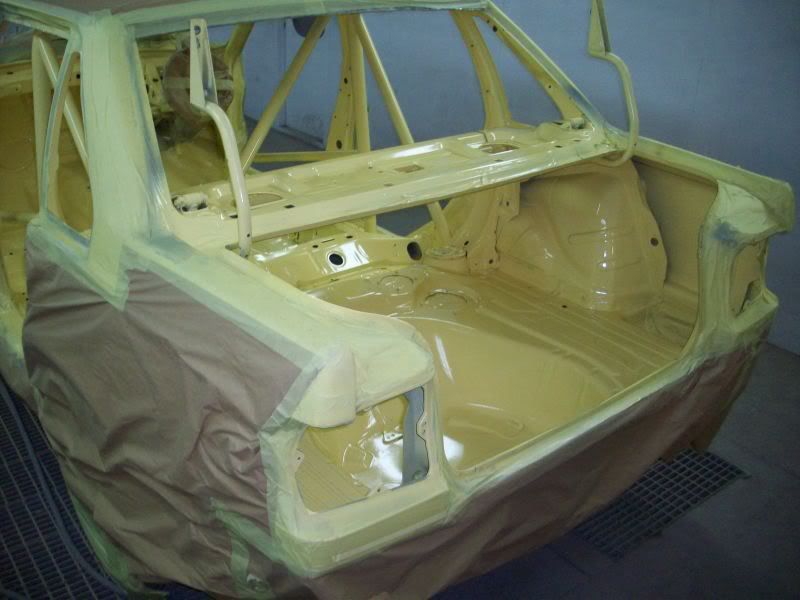
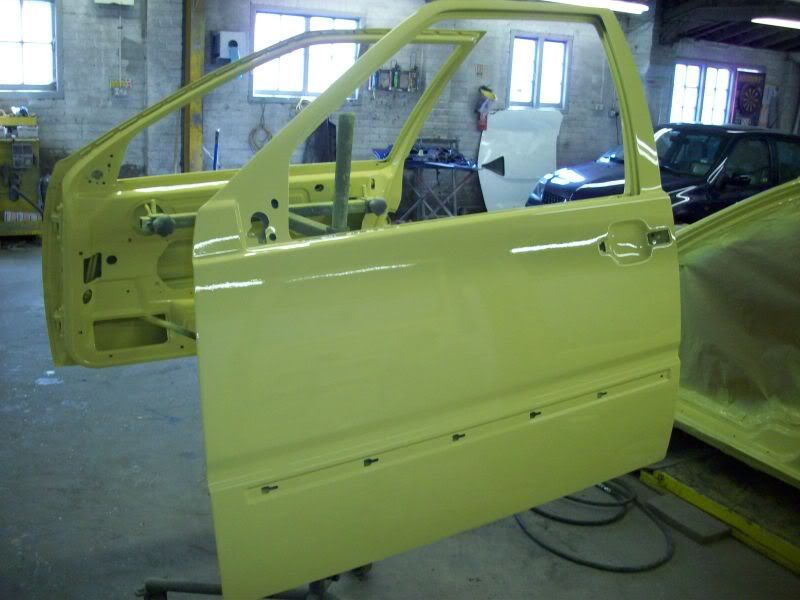
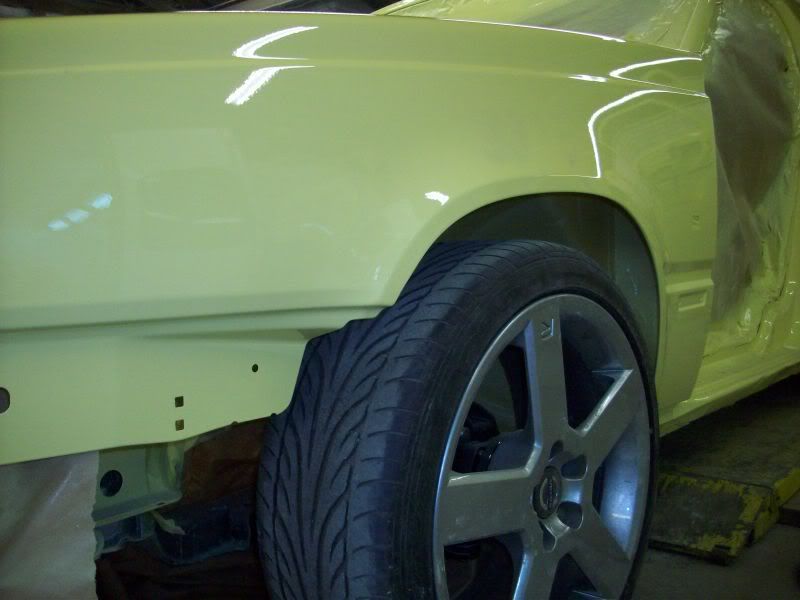
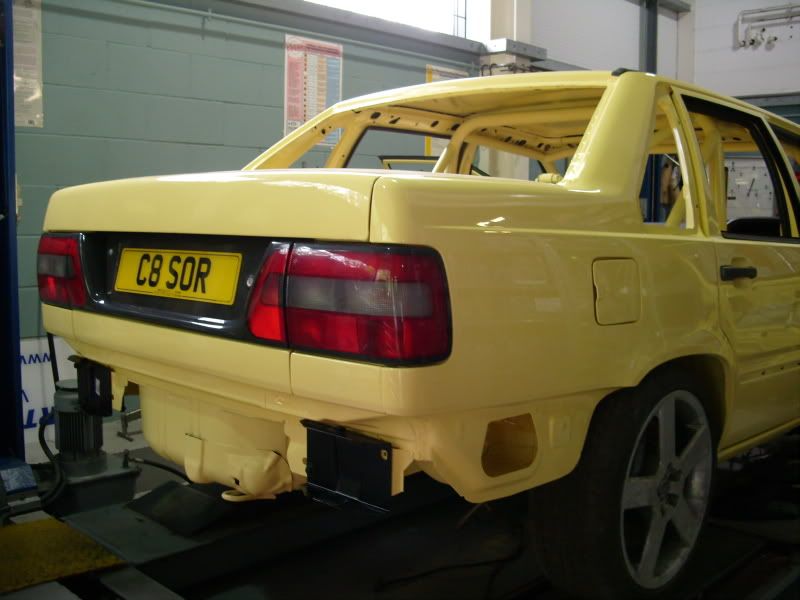
With the inside done the next stage was to roll the archs of the brand new wings I brought then these were ready to be repaired and then painted
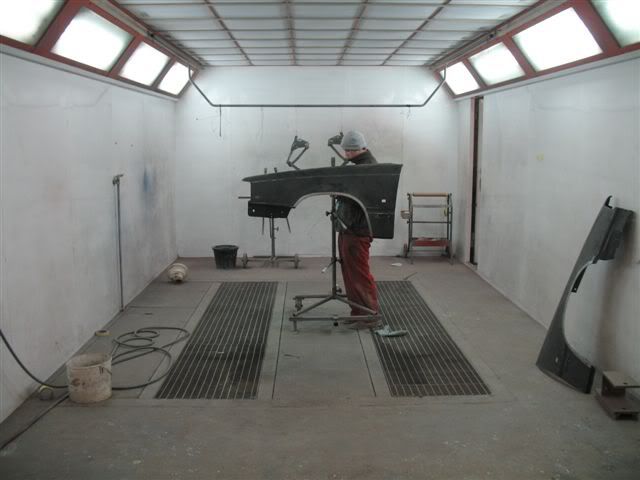
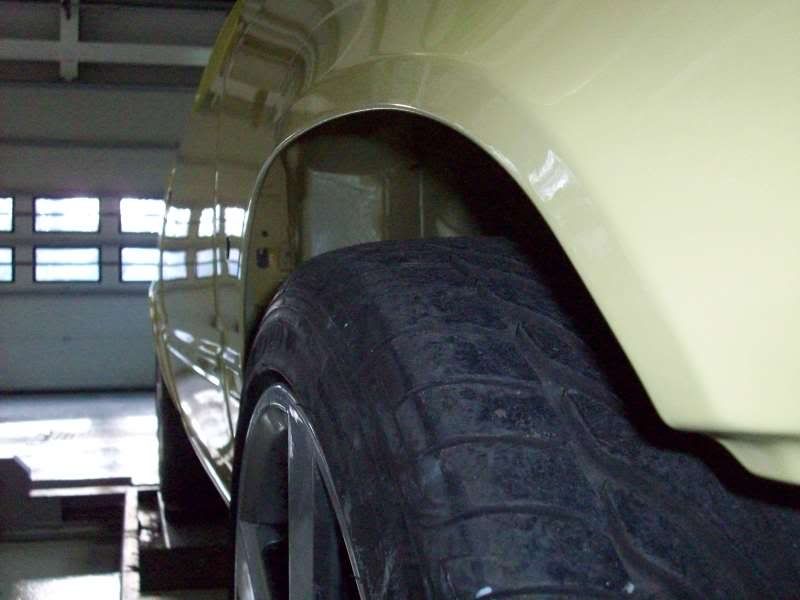
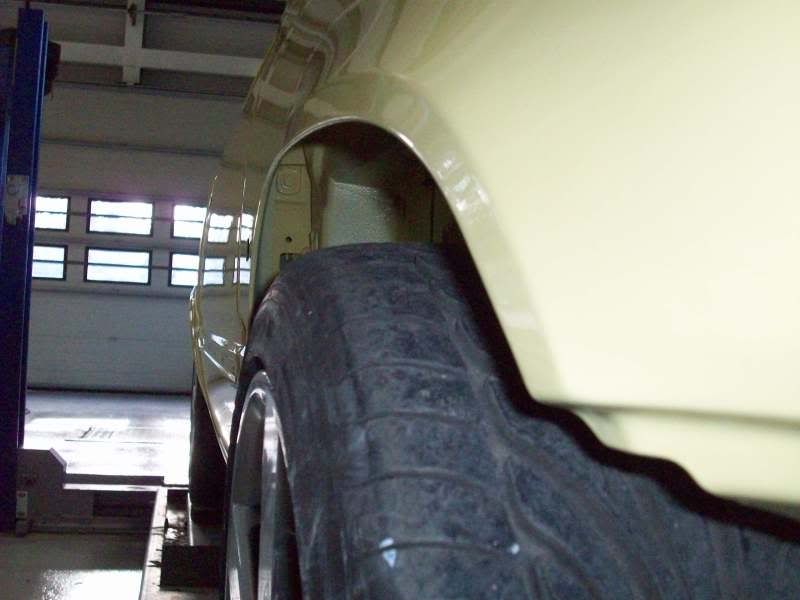
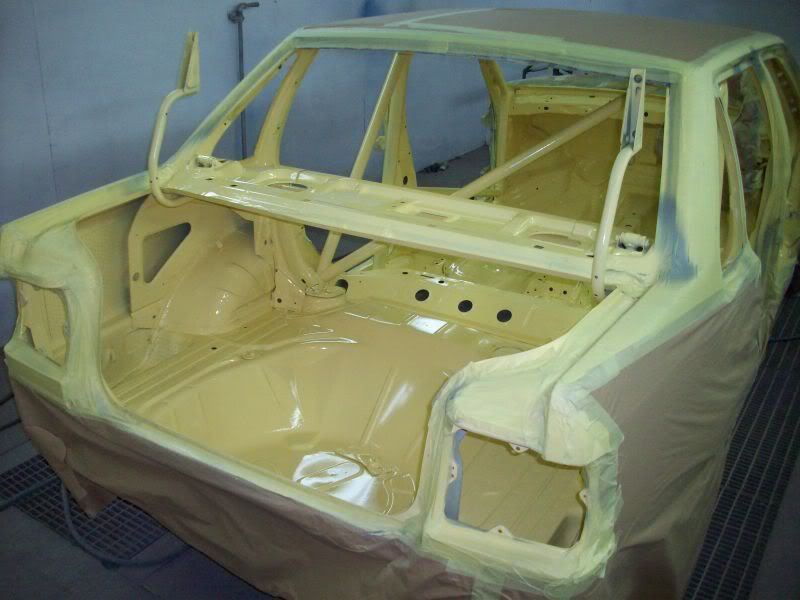
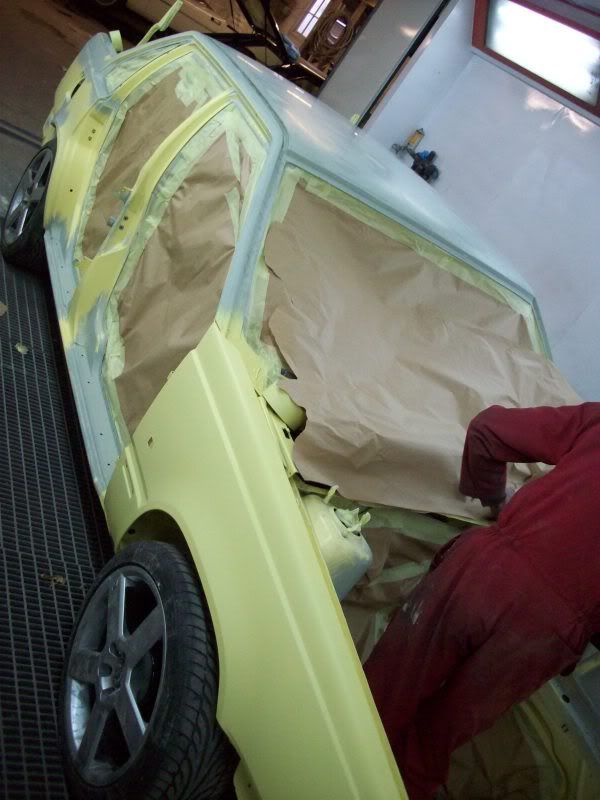
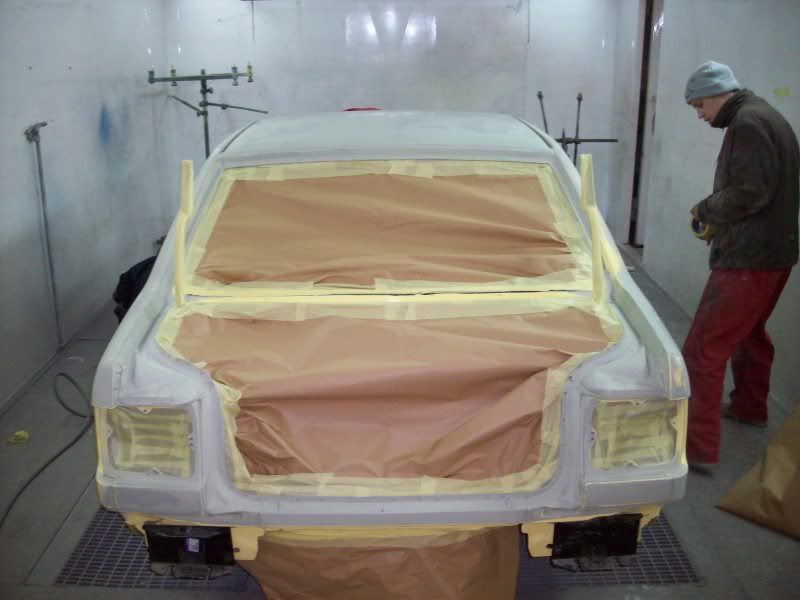
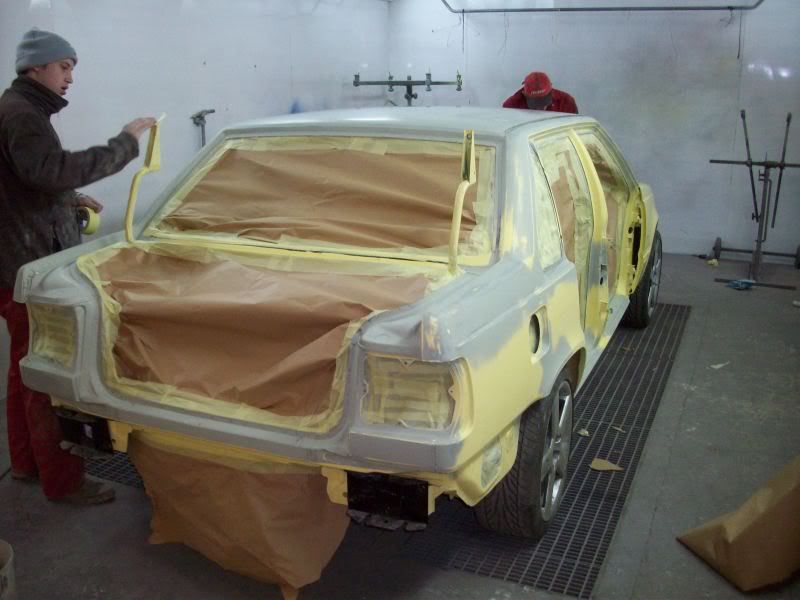
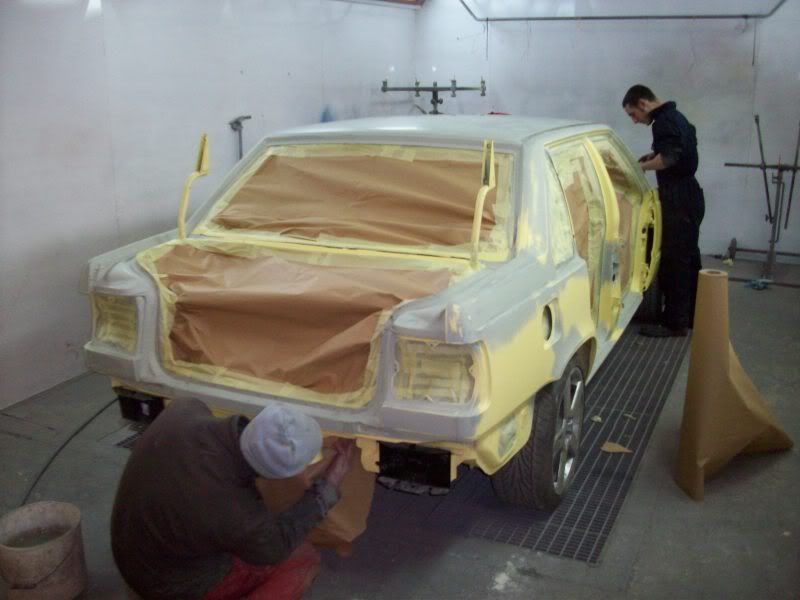
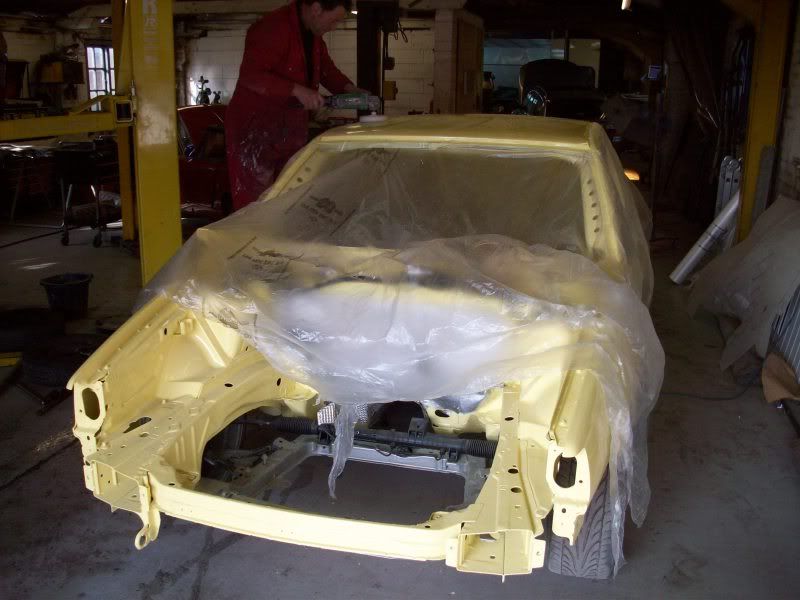
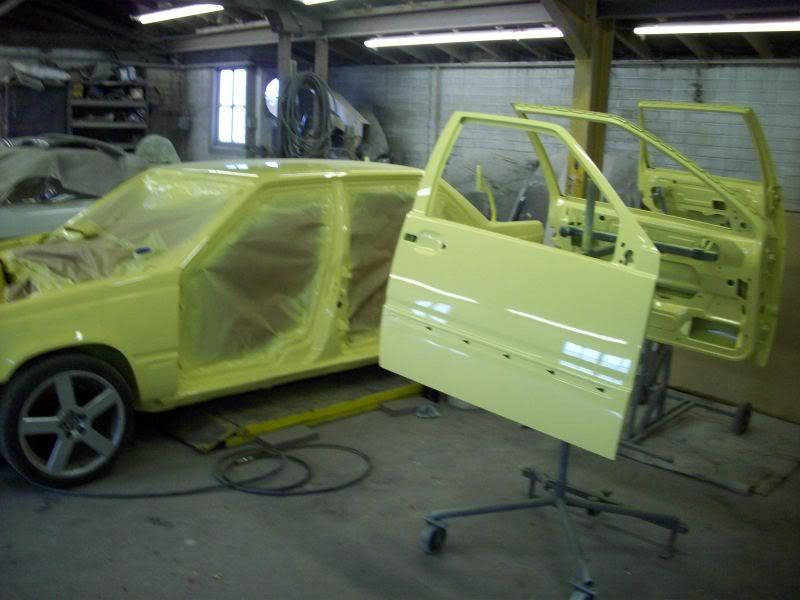
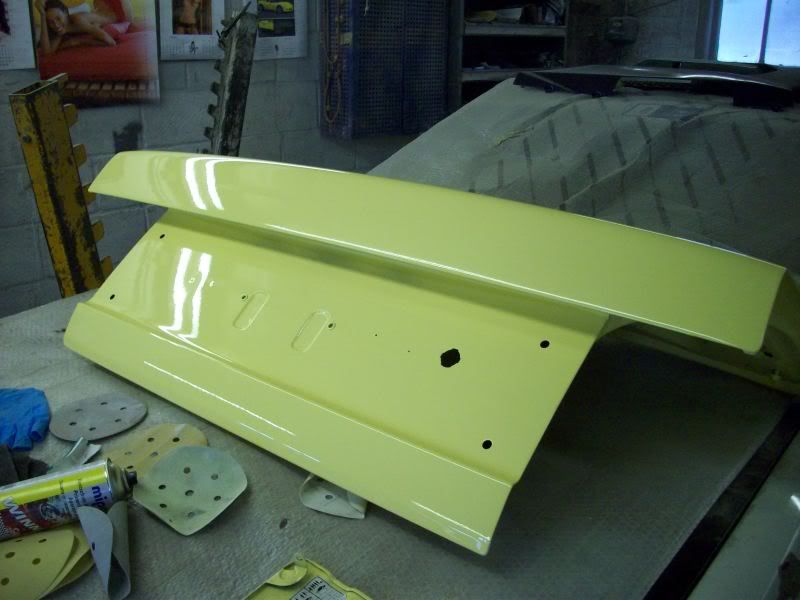
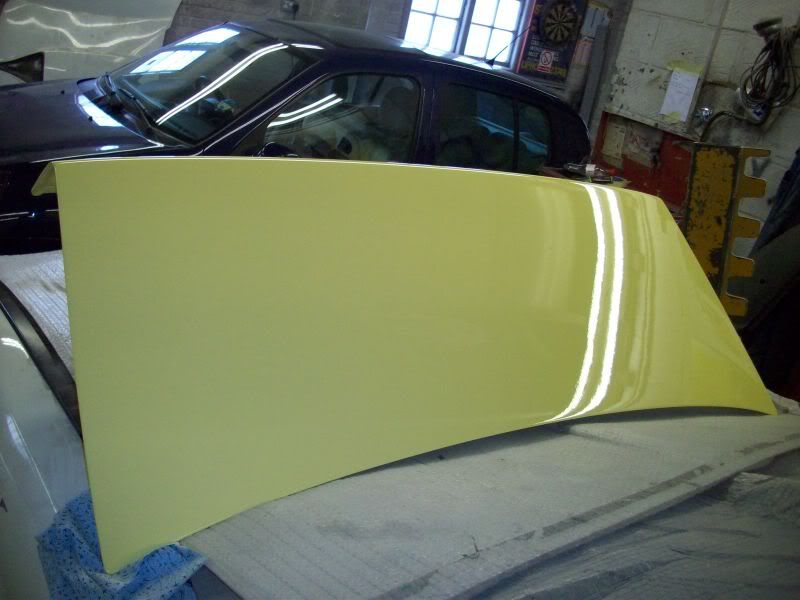
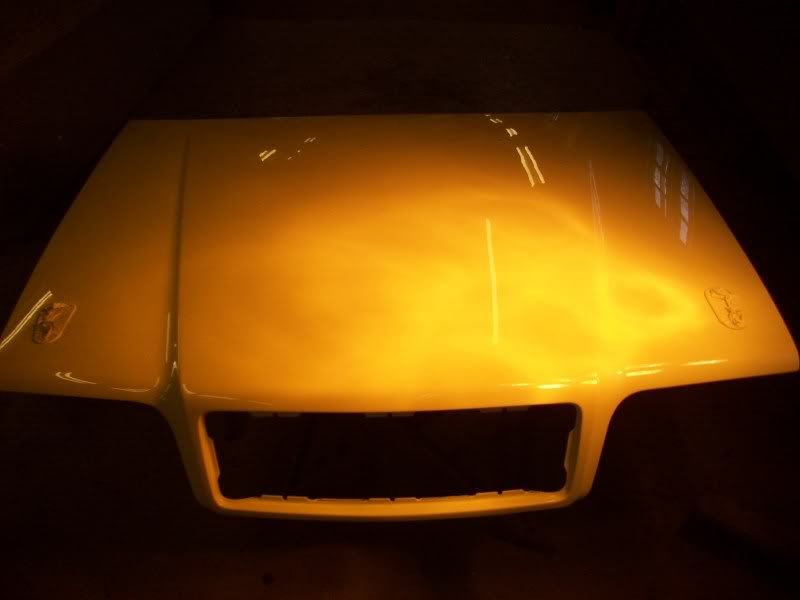
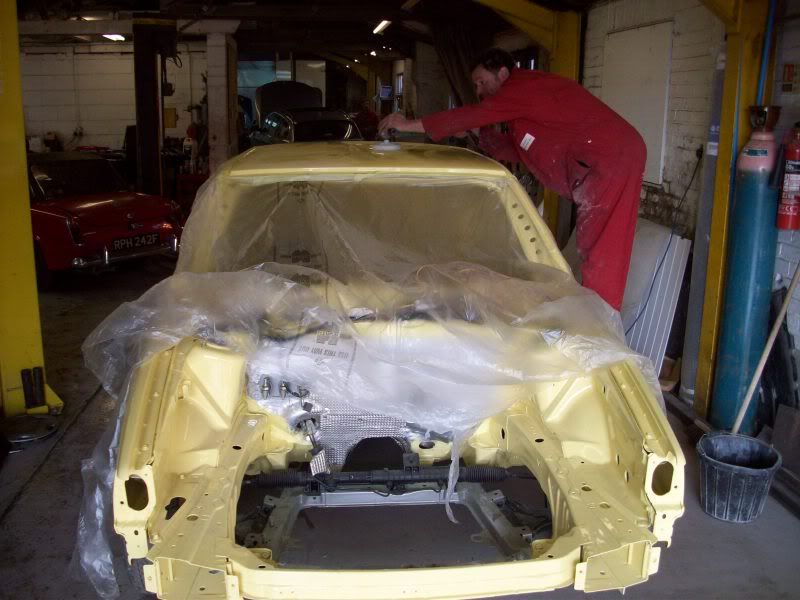
Then the outside was the next stage

I had time to have a quick poke around another bodyshop visitor 

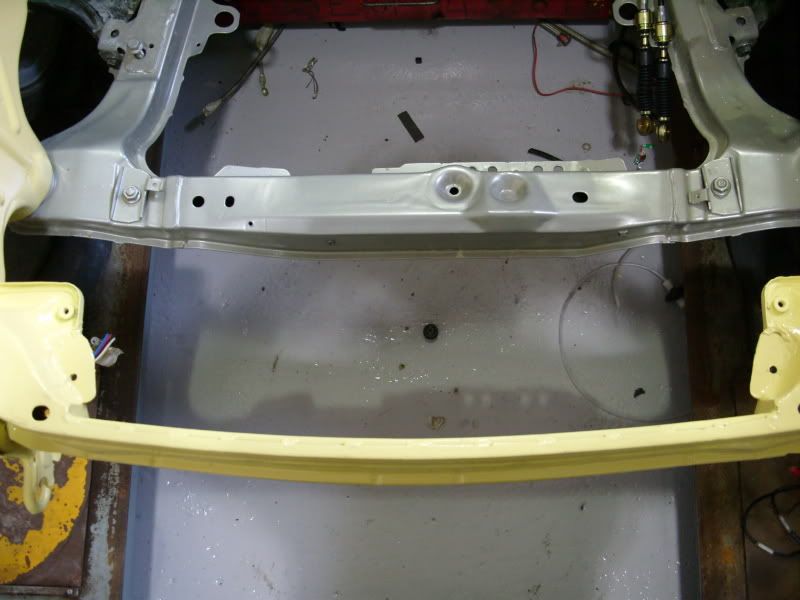
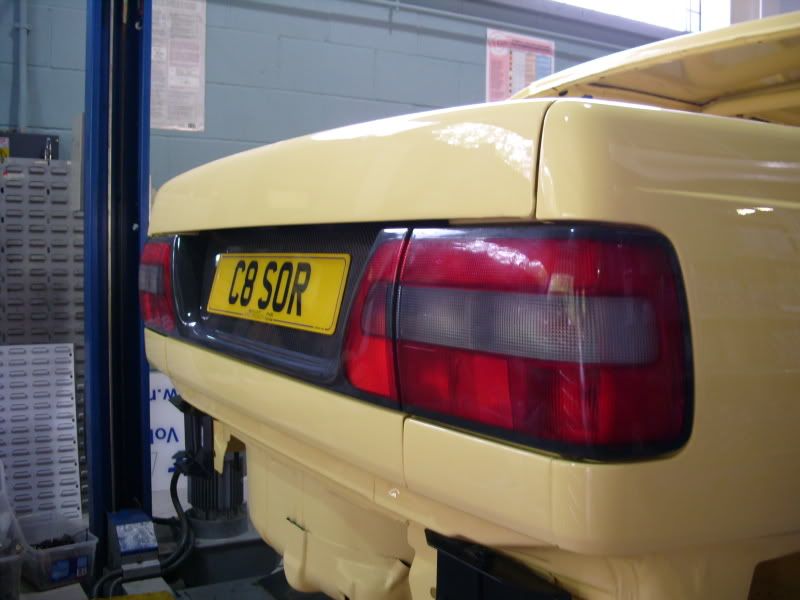
I was pleased how the antenna hole repair turned out I did not want to just put a grommet in the hole .


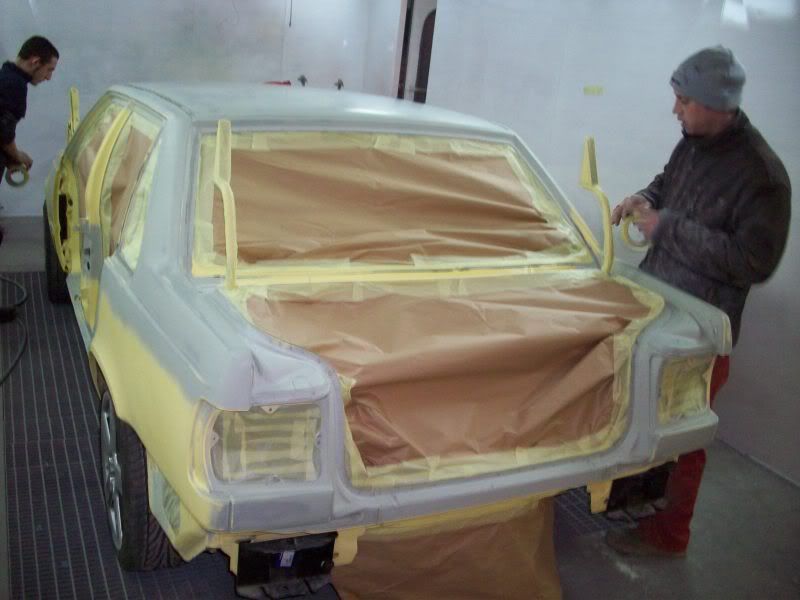
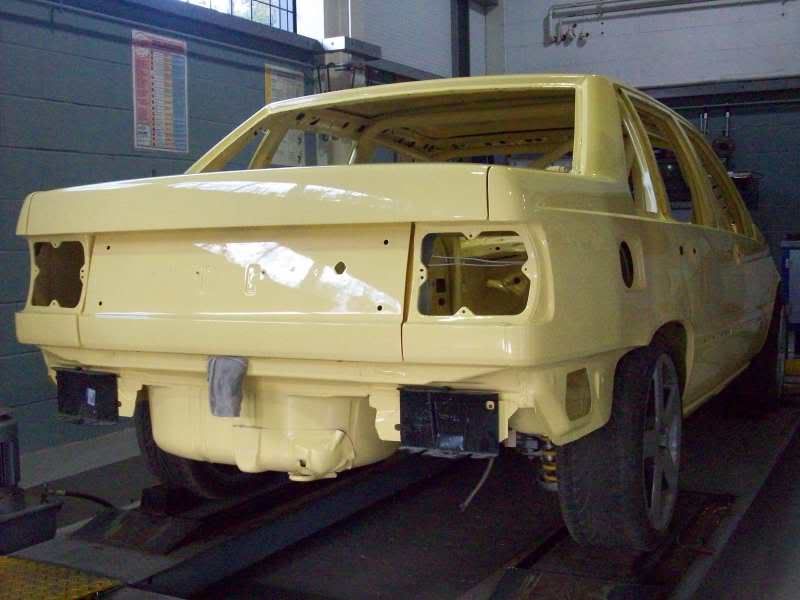
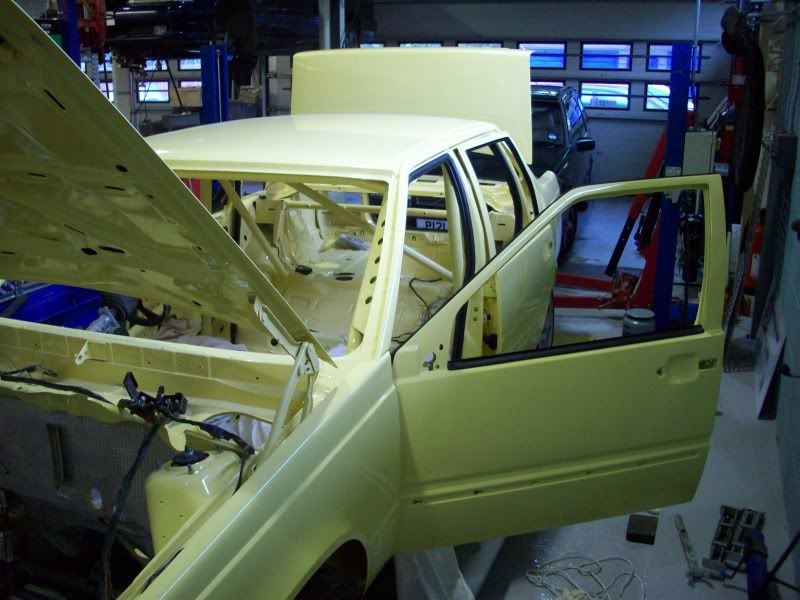
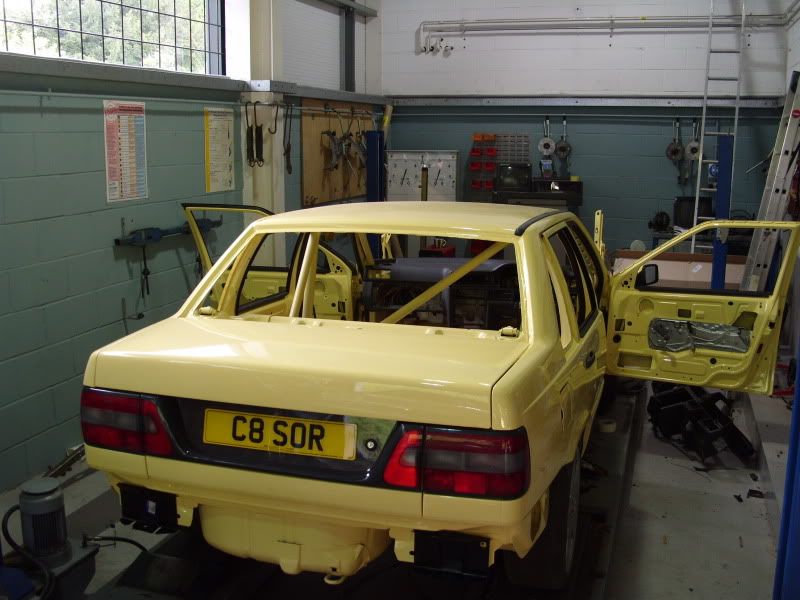
As I said before we where in no hurry to have the car back as during all this going on we where about to move the business to much bigger premises so left the bodyshop guys to finish off the work and just popped in the day before the Peril arrived at its new home in time to see the final finish and polish

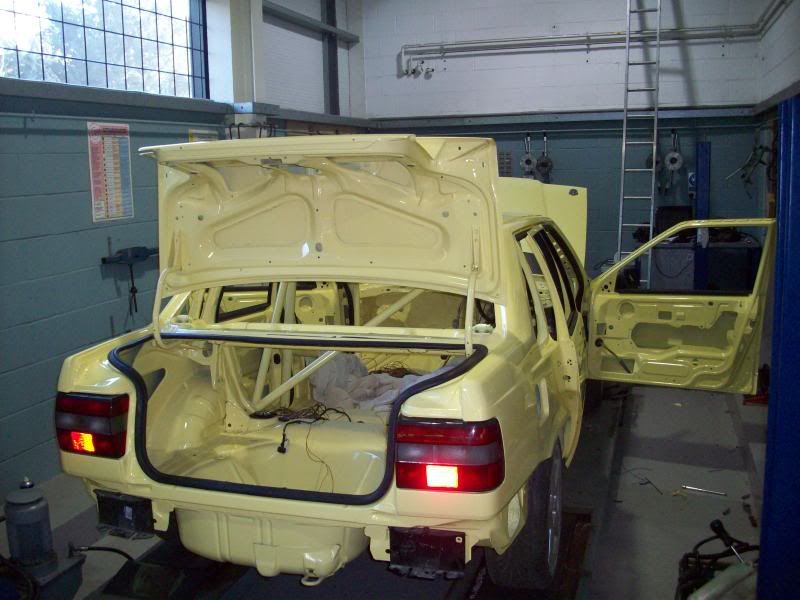
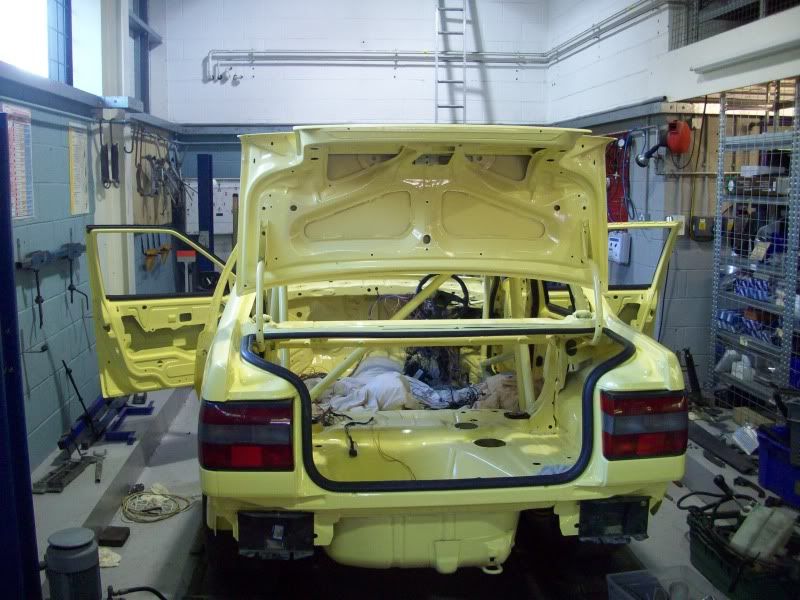
The Peril arrived at its new home and took pride of place on one of the four poster ramps which makes it much easier to do the refit so I can crawl inside with blankets covering all the fresh paint

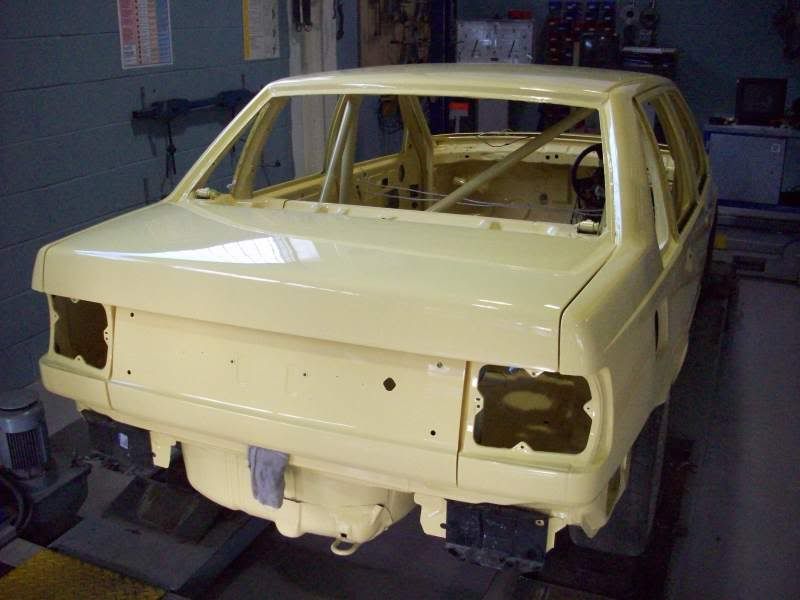

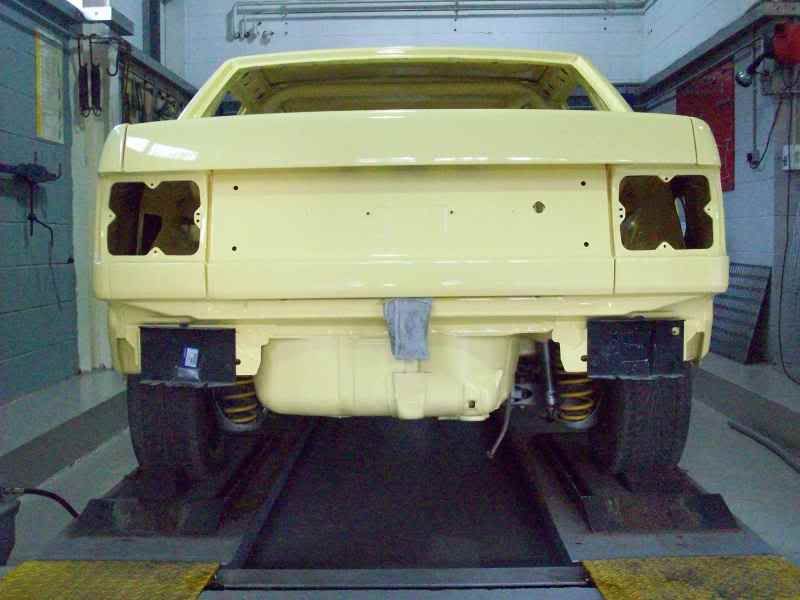

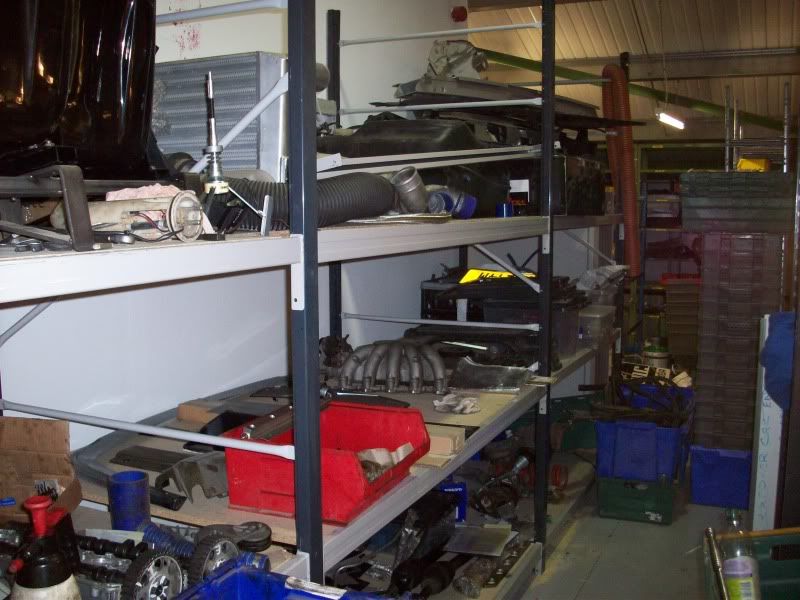
The new building we have moved to has lots of room so I am lucky enough to have my own area for the Peril and all the parts in the different sections so I can be quite organized about how I re assemble the car which is going to take time as its only done in my spare time as we are so busy at work fixing customers cars 
I decided to start the rebuild with the engine first then start on the car re fit I had been waiting for three months for the design/ machining/and fitting of the ne custom liners I had made to hopefully get rid of the split liner problem I started to build up the crank bearings crank/rods pistons first :
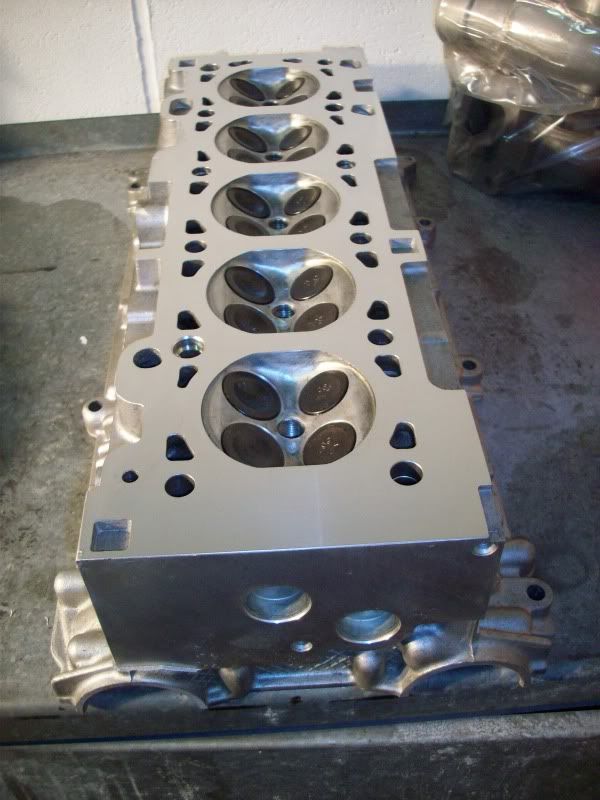
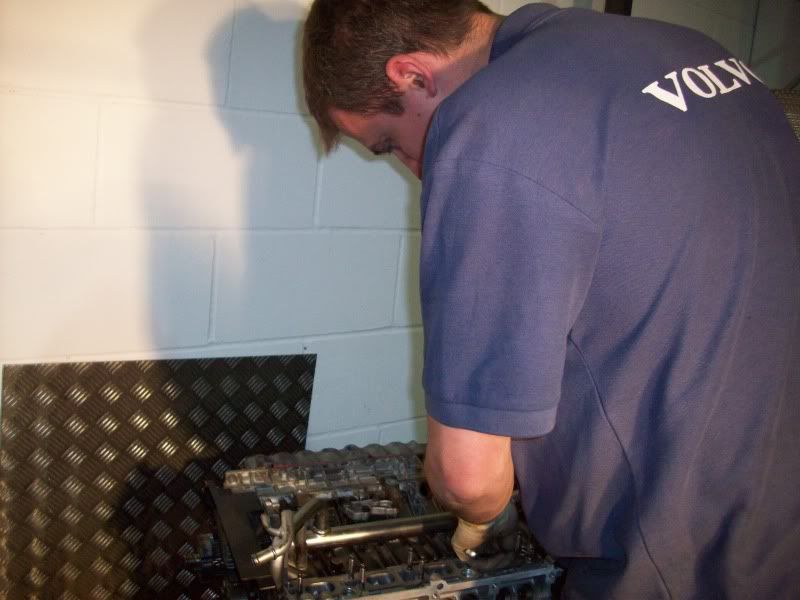

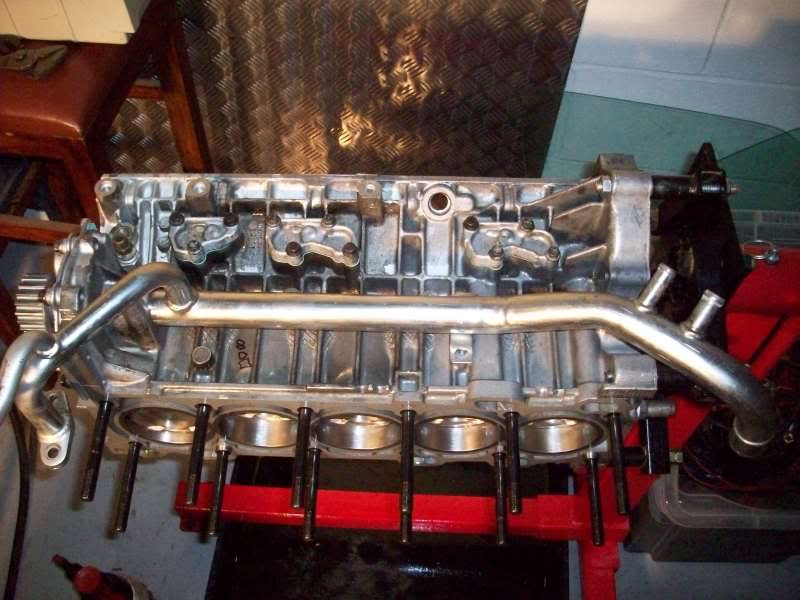

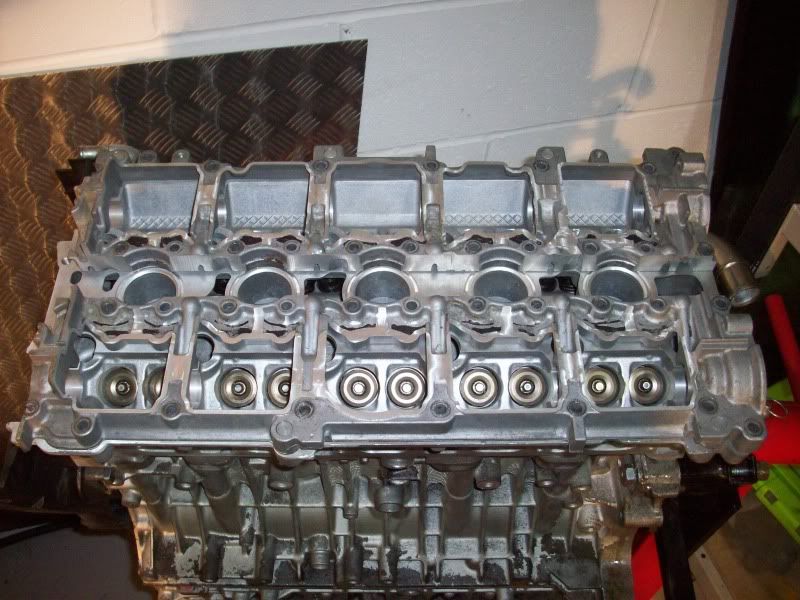
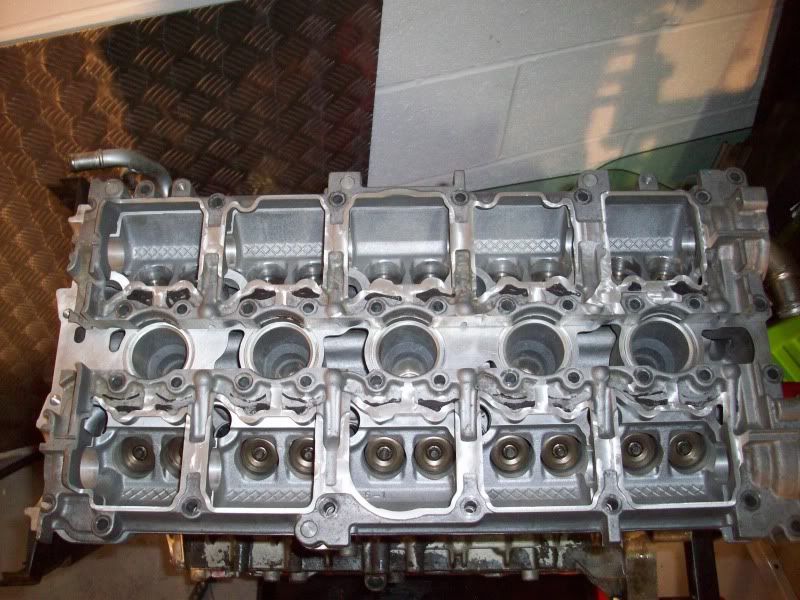
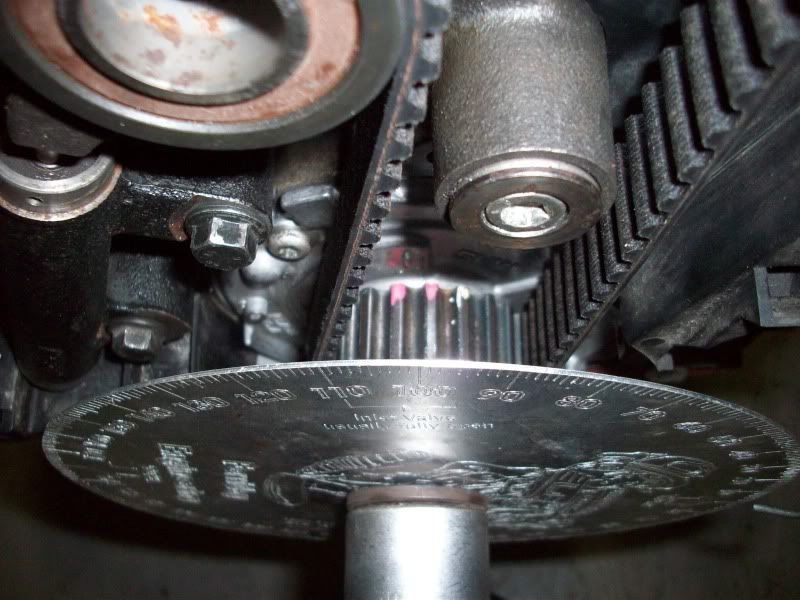
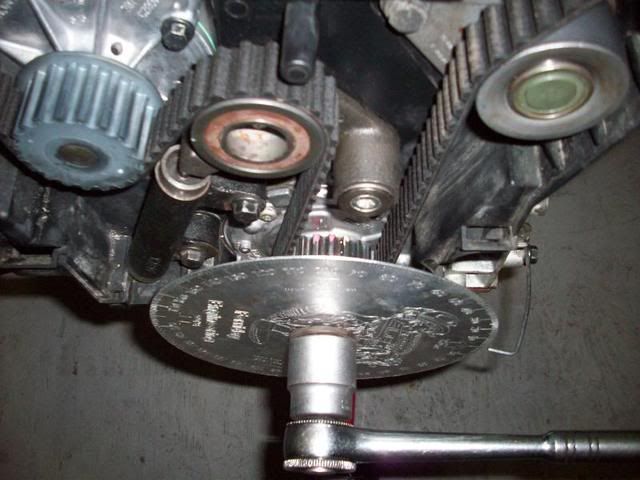
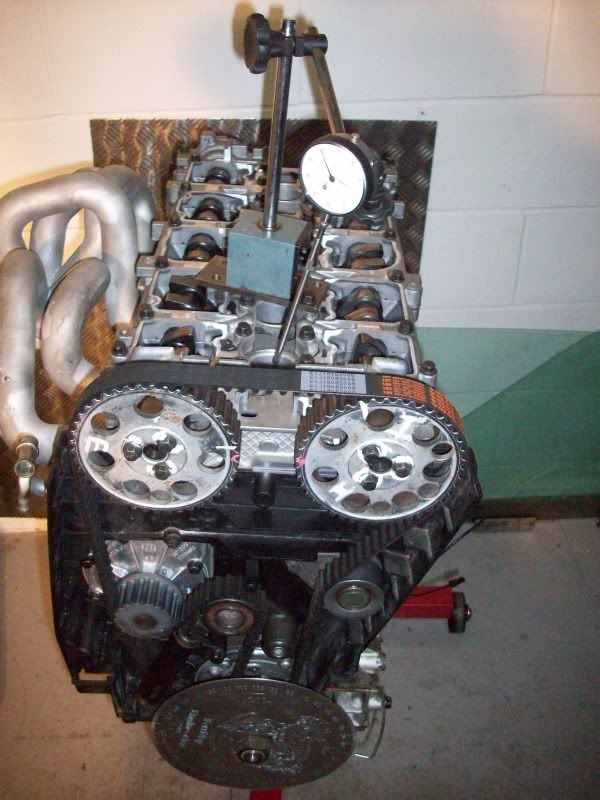
The head was fitted in place and the test cam cover I had an old cover spare so with the help of the machine shop we decided to share the cover as I was still going to run with hydraulic tappets and need to carefully dial in my new spec cams I had to be sure that I had plenty on room as of course I did not want any piston/valve contact
 [/QUOTE] [/QUOTE]
|
jr
Member
Registered: 20th May 02
Location: Kent
User status: Offline
|
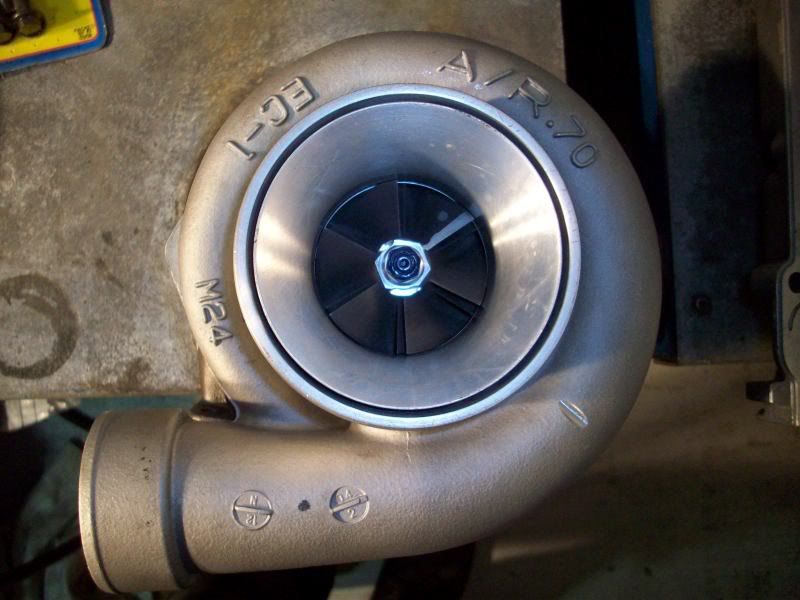
[QUOTE=mad russell;4171233]PART 2
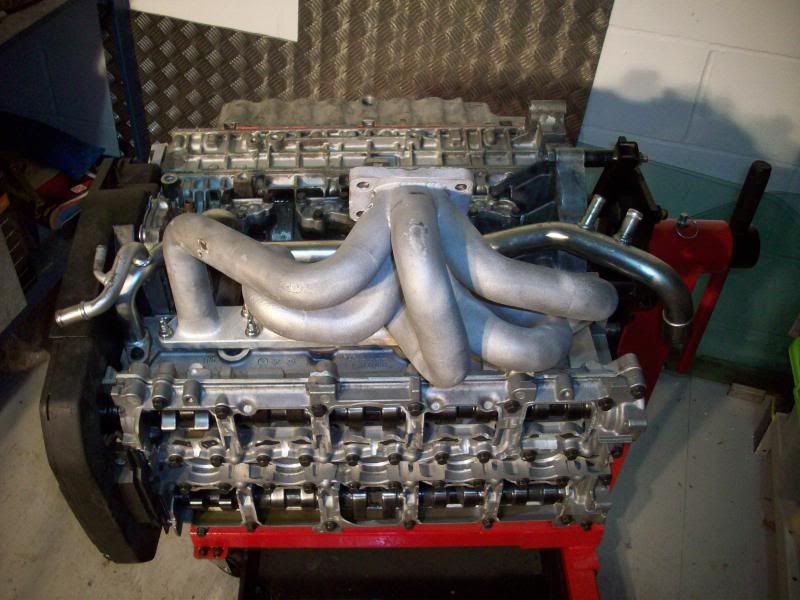
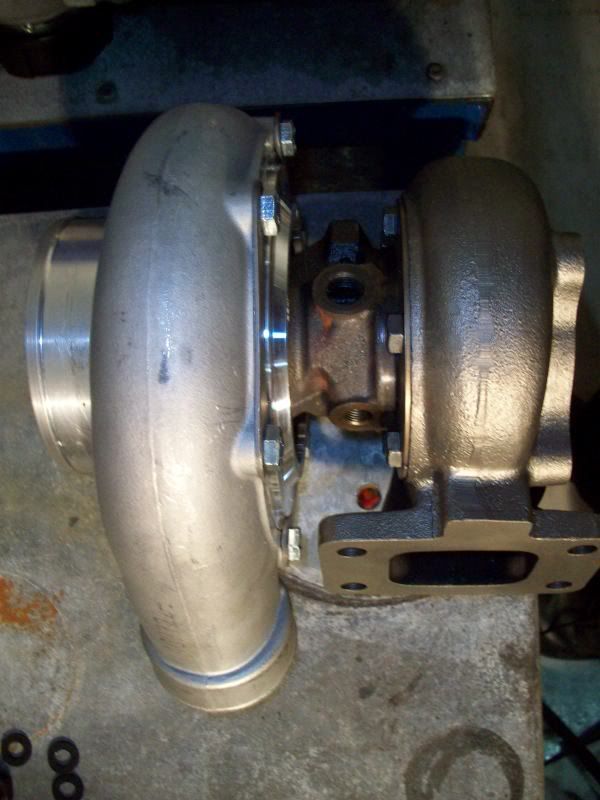
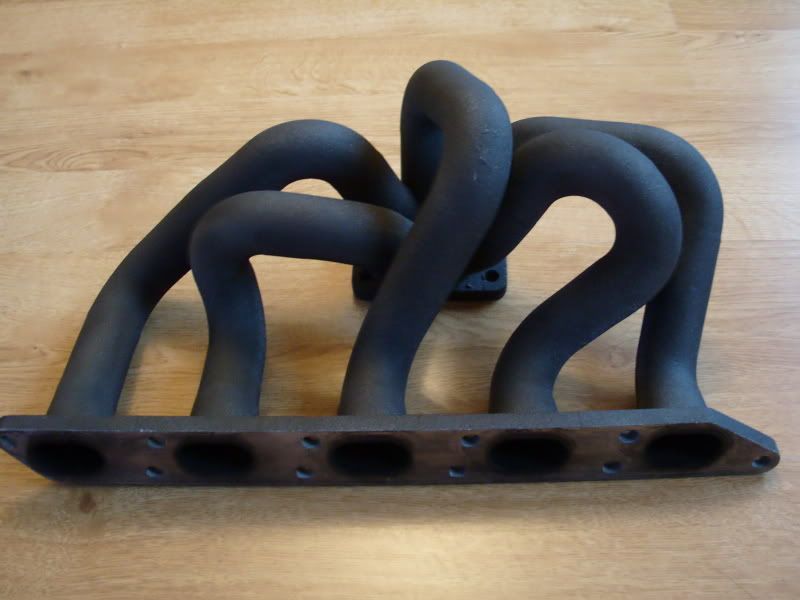
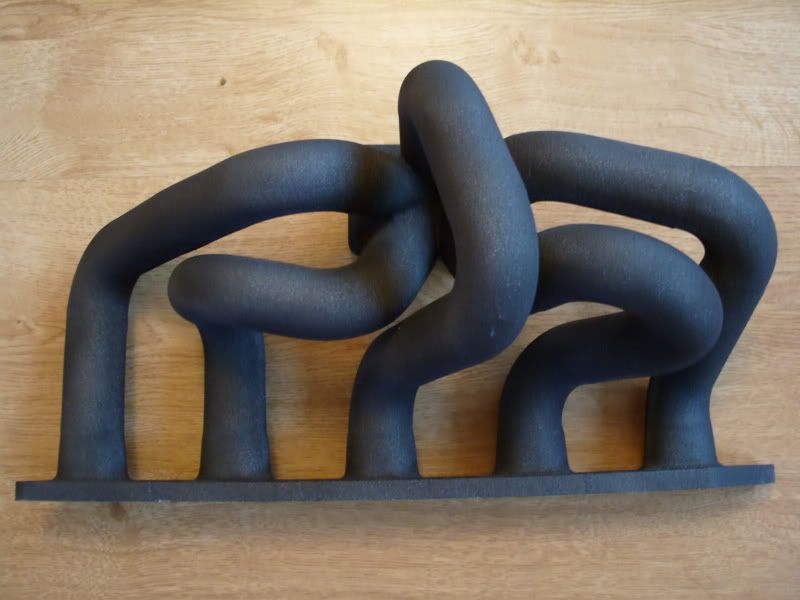
I now had the engine built the new cams dialled in and turned my attention to fitting the manifold and the turbo assembly as I wanted to try a different approach to fitting my engine to the car I wanted to lower the sub frame and place it on a trolley then lower the car onto the assembly so hopefully this would save me time as fitting the manifold in the engine bay is a bit of a fiddle as I am terrified of damaging the coating on the manifold as it turned out the silver coating would be a problem for me as it had started to flake off which was not something I was expecting
.
I called the company who did the coating( zircotec) and they were shocked it was coming off so soon they agreed to come over to inspect it and once they saw it they happily agreed to re coat it at there cost I decided to go for a change of colour at the same time so went for a metallic black they do it arrived back in very short time and looked better than ever so started to fit the turbo assembly and pipes etc
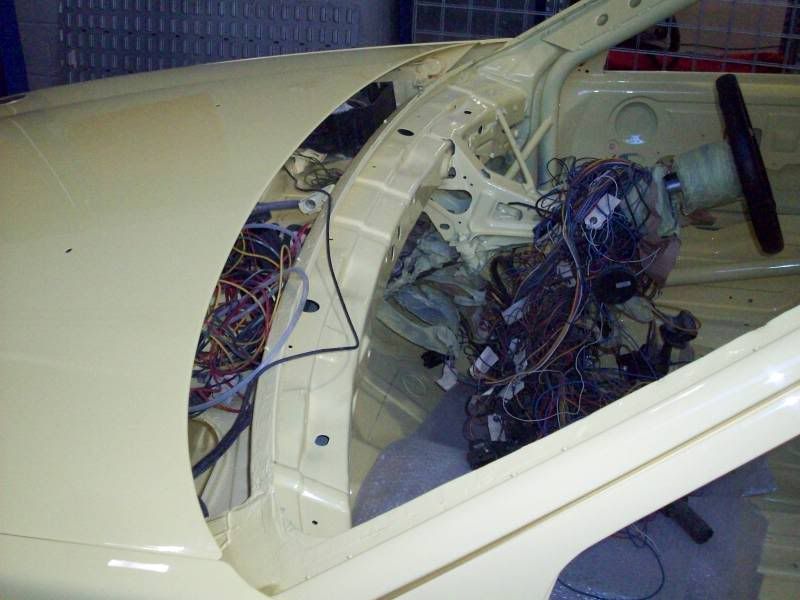
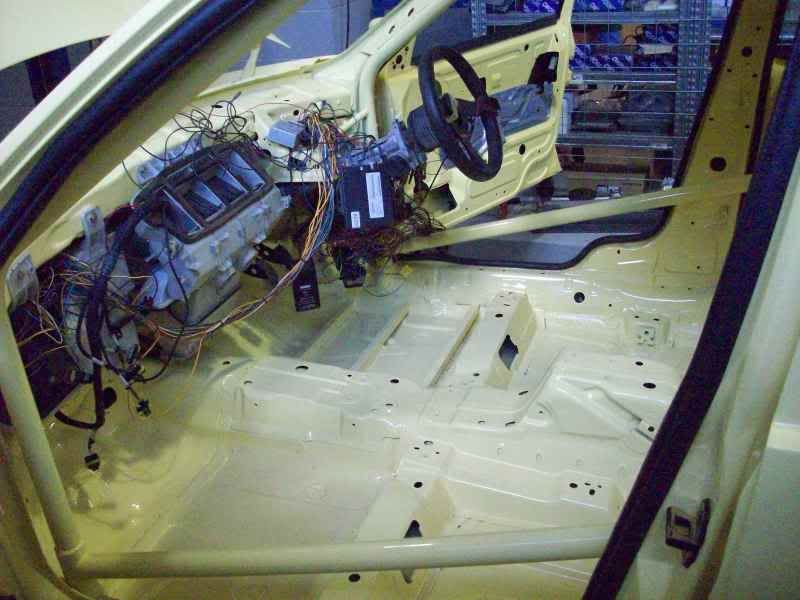
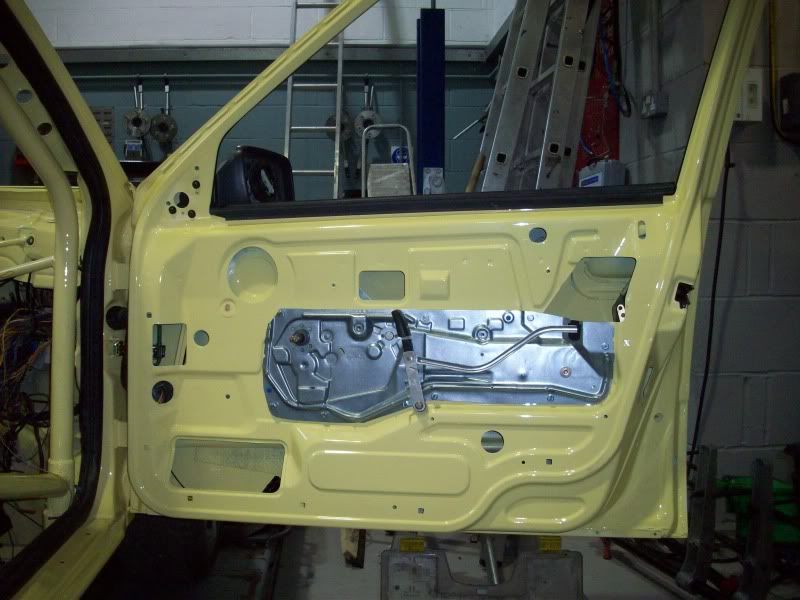
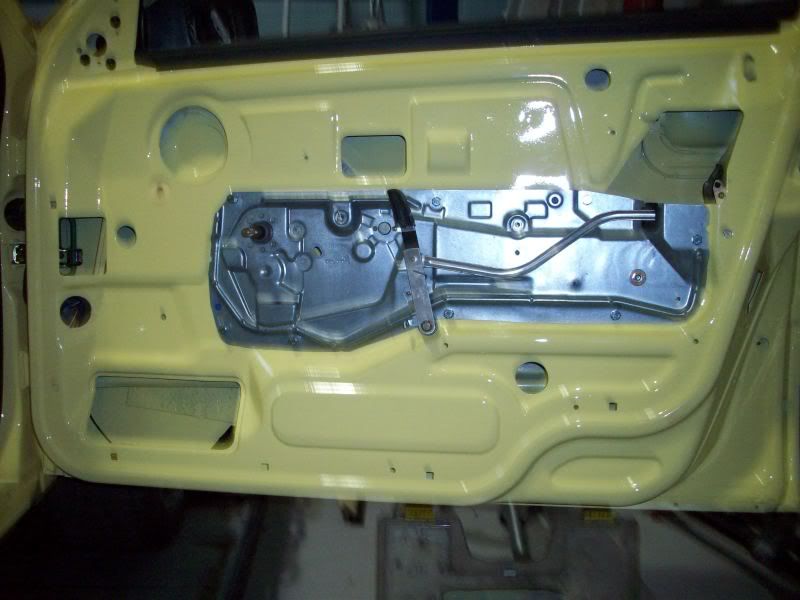
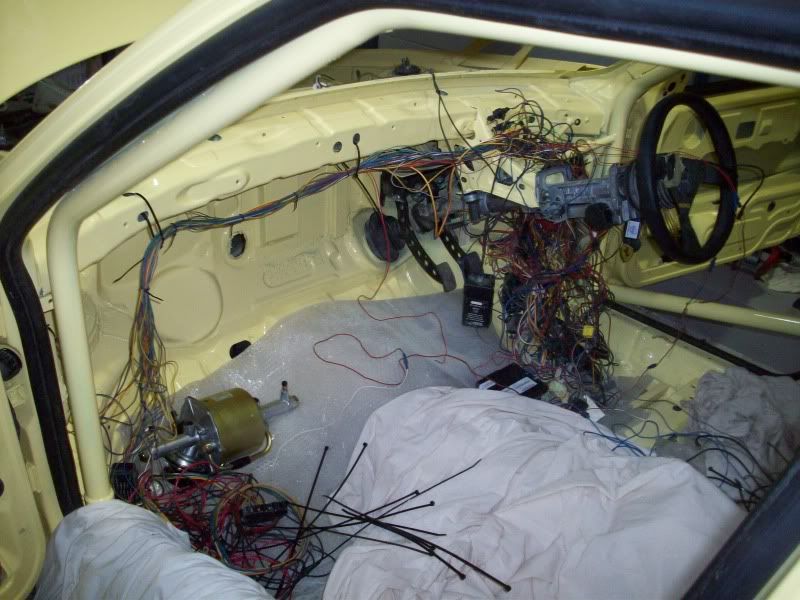
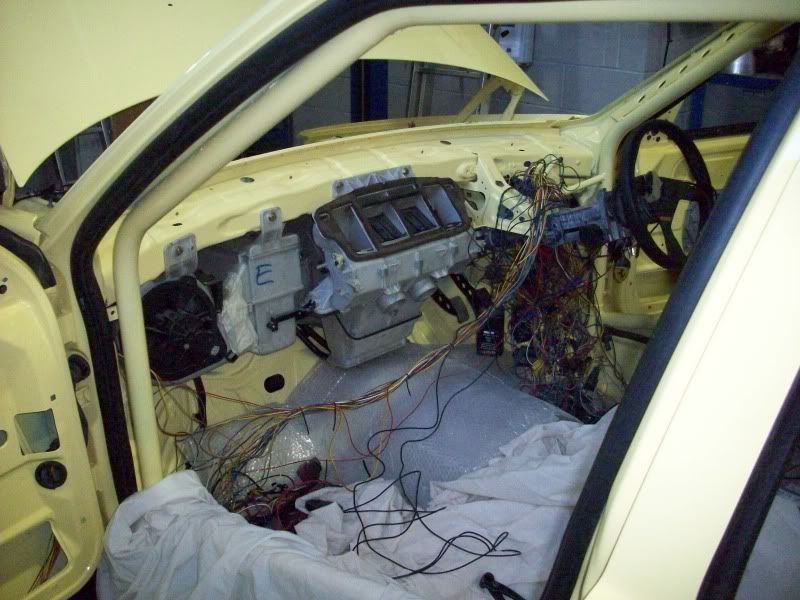
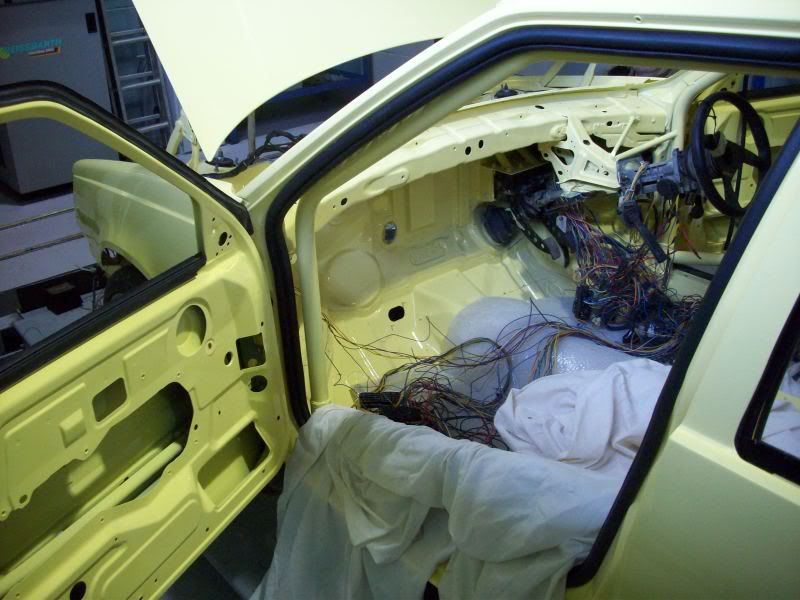
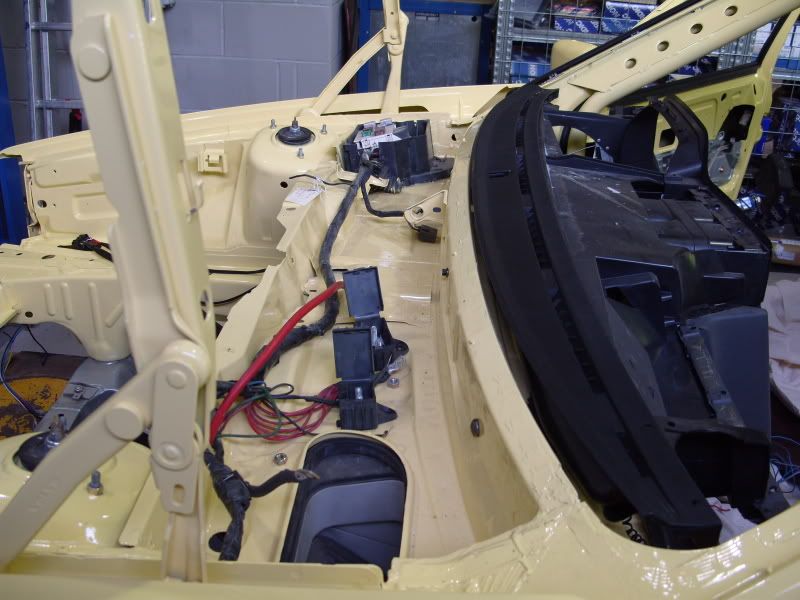
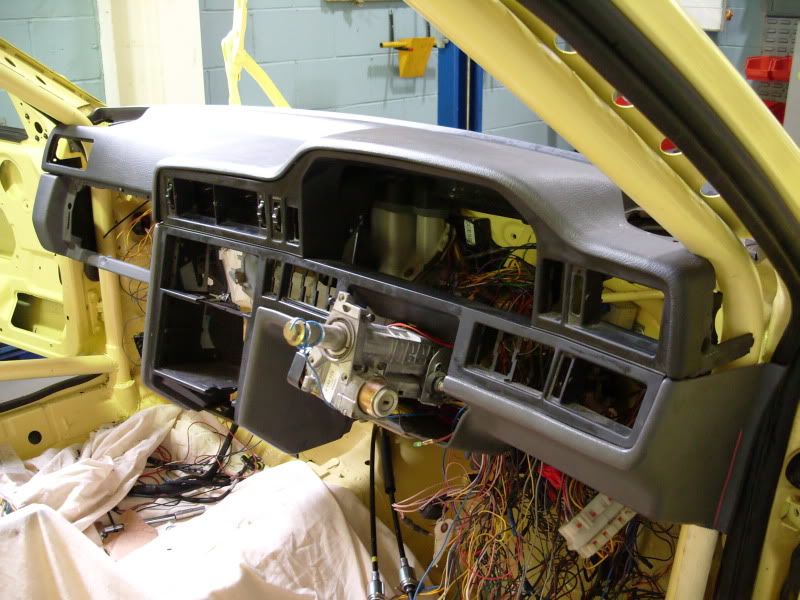
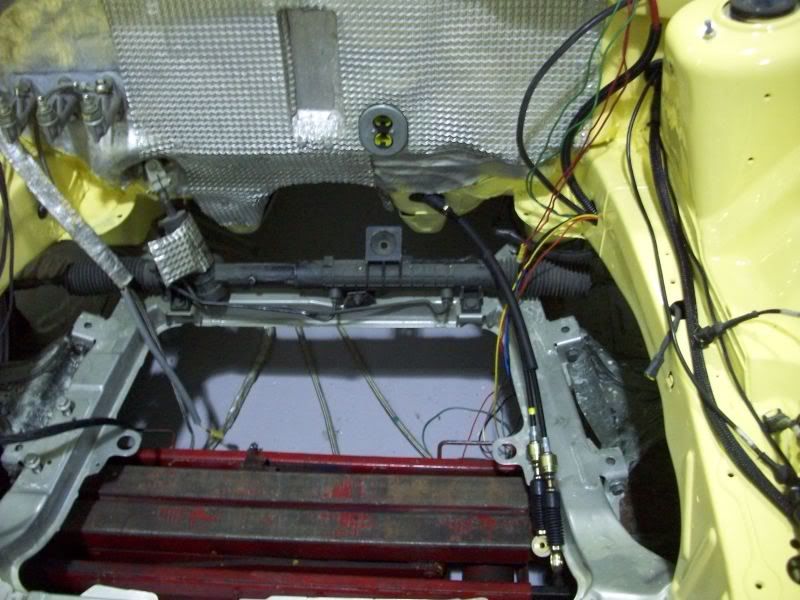
As the engine side of things was on the whole sorted I started to turn my attention to the car and mainly the inside and the dash area at first sorting out the wiring to the various areas and making a few more changes to the car I had decided to not have any electric front windows or mirrors any more as I wanted to use the manual window winders
I started to add the other parts to the car lights trim handles etc etc
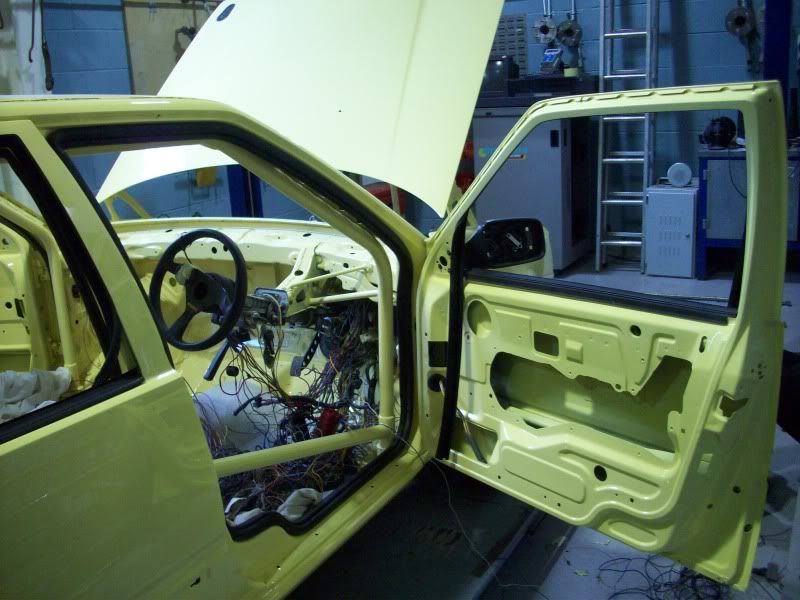
And started to add the looms I had made into place under the bonnet etc
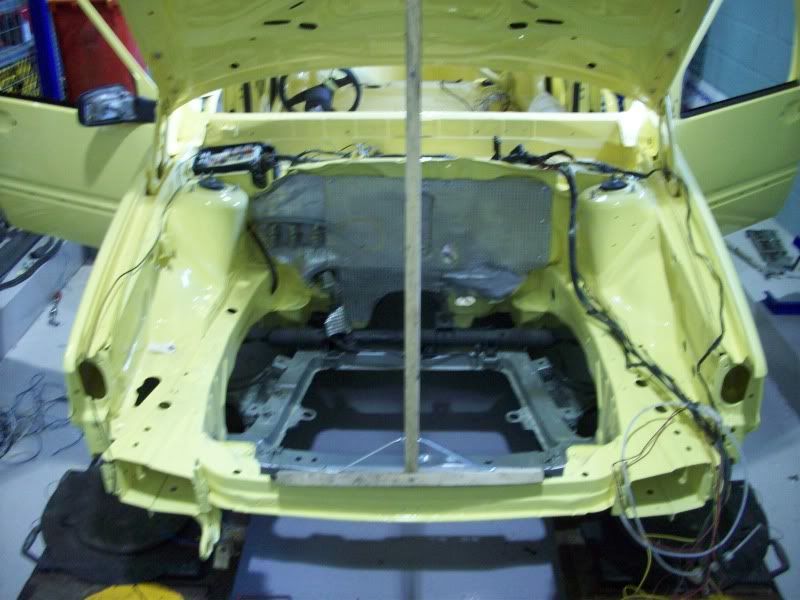
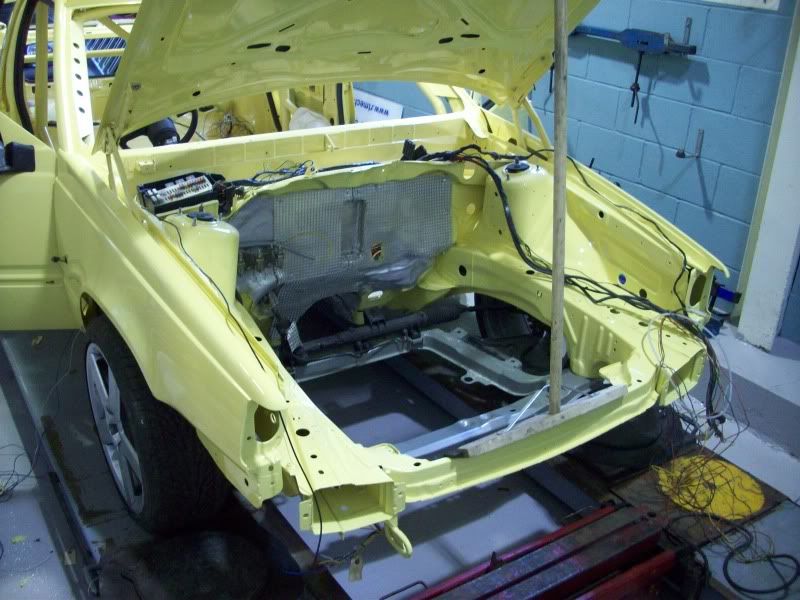
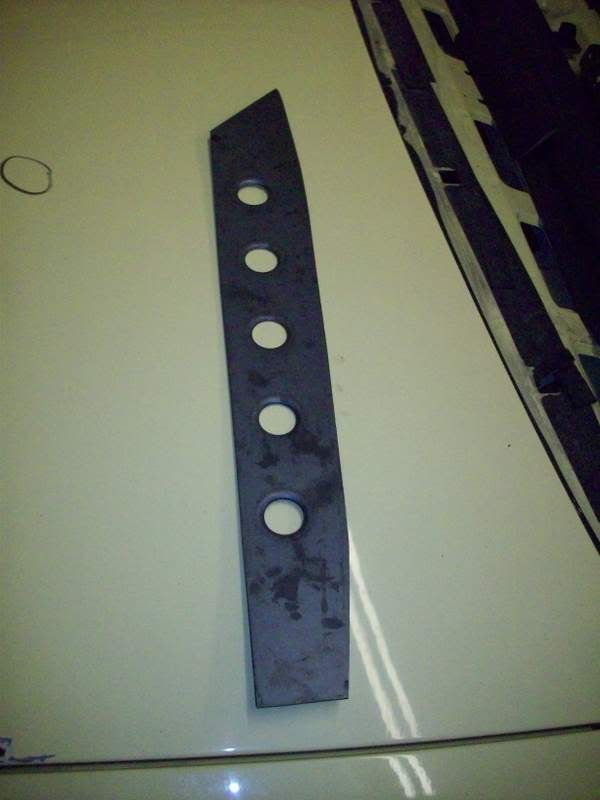
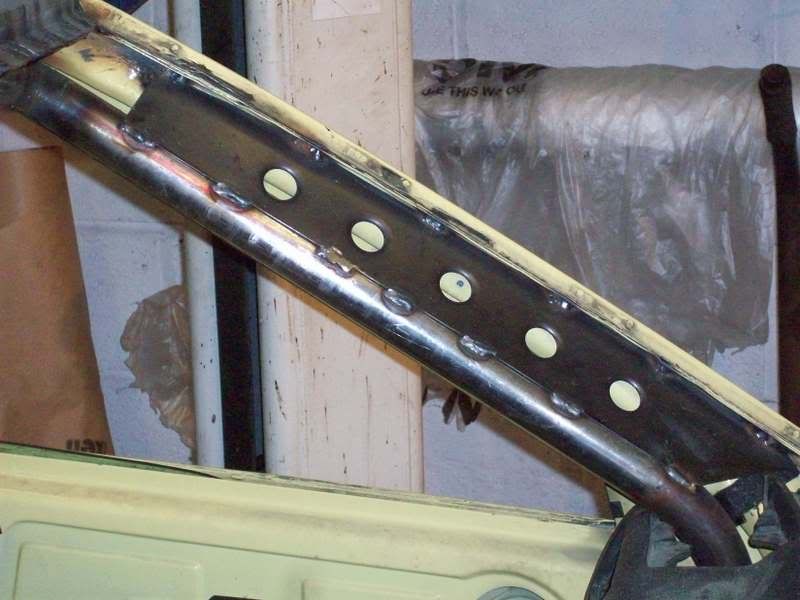
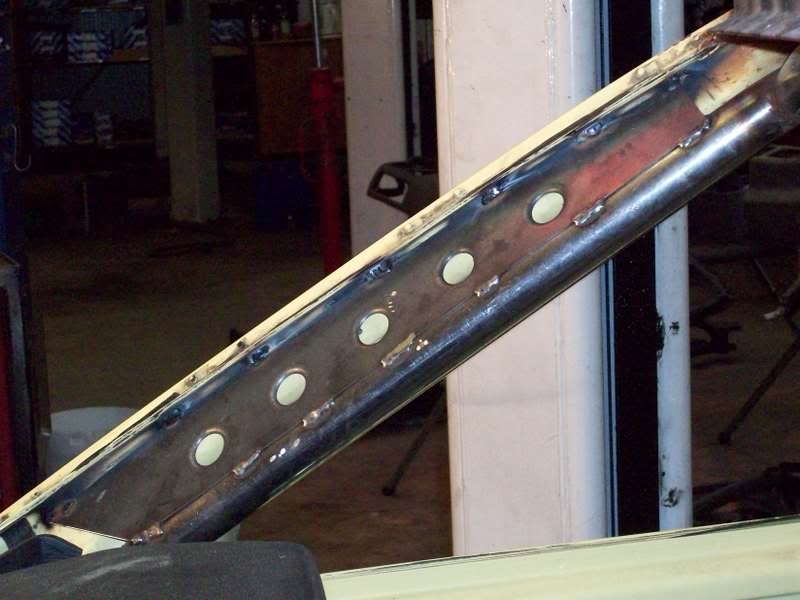
I took this pic to show how much thicker the front panel was now as I had before had the panel modified to fit the intercooler it was cut at both ends but then a much thicker strengthen bar was added.
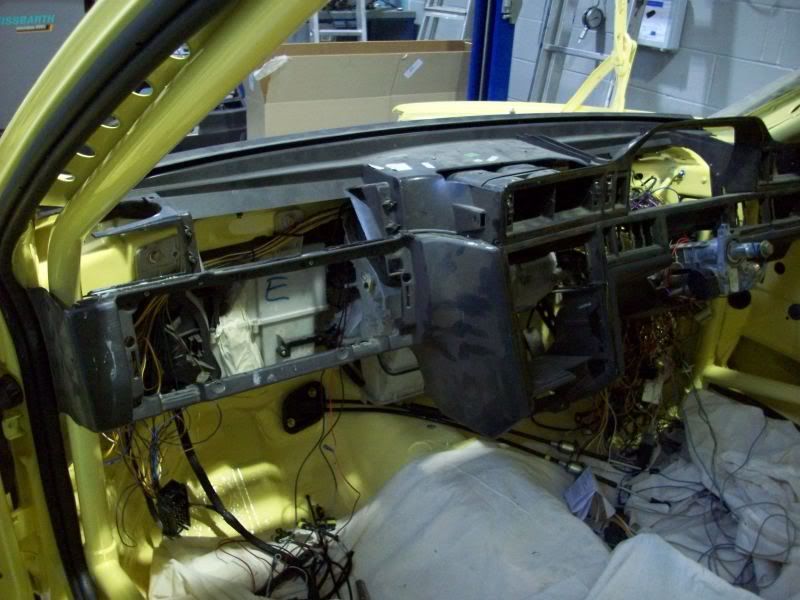
I started to sort out the wires above the bulkhead area
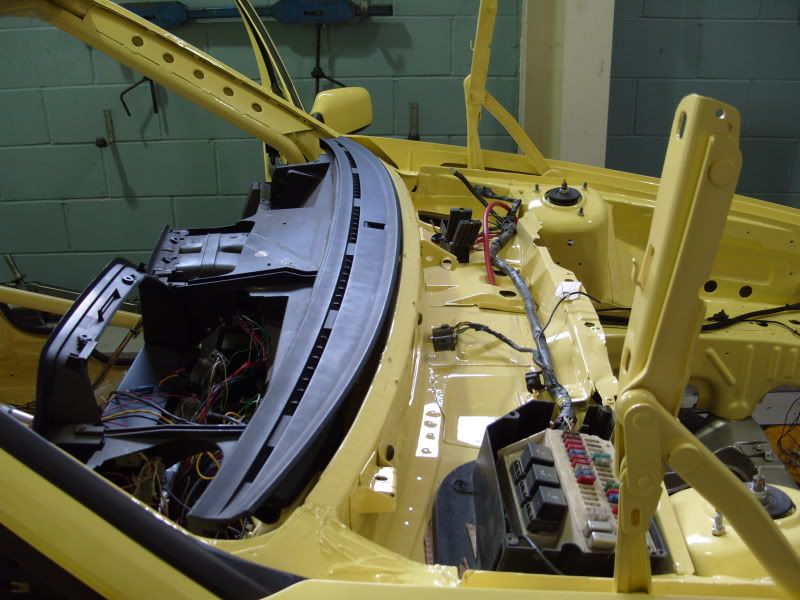
The Peril starts to look like a car again 
After many hours cutting and trying the new dash in place I finally managed to fit it in place so started to place the wires for any switches etc into the dash and tried hard to get it all looking neat
I set about spending more money on all new trims for the waste door mouldings and the roof trims/boot trims boot lights as the old ones had a few small marks on them
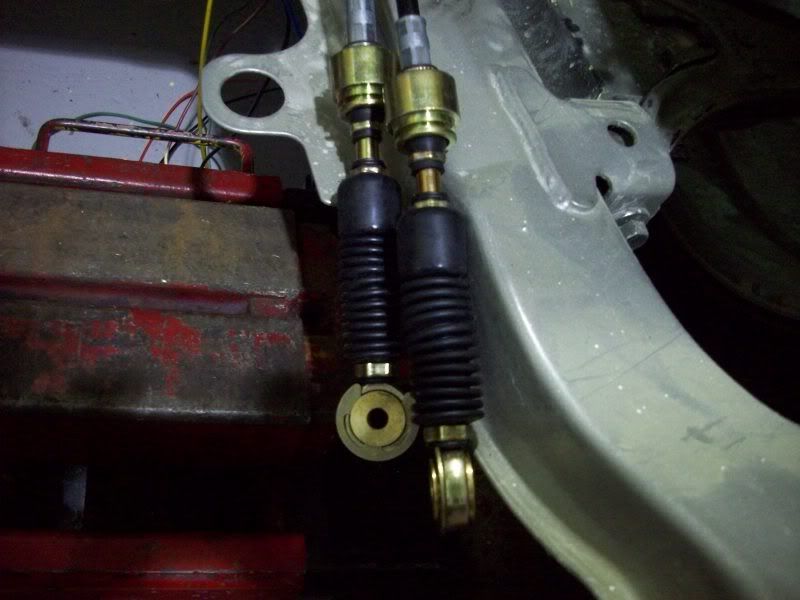
Thanks to a helpful forum member I had added brass gear control cable bushes and also brought new cables that looked the part
Russ[/QUOTE]
|
All Torque
Member
Registered: 17th Nov 05
Location: Milton Keynes Drives: Ford Focus TDCi
User status: Offline
|
Jesus H Corbett, thats insane.
|
Jakey
Premium Member
Registered: 4th Jun 07
Location: Sandbach
User status: Offline
|
OMG
|
Nick-S
Member
Registered: 3rd Mar 04
Location: Leigh. Drives: RS Megane 230 F1 Team R26
User status: Offline
|
fucking ace
|


