|
|


|
Not logged in [Login - Register] |
 |
You Are Not Registered Or Not Logged In |
|  |
|
Corsa Sport » Message Board » Tutorials & FAQ » ICE » Fitting Uprated Rear Speakers - Corsa B Tutorial » Post Reply
|
| corsa-torque |
posted on 9th Feb 13 at 15:26 |
Fitting Updrated Rear Speakers - Corsa B Fitting 5.25" speakers
First start by removing parcel shelf and move rear bench forward. Will start on the passenger side, purely because its the most difficult of the two: 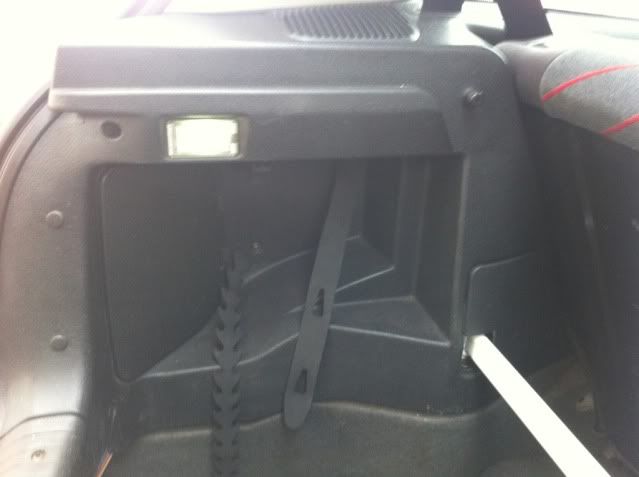 Prise the boot light out from the trim then unplug: 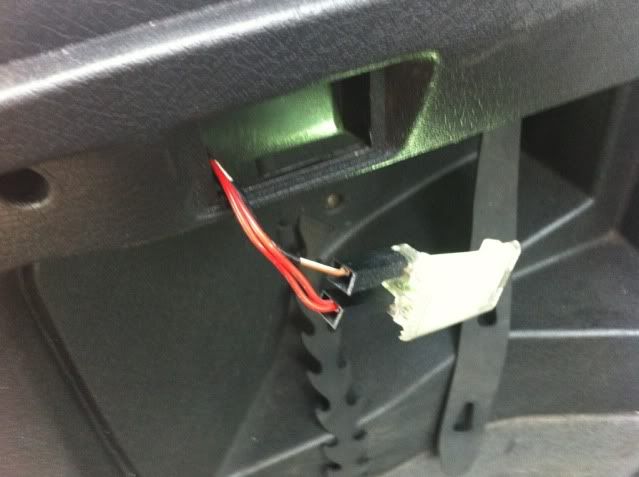 Then remove the cover which gains access to the rear light, and the top mount cover as this hides a torx screw. Now to remove the pannel to gain access to the speaker, there are 6 x T25 torx screws to remove and 3 plastic plugs towards the rear light. Now this step depends on if you have a rear strut brace in place, if not you can ignore this step, From inside the rear top mount cover you will see a 13mm nut: 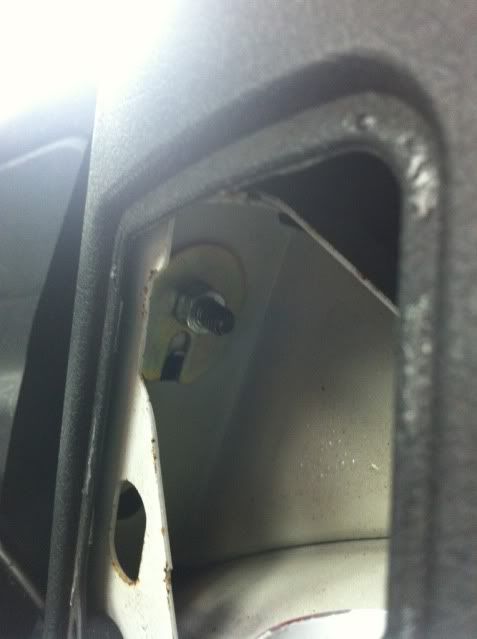 Once undone you will then be able to remove the fixing for the rear seat: 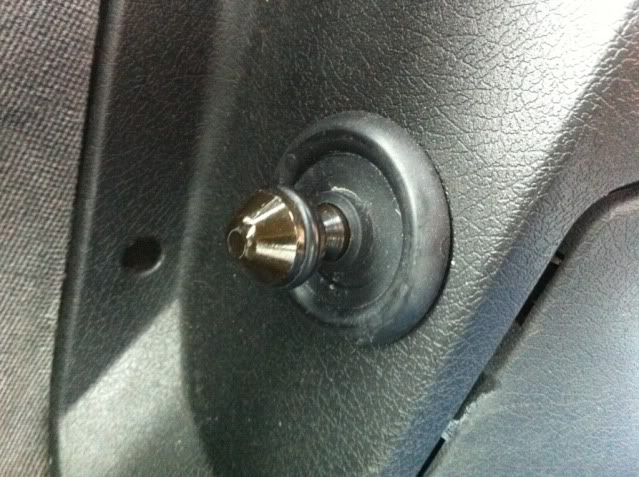 Now all thats left to do is gently pull the trim pannel away from the car: 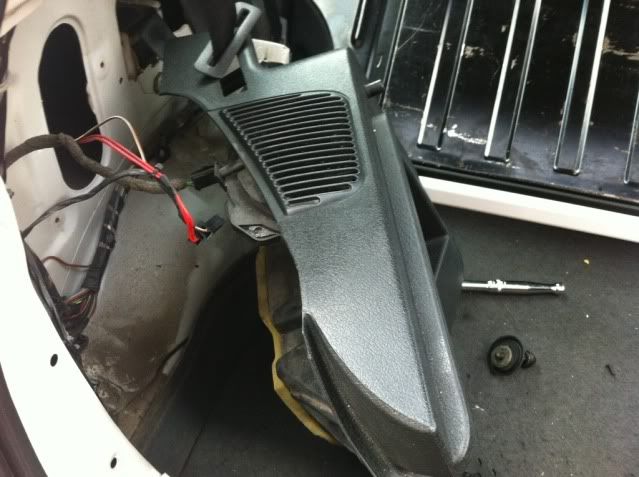 Now with the speaker accessible you can move onto the next step:  The speaker itself is held in with 3 phillips screws, unplug speaker and remove screws and you should be left with this: 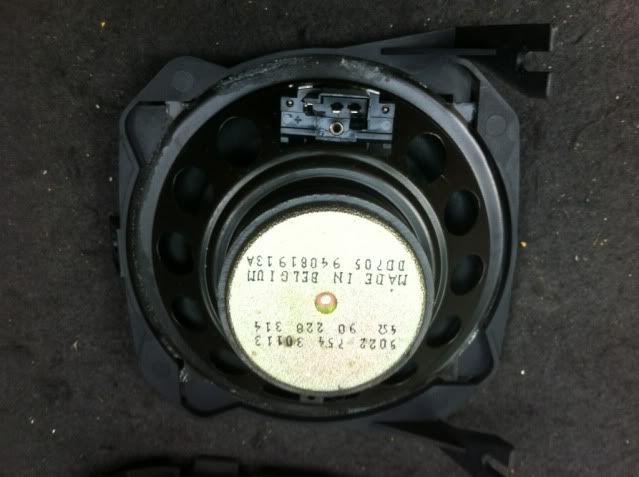 Simply slide the speaker out of the bracket and replace with your new uprated speaker: 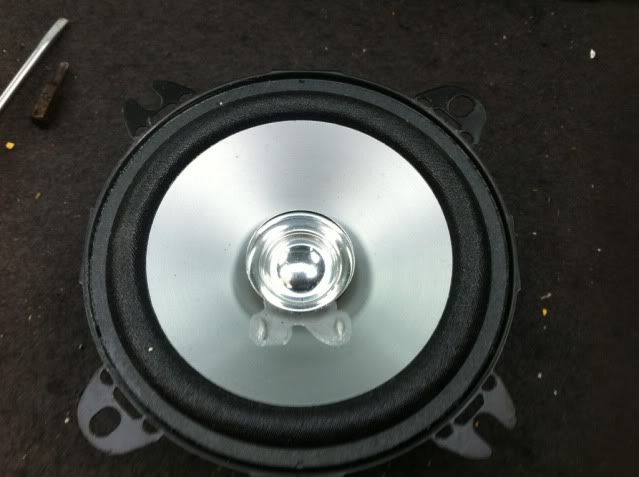 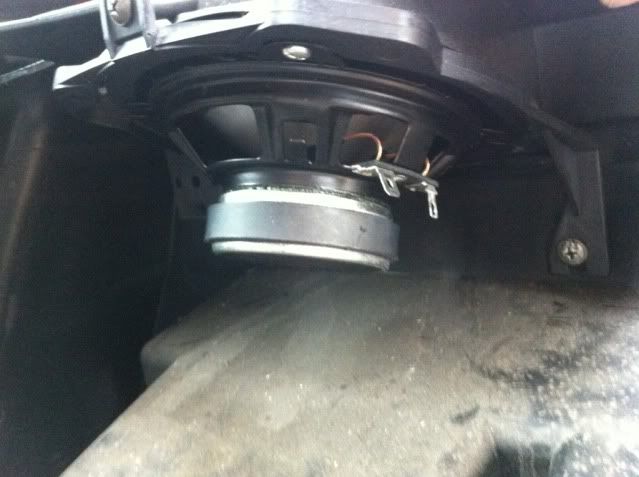 To wire the speaker: cut off the OE plug, strip the wire and attach the required spade terminals. Finally attach wires to speaker. Green = Positive Green/Brown = Negative Now re-fitting is as they say in the haynes manual... its the reverse of the removal procedure :thumbs: (Be sure to feed the wire though for the boot light before replacing screws) With that done... you should have it all back to normal minus the OE speaker: 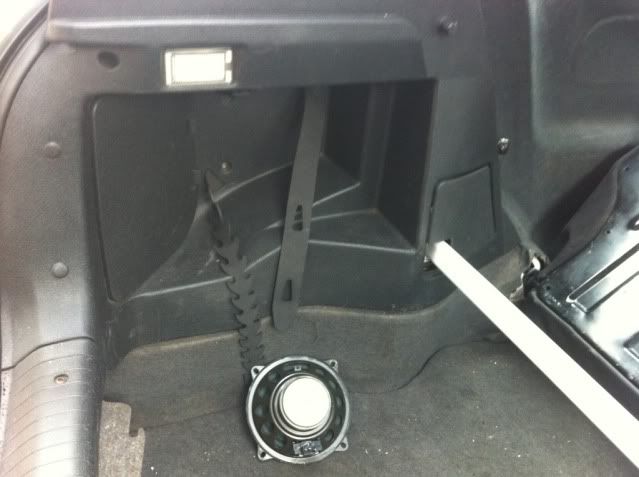 Onto the Drivers side speaker: 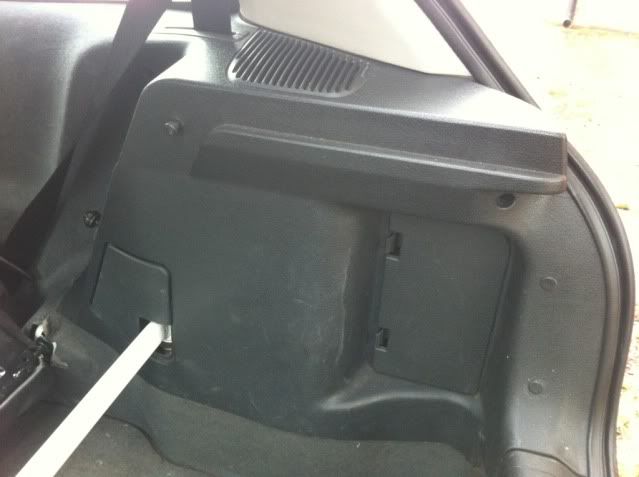 Again start by removing the light access pannel and top mount cover. This time there is only 4 x T25 torx screws and again the 3 plastic plugs towards the rear light. I also removed the rear bench mounting again by un doing the 13mm (not required if you do not have a rear strut brace) Once undone the pannel is then ready to be removed: 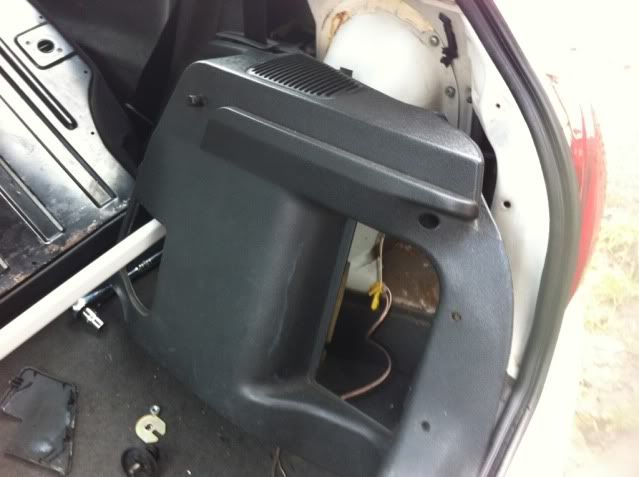 The speaker bracket this side is also held in with 3 phillips screws. Slide old speaker out and new speaker in, then re-attach using the 3 screws. Re-wire as before by removing OE plug and add spade terminals. White = Positive White/Brown = negative As before re-fitting is a reversal of the removal procedure which should leave you like this: 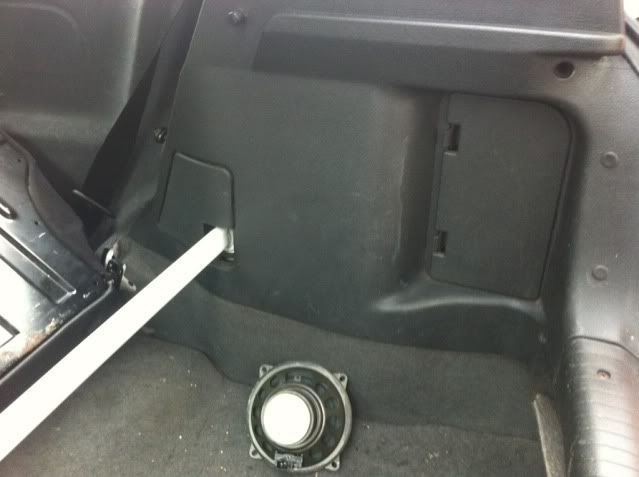 And that is a Job well done :thumbs: Admin feel free to move to tutorials :) [Edited on 09-02-2013 by corsa-torque] [Edited on 09-02-2013 by corsa-torque] |