Heres my little guide on how to do this, if anyone has any suggestions on anything that should be changed, let me know :thumbs:
Right, you will need:
A set of sun visors, I got mine from an Omega
4 x Insulated crimp cable splicers
2 x Insulated crimp eyelets
1x Chocolate Block connector (I used a one way jobby)
A few lengths of wire
A philips screwdriver
Wire stripper/Crimper
Flat headed screwdriver
First of all, I should mention that I am likely to have a different interior light to you, as I have the interior/map light out of a Cavalier, so you need to bear with me.
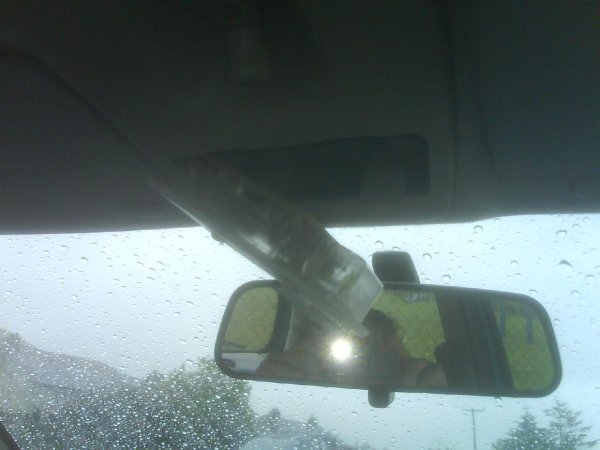
First of all, slide a flat headed screwdriver under the light and pop it out:
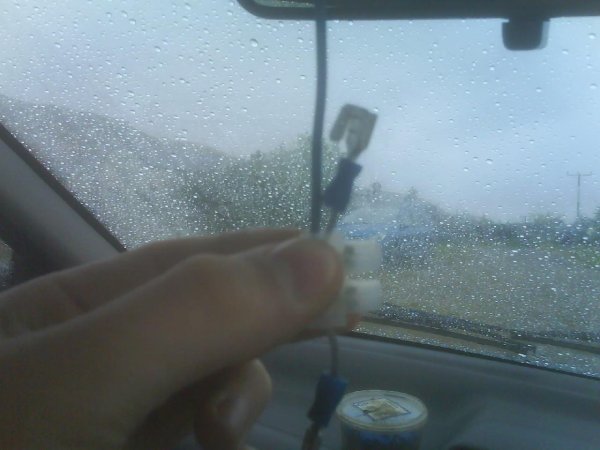
Undo the two connectors on either side. Leave the white on alone, thats not to be touched. The one we want is the red one.
Heres where the difference is with mine, you will cut the red wire to take a piggy back off of it, since I have the cav interior light, I am taking a piggyback off a piggyback, as you will see. Also, I have already mounted my drivers side visor, I only decided to make a tutorial now, but doing the drivers side is exactly the same.
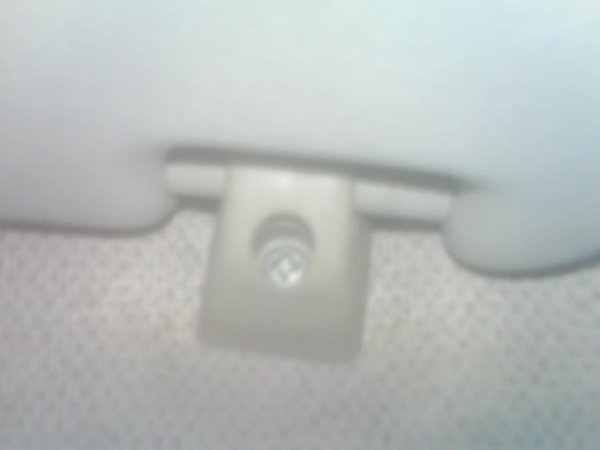
Ok, take off the old sun visor, there is two phillips screws on the hinge part, and take of the little clip too:
Then, back in the interior light hole, take out the two screws you can see. (I have already removed one)
Mind and keep all the screws safe!
Next, take all your electrical parts together. For this stage, we will be using:
The lengths of wire
The two eyelet connectors
The Four wire splicers
The wire strippers/Crimpers
Firstly, measure up the wire needed. You need enough to reach from the hinge of the sun visor to the interior light, leave a little extra for room to work with. Cut the lengths of wires, two for each visor, so 4 separate lengths of wire.
Now, strip a little off each end of every wire:

Two of these four lengths will be your earth wires. Crimp an insulated eyelet onto each wire.

Then using two of the wire splicers, crimp the earth wire onto the brown wire on each visor:
Now, the live. This is where the difference is between my interior light and yours.
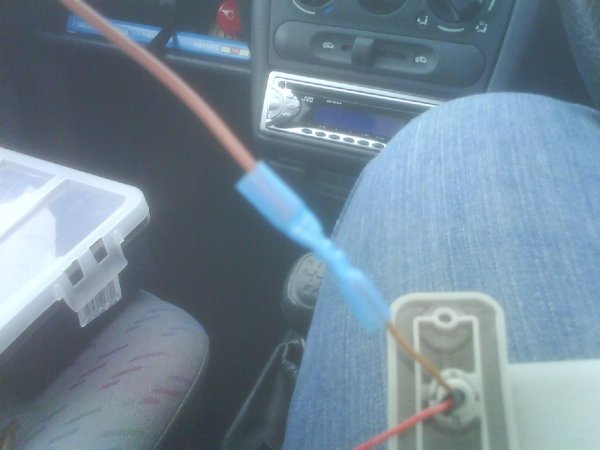
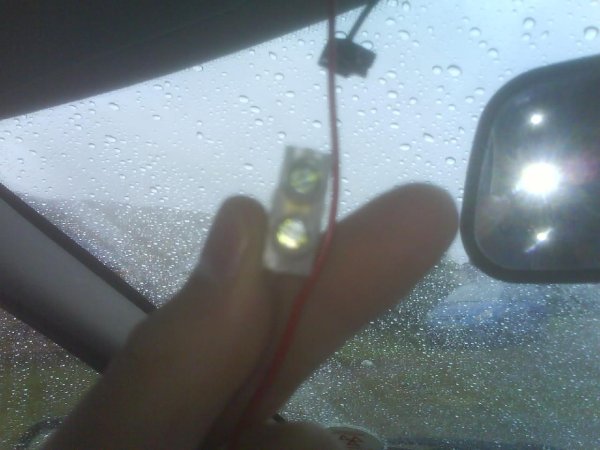
Take the other two lengths of wire you have, and using wire splicers again, connect them onto the red live wire of the visors:
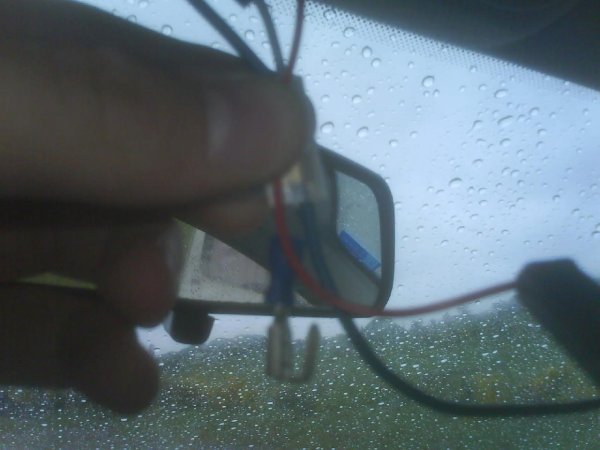
Cut the interior light live wire, and strip a little off each end, then put an end into either end of the chocolate block. Imagine in this picture that your red wire is the grey wire in mine, with the connectors on. Ignore the blue wire for now:
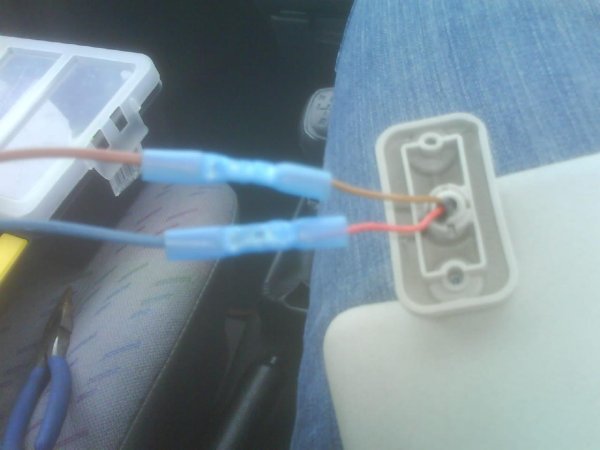
This is how yours should be, except the wires will be screwed into the block:
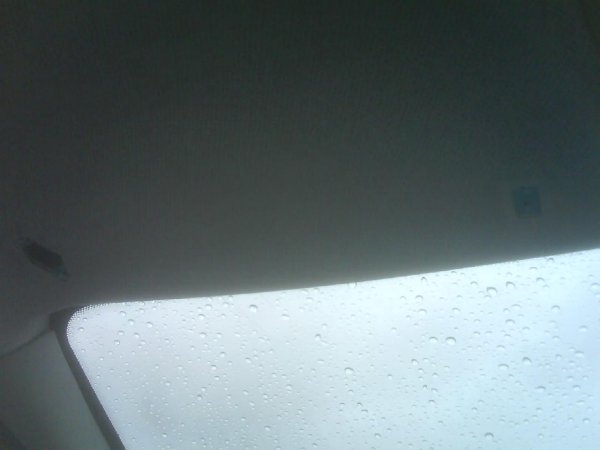
Right, next, pull the head lining down from the front a bit, don't pull too hard, incase it breaks. Then feed in the ends of the visors that arent yet connected:
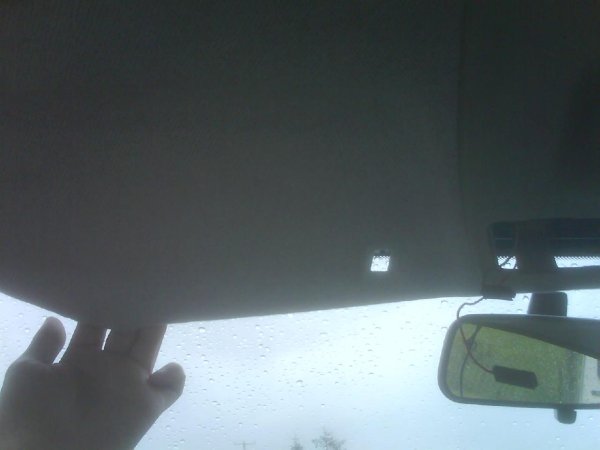
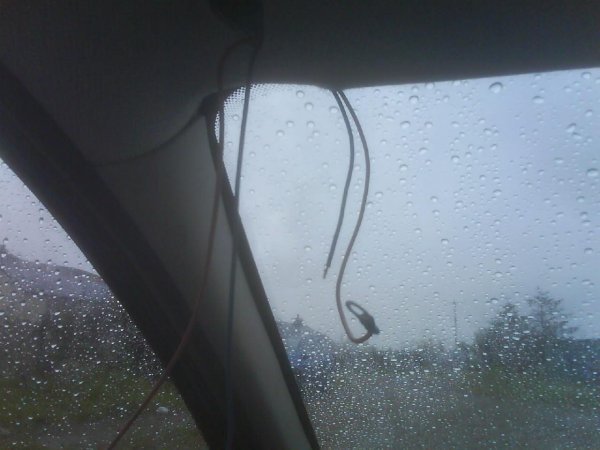
Keep running the wire along behind the head lining until you reach the hole for the interior light, as you can see, I was a bit too generous with the earth cable, didnt need so much :lol:

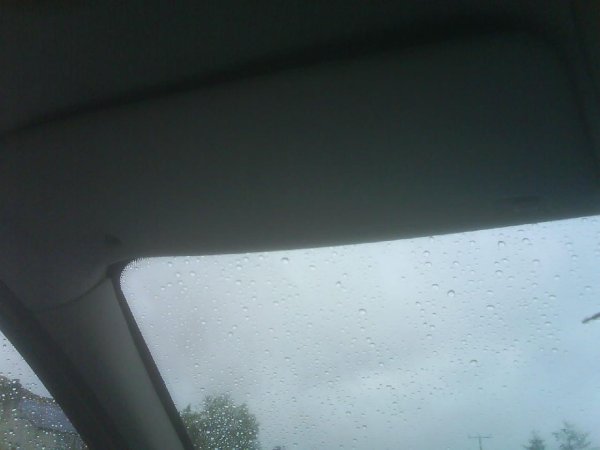
After the wires are through, you can put the new visors on, as the work with them is done, just the connectors to do. This can be a bit off a bugger, just screw one screw in a little, then do the other one till it catches, then screw them both in. The sun visor clips go in each enough:
No light yet, soon my friends :thumbs:
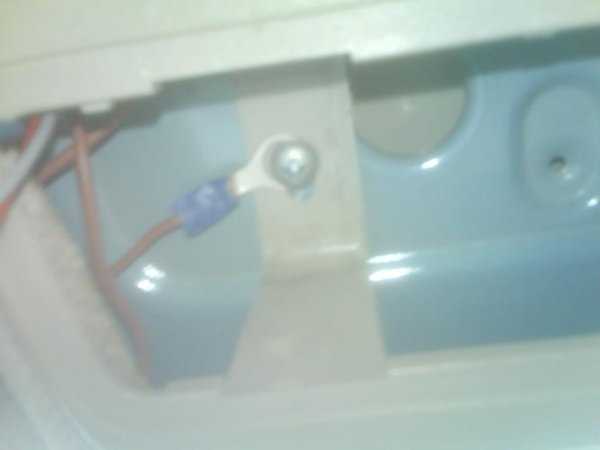
Next are the earth wires. I found a good place to put them is the screws you take off under the interior light:
Just the live to do now. What you need to do is take your connector block with the live in it, and screw in a visor live into each end:
Remember that my grey wires with connectors will be your red wire!
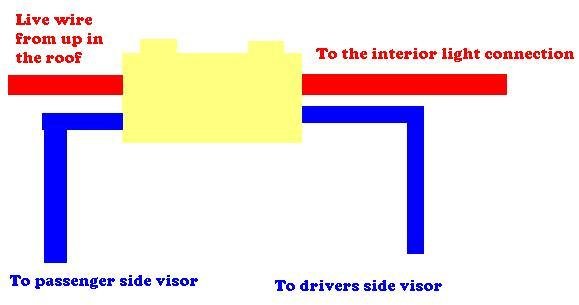
A little diagram on paint:
Almost done now! Connect the wires on the interior light back up, pop the interior light back in, then test to see if everything works:
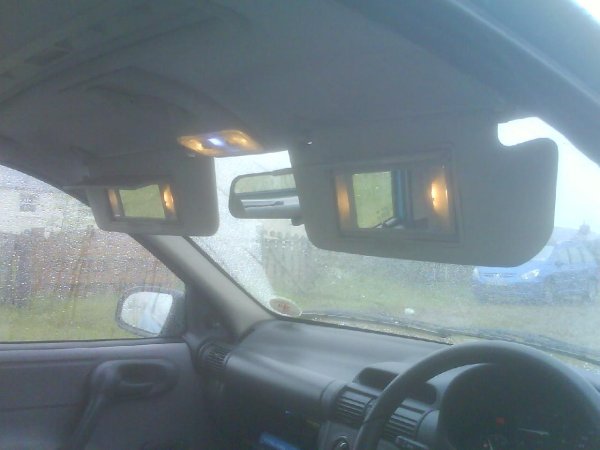
Excellent!
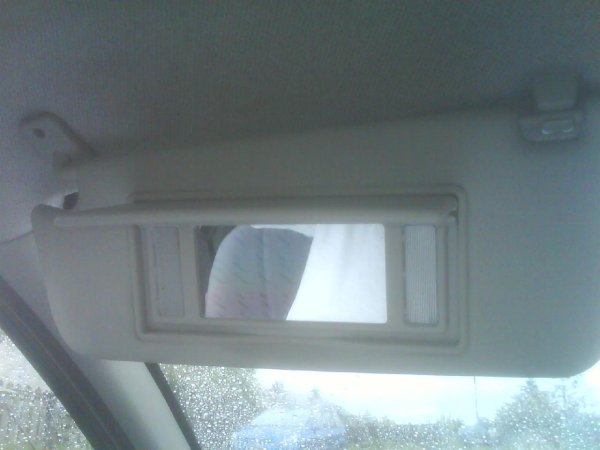
You now have illuminated sun visors.
If theres anything you arent sure about, send me a U2U, and Ill lend a hand. Also, if theres anything you think should be changed, please mention it.
Estimated costs:
Illuminated sun visors - £15 or from a scrappys
All the crimps and the stripper/cripmer - £6 from maplin
Choc block, few pence from maplins I image, i had one knocking around anyways.
Chris
[Edited on 07-06-2007 by Ian]
|


 posted on 29th May 07 at 15:46